I learned to stain concrete countertops the hard way, through trial and error on my first kitchen renovation fifteen years ago. What started as a budget-friendly alternative to granite turned into a passion for creating unique, artistic surfaces that no two homeowners could ever duplicate exactly. Over the years, I’ve stained hundreds of concrete countertops, from subtle earth tones that mimic natural stone to bold, dramatic colors that serve as kitchen focal points. The process requires patience, creativity, and respect for concrete’s unpredictable nature, but the results can be stunning when done correctly.
Understanding Concrete Stain Types and Chemistry
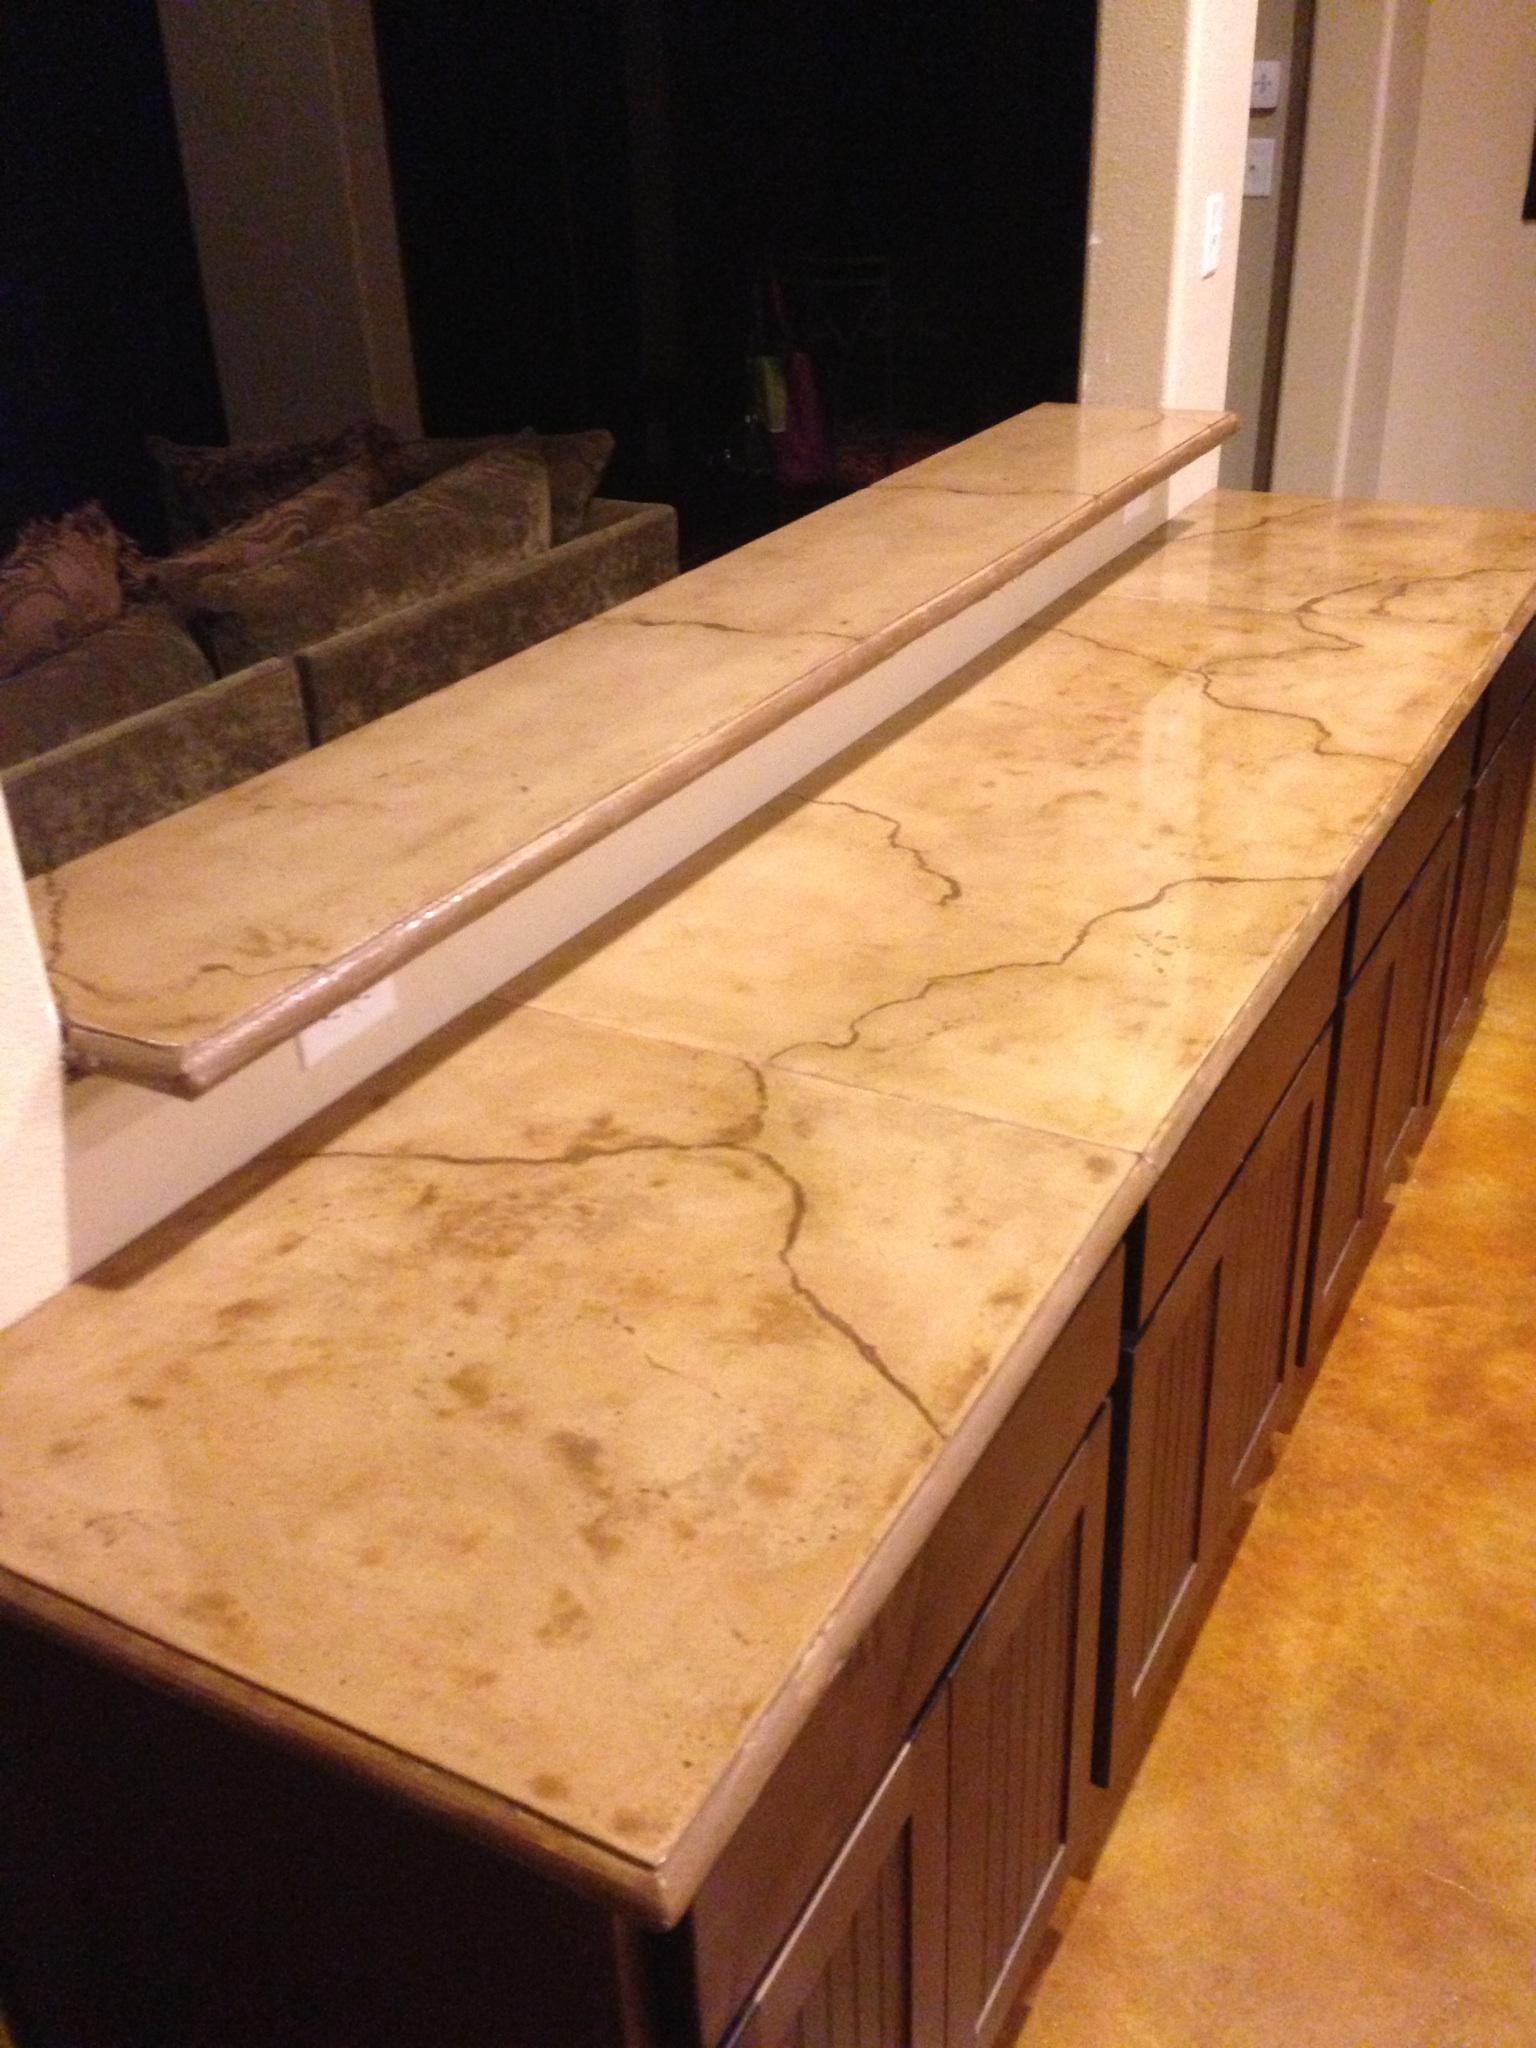
Acid-based stains have become my preferred choice for most concrete countertop projects because they create the most natural-looking, permanent color changes. These stains work by chemically reacting with lime content in concrete, producing colors that penetrate deeply and won’t peel or fade over time. I typically use acid stains for earth tones like browns, tans, and terra cottas that complement natural kitchen materials beautifully. The unpredictable nature of acid stains creates organic color variations that add character and depth to finished surfaces.
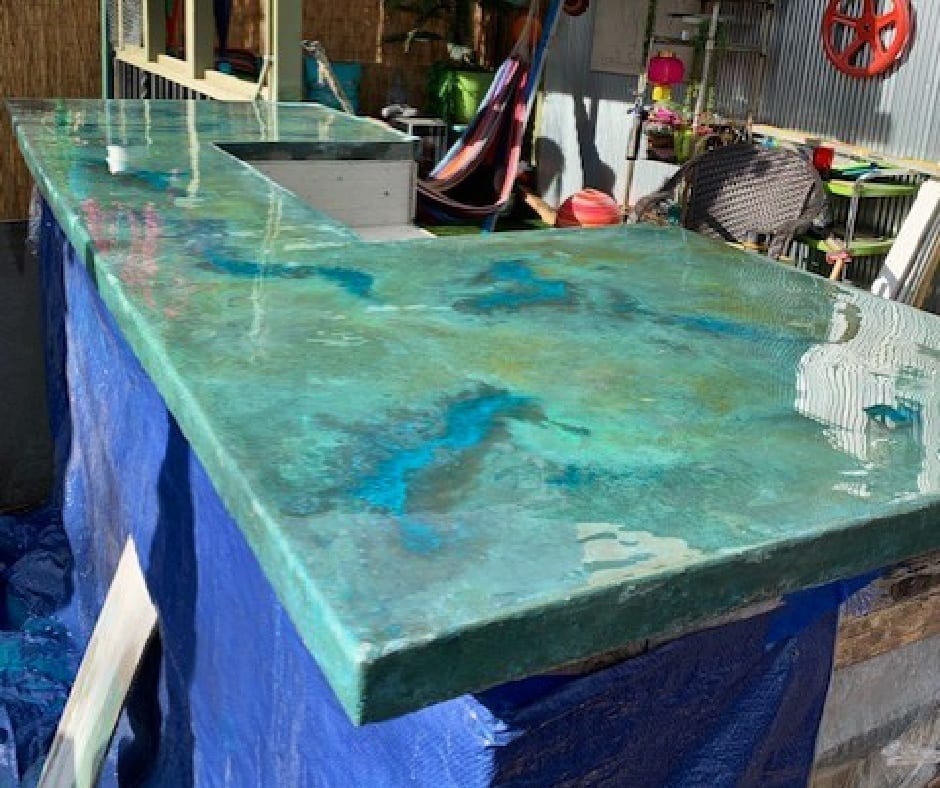
Water-based stains offer more predictable color results and broader color palettes, making them excellent choices when clients want specific hues or brighter colors. I’ve used water-based stains successfully for blues, greens, and reds that would be impossible to achieve with acid-based products. These stains penetrate less deeply than acid stains but provide more consistent coverage and easier application, particularly valuable for beginners attempting their first concrete staining projects.
The concrete’s age and composition significantly affect stain absorption and final colors, something I always explain to clients before beginning projects. New concrete typically accepts stains more evenly than older surfaces that may have sealers or contaminants affecting penetration. I often test stain samples in inconspicuous areas to predict how different products will react with specific concrete compositions, avoiding surprises that could compromise the final appearance.

Preparing Concrete Surfaces for Staining
Surface preparation determines staining success more than any other factor, and I’ve learned to be meticulous about this crucial step. I start by removing any existing sealers, waxes, or coatings that could prevent stain penetration using appropriate strippers or mechanical grinding. Even invisible residues from cleaning products can create uneven stain absorption, so I always degrease surfaces thoroughly with alkaline cleaners followed by acid etching to open the concrete pores.
The concrete must be completely clean and dry before staining, conditions that I verify using moisture meters and careful visual inspection. I remove all dust, debris, and residual cleaning products that could interfere with stain adhesion or create blotchy results. Any cracks or imperfections should be repaired and allowed to cure completely before staining, as fresh concrete often accepts stains differently than the surrounding aged surface.
Masking and protecting adjacent surfaces requires careful attention because concrete stains can permanently discolor unintended areas. I use high-quality painter’s tape and plastic sheeting to protect cabinets, walls, and floors from overspray or splashing. Ventilation planning becomes critical when using acid-based stains that produce fumes requiring proper air circulation and personal protective equipment for safe application.
Application Techniques and Tools
I prefer using pump sprayers for most concrete staining applications because they provide even coverage and allow precise control over stain application rates. Low-pressure garden sprayers work well for large surfaces, while handheld spray bottles give better control for detail work and color blending. I always strain stains through fine mesh to remove any sediment that could clog spray nozzles or create uneven application patterns.
Brush application techniques work beautifully for creating textured effects and working stain into detailed surfaces or tight corners where spraying isn’t practical. I use natural bristle brushes that won’t dissolve in acid-based stains, applying thin coats in circular or cross-hatch patterns to ensure even penetration. The key is working quickly while the stain remains wet to avoid lap marks that create visible application boundaries in the finished surface.
Multiple thin coats produce better results than single heavy applications, allowing better color control and more even penetration throughout the concrete surface. I typically apply two to three light coats, allowing proper drying time between applications as specified by manufacturer recommendations. This layered approach builds color gradually while avoiding the blotchy appearance that can result from oversaturating concrete with stain.
Color Blending and Artistic Effects
Creating natural-looking color variations requires understanding how different stains interact and blend on concrete surfaces. I often use multiple stain colors in single projects, applying lighter base colors first and adding darker accent tones to create depth and visual interest. The key is working while previous coats remain slightly damp, allowing colors to blend naturally rather than creating harsh transition lines between different hues.
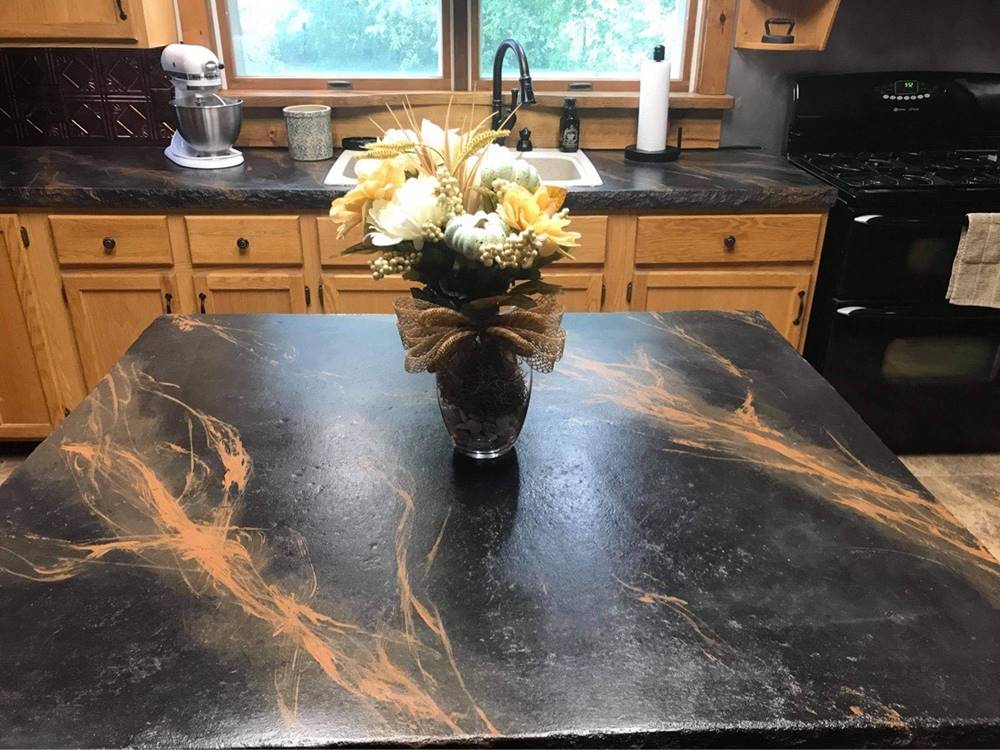
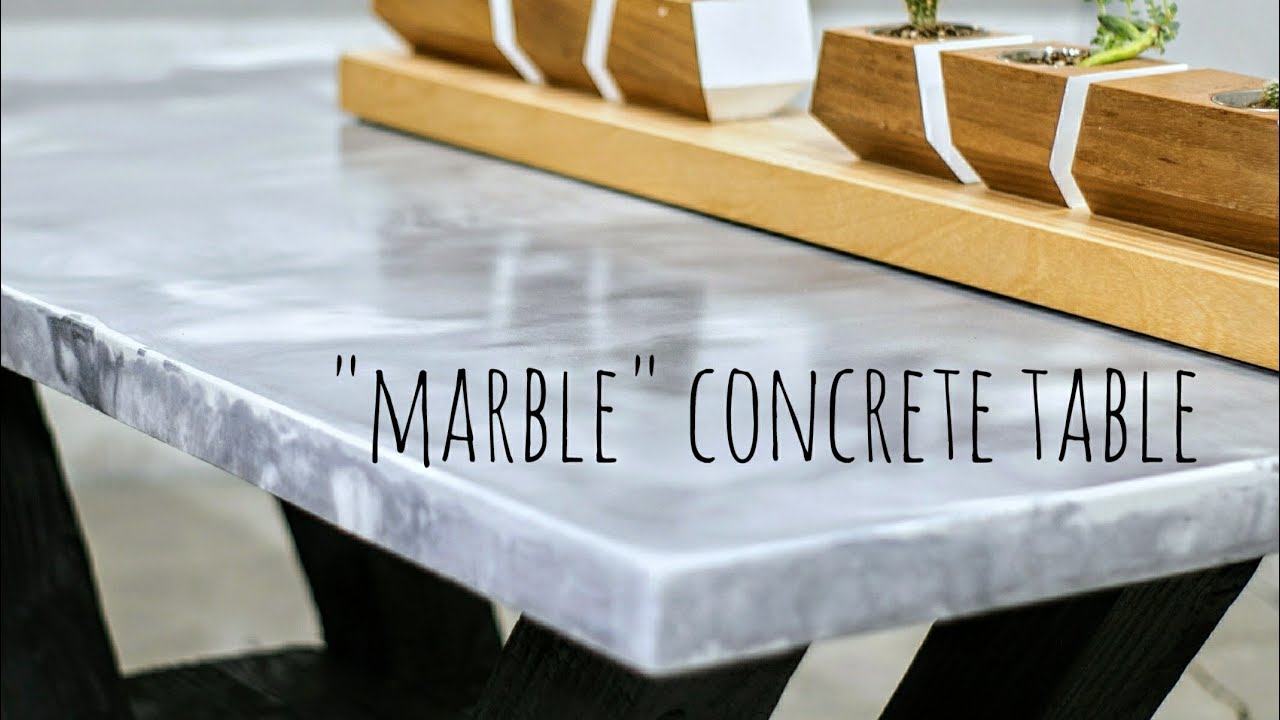
Layering complementary colors produces rich, complex appearances that mimic natural stone patterns beautifully. I might start with a warm brown base, add amber highlights in certain areas, and finish with darker brown accents to create granite-like depth and character. Each layer should be allowed to partially dry before adding subsequent colors, preventing muddy results while maintaining natural color transitions.
Special effects like marbling or veining require practice and artistic vision, but they can transform ordinary concrete countertops into stunning focal points. I use feathers, rags, or sponges to manipulate wet stains, creating organic patterns that follow natural stone formation principles. These techniques require confidence and quick work, as concrete stains set relatively quickly once applied to porous surfaces.
Neutralizing and Cleaning After Staining
Acid-based stains require thorough neutralization to stop the chemical reaction and remove residual acids that could interfere with sealer adhesion. I use baking soda solutions or commercial neutralizers, scrubbing surfaces thoroughly and monitoring pH levels until they reach neutral ranges. This step is critical for long-term durability and cannot be skipped even when working with supposedly self-neutralizing stain products.
The cleaning process removes stain residues and prepares surfaces for sealer application, directly affecting the final appearance and performance of stained concrete countertops. I use clean water and scrub brushes to remove all loose material, often requiring multiple rinses to achieve completely clean surfaces. Any remaining residue will be locked in place by sealer application, potentially creating cloudy or uneven appearances.
Proper drying time allows chemical reactions to complete and ensures optimal sealer adhesion when applied over stained surfaces. I typically allow 24-48 hours of drying time depending on temperature, humidity, and ventilation conditions. Rushing this step can trap moisture under sealers, leading to adhesion failures and cloudy appearances that require complete refinishing to correct.

Sealing and Protection Strategies
Sealer selection dramatically affects both the appearance and performance of stained concrete countertops, and I choose products based on desired sheen levels and durability requirements. Penetrating sealers provide natural appearances while offering good stain resistance, though they require more frequent reapplication than film-forming options. Topical sealers create more dramatic color enhancement and superior protection but may require periodic refinishing as wear patterns develop.
Multiple thin sealer coats provide better protection and appearance than single thick applications, allowing proper curing between coats for optimal adhesion and durability. I typically apply two to three coats of sealer, lightly sanding between coats with fine-grit paper to ensure proper adhesion. This methodical approach builds protective layers gradually while avoiding the bubbling or peeling that can occur with thick sealer applications.
Maintenance requirements vary significantly between different sealer types, and I always educate clients about proper care techniques that preserve their investment. Some sealers require periodic recoating to maintain protection, while others need only routine cleaning with appropriate products. Understanding these requirements from the beginning helps clients maintain beautiful stained concrete countertops for decades rather than years.
How long does concrete staining take from start to finish?
Complete concrete staining typically requires 3-5 days, including surface preparation, staining, drying, neutralizing, cleaning, and sealing. Surface prep takes 1-2 days, staining and drying require 1-2 days, and sealing adds another 1-2 days. Weather conditions and concrete porosity affect timing. I never rush the process as proper curing ensures optimal results and longevity.
Can I change the color of already-stained concrete countertops?
Yes, but options depend on existing colors and stain types. Darker colors can be applied over lighter ones, but lightening-stained concrete requires grinding or chemical stripping. I often apply complementary stains to modify existing colors slightly. Complete color changes usually require removing existing stains and starting fresh, which can be labor-intensive and expensive.

What safety precautions should I take when staining concrete?
Always wear protective equipment, including gloves, safety glasses, and respirators, when using acid-based stains. Ensure adequate ventilation and avoid breathing fumes. Keep neutralizing agents readily available for skin contact. I recommend having a water source nearby for emergency rinsing. Never mix different stain types, and store all products safely away from children and pets.
How do I fix uneven or blotchy stain results?
Uneven staining often results from improper surface preparation or contamination. Light blotchiness can sometimes be corrected with additional stain coats or color blending techniques. Severe unevenness may require grinding off the stained layer and starting over. Prevention through proper prep work is always preferable to attempted corrections after staining.
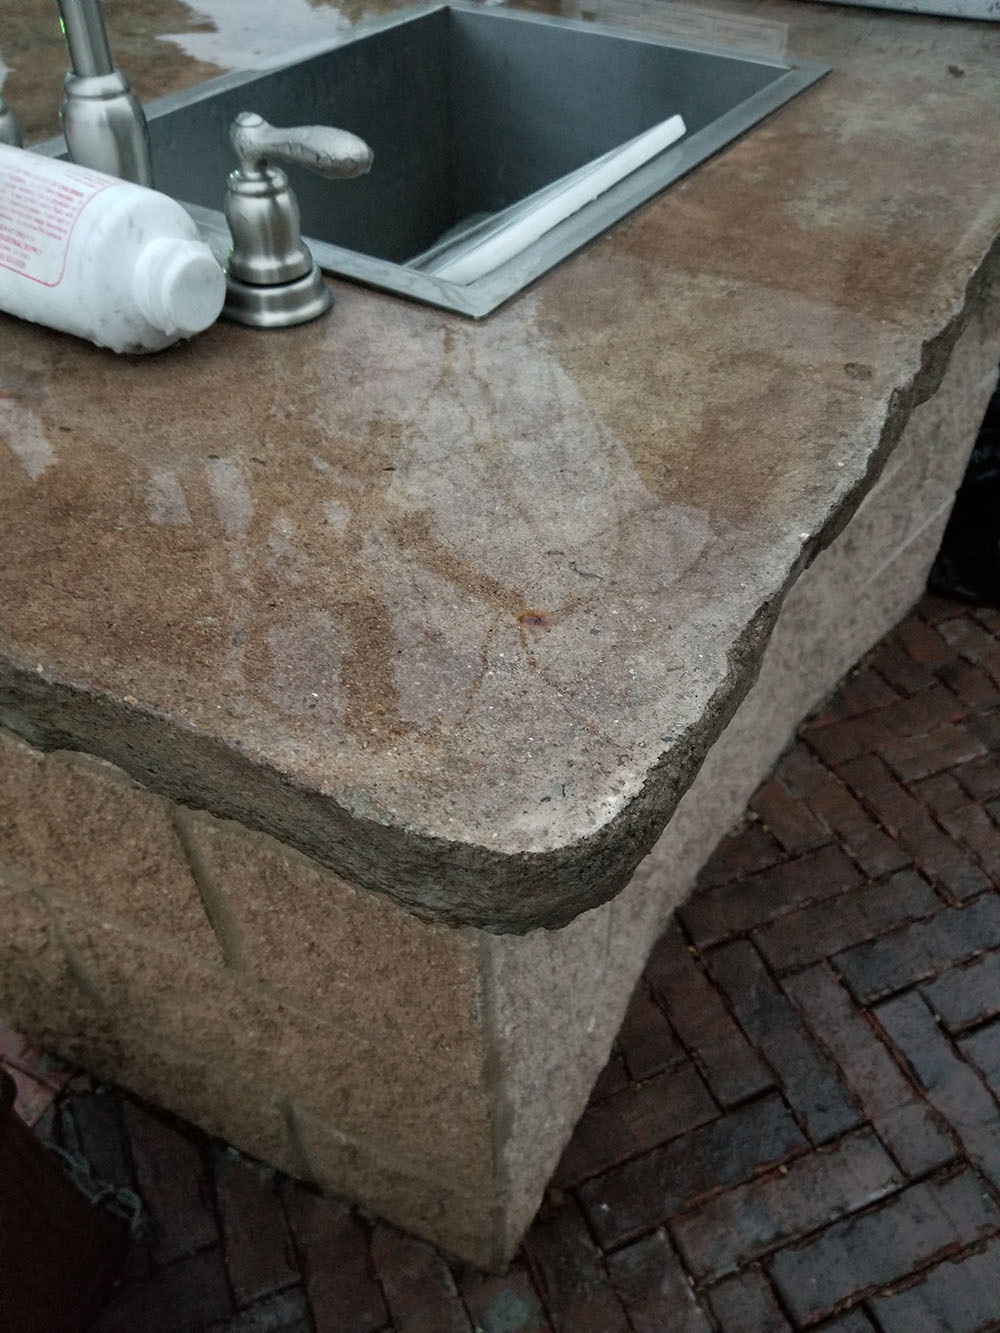
Can concrete stains be used on outdoor countertops?
Yes, concrete stains work well outdoors, but UV-resistant sealers become critical for color protection. I use stains specifically formulated for exterior applications and high-quality UV-blocking sealers. Outdoor stained concrete requires more frequent maintenance due to weather exposure. Proper surface preparation and sealing ensure outdoor stained countertops last many years with appropriate care.
How much does it cost to stain concrete countertops yourself?
DIY staining costs typically range from $3-8 per square foot, including stains, sealers, and supplies. Professional tools rental may add $50-100. The biggest costs are quality stains ($30-60 per gallon) and sealers ($40-80 per gallon). One gallon of stain typically covers 200-400 square feet, depending on concrete porosity. Factor in surface preparation materials and protective equipment costs.

Related articles:
- Outdoor Concrete Countertops
- How To Make Concrete Countertops Smooth
- Rustic Concrete Countertops
- Farmhouse Concrete Countertops
- Concrete Countertops Outdoor Kitchen
- How To Stain Concrete Countertops
- DIY Concrete Countertop Mix
- Concrete Countertops Made Easy
- Concrete Countertop Overlay
- Black Concrete Countertops