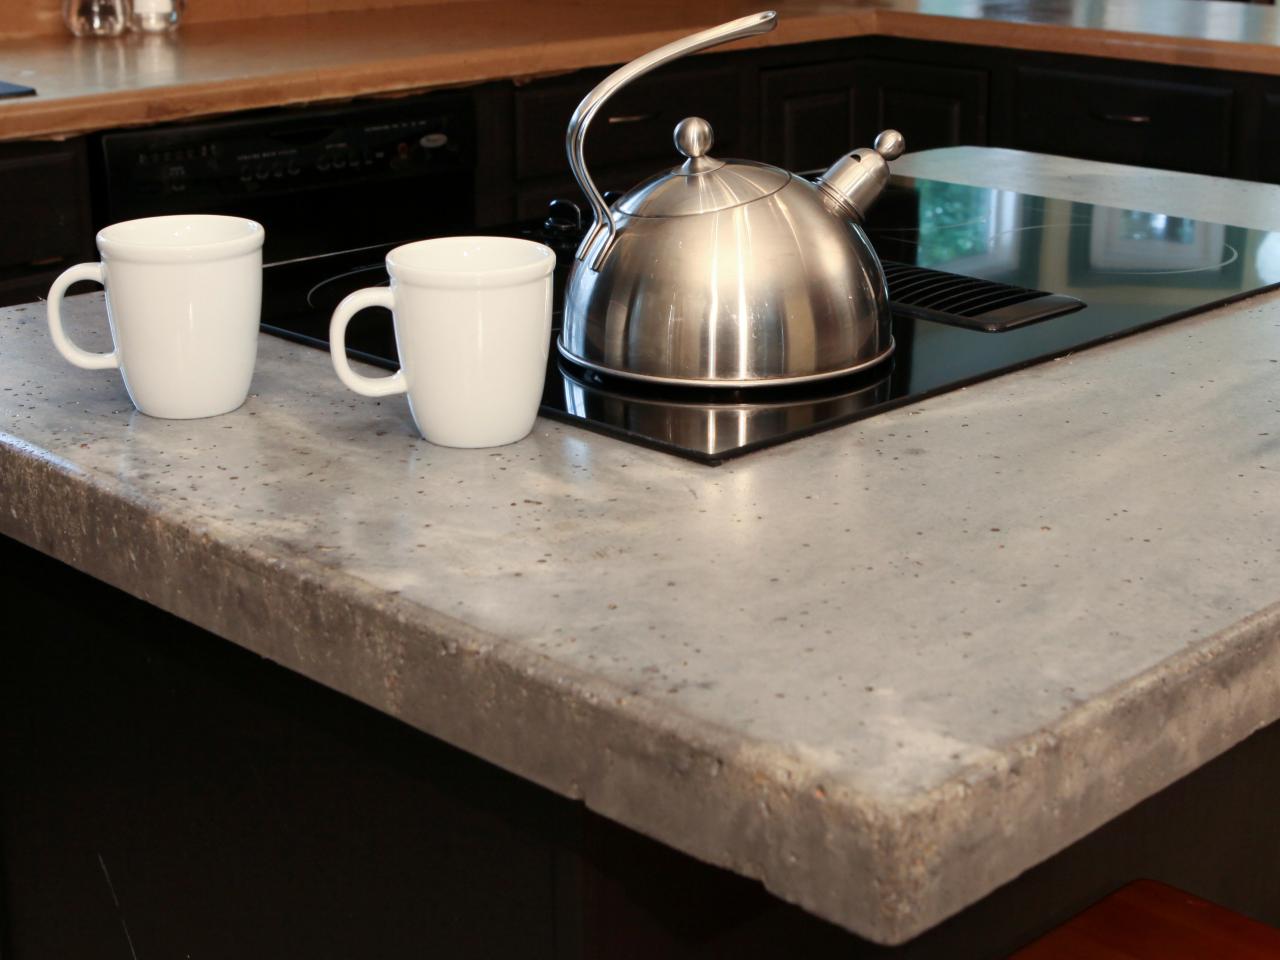
I’ve always loved the industrial yet modern look of concrete countertops, but I assumed they were too difficult to make myself. After researching and trying it out, I realized it’s much more achievable than I thought. With the right materials, patience, and attention to detail, you can create stunning countertops that rival expensive store-bought options. The process involves mixing, pouring, and finishing, but each step is manageable if you take your time. Whether you’re updating your kitchen or building a bathroom vanity, concrete offers durability and customization that few materials can match.
The first step is gathering the right supplies. You’ll need concrete mix (specifically designed for countertops), melamine boards for molds, rebar or wire mesh for reinforcement, and sealant. I recommend using a high-quality polymer-modified mix because it’s less prone to cracking. Melamine is perfect for molds since it’s smooth and won’t stick to the concrete. Don’t forget mixing tools, a trowel, and an orbital sander for finishing. Prepping everything beforehand saves time and avoids mid-project stress. Measure your space carefully—once the concrete is poured, there’s no going back.
Building the mold is where precision matters. I cut melamine boards to the exact dimensions of my countertop, including any overhangs or edges. The mold must be sealed tightly with silicone caulk to prevent leaks. I reinforced the corners with screws for extra stability. If you want an integrated sink, now’s the time to create a cutout. Some people add decorative elements like embedded stones or glass at this stage. Once the mold is ready, I coat the inside with mold release spray so the concrete won’t stick. Taking time here ensures a smooth, professional-looking result.

Mixing the concrete properly is crucial. I used a paddle mixer attached to a drill for consistency. The mix should be thick but pourable—like pancake batter. Too much water weakens the concrete, leading to cracks. I added acrylic fortifier for extra strength and workability. If you want color, now’s the time to mix in pigments. Pour the concrete slowly, tapping the mold to remove air bubbles. I used a vibrating tool to help settle the mixture evenly. Then, I inserted the rebar for reinforcement, making sure it was fully submerged. Smooth the surface with a trowel, and let it cure for at least 24 hours.
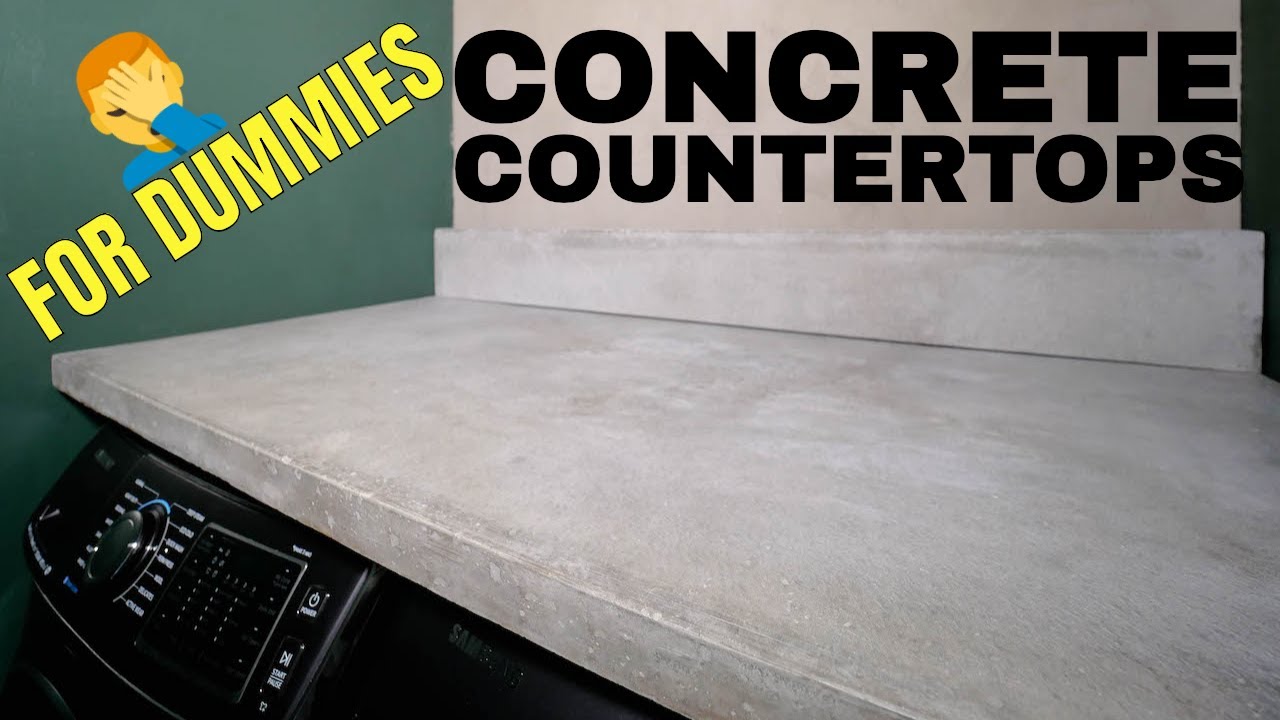
After curing, the real fun begins—demolding and sanding. I carefully removed the melamine boards, revealing the rough countertop. The edges needed smoothing, so I used an orbital sander starting with 80-grit paper and working up to 400-grit for a polished look. Wet sanding helps reduce dust and gives a finer finish. Small imperfections can be filled with a cement paste. This step takes patience, but the smoother the surface, the better the final result. I rounded the edges slightly for a more refined appearance. Sanding is messy, so I worked outside and wore a mask.
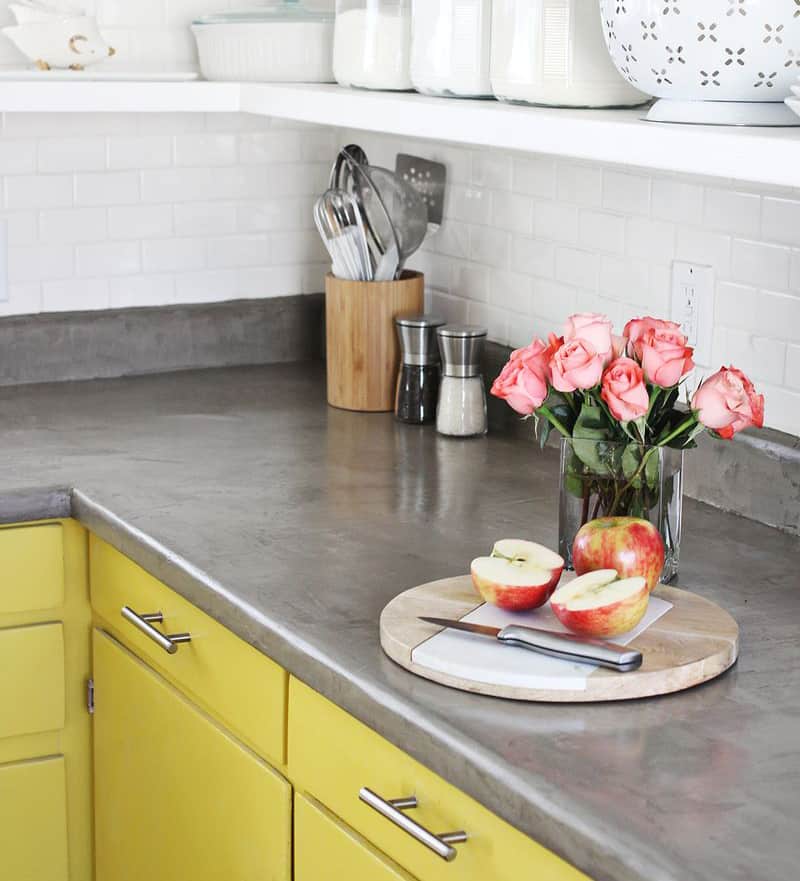
Sealing is what brings out the beauty and durability of concrete. I chose a penetrating sealer first to protect against stains, followed by a topical sealer for shine. Some people prefer a matte finish, while others like a glossy look. I applied three thin coats, letting each dry completely. The sealer also prevents water absorption, which is key for kitchen use. If you want extra protection, consider waxing the surface monthly. Proper sealing ensures your countertop lasts for years without yellowing or cracking. This step might seem tedious, but it’s worth the effort.
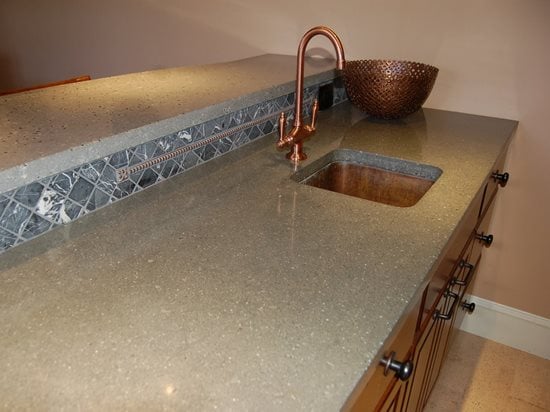
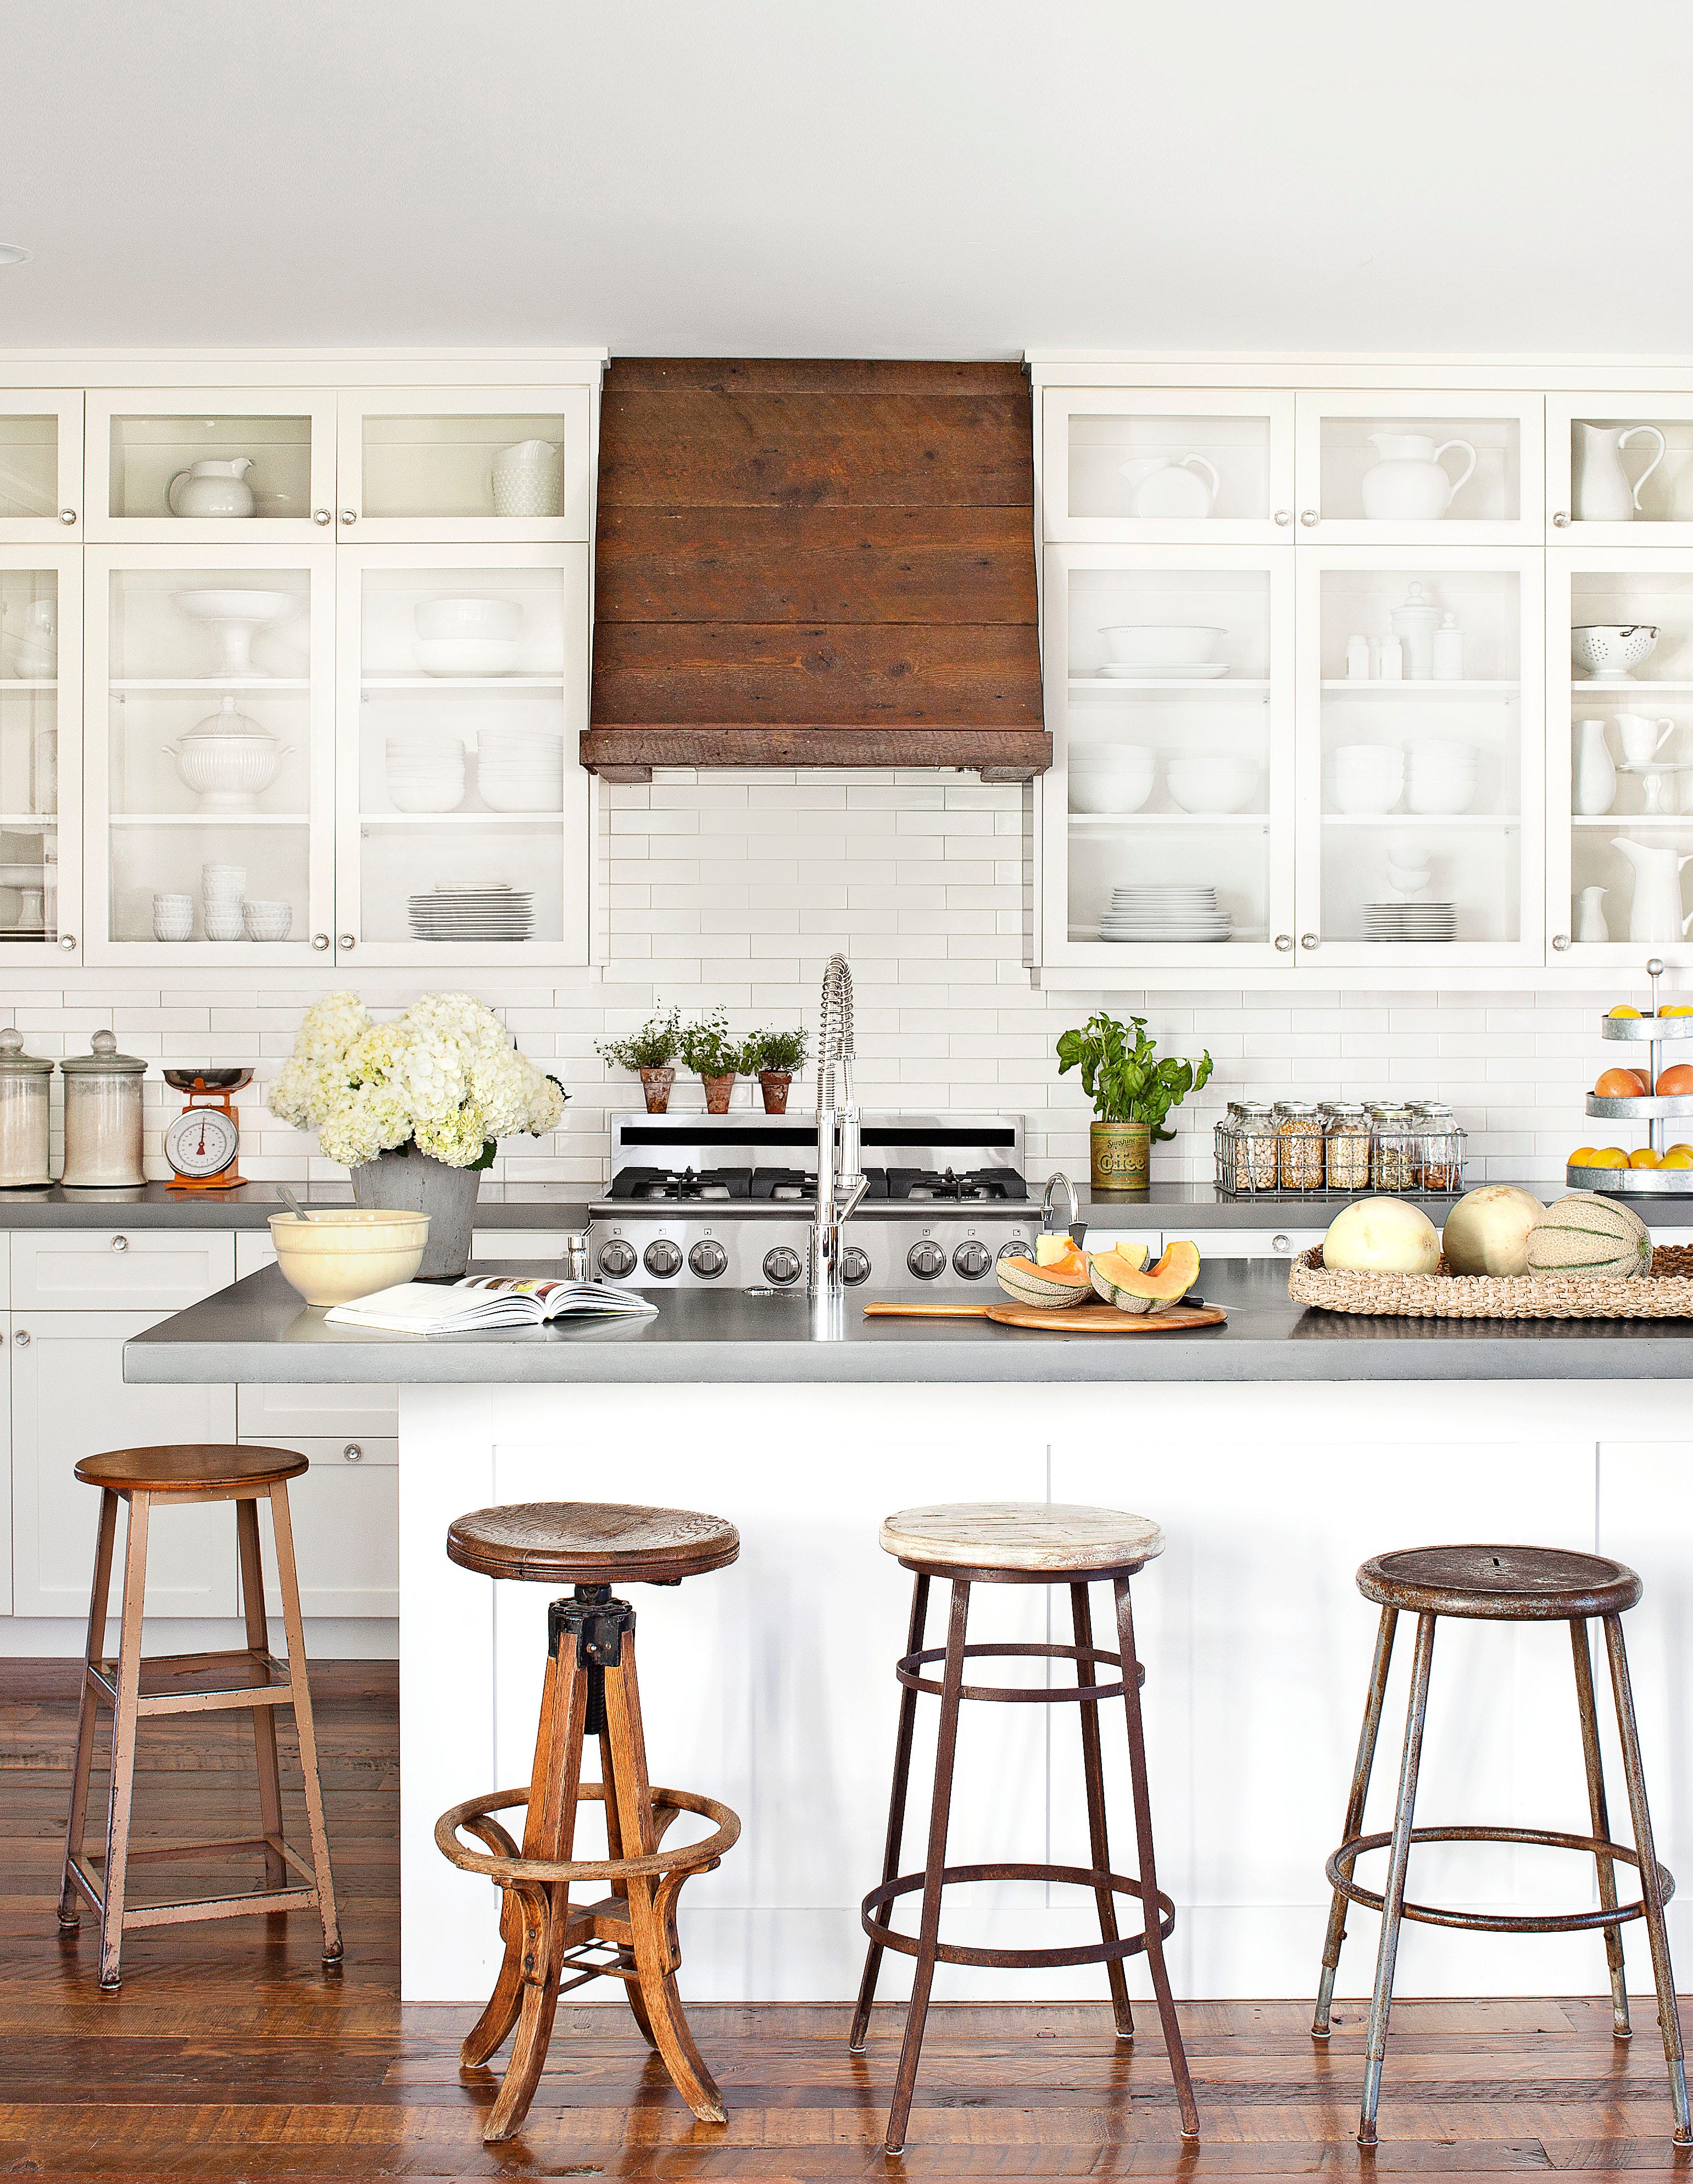
One of the best things about concrete countertops is customization. I added subtle gray pigment to mine, but you can go bold with colors or even create patterns. Some people mix in decorative aggregates or etch designs after sealing. If you’re feeling creative, you can experiment with different textures and finishes. I love that concrete allows for a unique, handcrafted look that fits any style—modern, rustic, or industrial. The possibilities are endless, and unlike pre-made options, you control every detail.
Maintenance is straightforward if you follow a few simple rules. Avoid harsh cleaners—mild soap and water work best. Resealing every few years keeps the surface protected. Heat-resistant pads are a good idea since extreme temperatures can damage the sealer. Small scratches can be buffed out with fine sandpaper. With proper care, concrete countertops age beautifully, developing a subtle patina over time. I’ve had mine for years, and they still look as good as the day I finished them.
If you’re hesitant about tackling this project, start with a small piece like a bathroom vanity or outdoor bar. It’s a great way to practice before committing to a full kitchen. I made a test slab first to get comfortable with the process. Watching tutorials and reading guides helped me avoid common mistakes. The more you work with concrete, the more confident you’ll become. Even if it’s not perfect the first time, imperfections can add character.
In the end, DIY concrete countertops are rewarding and cost-effective. I saved thousands compared to buying pre-made ones, and I got exactly the look I wanted. The process requires effort, but the results speak for themselves. If you’re willing to put in the work, you’ll have a stunning, durable surface that stands out. Concrete might seem intimidating, but with the right approach, it’s totally doable.
How long do concrete countertops last?
Concrete countertops can last decades if properly sealed and maintained. The key is using a high-quality mix, reinforcing with rebar, and applying a durable sealer. Resealing every two to three years prevents stains and cracks. Unlike laminate, concrete won’t peel or warp, but it can develop hairline cracks over time—these are usually cosmetic. With basic care, like using cutting boards and avoiding harsh chemicals, your countertop will stay in great shape. I’ve seen well-maintained concrete surfaces that look new after 20 years.
Can I install an undermount sink with a concrete countertop?
Yes, but it requires planning. You’ll need to create a cutout in the mold before pouring the concrete. The sink should be secured with braces during curing to ensure a snug fit. Some people prefer to cast the sink directly into the countertop for a seamless look. Alternatively, you can use epoxy to attach the sink after the countertop is finished. Just make sure the edges are properly sealed to prevent water damage. I opted for an undermount sink, and it’s held up perfectly.
Are concrete countertops prone to cracking?
Concrete can crack if not mixed or reinforced correctly. Using a polymer-modified mix and adding rebar or wire mesh minimizes this risk. Proper curing—keeping the concrete moist for at least a week—also helps. Small surface cracks may appear over time, but they’re usually harmless. If a crack bothers you, it can be filled with a cement paste and resealed. My countertops have tiny hairline cracks, but they add character without affecting durability.
How much weight can concrete countertops support?
Concrete is incredibly strong and can support heavy items like appliances and stoneware. The thickness and reinforcement determine its load-bearing capacity. Most DIY countertops are 1.5 to 2 inches thick with rebar, which is more than enough for everyday use. If you’re concerned, adding extra reinforcement or opting for a thicker pour increases strength. I’ve placed heavy pots and even stood on mine (accidentally!) with no issues.

Can I make concrete countertops without professional tools?
Absolutely! Basic tools like a drill mixer, trowel, and orbital sander are enough for a DIY project. You don’t need expensive equipment—just patience and attention to detail. A vibrating tool helps remove air bubbles, but tapping the mold works too. For sanding, start with coarse grit and move to finer grits for a smooth finish. I borrowed some tools from friends instead of buying everything new. With creativity, you can achieve professional results on a budget.
Do concrete countertops stain easily?
They can if not properly sealed. A high-quality penetrating sealer blocks liquids from absorbing into the concrete. Avoid leaving spills—especially acidic substances like wine or lemon juice—sitting for long. If a stain occurs, a poultice made of baking soda and water can lift it. Regular resealing maintains protection. My countertops have resisted coffee and oil stains thanks to good sealing habits. Lighter colors may show stains more, so consider darker pigments if that’s a concern.

Concrete Countertops – Pros, Cons, DIY u0026 Care – Concrete Network
Concrete Countertops – Pros, Cons, and Cost of Concrete Countertops
Related articles:
- Outdoor Concrete Countertops
- How To Make Concrete Countertops Smooth
- Rustic Concrete Countertops
- Farmhouse Concrete Countertops
- Concrete Countertops Outdoor Kitchen
- How To Stain Concrete Countertops
- DIY Concrete Countertop Mix
- Concrete Countertops Made Easy
- Concrete Countertop Overlay
- Black Concrete Countertops