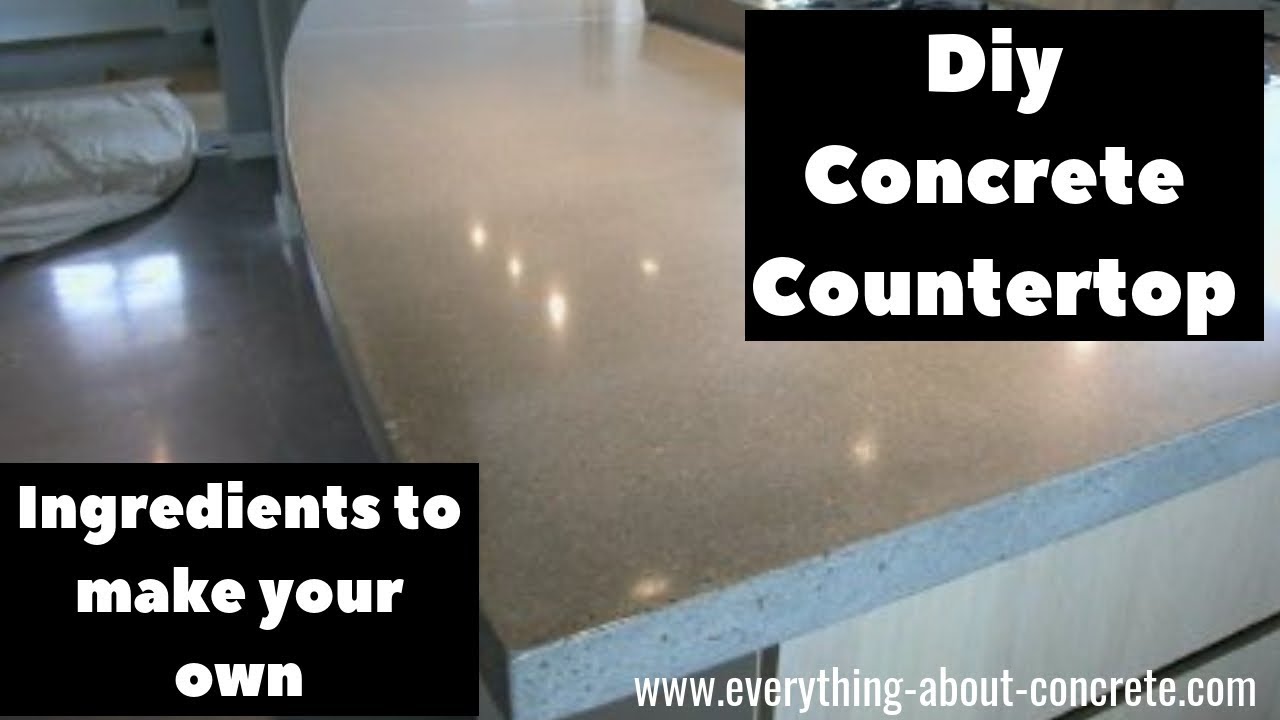
The first time I decided to make my concrete countertops, I was overwhelmed by all the mix options and recipes available. After several successful projects and a few learning experiences, I’ve developed a reliable approach to creating the perfect DIY concrete countertop mix. Getting the right blend of ingredients makes all the difference between a countertop that cracks and one that lasts for decades. The mix needs to be strong enough to withstand daily use while remaining workable enough to achieve a smooth finish. Here’s what I’ve learned about proportions, additives, and mixing techniques that produce professional-quality results.
Choosing the Right Materials
Portland cement forms the base of any good countertop mix, but not all types are equal. I use white Portland cement for most projects because it produces a cleaner, more consistent color than gray cement. The bright white base allows for better color control if I decide to add pigments. For aggregate, I prefer a blend of fine sand and small pea gravel – this combination provides strength without being too coarse for countertop thicknesses. The sand should be sharp and angular rather than rounded for better bonding.
Fiber reinforcement is non-negotiable in my mixes. I add alkali-resistant glass fibers to help prevent cracking and improve tensile strength. These tiny fibers disperse throughout the mix, creating a web-like support system. For extra durability in high-use areas, I sometimes include micro-rebar or wire mesh, though this requires careful placement during pouring. The fibers alone are sufficient for most residential countertops if the mix proportions are correct.
Admixtures can significantly improve workability and finish. I always include a plasticizer to make the mix more fluid without adding excess water. A viscosity modifier helps prevent segregation of materials while pouring. For countertops that will face heavy use, I add a pozzolan like fly ash or silica fume to increase density and reduce permeability. These materials react with the cement to create a stronger, more durable final product.

Perfecting the Mix Proportions
After testing countless recipes, I’ve settled on a basic ratio that works well for most projects: 1 part cement, 1.5 parts sand, and 1.5 parts pea gravel. This creates a balanced mix that’s strong yet workable. I measure by weight rather than volume for consistency – a kitchen scale works perfectly for small batches. The exact proportions may vary slightly depending on the specific materials I’m using, but this ratio serves as my starting point.
Water content is critical – too much weakens the final product, while too little makes the mix unworkable. I aim for a water-to-cement ratio of about 0.45, adding just enough to achieve a thick but pourable consistency. The plasticizer allows me to use less water while maintaining workability. I mix the dry ingredients thoroughly before slowly adding water, stopping as soon as the mixture holds together without being soupy.
For coloring, I add iron oxide pigments to the dry mix before adding water. Typically 1-5% pigment by weight of cement gives good saturation. Testing small batches first helps dial in the exact color. Other additives like the fibers and pozzolans generally constitute about 1-2% of the total mix. Keeping detailed notes on each batch helps me replicate successful mixes and adjust problematic ones for future projects.
Mixing Techniques for Consistency
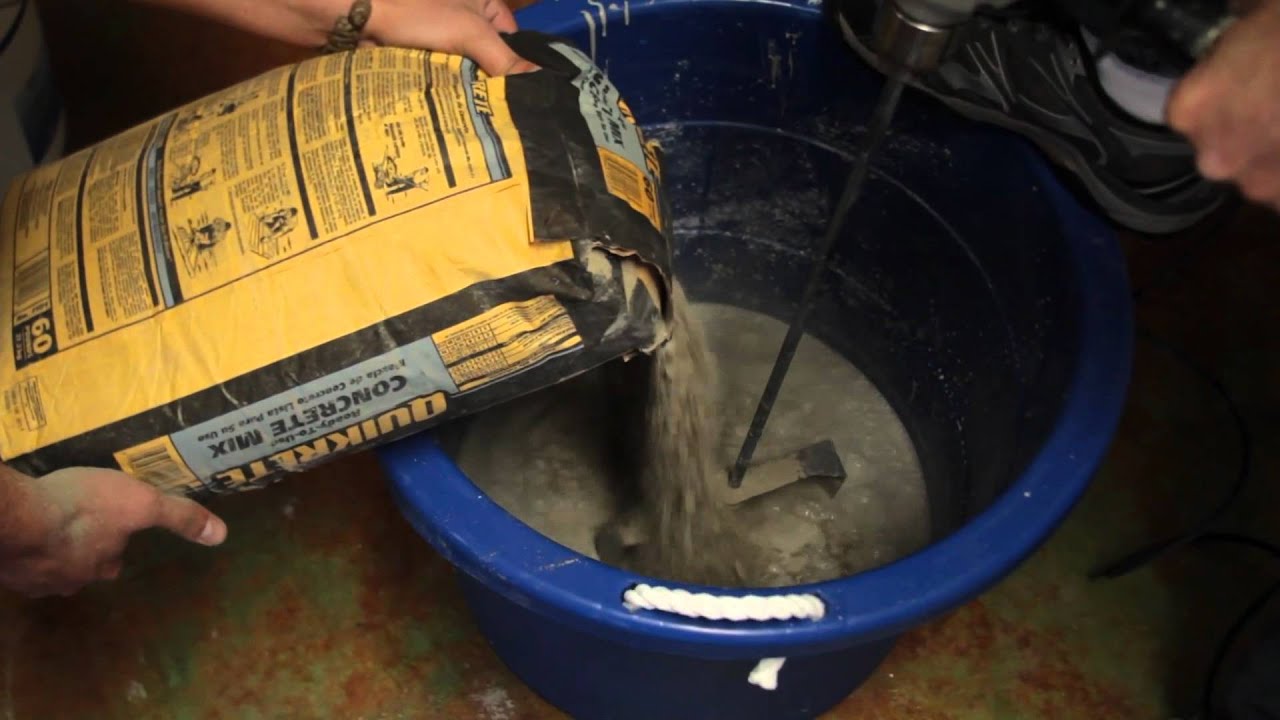
Thorough mixing is essential for uniform strength and appearance. I use a paddle mixer attached to my drill for small batches, running it for at least 5 minutes after all ingredients are added. For larger projects, a portable concrete mixer ensures consistent results. The goal is complete distribution of all materials with no dry pockets or clumps. I stop periodically to scrape down the sides and check for unmixed material.
The mixing sequence matters almost as much as duration. I start by combining all dry ingredients (cement, sand, gravel, fibers, and pigments) before adding about 80% of the planned water. After that’s incorporated, I add the plasticizer and remaining water slowly until reaching the desired consistency. This method prevents overwatering and helps the additives distribute evenly. The mix should hold its shape when squeezed but still flow slowly when the mold is tapped.
Temperature affects both mixing and curing. In hot weather, I use chilled water to slow the set time and prevent rapid moisture loss. Cold conditions may require warm water and accelerators. I avoid mixing in direct sunlight or extreme temperatures whenever possible. The mixed concrete should be used within about 45 minutes – any longer and the chemical reactions begin compromising the final strength.

Achieving the Perfect Pour
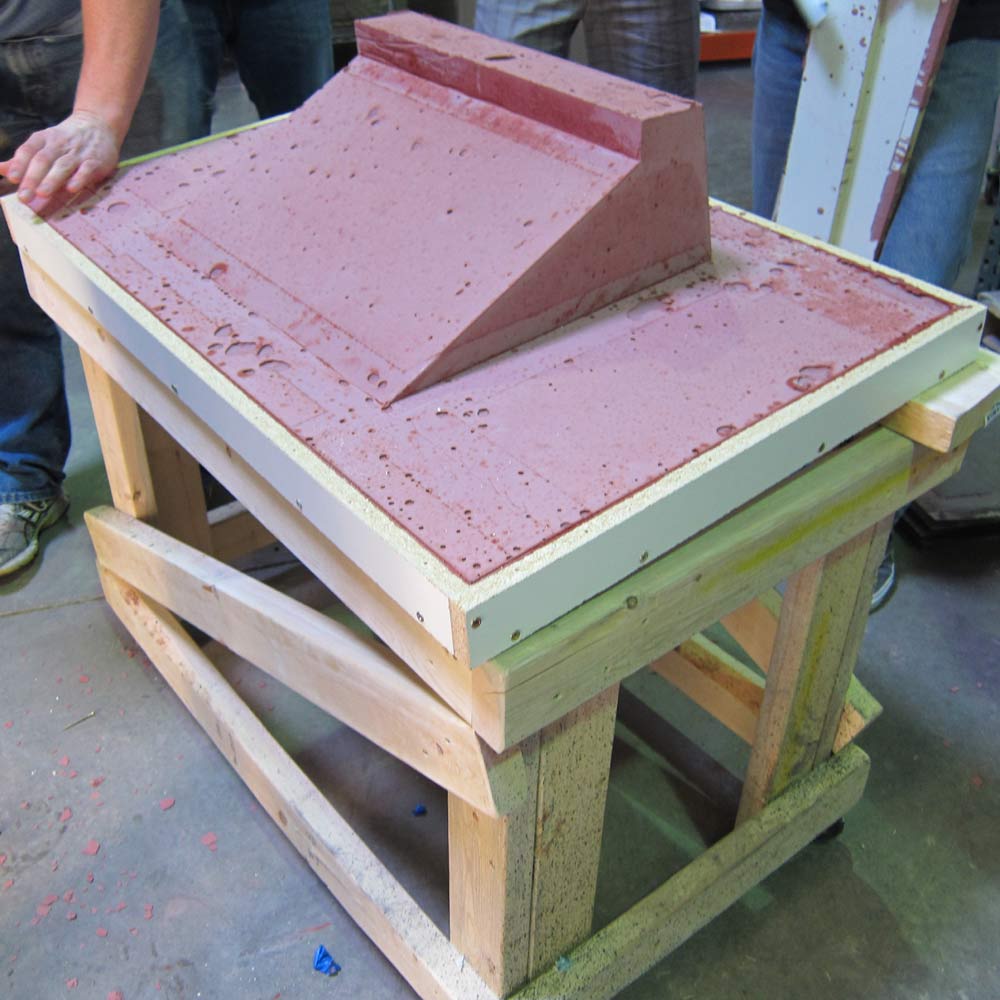
Proper form construction comes before any pouring begins. I build sturdy melamine forms coated with release agent, ensuring all joints are sealed to prevent leaks. The forms must be perfectly level – I check this with multiple spirit levels. For undermount sinks or special shapes, I create precise inserts from foam or wood. All these preparations save headaches during the critical pouring stage.
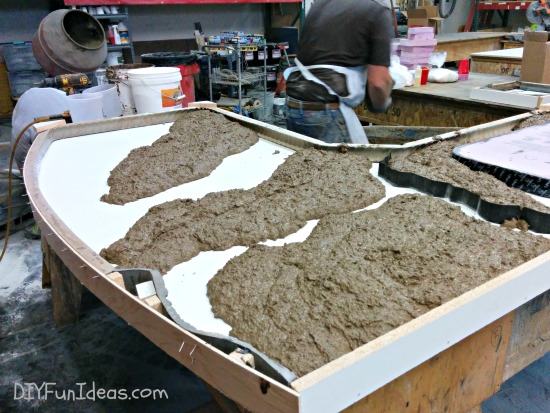
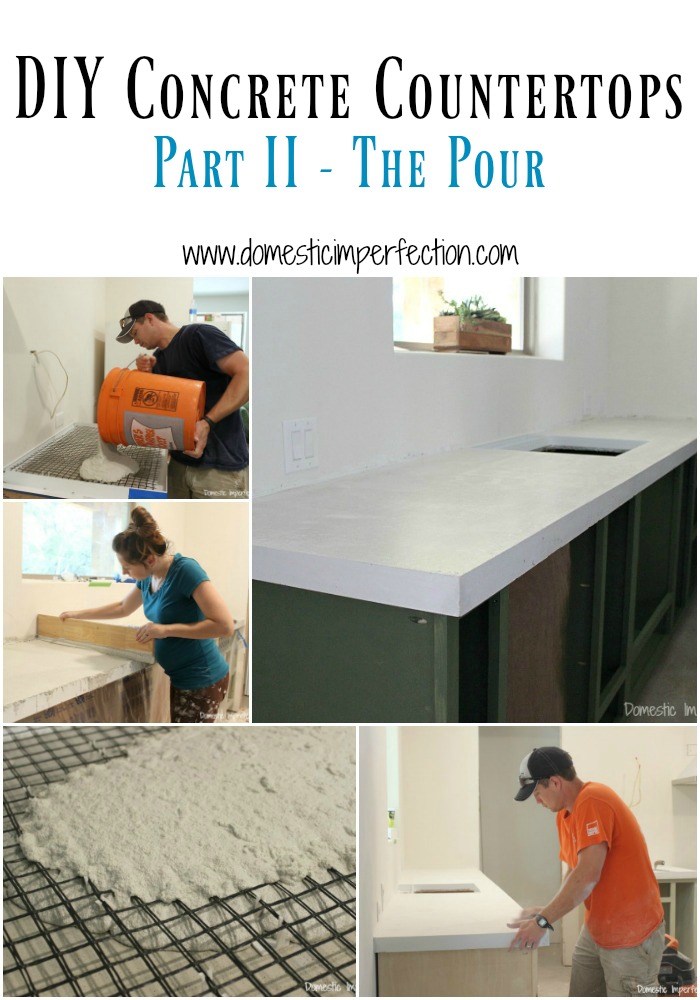
When pouring, I start at one end and work systematically to avoid air pockets. A rubber mallet helps settle the concrete by tapping the form sides to release trapped air. I pour in layers about 2 inches thick, using a stick to consolidate each layer before adding the next. For thicker countertops, I wait about 20 minutes between layers to prevent cold joints. The key is maintaining a consistent texture throughout the pour.
After the initial pour, I screeded the surface with a straightedge to remove excess concrete. Then comes the waiting game – I cover the form with plastic and let it cure slowly for at least 48 hours before demolding. Rapid drying causes shrinkage cracks, so I keep the concrete moist and at a stable temperature during this period. Patience here prevents problems that can’t be fixed later.

Finishing and Sealing Techniques
Once demolded, the real artistry begins. I start with 80-grit diamond pads to remove form marks and even the surface. Progressing through 120, 220, and 400 grits creates increasingly smoother finishes. For a honed look, I stop at 400 grit, while polished surfaces require going up to 1500 or 3000 grit. Water keeps the surface cool during grinding and helps reveal the aggregate pattern.
Staining can enhance the natural variations in the concrete. I use acid stains for dramatic veining effects or water-based stains for more uniform color. After staining, I neutralize the surface and let it dry completely before sealing. The right sealer protects against stains and wear while enhancing the color depth. I prefer penetrating sealers for most countertops, applying multiple thin coats for maximum protection.
Final polishing brings out the concrete’s luster. Using progressively finer polishing pads with a sealant as lubricant creates a gorgeous sheen. For food safety, I make sure all sealants are fully cured before use, typically about 30 days. The finished surface should be smooth to the touch and resistant to water absorption. Regular resealing maintains both beauty and protection for years.
Common Mistakes to Avoid
Through my own errors, I’ve learned what not to do with DIY concrete countertops. Adding too much water is the most common mistake – it weakens the mix and causes shrinkage cracks. I now measure water precisely rather than estimating. Similarly, skipping the fiber reinforcement leads to cracks that could have been prevented with this simple addition.
Improper curing ruins many otherwise good pours. I once rushed the process and ended up with a weak, crumbly surface. Now I maintain proper moisture and temperature for at least seven days. Another pitfall is inadequate form support – concrete is heavy, and any flex in the forms will telegraph to the finished surface. Overbuilding the formwork takes little extra time but prevents major headaches.
Finally, unrealistic expectations about color consistency can lead to disappointment. Concrete is a natural material with inherent variations. Instead of fighting this, I’ve learned to embrace the unique character each pour develops. Small batch-to-batch differences add organic charm rather than appearing as flaws. Understanding these common issues helps prevent frustration and produces better results.
How thick should DIY concrete countertops be?
For most kitchen countertops, I recommend a thickness of 1.5 to 2 inches. This provides adequate strength without being unnecessarily heavy. Thinner sections may require additional reinforcement like wire mesh. Edges can be thickened to 2.5 inches for a more substantial look. The exact thickness depends on your span – longer unsupported sections need more thickness. I’ve found 1.75 inches works well for most residential applications.
Thickness affects both the mix design and form construction. Thicker countertops may use larger aggregate, while thin ones need finer materials. The forms must be built to exact dimensions with proper support underneath. Remember that concrete is heavy – about 150 pounds per cubic foot – so ensure your cabinets can handle the weight. Proper thickness ensures durability without creating structural issues.
Can you use regular concrete mix for countertops?
I strongly advise against using bagged concrete mix from home improvement stores. These contain large aggregates and inconsistent materials unsuitable for countertops. The mix may also include additives that interfere with finishing. Specialty countertop mixes are available, but I prefer custom blending my own for better control over ingredients and performance.
That said, in a pinch, you can modify bagged mix by sifting out large stones and adding fine sand and fibers. The results won’t match a properly designed mix but may work for small projects. For anything more than a test piece, investing in quality materials pays off in appearance and longevity. The small savings from using inferior mix isn’t worth potential cracking or poor finish quality.
How long do DIY concrete countertops last?
Properly made and maintained concrete countertops can last decades. My earliest ones are over 15 years old and still look great with occasional resealing. The key factors are quality initial construction, proper sealing, and reasonable care. Avoiding direct impact, extreme heat, and harsh cleaners extends their lifespan significantly.
Compared to natural stone, concrete may show more wear over time but can be refinished. Light scratches can be polished out, and stains can often be removed with poultices. When the surface eventually becomes too worn, a complete refinish with new grinding and sealing can make it look new again. With this maintenance, concrete countertops often outlast the kitchens they’re installed in.
Is sealing necessary for concrete countertops?
Sealing is absolutely essential for concrete countertops. Unsealed concrete will stain immediately from common kitchen substances like coffee, oil, and wine. I use penetrating sealers that soak into the surface rather than creating a topical film. These need reapplying every 1-3 years depending on use. The sealer fills the concrete’s pores to prevent liquid absorption while allowing vapor transmission.
For maximum protection, I often add a wax topcoat over the sealer in high-use areas. This provides an extra barrier against stains and makes cleaning easier. Not all sealers are food-safe, so I carefully check product specifications. Proper sealing transforms concrete from a porous material to a practical kitchen surface that resists both stains and bacterial growth.
How much weight can concrete countertops support?
Properly reinforced concrete countertops are extremely strong. The compressive strength of my typical mix exceeds 4,000 psi – far more than needed for normal kitchen use. They can easily support heavy appliances like stand mixers or even someone standing on them (though I don’t recommend testing this). The limiting factor is usually the cabinet structure underneath rather than the countertop itself.
The real strength consideration is tensile strength – resistance to bending or twisting forces. This is why reinforcement with fibers or rebar is crucial, especially for longer spans. With proper reinforcement, concrete countertops won’t crack under normal use. I’ve installed them in commercial kitchens where they withstand daily heavy use without issues. The material’s inherent strength is one of its greatest advantages.
Can you repair cracks in concrete countertops?
Small hairline cracks can often be repaired effectively. I use a cement-based patching compound mixed with matching pigment for invisible repairs. For larger cracks, I may need to rout out the area slightly before filling to ensure good adhesion. The key is addressing cracks early before they widen or allow moisture penetration.
Some cracks are cosmetic only, while others indicate structural issues. If cracks reappear after repair or show significant movement, the countertop may need reinforcement or replacement. Prevention through proper mix design, reinforcement, and installation techniques is always better than repair. That said, concrete’s reparability is one advantage over materials like stone that often require complete replacement when damaged.
How to Build a Concrete Countertop

Related articles:
- Outdoor Concrete Countertops
- How To Make Concrete Countertops Smooth
- Rustic Concrete Countertops
- Farmhouse Concrete Countertops
- Concrete Countertops Outdoor Kitchen
- How To Stain Concrete Countertops
- DIY Concrete Countertop Mix
- Concrete Countertops Made Easy
- Concrete Countertop Overlay
- Black Concrete Countertops