When I decided to build an outdoor kitchen three years ago, I knew I wanted something durable enough to withstand our harsh winters and blazing summers, yet beautiful enough to impress dinner guests. After researching granite, tile, and stainless steel options, I kept coming back to concrete countertops for their versatility, durability, and the fact that I could customize them exactly to my vision. The project turned out to be one of the most challenging yet rewarding DIY endeavors I’ve ever tackled. Now, after three seasons of heavy use, I can honestly say these concrete countertops have exceeded every expectation and become the centerpiece of our outdoor entertaining space.
Planning and Design: Getting the Vision Right
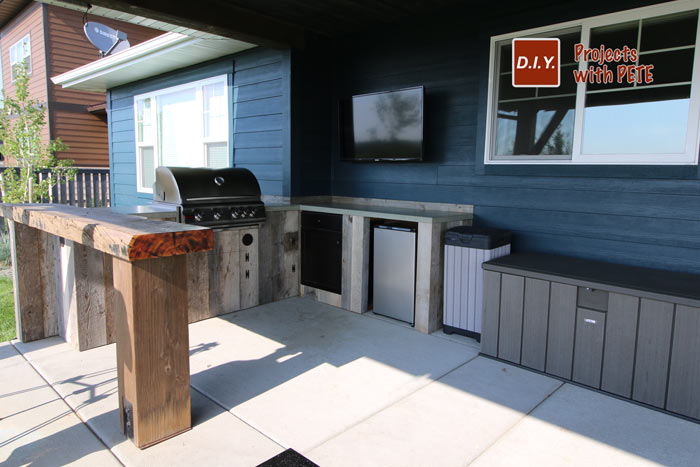
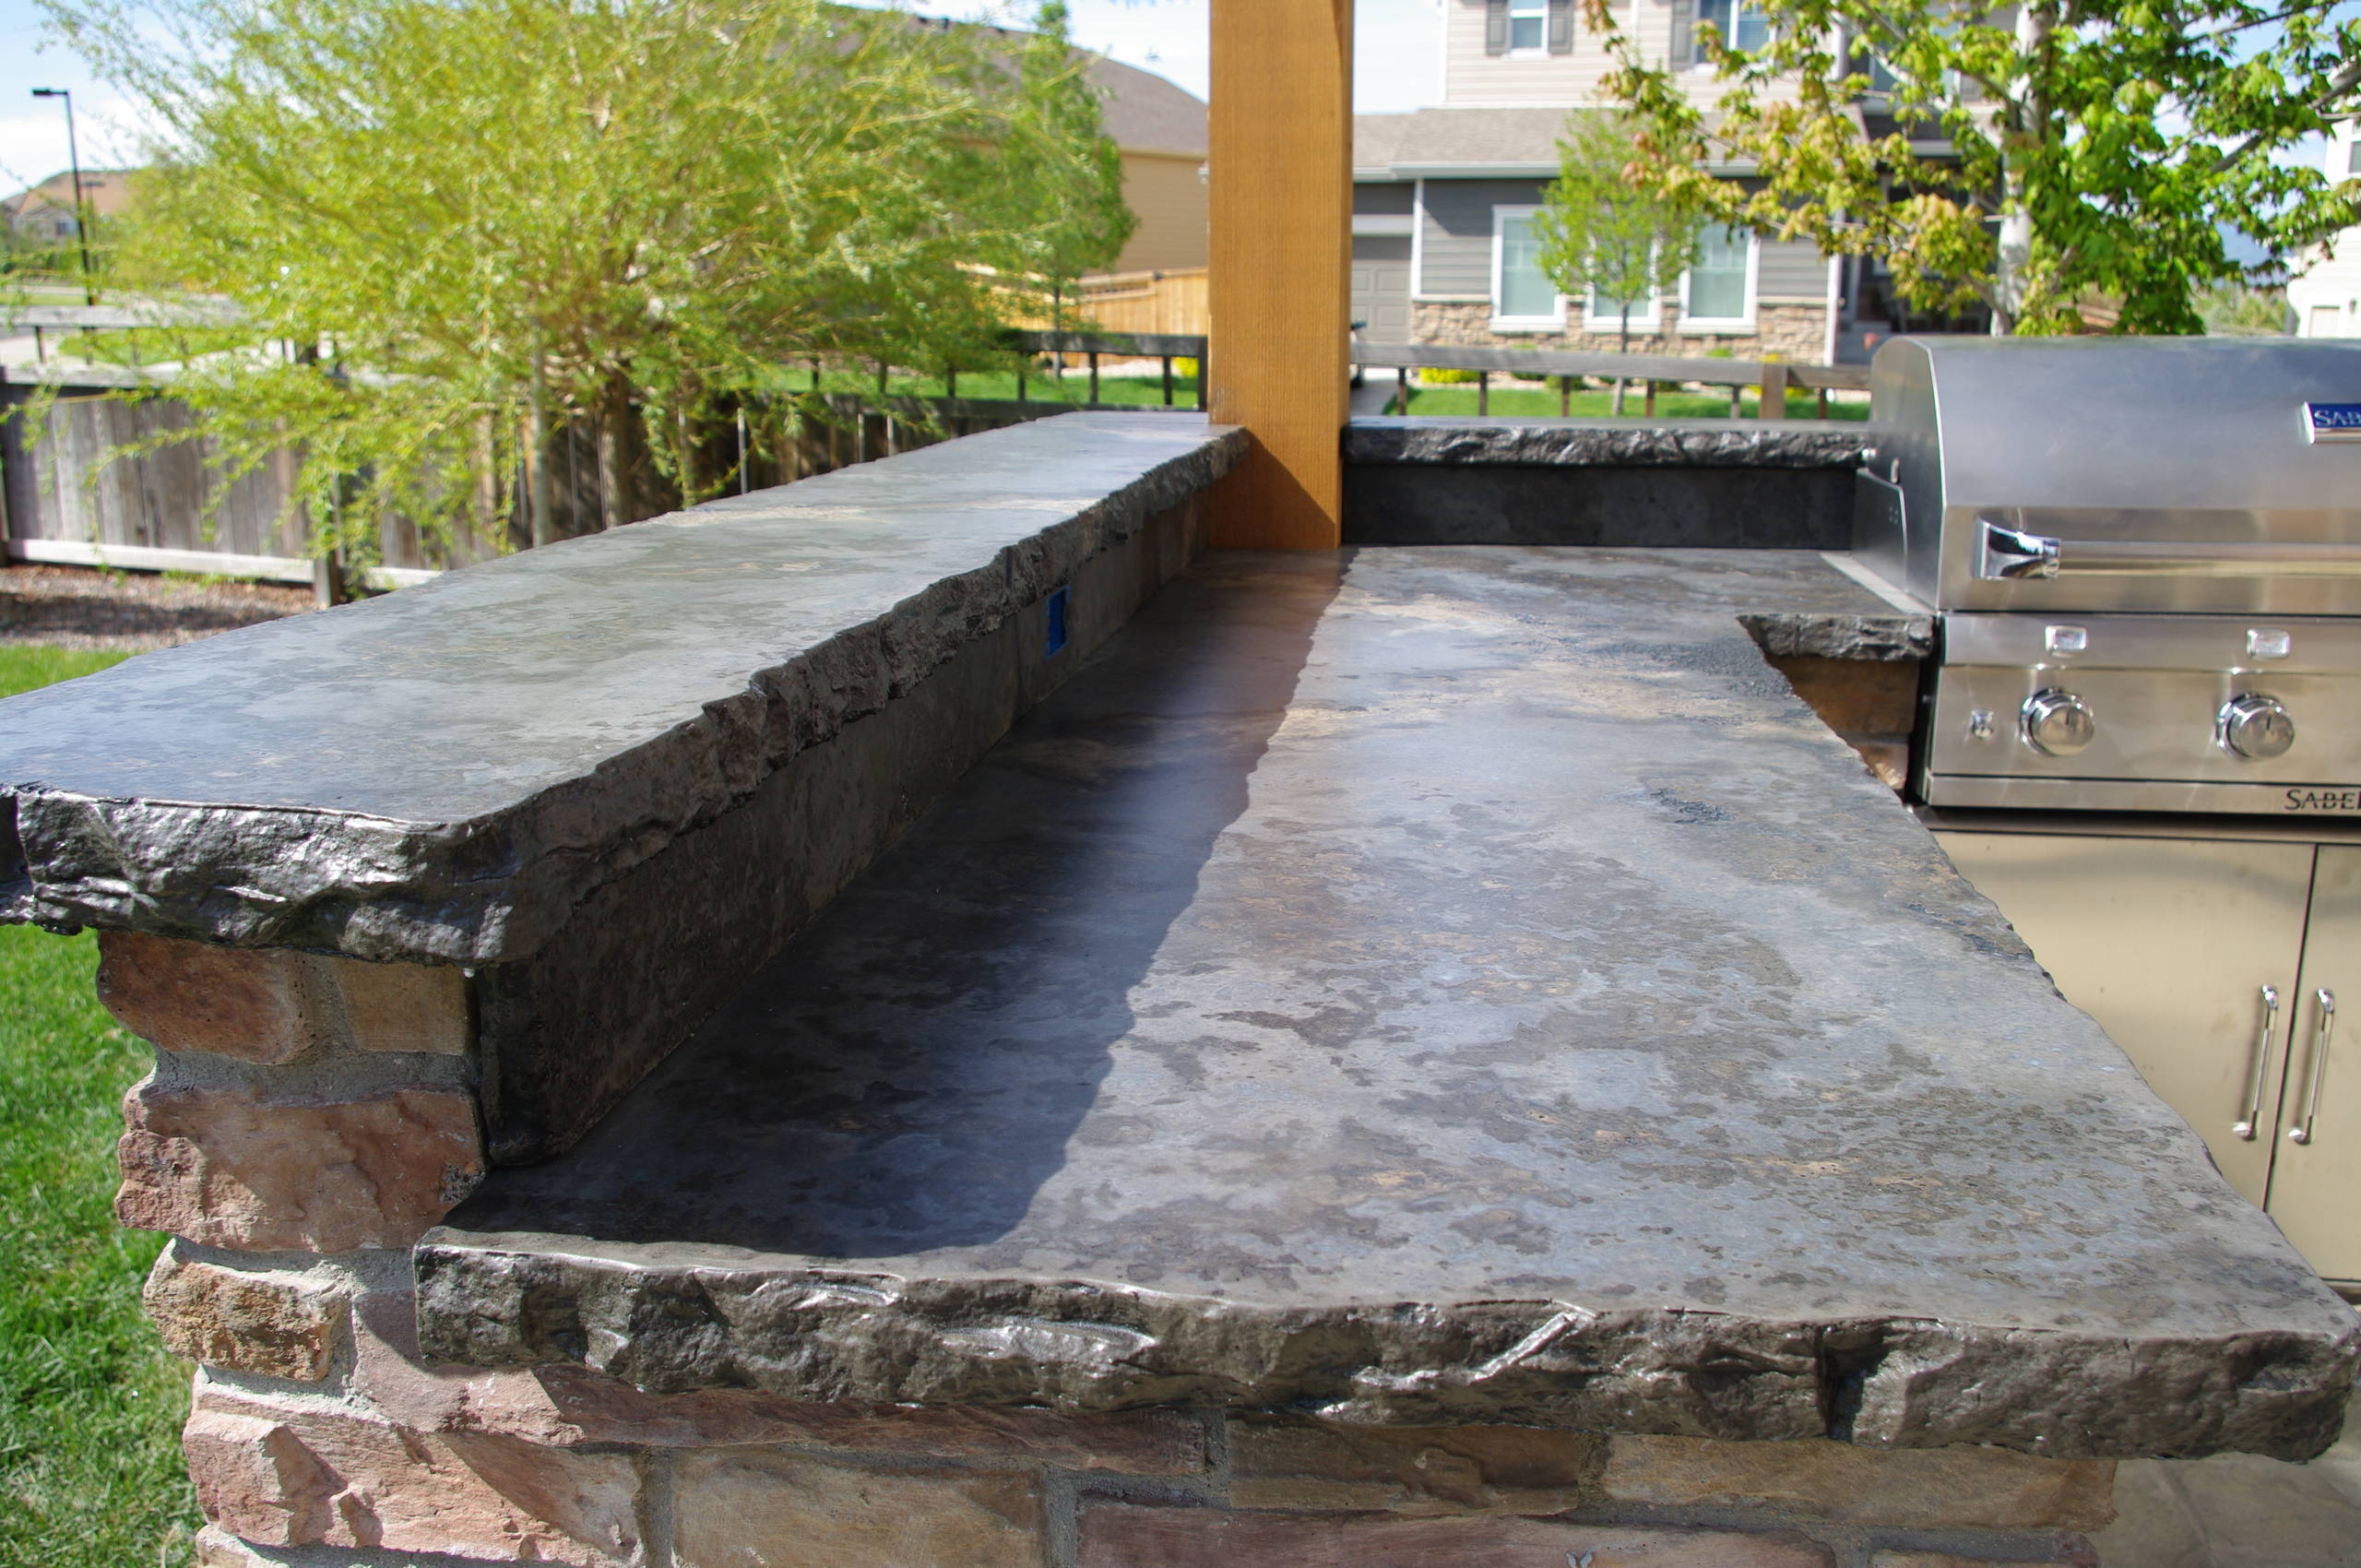
My outdoor kitchen design process started with understanding exactly how we use our backyard space. I spent weeks observing traffic patterns during barbecues and family gatherings, noting where people naturally congregated and what activities happened where. This analysis led me to design an L-shaped counter configuration with a dedicated prep area, built-in cooler space, and a large serving section that could double as a buffet during parties.
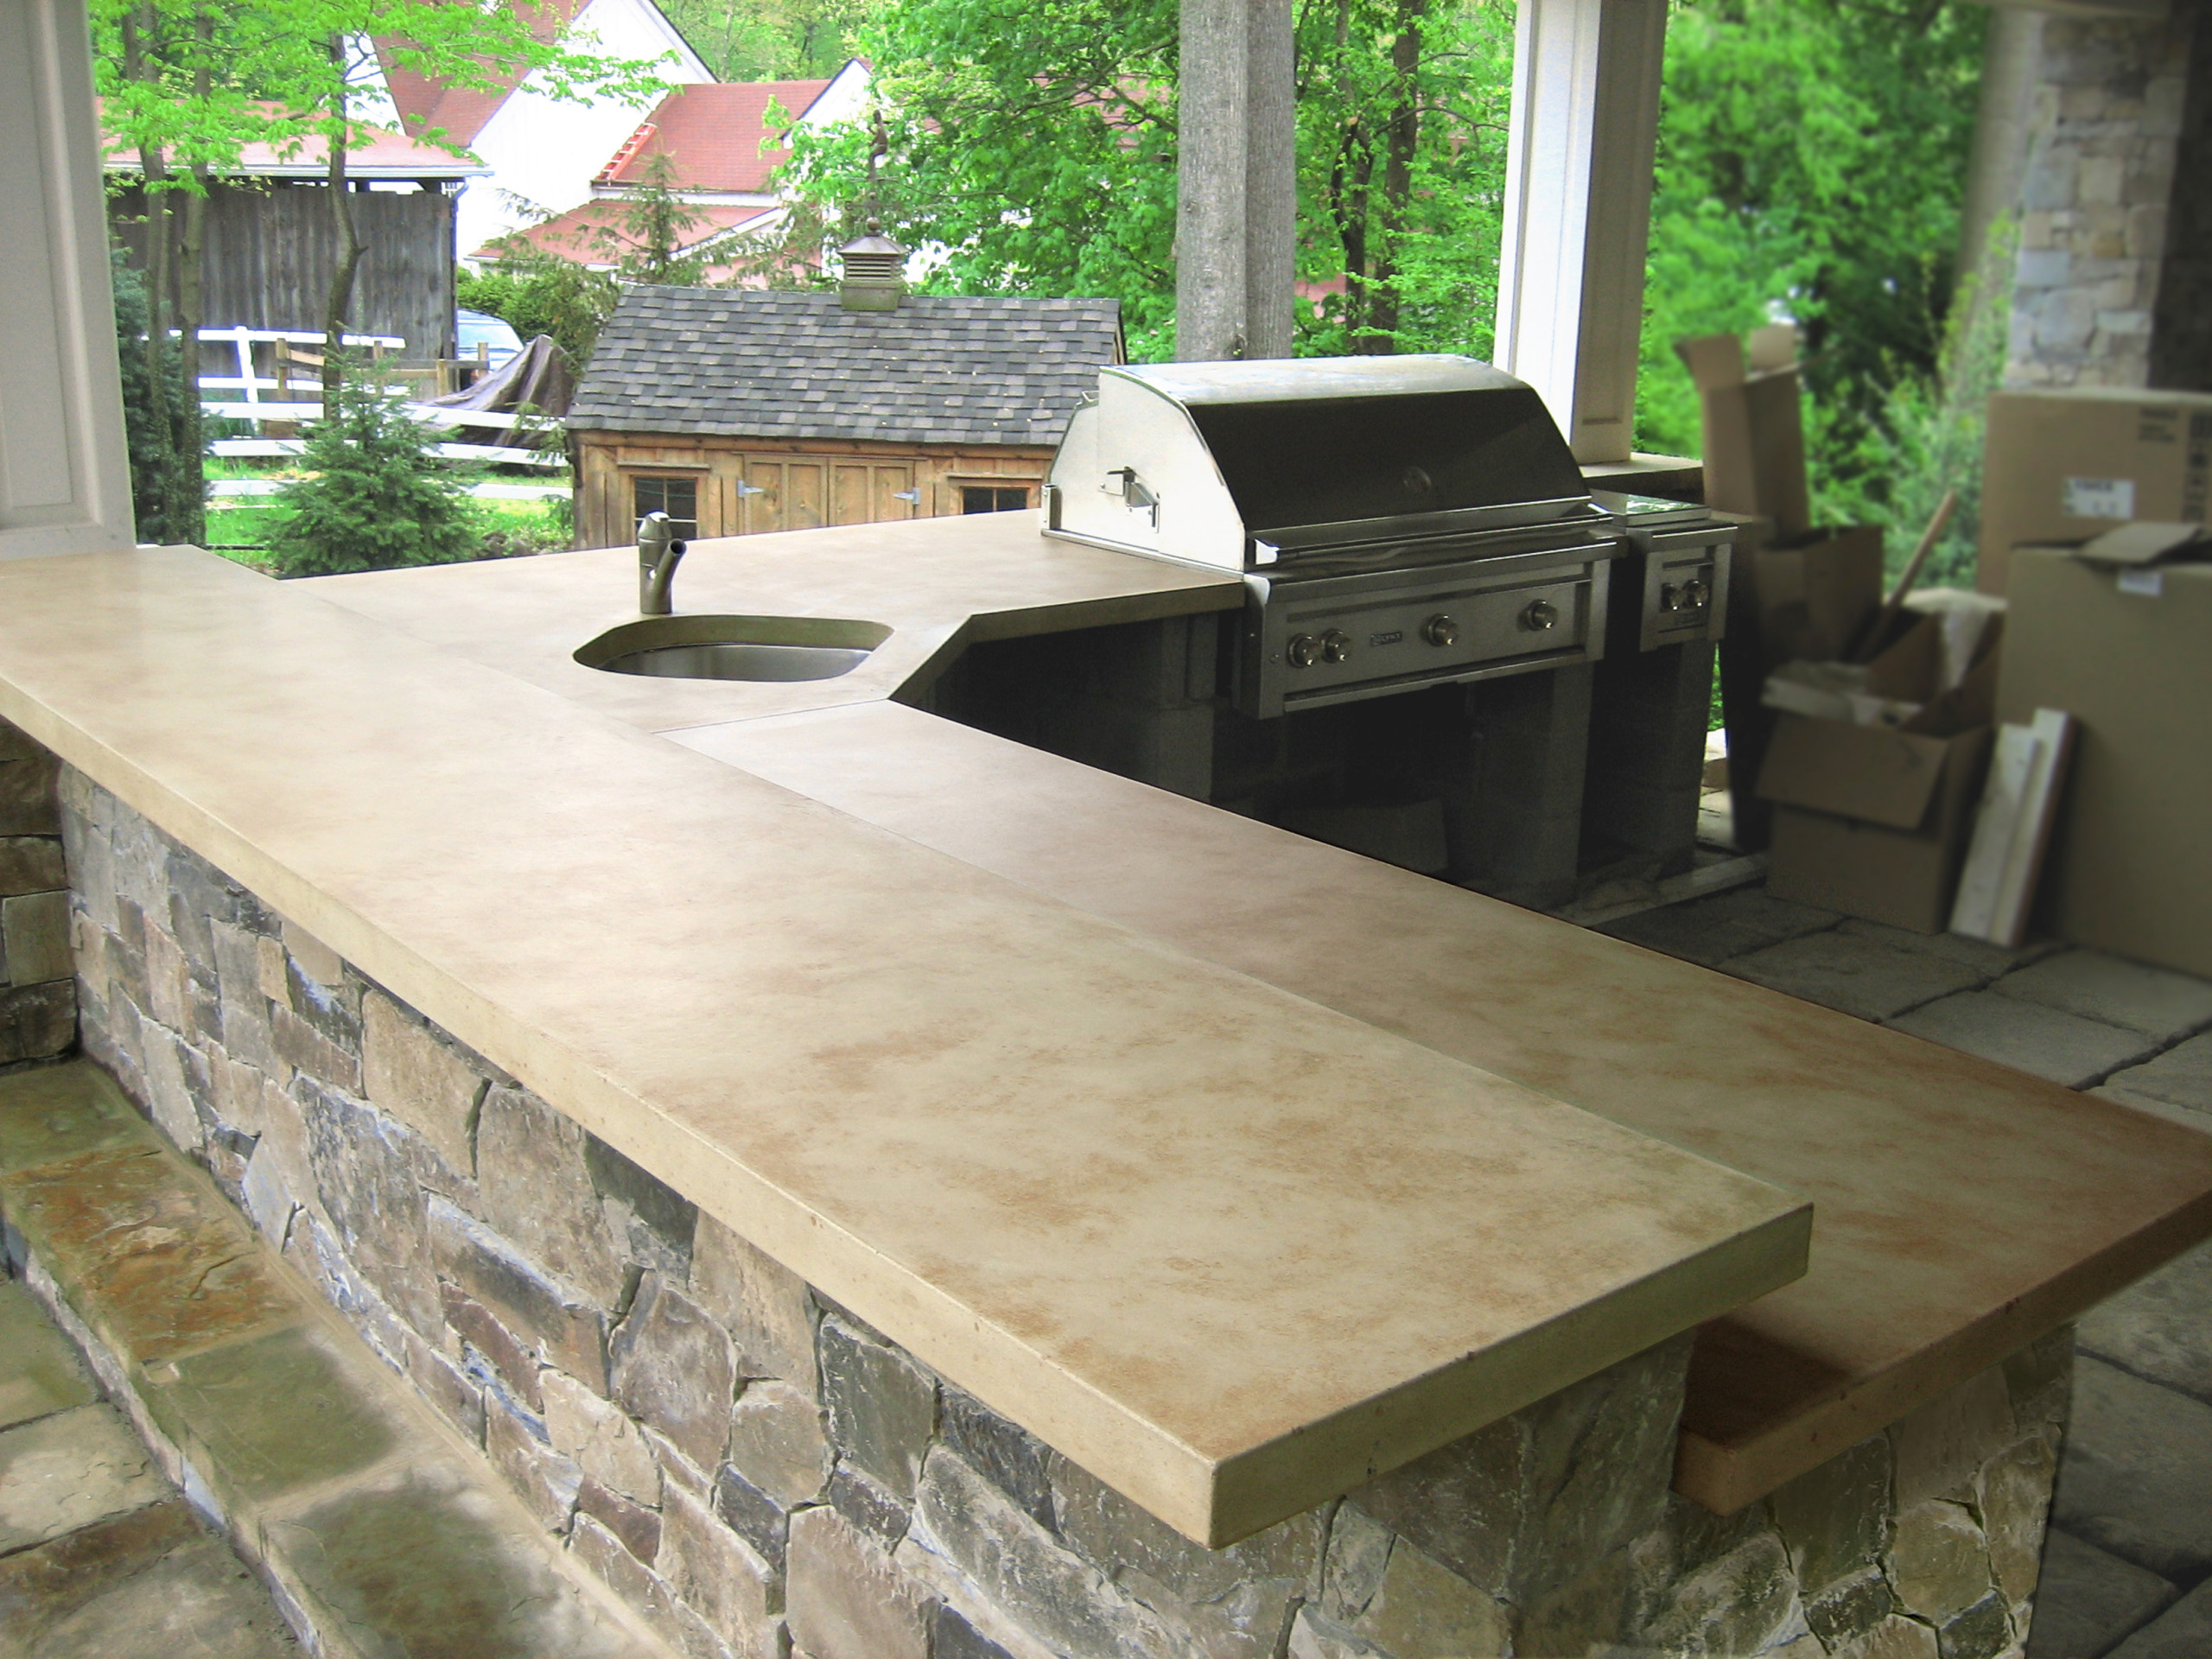
The concrete countertop design incorporated several custom features that would have been impossible or extremely expensive with other materials. I planned integrated drainboards around the sink area, custom-shaped edges that follow the curved lines of our stone patio, and built-in trivets for hot pots and pans. I also designed recessed areas for cutting boards and serving trays, creating a completely customized workspace that fits our cooking style perfectly.
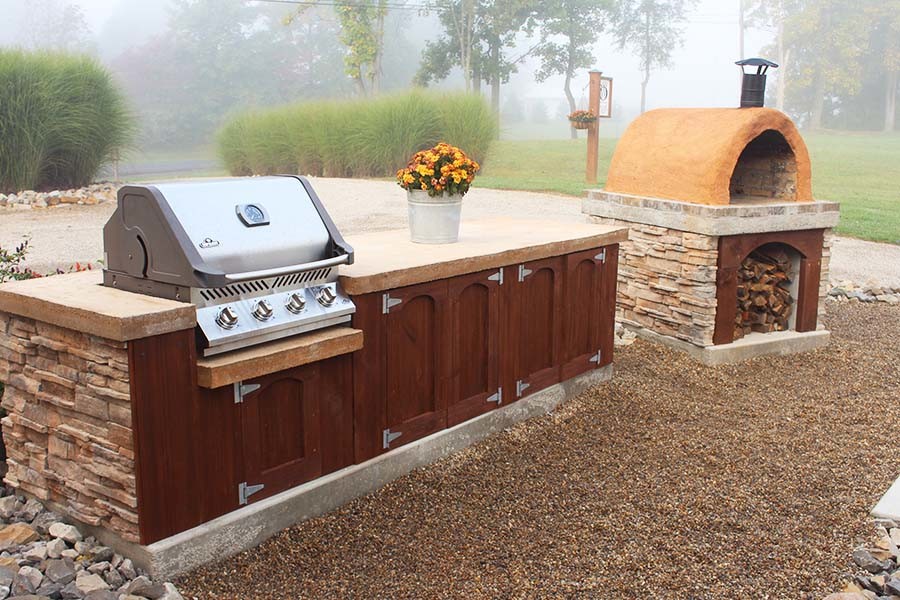
Choosing the right concrete mix and color scheme required extensive research and sample testing. I wanted a warm, natural look that would complement our stone patio and brick outdoor fireplace. After making dozens of small test samples with different aggregates, pigments, and finishing techniques, I settled on a warm gray base with exposed river rock aggregate and subtle earth-tone color variations that mimic natural stone.
Construction Process: Learning Through Trial and Error
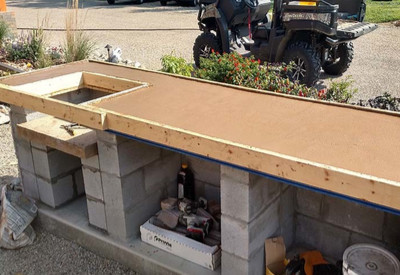
Building the forms for my concrete countertops was more complex than I anticipated, requiring precision carpentry skills I had to develop along the way. I used melamine-faced particleboard for smooth surfaces and spent days perfecting the curves and angles. The key lesson I learned was that any imperfection in the forms shows up dramatically in the finished concrete, so patience during this phase pays huge dividends later.
The concrete mixing and pouring process required careful coordination and helper friends with strong backs. I chose a high-performance concrete mix designed for countertops, adding fiber reinforcement and carefully controlling the water content for optimal strength and workability. The pour had to be completed in sections due to the size of my countertops, requiring careful planning to avoid visible seams between pours.
Vibrating and finishing the concrete required techniques I’d never used before. I rented a concrete vibrator to eliminate air bubbles and achieve a dense, smooth surface. The timing was critical; too much vibration brought too much water to the surface, while too little left voids and weak spots. I learned to recognize the perfect moment when the concrete surface became smooth and creamy, ready for final troweling.
Reinforcement and Durability: Building for the Long Haul
Understanding that outdoor countertops face extreme weather conditions, I invested heavily in reinforcement and structural support. I used a combination of rebar grid and fiberglass mesh reinforcement, creating a matrix that prevents cracking even during freeze-thaw cycles. The rebar was positioned carefully to avoid interference with planned cutouts for sinks and cooler inserts while providing maximum structural integrity.
The support structure beneath the countertops required engineering beyond typical indoor applications. I built a framework of steel tubing welded into a rigid grid, then attached cement backer board as a substrate. This system distributes weight evenly and prevents flexing that could crack the concrete. I also incorporated expansion joints at strategic locations to accommodate seasonal movement without visible damage.
Weather protection became a crucial consideration that indoor countertops never face. I sealed the concrete with multiple coats of penetrating sealer designed for outdoor use, followed by a topical sealer that provides additional water resistance and UV protection. I also designed subtle slopes toward drainage areas to prevent water pooling, especially important around the sink and prep areas, where standing water could cause problems.
Finishing Techniques: Achieving Professional Results
The finishing process transformed my raw concrete slabs into beautiful, functional countertops that look like expensive natural stone. I started with diamond grinding pads, working through progressively finer grits to achieve the exact surface texture I wanted. This process took several days of patient work, but the results were worth every hour of effort. The grinding revealed the beautiful aggregate patterns I’d carefully planned into the mix.
Polishing concrete requires understanding how different techniques affect both appearance and durability. I experimented with various compounds and polishing speeds on test samples before working on the actual countertops. The key was achieving consistent results across large surfaces while avoiding swirl marks or uneven glossiness. I discovered that working in overlapping patterns and maintaining consistent pressure produced the most professional-looking results.
The final sealing process involved multiple products applied in specific sequences for optimal protection and appearance. I used a penetrating sealer that soaks deep into the concrete pores, followed by a topical sealer that provides the final protective layer and desired sheen level. Between coats, I lightly sanded with fine paper to ensure proper adhesion, a step that many DIYers skip but is crucial for long-term durability.

Integration with Outdoor Elements: Making It All Work Together
Connecting the concrete countertops with other outdoor kitchen elements required careful planning and custom fabrication. The sink cutout was particularly challenging, requiring precise measurements and diamond blade cutting to achieve clean, straight edges. I reinforced the cutout area with additional steel mesh and used special adhesives designed for outdoor applications to secure the undermount sink.
Installing built-in appliances like the cooler and side burner required creating custom openings during the concrete pour rather than cutting them later. I used cardboard forms wrapped in plastic to create perfect-fitting recesses, removing them while the concrete was still workable. This technique produced much cleaner results than trying to cut openings in cured concrete, though it required precise planning and execution timing.
The integration with existing stone and brick elements required matching textures and colors as closely as possible. I used concrete stain to adjust color tones after curing, blending the countertops seamlessly with the surrounding materials. I also created transition pieces where the concrete meets other surfaces, using the same concrete mix to ensure perfect color and texture matching throughout the entire outdoor kitchen area.

Maintenance and Seasonal Care: Keeping Them Beautiful
Three years of outdoor exposure have taught me exactly what maintenance concrete countertops require in my climate. I reseal the surfaces annually before winter, using the same penetrating and topical sealers I applied originally. This yearly maintenance takes only a weekend but provides crucial protection against freeze-thaw damage and UV degradation. I’ve found that consistent maintenance prevents major problems that would be expensive to repair.
Cleaning outdoor concrete countertops requires different approaches than indoor surfaces. I avoid harsh chemicals that could damage the sealers, instead using mild dish soap and plenty of water for regular cleaning. For stubborn stains from barbecue sauce or wine spills, I use a poultice technique with baking soda that draws stains out without damaging the concrete surface. I’ve learned that immediate cleanup prevents most staining issues.
Winter protection in our climate involves more than just sealing. I cover the countertops with fitted tarps during the harshest weather to prevent ice accumulation and reduce freeze-thaw cycling. I also avoid using ice-melting chemicals anywhere near the concrete, as these can penetrate sealers and cause interior damage. These precautions have kept my countertops looking perfect through three challenging winters.
Cost Analysis and Long-Term Value: Was It Worth It?
The total cost of my concrete countertop project came to about $1,200 for 25 square feet, including all materials, tools, and sealing products. This compared very favorably to quotes I received for granite ($3,500) or engineered quartz ($4,200) in similar configurations. The labor savings were significant, though I invested considerable time learning techniques and perfecting the installation over several weekends.
The customization possibilities with concrete provided value that couldn’t be quantified in simple cost comparisons. The integrated drainboards, custom curves, and built-in trivets would have added thousands to the cost with traditional materials, if they were even possible to achieve. The ability to create exactly the countertops I envisioned, rather than choosing from standard options, justified the effort investment many times over.
Long-term value has proven excellent, with the countertops still looking beautiful after heavy use in all weather conditions. Friends who installed granite outdoor countertops have experienced cracking and staining issues that my concrete surfaces haven’t shown. The annual maintenance requirement is minimal compared to the durability and continued beauty these countertops provide. I estimate they’ll easily last 20+ years with proper care, making them an excellent long-term investment.

How do concrete countertops hold up to outdoor weather extremes?
Excellent in my experience through three harsh winters. Proper reinforcement, sealing, and annual maintenance prevent freeze-thaw damage. The key is using outdoor-specific concrete mixes and sealers. I’ve had no cracking or significant wear despite temperature swings from -10°F to 95°F in my climate.
What’s the realistic total cost for DIY concrete countertops compared to other materials?
I spent about $50/sq ft, including materials, tools, and sealers for a high-end finish. Professional granite was quoted at $140/sq ft, quartz at $170/sq ft. Even hiring professionals for concrete runs $80-100/sq ft. The savings are substantial, especially for custom shapes and integrated features.

How difficult is the DIY process for someone with basic skills?
Challenging but achievable with patience and research. The forming and pouring require precision carpentry and concrete experience. I spent weeks practicing techniques on samples first. Plan for a learning curve and consider hiring pros for complex areas like sink cutouts if you’re uncomfortable with precision cutting.
Do concrete countertops stain easily from barbecue sauce and outdoor cooking?
With proper sealing, staining isn’t a major issue. I clean spills promptly and haven’t had permanent stains in three years of heavy use. The key is quality sealers reapplied annually. Red wine and tomato-based sauces are the biggest challenges, but even these clean up well with immediate attention.

What maintenance is actually required to keep them looking good?
Annual resealing takes one weekend and costs about $100 in materials. Regular cleaning with mild soap, immediate spill cleanup, and winter covering during harsh weather. It’s less maintenance than I expected, and much less than the wooden deck countertops I replaced, which needed constant refinishing.
Can concrete countertops handle hot pots and pans directly from the grill?
Yes, but I use the integrated trivets I built in for very hot items. Concrete handles heat well, but sudden temperature changes can cause thermal shock. I routinely place warm pots directly on the surface without problems, but use trivets for anything over 400°F as a precaution.
Related articles:
- Outdoor Concrete Countertops
- How To Make Concrete Countertops Smooth
- Rustic Concrete Countertops
- Farmhouse Concrete Countertops
- Concrete Countertops Outdoor Kitchen
- How To Stain Concrete Countertops
- DIY Concrete Countertop Mix
- Concrete Countertops Made Easy
- Concrete Countertop Overlay
- Black Concrete Countertops