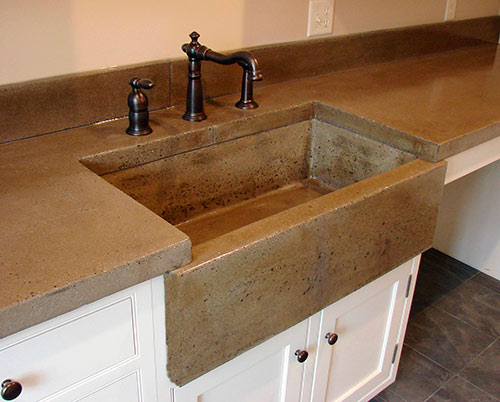
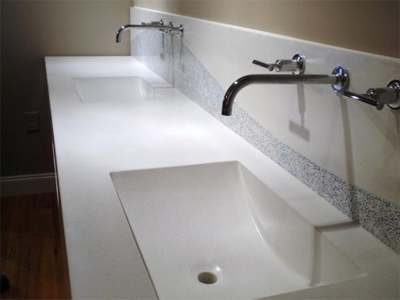
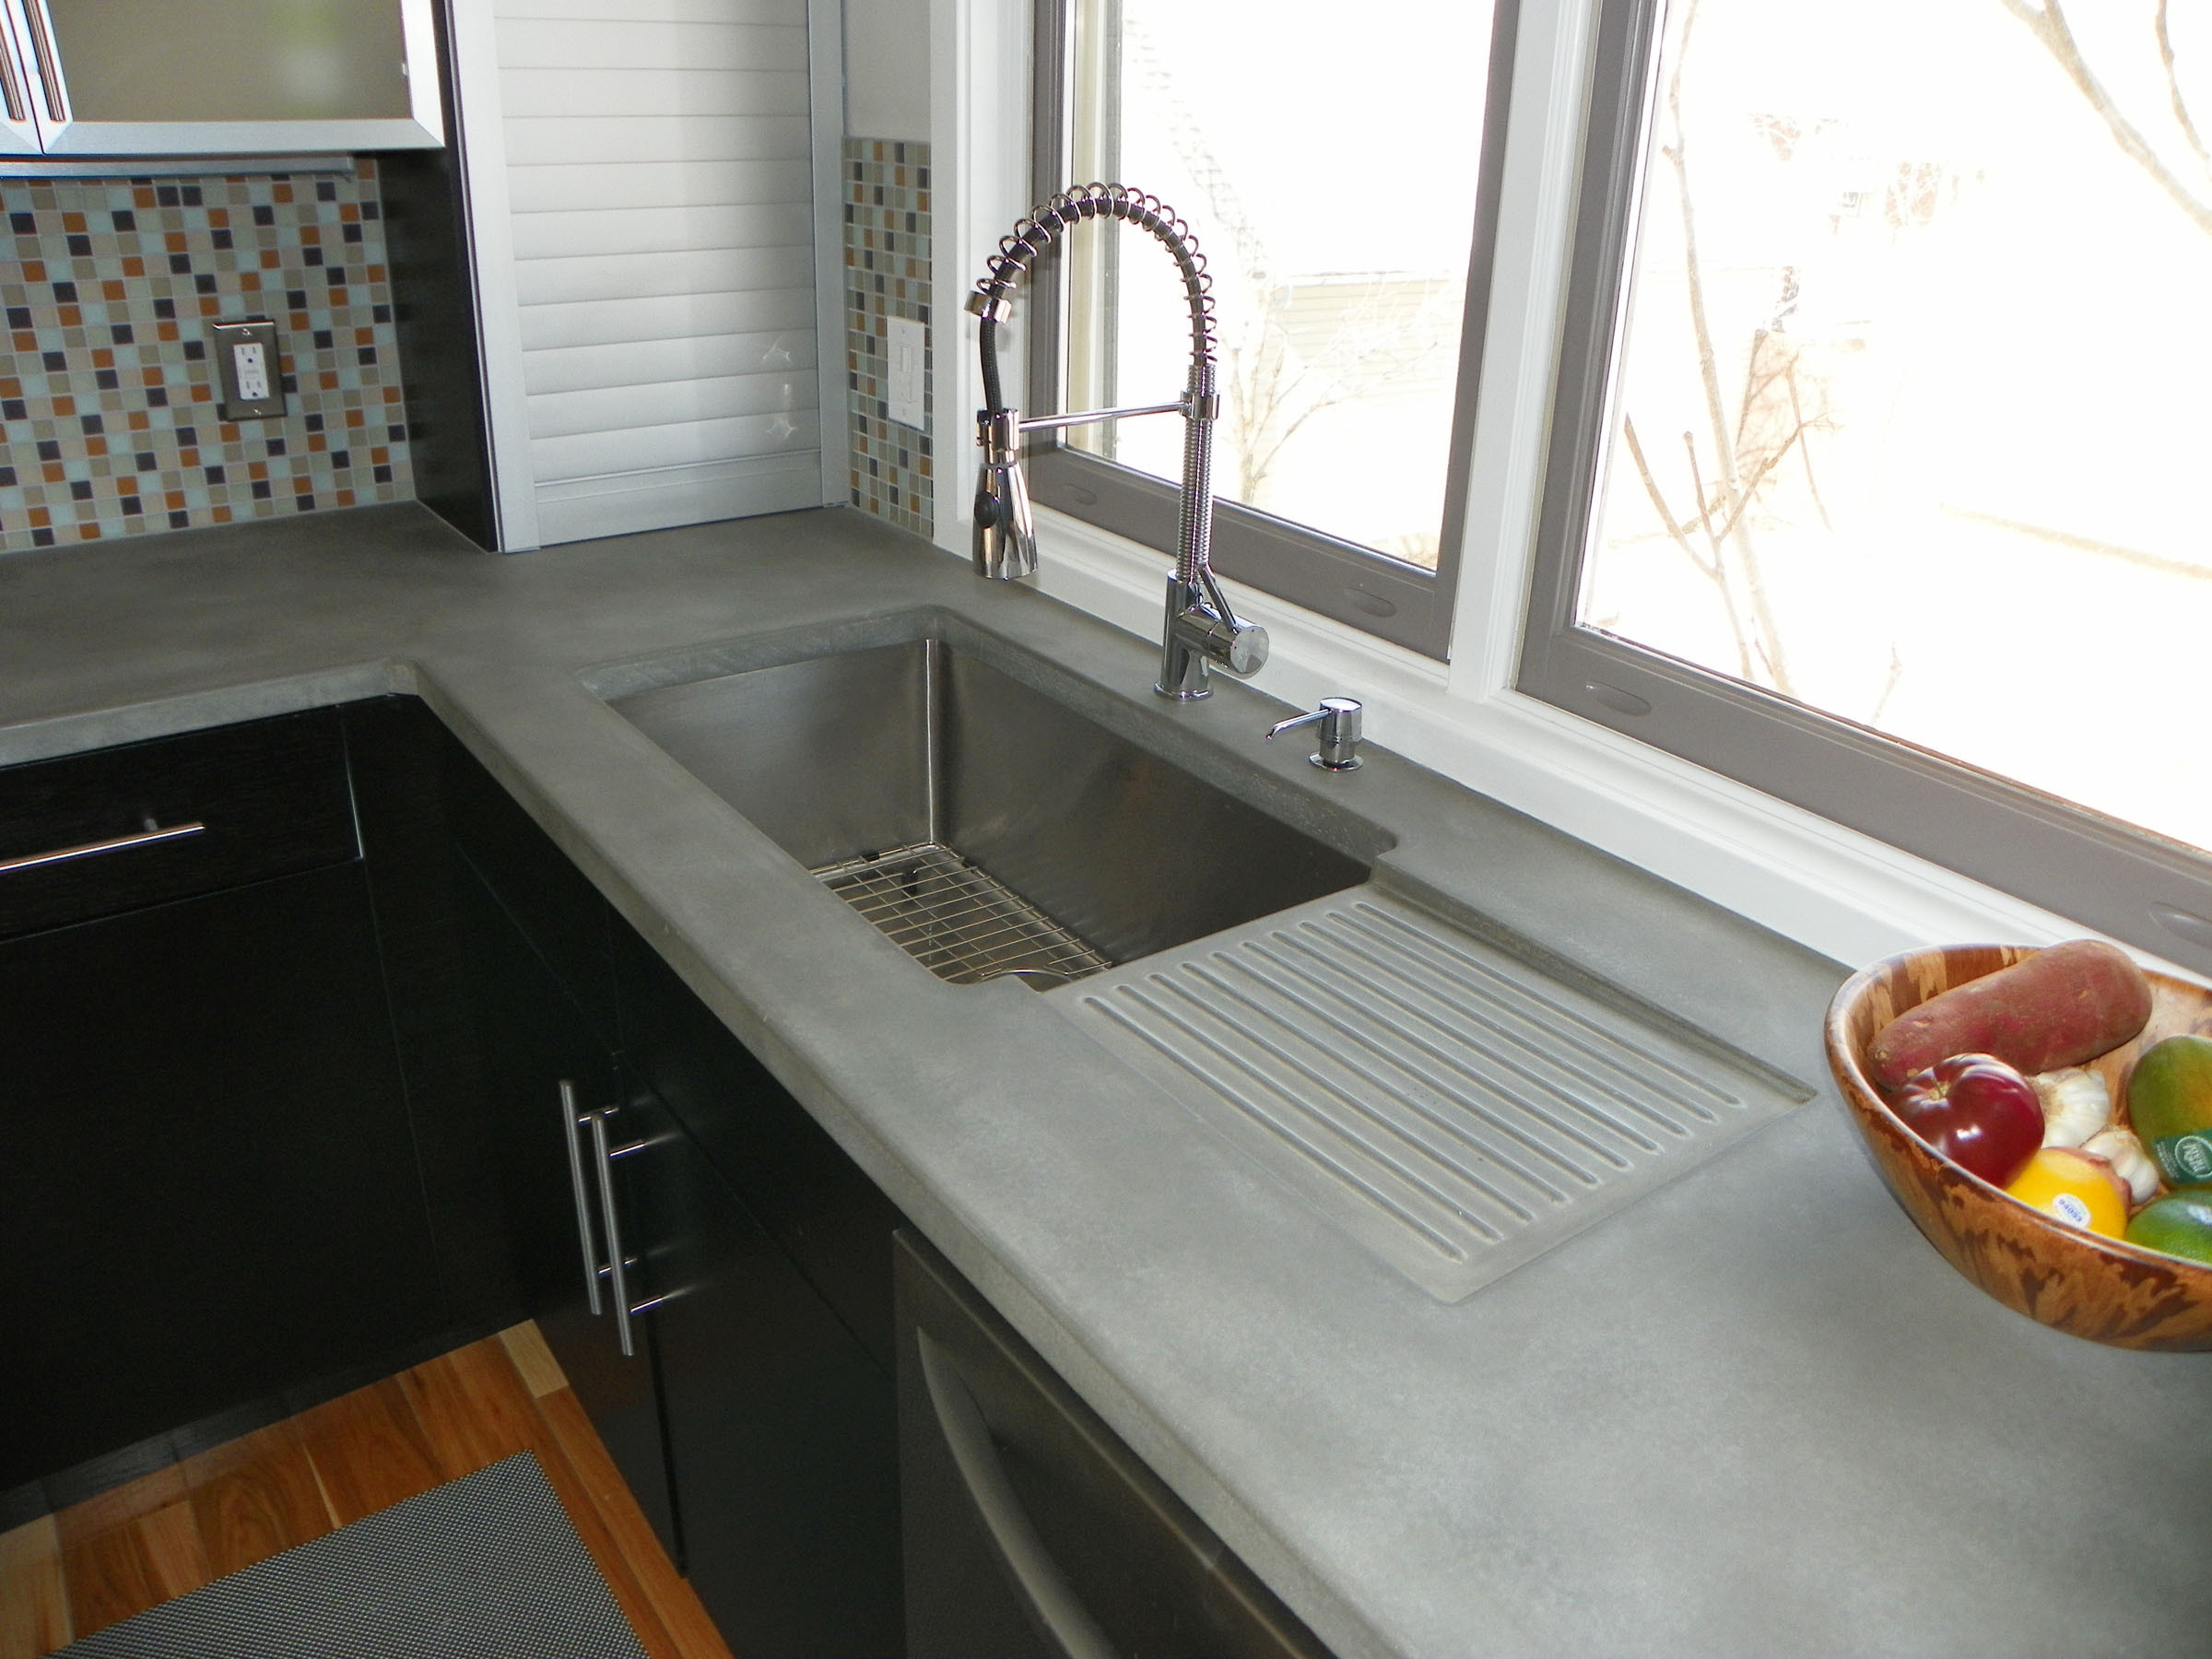
Creating a concrete countertop and sink in a single pour is a challenging but rewarding DIY project that offers a seamless and cohesive design. This approach eliminates the need for a separate sink installation, resulting in a modern and integrated look. The process begins with meticulous planning and precise measurements to ensure that the countertop and sink fit seamlessly into the designated space. Attention to detail during this phase is crucial for achieving a professional and polished outcome.
The choice of concrete mix is a critical consideration in this project. Opting for a high-quality concrete mix, preferably one designed specifically for countertops, ensures the durability and strength needed for both the countertop and the sink. Reinforcement fibers can be added to the mix to enhance the structural integrity of the concrete, making it more resistant to cracks and damage over time.
Constructing a sturdy mold is the next step in the process. The mold should be designed to accommodate both the countertop and sink dimensions. Melamine or other smooth materials are commonly used for constructing molds as they provide a clean and easily demolded surface. Ensuring a tight seal on the mold is essential to prevent any leaks during the pouring process.
The pouring of the concrete is a critical phase that requires precision and a steady hand. It’s crucial to pour the concrete evenly throughout the mold, avoiding air pockets and ensuring that the mix reaches all corners. Integrating the sink form into the wet concrete at this stage is a key aspect of the process. The sink form is positioned according to the design, creating a seamless transition between the countertop and the sink basin.

The curing process follows the concrete pour, allowing sufficient time for the material to set and gain strength. Patience during this stage is paramount for the long-term durability of the countertop and sink. Once the concrete has cured, the demolding process begins. This step requires care and attention to detail to prevent any damage to the finished surface. Gently removing the mold reveals the integrated countertop and sink in its raw form.
Refining the surface through grinding and polishing is the next phase in achieving a smooth and professional finish. Diamond pads with varying grit levels are used to gradually refine the concrete surface, starting with coarse grit and progressing to finer grits for a polished look. The polishing process not only enhances the aesthetic appeal but also contributes to the overall durability of the countertop and sink.
Sealing the concrete is a critical step that protects the surface from stains and enhances its longevity. A high-quality concrete sealer, suitable for countertops, is applied following the manufacturer’s instructions. This final touch adds a layer of protection and contributes to the easy maintenance of the integrated countertop and sink.

The integrated design of a concrete countertop and sink offers a modern and streamlined appearance, making it a popular choice for contemporary kitchens and bathrooms. The absence of seams and joints not only enhances the visual appeal but also simplifies cleaning and maintenance. The seamless integration of the sink and countertop creates a cohesive and visually striking centerpiece in the space.
Personalization is a significant advantage of this DIY project. Homeowners can experiment with different shapes, sizes, and designs for both the countertop and sink. Adding unique elements such as embedded objects or custom patterns allows for a truly one-of-a-kind creation. The versatility of concrete as a material facilitates creative expression, turning the countertop and sink into functional works of art.
While creating a concrete countertop and sink in a single pour is a rewarding DIY endeavor, it comes with its set of challenges. Working with concrete demands precision, and unexpected issues such as air bubbles or uneven curing may arise. A meticulous approach and problem-solving mindset are crucial for navigating these challenges and ensuring a successful outcome.
Engaging with online communities and forums can provide valuable insights and tips from experienced DIY enthusiasts who have undertaken similar projects. Learning from the experiences of others can offer practical advice and solutions to common challenges, making the journey of creating an integrated concrete countertop and sink more enjoyable and successful.
The process of pouring a concrete countertop and sink in a single pour involves careful planning, precise execution, and attention to detail. From the choice of concrete mix to the demolding and refining stages, each step contributes to the creation of a seamless and integrated design. The versatility of concrete allows for personalization, turning the countertop and sink into unique focal points in any kitchen or bathroom. While challenges may arise, the sense of accomplishment and the distinctive result make this DIY project a worthwhile and satisfying undertaking.
Concrete Countertop Integral Rectangle Sink Mold

Just the thought of using the identical thing that sidewalks and streets are made of to create a countertop seems odd. All too often, countertops are anticipated, and this’s just due to the options we have been contained in previous years, to be basically, flat, and simple boring. One of the better materials for any countertop is concrete. Overtime you may notice small cracks.
Concrete Countertops: Itu0027s time to Give Your Personal Touch!

Kitchen Concrete Countertop Houzz

Making a Concrete Countertop with Concrete Sink

DIY Concrete Countertop With Sink Openings Pneumatic Addict

Related articles:
- Outdoor Concrete Countertops
- How To Make Concrete Countertops Smooth
- Rustic Concrete Countertops
- Farmhouse Concrete Countertops
- Concrete Countertops Outdoor Kitchen
- How To Stain Concrete Countertops
- DIY Concrete Countertop Mix
- Concrete Countertops Made Easy
- Concrete Countertop Overlay
- Black Concrete Countertops