Making concrete countertop molds is a crucial step in the process of creating custom concrete countertops for your kitchen or bathroom. These molds serve as the template for shaping and casting the concrete, allowing you to achieve the desired size, shape, and design of your countertops. Here’s what you need to know about making concrete countertop molds:
Material Selection: Choose a suitable material for constructing the molds, such as melamine, plywood, or plastic. Melamine is a popular choice for its smooth surface and ease of release, while plywood offers durability and stability. Plastic molds are lightweight and flexible, making them easy to work with and reuse for multiple projects.
Design Considerations: Consider the design and dimensions of your concrete countertops when making the molds. Measure the dimensions of your existing countertops or the space where the new countertops will be installed to ensure a proper fit. Decide on the shape, thickness, and edge profile of the countertops, as these factors will influence the design of the molds.
Creating Templates: Before making the molds, create templates or templates for the countertops using cardboard, foam board, or other lightweight materials. These templates will serve as guides for cutting and shaping the molds accurately and precisely.
Cutting the Material: Once you have your templates, use them to trace and cut the material for the molds. Use a saw, jigsaw, or circular saw to cut the material to the desired size and shape, ensuring clean and straight edges for a precise fit.
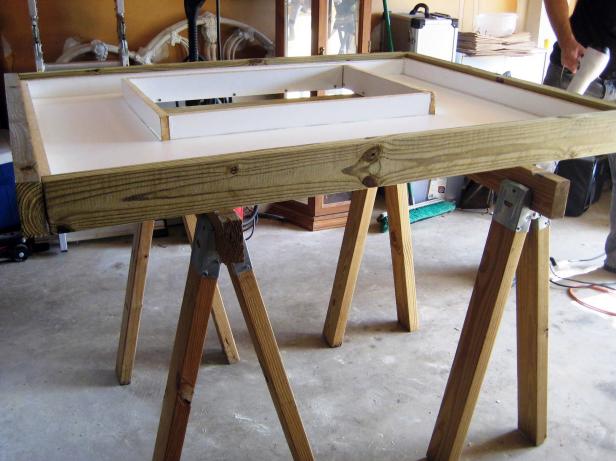
Assembling the Molds: Assemble the cut pieces of the material to form the molds, securing them together with screws, nails, or clamps. Ensure that the seams are tight and flush to prevent leakage or seepage of the concrete during casting.
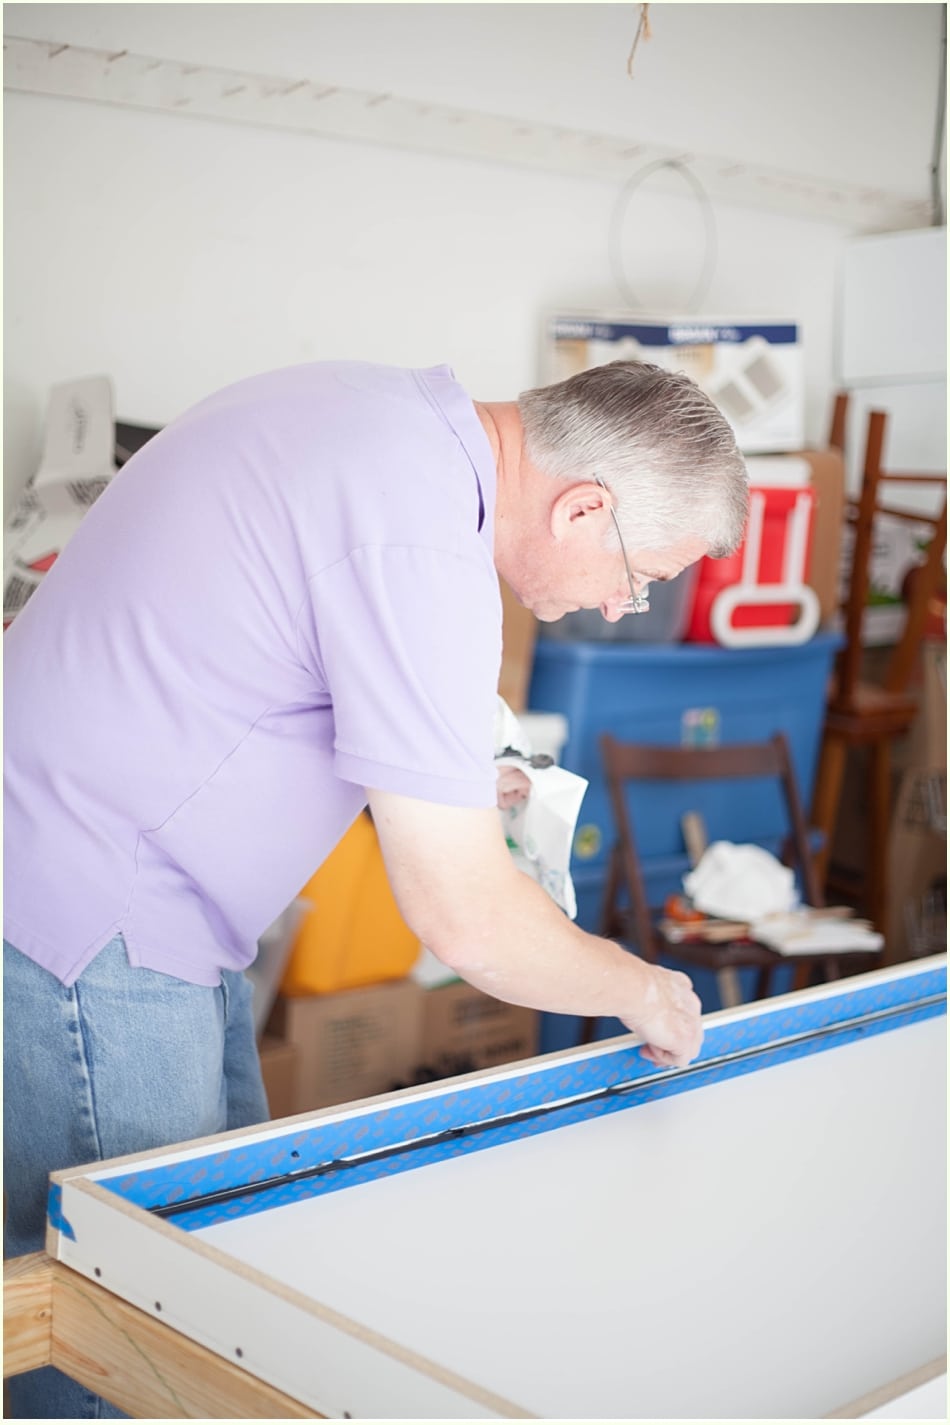
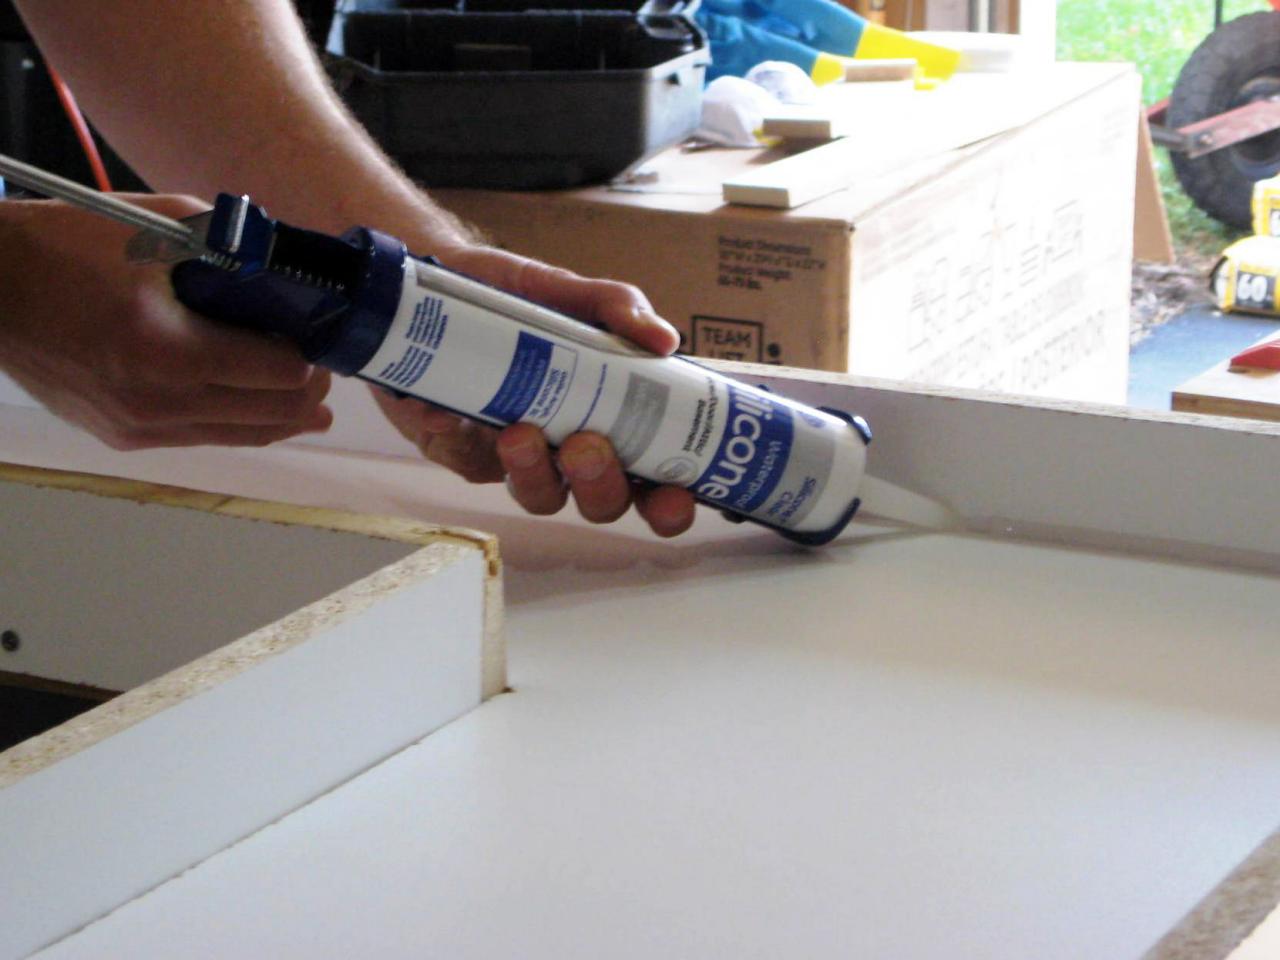
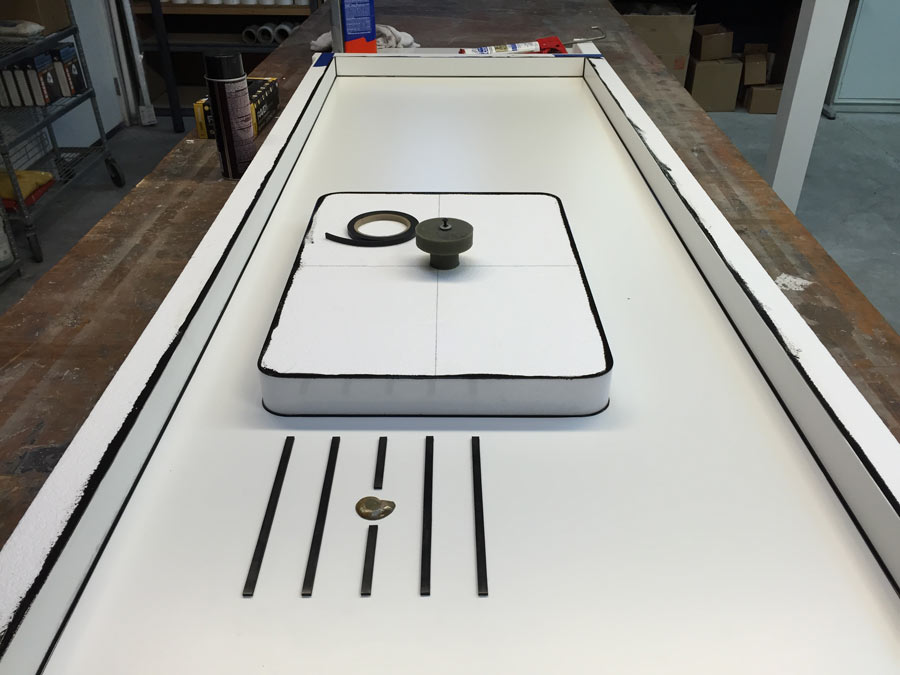
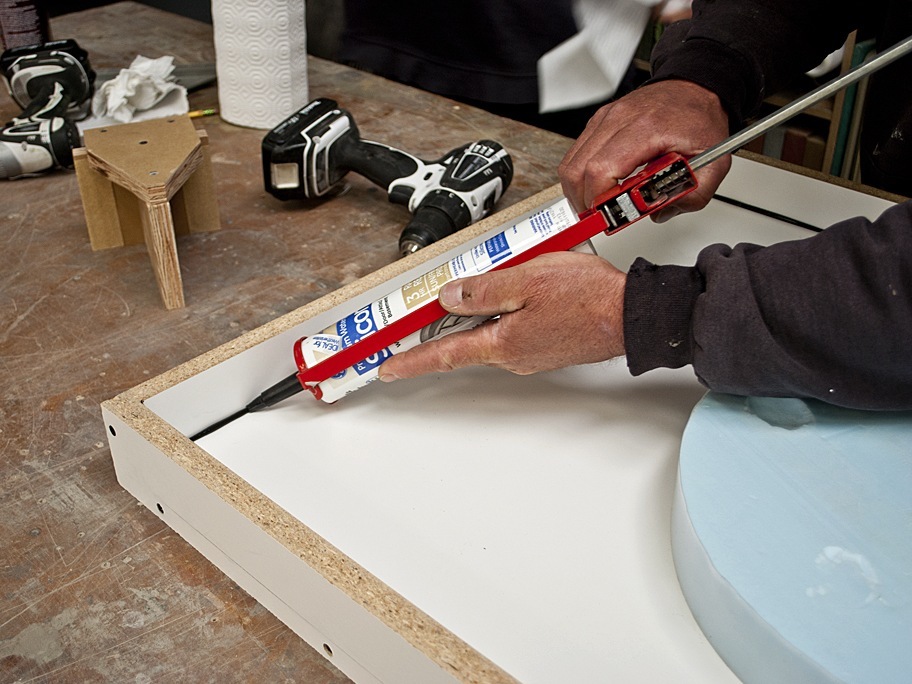
Sealing the Seams: Seal the seams of the molds with silicone caulk or duct tape to prevent the concrete from leaking out and creating uneven edges or air pockets in the countertops. Smooth out the caulk or tape with a putty knife or your fingers for a clean finish.
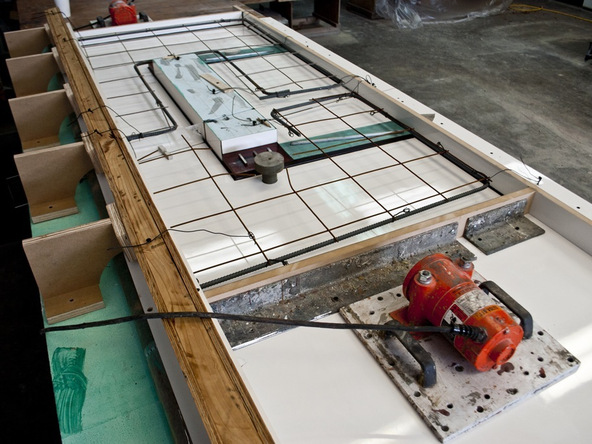
Adding Reinforcement: Depending on the size and thickness of your countertops, consider adding reinforcement to the molds to strengthen the concrete and prevent cracking. Options for reinforcement include fiberglass mesh, rebar, or wire mesh, which can be placed within the molds before casting the concrete.
Ventilation and Drainage: Incorporate ventilation and drainage channels into the molds to allow air bubbles and excess water to escape during the casting process. This helps to ensure a smooth and uniform surface finish on the countertops and reduces the risk of imperfections or defects.
Surface Preparation: Before casting the concrete, prepare the surface of the molds by sanding or applying a release agent to facilitate easy release of the cured concrete. Use a fine-grit sandpaper to smooth out any rough spots or imperfections on the surface of the molds.
Reinforcement Placement: If you’re using reinforcement in your concrete countertops, place it within the molds before pouring the concrete. Position the reinforcement evenly throughout the thickness of the countertops to provide uniform strength and support.
Pouring the Concrete: Once the molds are prepared, mix the concrete according to the manufacturer’s instructions and pour it into the molds. Use a trowel or screed to spread the concrete evenly and eliminate any air pockets or voids.
Vibrating the Concrete: After pouring the concrete, use a vibrating tool or vibrating table to consolidate the concrete and remove any trapped air bubbles. This helps to ensure a dense and uniform surface finish on the countertops and reduces the risk of voids or imperfections.
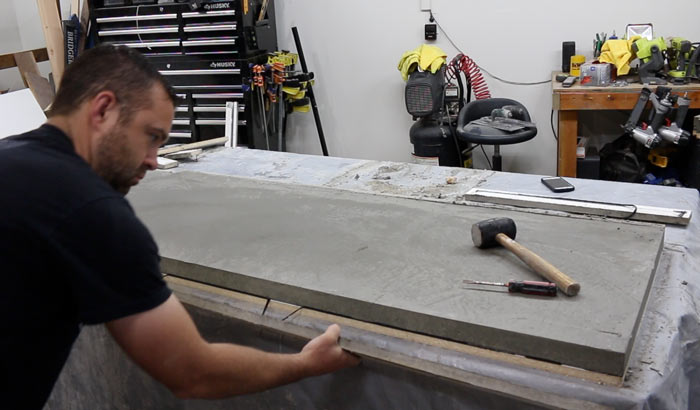
Curing and Demolding: Allow the concrete to cure and harden in the molds for the recommended period, typically 24-48 hours. Once fully cured, carefully demold the countertops by removing the screws, nails, or clamps and gently releasing the edges of the molds.
Finishing Touches: After demolding, inspect the countertops for any imperfections or rough edges and sand them smooth with a fine-grit sandpaper. Apply a concrete sealer to protect the surface and enhance its durability, longevity, and appearance.
Reusing the Molds: Depending on the material used to make the molds, they can be reused for future concrete countertop projects. Clean and store the molds properly after use to prevent damage and ensure they remain in good condition for future use.
Common Mistakes to Avoid:
Poor Seam Sealing: One common mistake is failing to seal the seams of the molds properly, leading to leakage or seepage of the concrete during casting. Ensure that the seams are tightly sealed with silicone caulk or duct tape to prevent any issues during the casting process.
Inadequate Reinforcement: Neglecting to add reinforcement to the molds can result in weak or brittle concrete countertops that are prone to cracking or breaking. Always incorporate reinforcement, such as fiberglass mesh or rebar, into the molds to provide added strength and durability to the countertops.
Overlooking Surface Preparation: Skipping surface preparation of the molds can lead to difficulty in releasing the cured concrete and result in rough or uneven edges on the countertops. Take the time to sand the surface of the molds and apply a release agent to facilitate easy demolding and achieve a smooth finish on the countertops.
Improper Concrete Mixing: Incorrectly mixing the concrete can lead to issues such as air voids, inconsistent coloration, or weak spots in the countertops. Follow the manufacturer’s instructions for mixing the concrete carefully and ensure that it is thoroughly mixed to achieve a uniform and consistent texture.
Rushing the Demolding Process: Demolding the countertops too soon can result in damage to the concrete or the molds and compromise the quality of the finished countertops. Allow the concrete to cure fully in the molds for the recommended period before attempting to demold them, ensuring that they are fully hardened and ready for handling.
Can I reuse concrete countertop molds for multiple projects?
Yes, depending on the material and construction of the molds, they can often be reused for multiple concrete countertop projects. Proper cleaning and storage of the molds after use can help prolong their lifespan and ensure they remain in good condition for future use.
How long does it take for concrete countertops to cure in the molds?
Concrete countertops typically need to cure in the molds for 24-48 hours before they are ready to be demolded. However, curing times may vary depending on factors such as the type of concrete used, ambient temperature, and humidity levels.
Do I need to apply a release agent to the molds before pouring the concrete?
Yes, applying a release agent to the molds before pouring the concrete helps facilitate easy demolding and prevents the concrete from sticking to the molds. Use a commercial release agent or a DIY mixture of cooking oil or petroleum jelly to coat the surface of the molds evenly.
Can I add color or additives to the concrete mix for customized countertops?
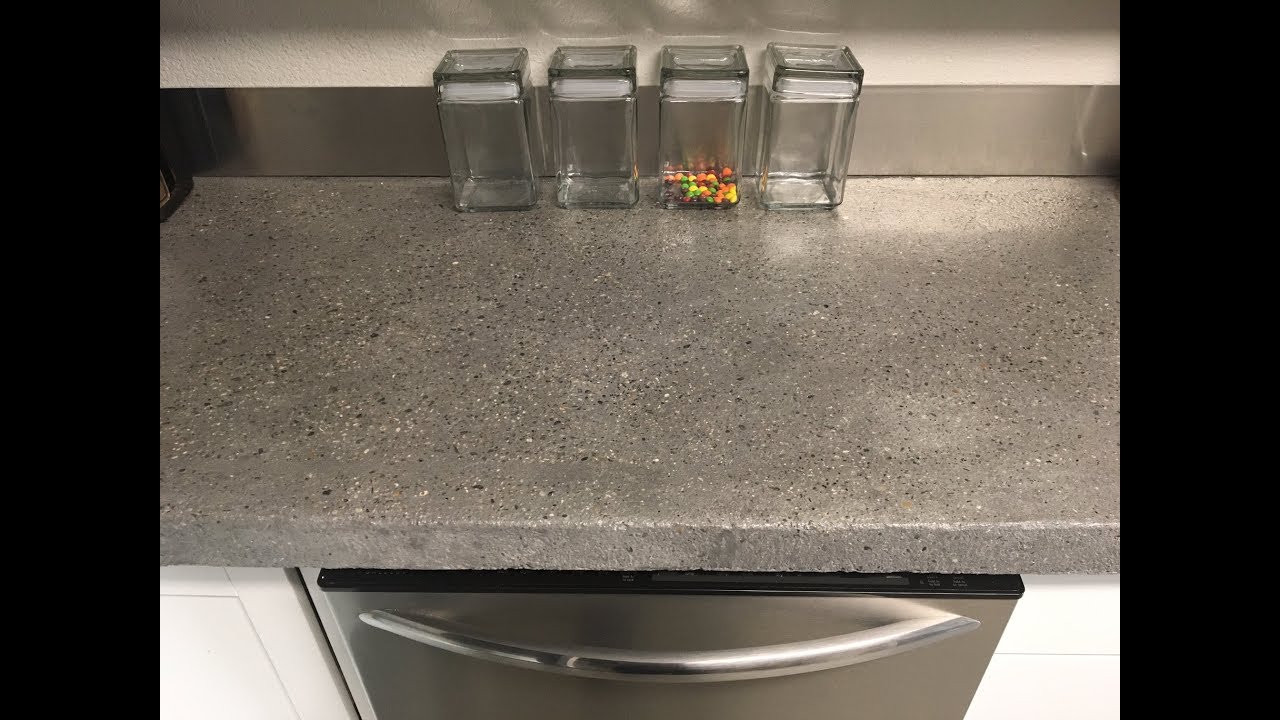
Yes, you can customize the color and appearance of your concrete countertops by adding pigments, dyes, or decorative aggregates to the concrete mix before pouring it into the molds. Experiment with different colors and additives to achieve the desired look for your countertops.
How do I prevent air bubbles from forming in the concrete during casting?
To prevent air bubbles from forming in the concrete during casting, use a vibrating tool or vibrating table to consolidate the concrete and remove trapped air. Vibrating the molds helps ensure a dense and uniform surface finish on the countertops and reduces the risk of voids or imperfections.

precast-concrete-countertops-build-mold-step-8-1 Concrete Exchange
How to Seal a Concrete Countertop Form Concrete Exchange
HOW TO MAKE CONCRETE COUNTERS LIKE THE PROS TUTORIAL: THE ASHBY
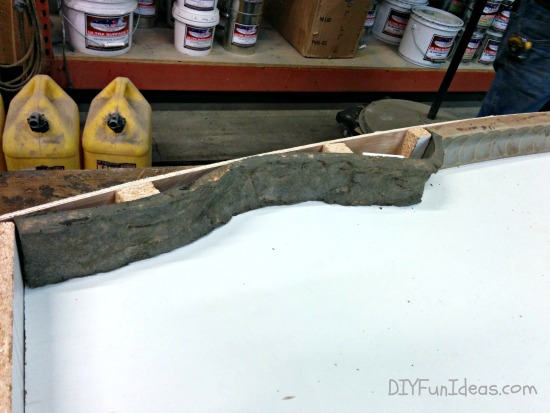
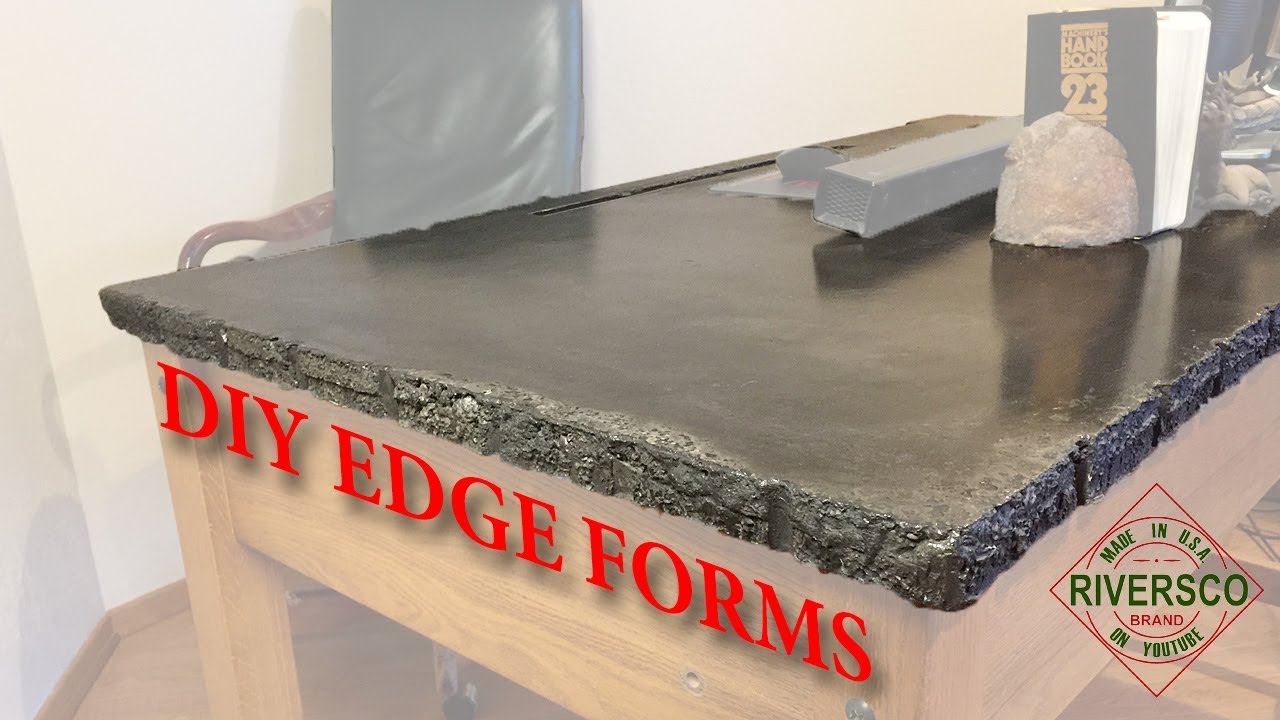
DIY Concrete Countertop Desk, Custom Edge Effects
How to Build A Concrete Countertop Part 1 – Making The Mold
Related articles:
- Outdoor Concrete Countertops
- How To Make Concrete Countertops Smooth
- Rustic Concrete Countertops
- Farmhouse Concrete Countertops
- Concrete Countertops Outdoor Kitchen
- How To Stain Concrete Countertops
- DIY Concrete Countertop Mix
- Concrete Countertops Made Easy
- Concrete Countertop Overlay
- Black Concrete Countertops