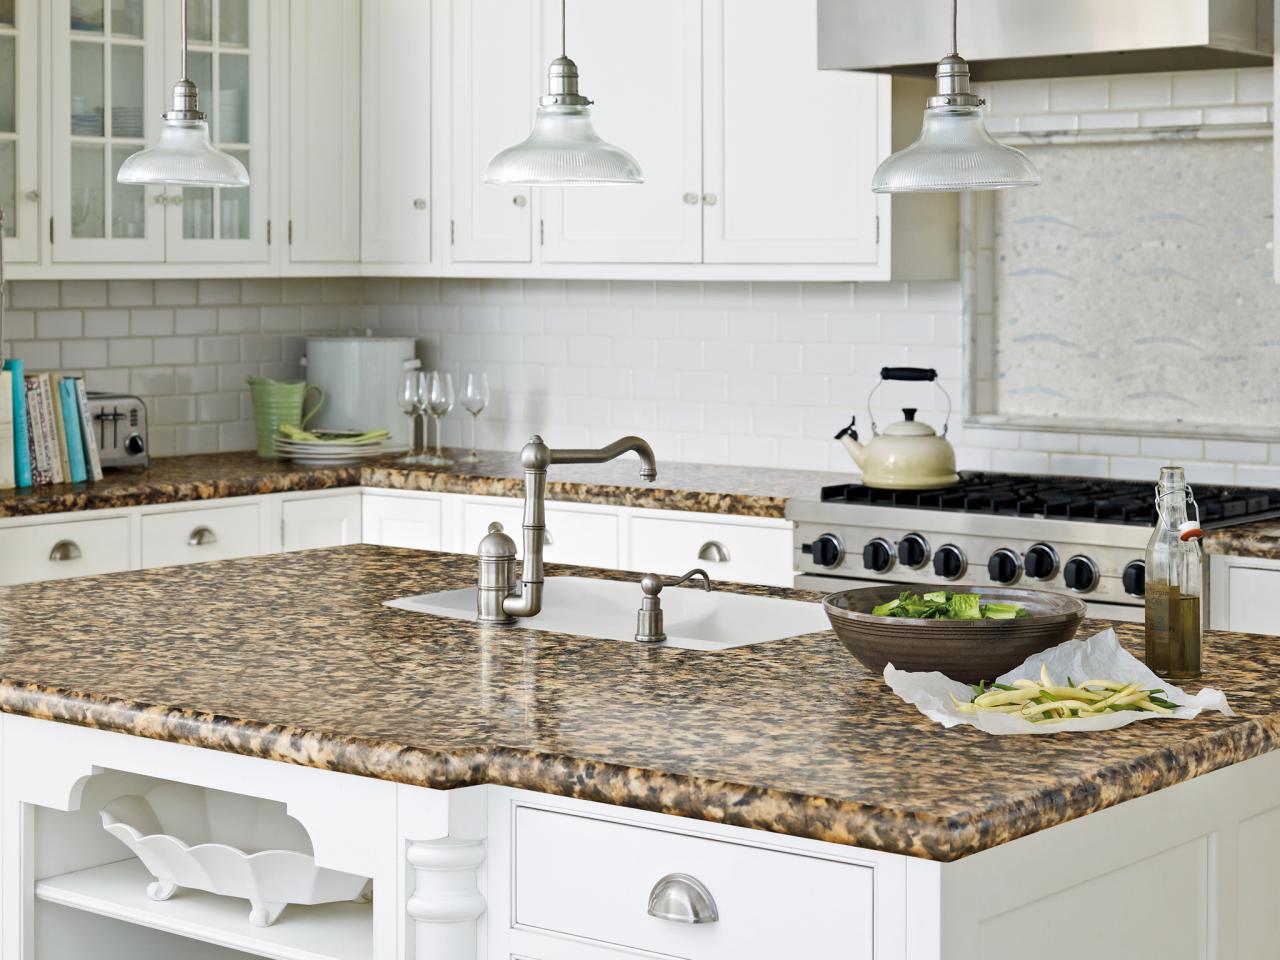
When I moved into my 1990s ranch home, the kitchen came with original almond-colored laminate countertops that had seen better days. The surface was scratched, stained, and frankly embarrassing whenever we had guests over. While I dreamed of granite or quartz, my budget had other plans. That’s when I discovered the magic of refinishing laminate countertops, a DIY project that transformed my kitchen for under $200 and taught me that sometimes the best solutions are hiding in plain sight. What started as a desperate attempt to avoid a major renovation became one of my most satisfying home improvement projects ever.
Assessing Your Laminate for Refinishing Potential
Before I committed to refinishing my laminate countertops, I spent considerable time evaluating whether they were good candidates for the process. I learned that not all laminate surfaces can be successfully refinished, and attempting the project on unsuitable countertops leads to frustration and wasted money. The key factors I examined included the condition of the laminate surface, the extent of damage, and whether the existing substrate was structurally sound enough to support a new finish.
My countertops exhibited typical wear patterns, including light scratches, coffee stains, and areas where the pattern had worn away due to years of use. However, the laminate was still firmly adhered to the substrate with no lifting edges or deep gouges that would show through a refinished surface. I tested several areas by cleaning thoroughly and examining them under bright light to identify any issues that might prevent successful refinishing, such as burns, cuts that went completely through the laminate, or areas where moisture had caused swelling.
The structural integrity proved excellent, thanks to a solid particle board substrate and secure mounting to the cabinets. I checked for any loose sections by pressing firmly across the entire surface and listening for hollow sounds that might indicate delamination. The edges were intact without chips or damage that would require extensive repair work. These assessments gave me confidence that refinishing would produce lasting results rather than just temporarily masking underlying problems that would resurface later.

Preparation Work and Surface Cleaning
The preparation phase of my laminate refinishing project proved far more involved than I initially expected, requiring meticulous attention to detail that would determine the success of the entire project. I started by removing all items from the countertops and thoroughly cleaning the surface with degreasing agents to remove years of accumulated cooking oils, soap residue, and other contaminants that would prevent proper adhesion of the refinishing materials. This initial cleaning revealed the true condition of the laminate and helped me identify areas needing special attention.
Deep cleaning requires multiple steps using different products and techniques to address various types of stains and buildup. I used TSP (trisodium phosphate) solution to remove grease and grime, followed by denatured alcohol to eliminate any remaining residues. Stubborn stains around the sink and stove required extra scrubbing with fine steel wool and specialized cleaners. The process took an entire day, but thorough cleaning proved essential for achieving professional-looking results that would last for years.
Surface preparation also involved light sanding to create texture for better adhesion, filling any small chips or gouges with appropriate filler materials, and masking off adjacent surfaces to protect them during the refinishing process. I used 220-grit sandpaper to lightly scuff the entire surface, creating microscopic scratches that would help the new finish bond properly. This step required patience and care to avoid over-sanding, which could damage the laminate’s decorative layer and create visible marks that would show through the final finish.
Choosing the Right Refinishing Products and Tools
Selecting appropriate refinishing products for my laminate countertops required researching various options and understanding the differences between paint systems, epoxy coatings, and specialty refinishing kits designed specifically for countertop applications. I discovered that regular wall paint wouldn’t provide the durability needed for kitchen countertops, while some specialty products offered excellent results but required precise application techniques and environmental conditions to achieve professional-quality finishes.
After extensive research and reading reviews from other DIY enthusiasts, I chose a two-part epoxy coating system specifically designed for countertop refinishing. This product offered superior durability, chemical resistance, and heat tolerance compared to paint-based alternatives, while still being manageable for a first-time user. The kit included primer, base coat, decorative chips for texture, and protective topcoat, along with detailed instructions and application tools needed for successful completion.
Tool selection became equally important, as proper equipment would make the difference between amateur and professional-looking results. I invested in high-quality brushes, foam rollers, and disposable mixing containers, along with protective equipment, including respirators, gloves, and ventilation fans. The total cost for materials and tools was approximately $180, a fraction of what new countertops would have cost, while providing everything needed to achieve beautiful, durable results that would transform my kitchen’s appearance.

Step-by-Step Application Process
The actual application of my countertop refinishing system required careful timing, environmental control, and attention to detail that tested my patience and skill throughout the multi-day process. I started by applying the bonding primer, which required smooth, even coverage without brush marks or bubbles that would show through subsequent coats. Working in small sections, I used a high-quality brush for edges and detailed areas, followed by a foam roller for smooth surfaces, maintaining a wet edge to prevent lap marks.
The base coat application proved more challenging than expected, requiring multiple thin coats rather than attempting to achieve full coverage in a single application. I learned that patience produced better results than rushing, allowing each coat to dry completely before applying the next layer. The decorative chips needed to be broadcast while the final base coat remained tacky, requiring coordination and speed to achieve even distribution and consistent texture across the entire surface.
The protective topcoat application demanded the most precision, as any imperfections would be permanently sealed and visible in the final finish. I applied three thin coats over two days, lightly sanding between coats with very fine sandpaper to ensure smoothness and proper adhesion. The final coat required perfect technique, working quickly to maintain wet edges while avoiding overworking areas that could cause cloudiness or texture problems. The curing process took seven days before the countertops were ready for normal use, testing my patience but ensuring maximum durability.

Common Mistakes and How to Avoid Them
My refinishing project taught me valuable lessons about common pitfalls that can ruin an otherwise successful countertop transformation, and I made several mistakes that required correction or compromise in the final results. The biggest error occurred during my first attempt at applying the base coat too heavily, creating runs and sags that had to be sanded out and reapplied. I learned that multiple thin coats produce much better results than attempting to achieve full coverage quickly with thick applications.
Temperature and humidity control proved more critical than I initially understood, with environmental conditions affecting how the products flowed, leveled, and cured. My first section was applied on a humid day, resulting in a cloudy finish that required complete removal and reapplication under better conditions. I invested in a dehumidifier and planned subsequent applications during stable weather with temperatures between 70-75 degrees and relative humidity below 50 percent for optimal results.
Inadequate surface preparation caused adhesion problems in one corner where I had rushed the cleaning and sanding process, resulting in finish failure that became apparent after several months of use. This experience emphasized the importance of thorough preparation and convinced me that taking shortcuts during prep work inevitably leads to problems later. Proper masking also proved essential, as overspray on cabinet faces required extensive cleanup that could have been easily prevented with more careful protection of adjacent surfaces.

Long-Term Performance and Maintenance
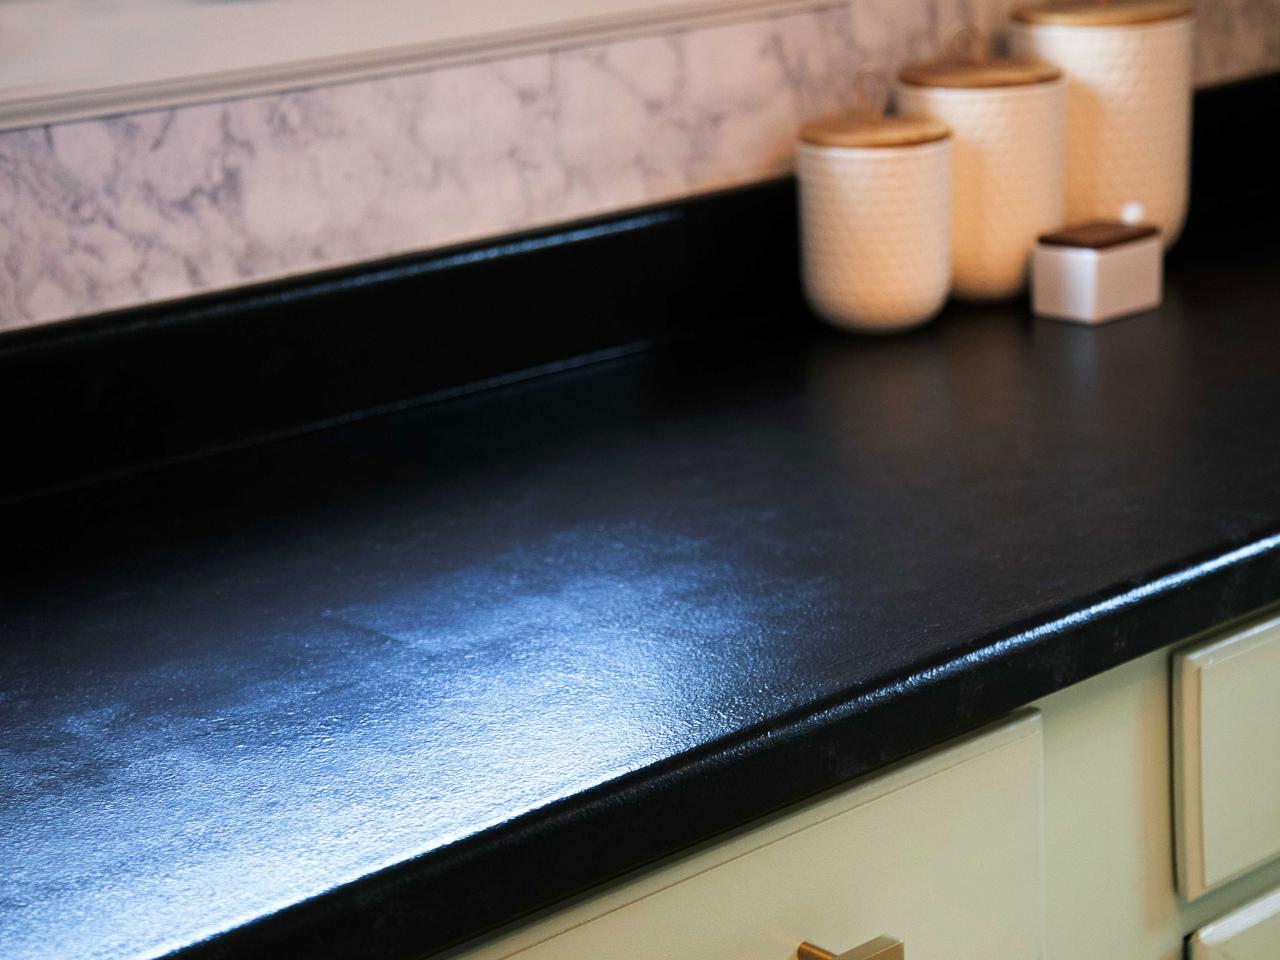
Two years after completing my laminate countertop refinishing project, I can evaluate the long-term performance and durability of the epoxy coating system under normal kitchen use conditions. The finish has held up remarkably well to daily cooking activities, cleaning, and the occasional mishap, maintaining its appearance and protective properties far better than I expected for a DIY project. Areas of heaviest use around the sink and stove show minimal wear, while the decorative texture continues to hide minor scratches and imperfections effectively.
Maintenance requirements have proven minimal, requiring only regular cleaning with mild detergents and avoiding abrasive cleaners or scrubbers that could damage the finish. I learned that prompt cleanup of spills prevents staining, while hot pads and trivets protect against heat damage from cookware. The surface cleans easily and maintains its luster with occasional polishing using products recommended by the manufacturer, keeping the countertops looking fresh and new with minimal effort.
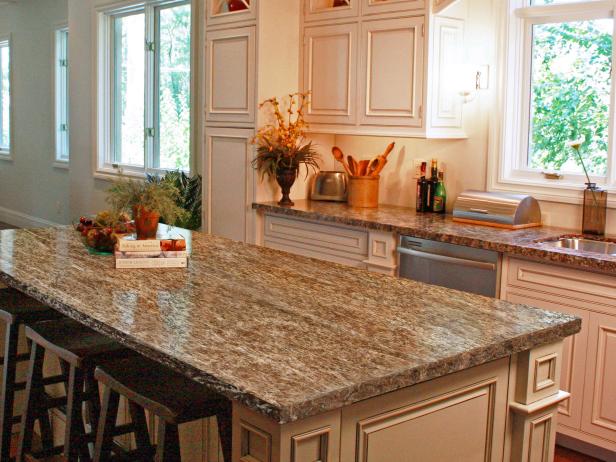
The refinished countertops have exceeded my expectations for durability and appearance, providing a high-end look that guests consistently compliment and assume are expensive stone or solid surface materials. While I know the finish won’t last forever and may require refinishing again in 5-7 years, the dramatic improvement in my kitchen’s appearance and the money saved make this one of the best home improvement investments I’ve made. The experience gave me confidence to tackle other refinishing projects and proved that DIY solutions can achieve professional-quality results with proper planning and execution.
How long do refinished laminate countertops typically last?
Based on my experience, quality refinishing should last 5-7 years with normal kitchen use. Mine are holding up well after 2 years with minimal wear. Durability depends on prep work quality, product choice, and daily care. High-traffic areas may show wear sooner, but touch-ups are possible. Overall longevity exceeds expectations for the cost of investment.
Can I refinish countertops that have significant damage or burns?
Minor damage can be repaired during prep work, but extensive burns or deep cuts may show through refinishing. I successfully filled small chips and scratches, but large damaged areas might need professional repair first. Assess damage honestly; severe problems may require replacement rather than refinishing for best results.

What’s the total cost compared to countertop replacement?
My refinishing cost $180 for materials and tools versus $3,000+ for new countertops. Even adding labor costs if hiring professionals, refinishing costs 80-90% less than replacement. Factor in time investment, about 3-4 days of work spread over a week. The savings made this project worthwhile despite the effort required.
Is it safe to prepare food on refinished laminate surfaces?
Once fully cured, quality refinishing products create food-safe surfaces suitable for kitchen use. I waited the full 7-day cure time before normal use. Always use cutting boards for food prep, regardless of countertop type. Follow manufacturer guidelines for cure times and food safety. Properly applied finishes pose no health concerns.

Can I change the color or pattern during refinishing?
Yes, refinishing allows complete color changes and pattern updates. I went from an almond laminate to a granite-look finish using decorative chips. Base coat color determines final appearance, while texture elements add pattern. This flexibility makes refinishing attractive for updating outdated colors without replacement costs.
Should I hire professionals or attempt DIY refinishing?
DIY is definitely possible with patience and attention to detail. I saved significant money doing it myself and achieved excellent results. However, professionals guarantee their work and have experience avoiding common mistakes. Consider your skill level, available time, and tolerance for potential redo work when deciding between DIY and professional application.

How to Paint Countertops – Looks Like Slate

How to Paint Laminate Countertops to Look Like Stone DIY
How my Painted Countertops Look After 3 Years of Use – Lovely Etc.

Painted Countertops How-To: From Laminate to Granite

Related articles: