When I bought my little cottage three years ago, the kitchen had outdated laminate countertops that made the space feel cold and uninviting. I dreamed of creating a warm, welcoming heart for my home, somewhere I’d actually want to spend time cooking and gathering with friends. After researching countless options, I kept coming back to a butcher block. The natural wood, the warmth, and the history of these countertops in cottage kitchens all spoke to me. Installing a butcher block turned out to be one of the best decisions I made during my renovation, and I want to share everything I learned along the way.
Choosing the Right Wood Species
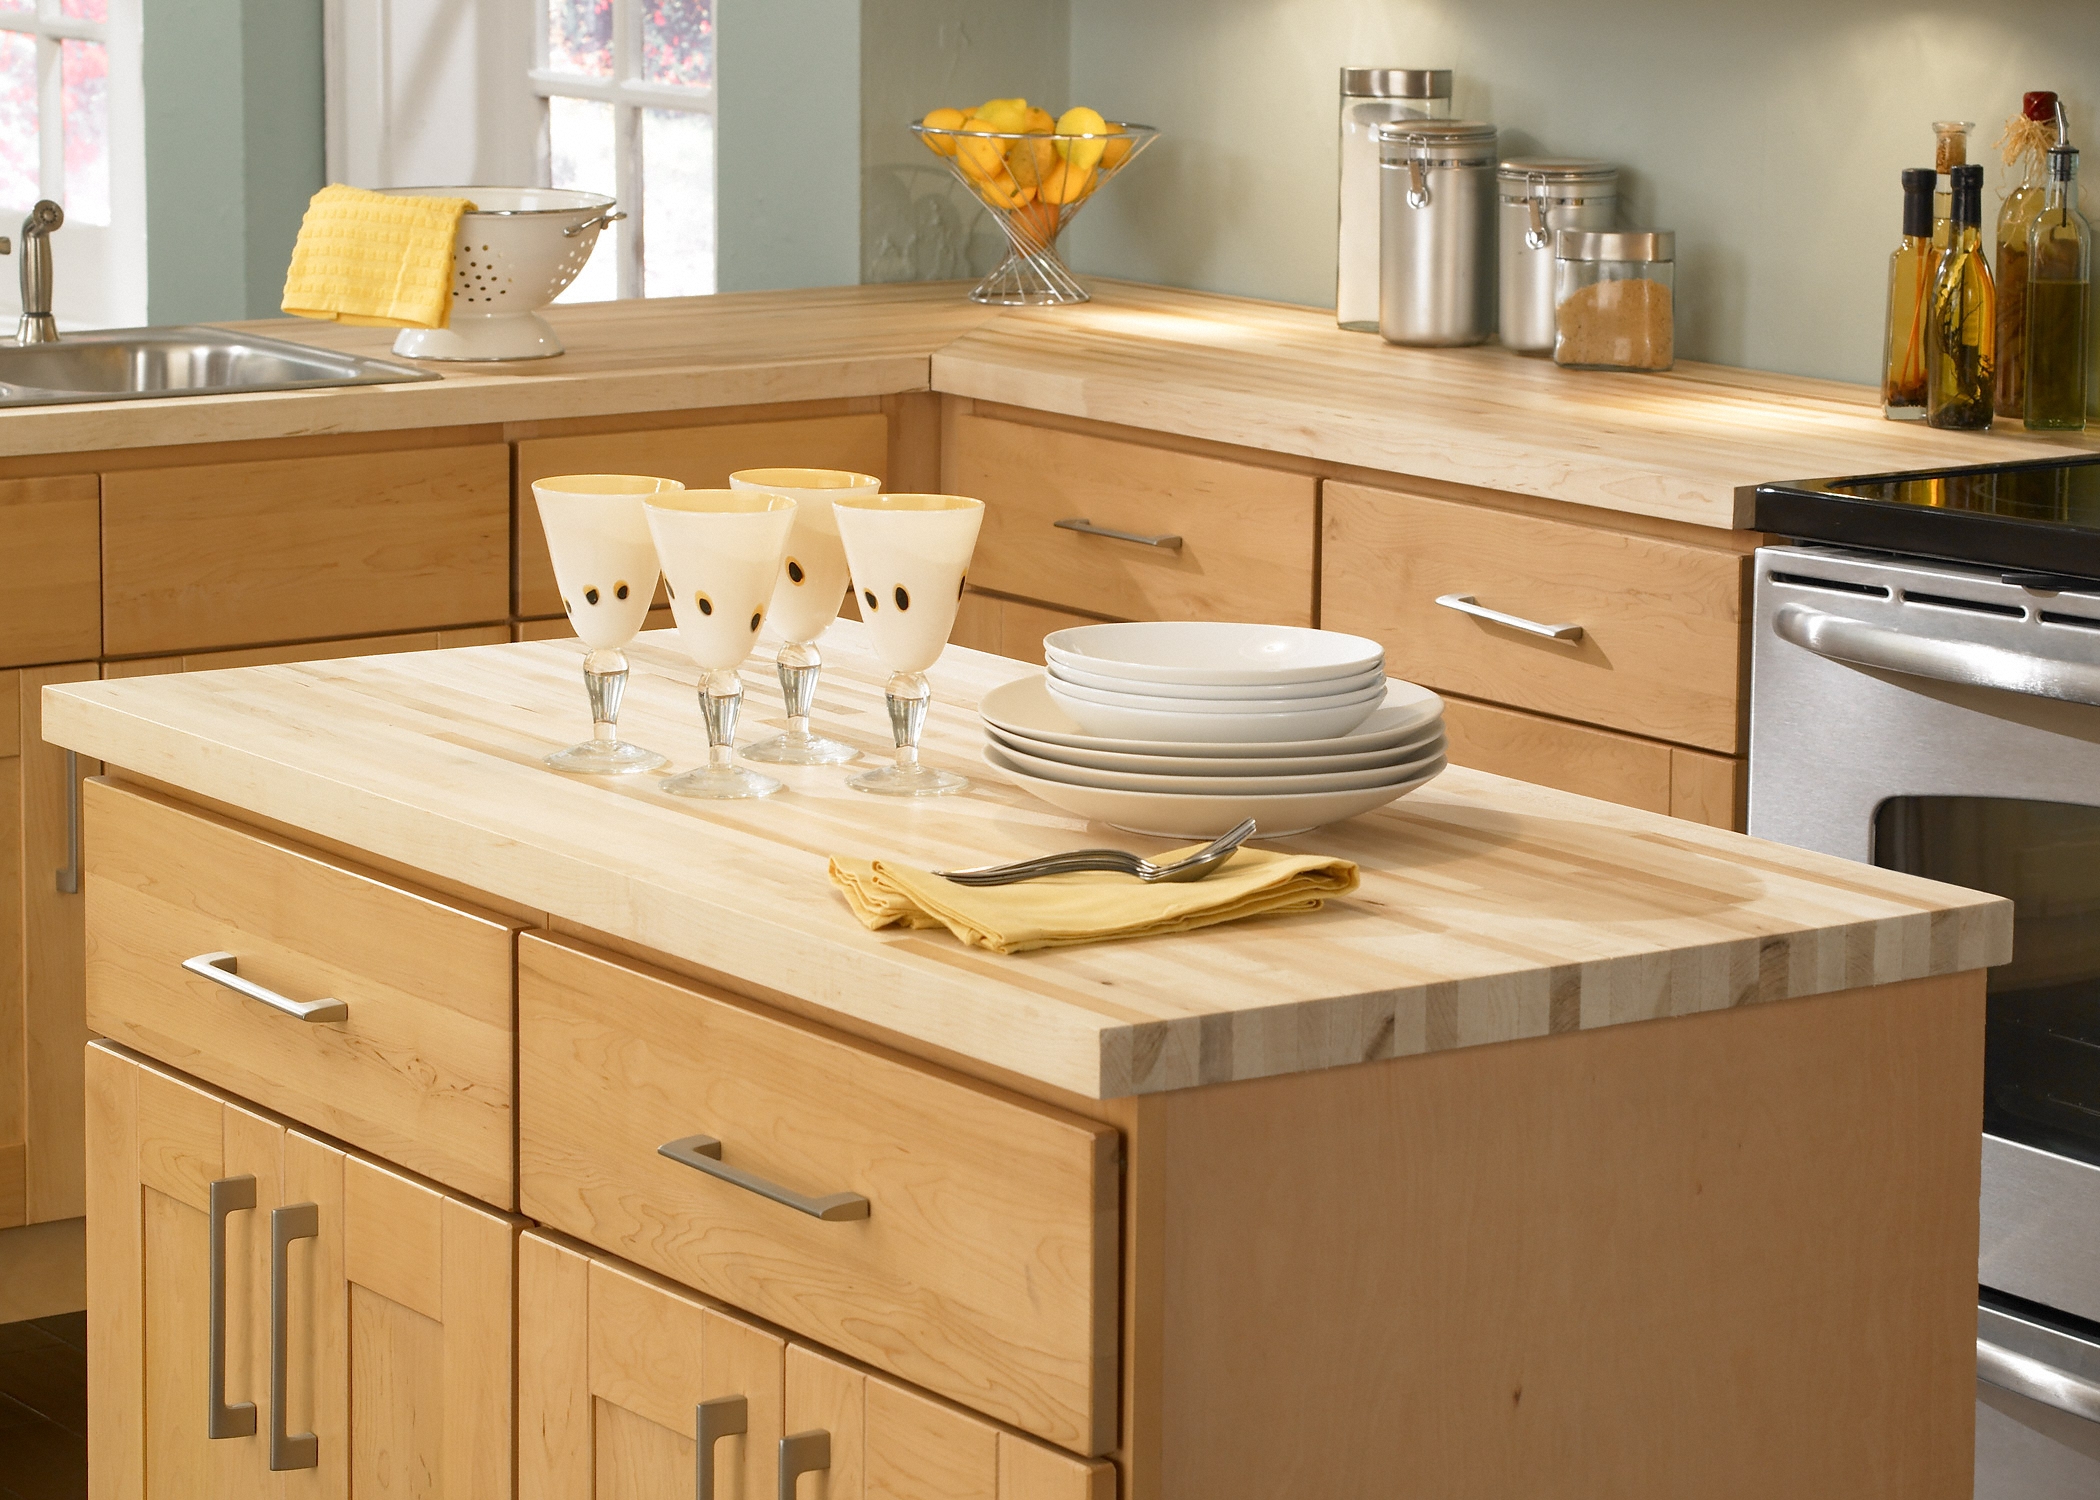
Selecting the wood species was my first big decision, and I spent weeks comparing options. I ultimately chose maple for most of my counters because it’s hard, durable, and has a subtle grain that doesn’t overwhelm my small cottage kitchen. The light honey color brightened the space immediately and made it feel more open, which was crucial in my 10×12 kitchen.
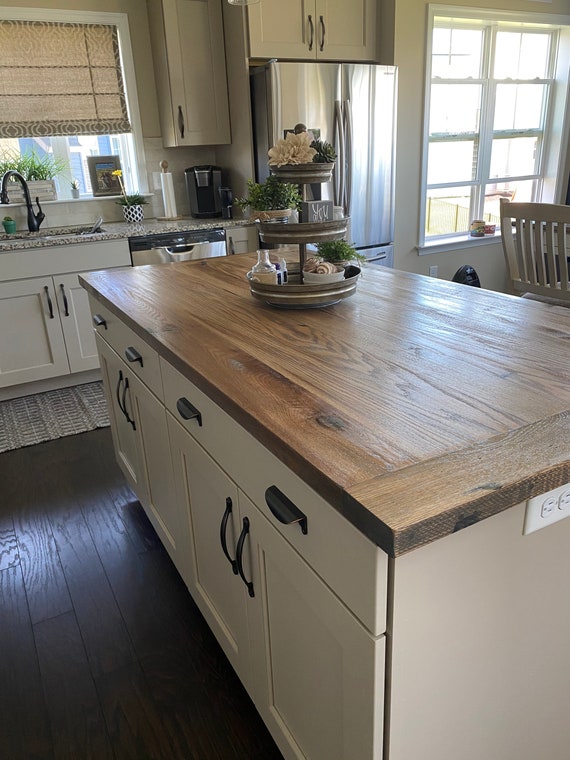
I also added a small section of walnut near my prep sink, creating a beautiful contrast against the lighter maple. The rich chocolate tones of walnut add depth and visual interest. Some people warned me that walnut shows scratches more easily, but in my cottage aesthetic, those marks just add character. The darker wood also hides coffee stains better than the maple does.
Cherry was another option I considered seriously. It darkens beautifully over time, developing a rich reddish patina. I visited a friend’s cottage where she’d installed cherry counters ten years ago, and they were absolutely gorgeous. The aged look was stunning, but I worried the eventual darkness might make my already cozy space feel too closed in. For larger cottage kitchens with plenty of natural light, cherry would be my top recommendation.

Understanding Edge Grain vs End Grain
Learning about edge grain versus end grain construction was eye-opening. My countertops are edge grain, meaning the wood strips are installed on their sides showing the length of the grain. This is the most common and affordable option, running about $40 per square foot. The long grain lines create a beautiful, flowing pattern across my counters that suits the cottage aesthetic perfectly.
I added one end grain cutting board section near my stove for heavy chopping work. End grain has the wood pieces standing upright, creating a checkerboard pattern that’s easier on knife blades. It’s self-healing because knife cuts go between the wood fibers rather than across them. This section costs more, about $80 per square foot, but for a small area dedicated to food prep, the investment made sense.
The thickness also matters more than I initially realized. I chose two-inch thick slabs because they feel substantial and traditional, exactly right for a cottage kitchen. The extra thickness means they can be sanded and refinished multiple times over the years. A thinner butcher block at 1.5 inches would have saved money, but wouldn’t have that same heirloom quality I wanted. The weight and solidity of the thick butcher block make every moment in my kitchen feel grounded and real.
Installation and Sealing Techniques
I decided to install the butcher block myself, which saved me about $800 in labor costs. The process was straightforward but required patience and precision. My slabs came unfinished, and I spent a weekend sanding them smooth, starting with 80-grit sandpaper and working up to 220-grit. The wood transformed under my hands, going from rough lumber to silky smooth surfaces ready for my cottage kitchen.
Sealing was the most crucial step, and I researched this extensively. I chose food-safe mineral oil for the first several coats, applying it generously and letting it soak in overnight. After five coats over two weeks, I switched to a beeswax and mineral oil blend for the final protective layer. This combination creates a water-resistant surface while keeping everything food-safe, important since I bake bread directly on my counters.
The installation itself involved careful measuring and scribing to fit around my old cottage walls, which aren’t perfectly straight. I used construction adhesive and screws from underneath to secure the slabs. Around the sink, I was extra careful with the sealing, applying additional coats to those cut edges. Three years later, I’ve had zero issues with the sink area, proof that thorough sealing really works even in moisture-prone zones.

Daily Maintenance and Care Routines
My butcher block maintenance routine is simpler than most people imagine. Every evening, I wipe down the counters with a damp cloth and mild dish soap. I make sure to dry them immediately rather than letting water sit. This two-minute habit prevents most problems before they start. For tougher messes, I use a paste of baking soda and water, which lifts stains without damaging the wood.
I oil my counters once a month, a process I’ve come to enjoy. I use food-grade mineral oil, warming it slightly so it penetrates better. I apply it liberally with a clean cloth, let it sit for several hours or overnight, then buff off any excess. My cottage kitchen smells wonderful during this process, and I love seeing the grain pop as the oil soaks in. The whole ritual takes maybe twenty minutes and has become a meditative practice.
Dealing with scratches and stains has taught me to embrace imperfection. I’ve gotten knife marks, water rings from leaving my coffee mug out, and a few heat marks from setting down hot pans. Most of these marks blend into the wood’s developing patina. For deeper scratches that bother me, I lightly sand with 220-grit paper and re-oil. But honestly, I’ve learned to love these imperfections. They tell the story of meals cooked, bread kneaded, and life lived in my cottage kitchen.

Styling Butcher Block in Cottage Spaces
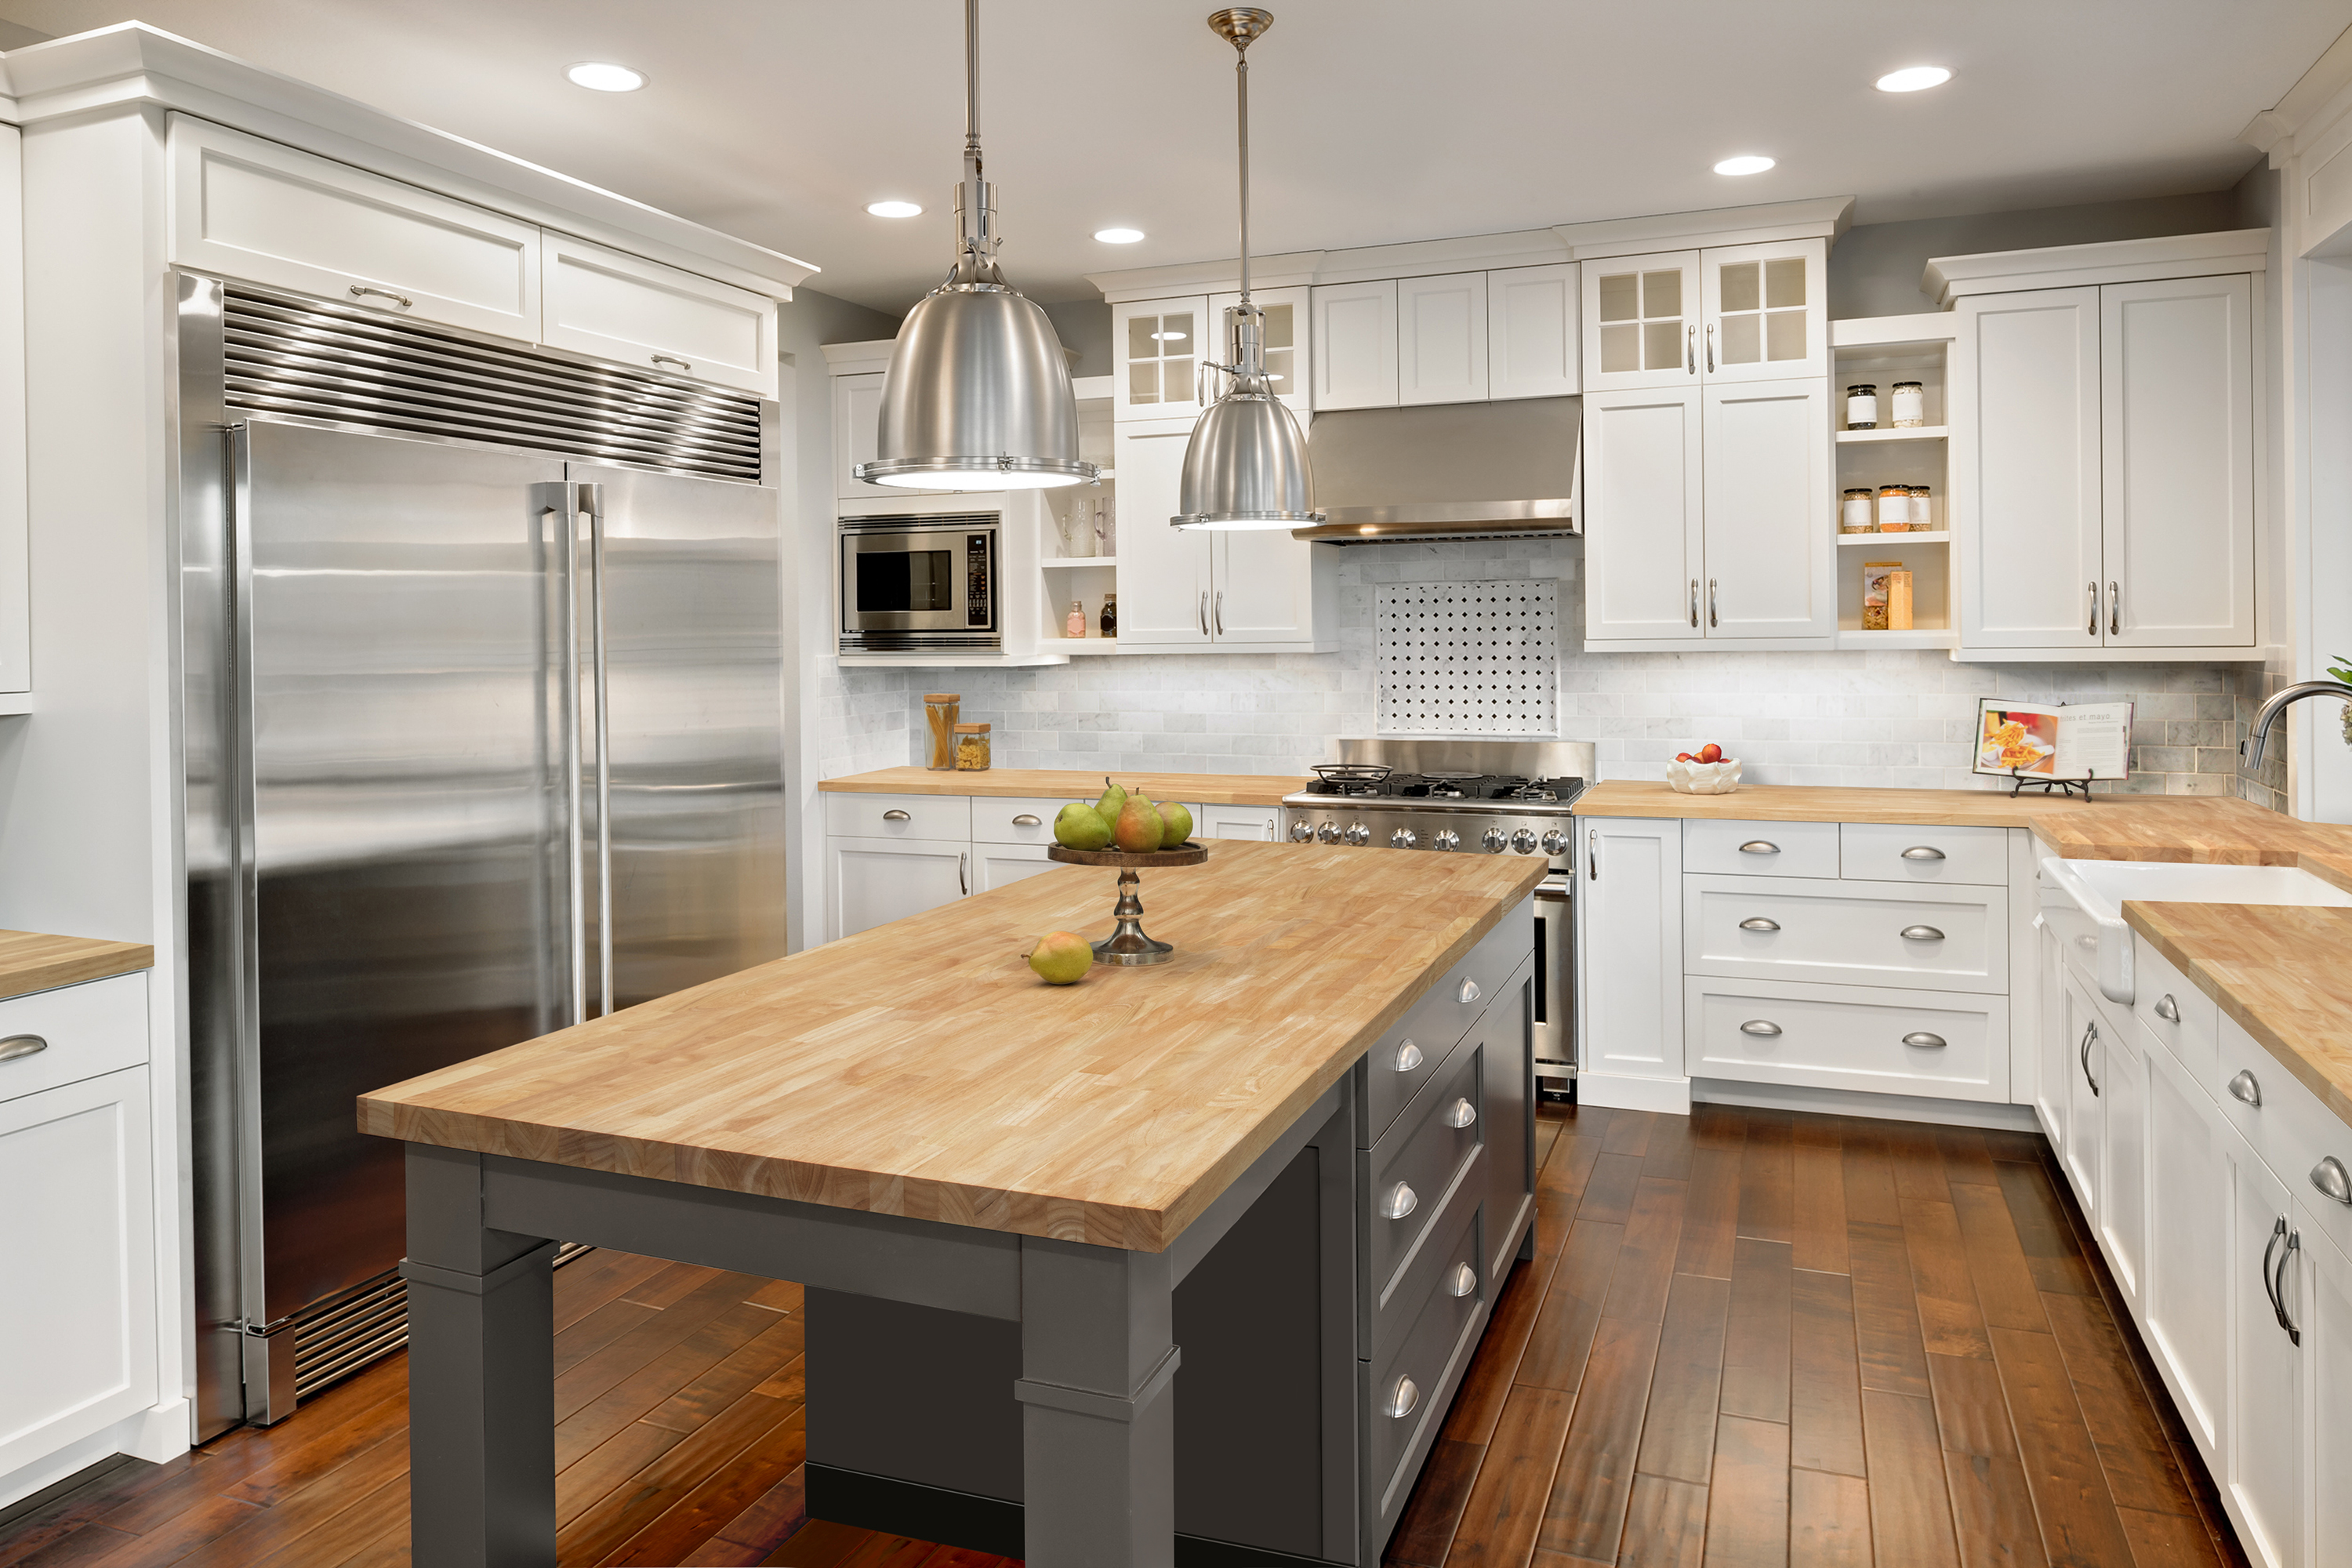
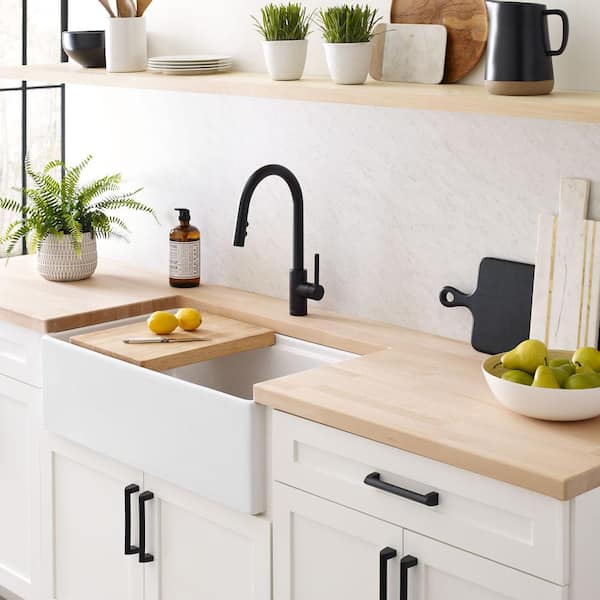
Butcher block countertops naturally complement cottage style, but I’ve learned ways to make them shine. I kept my walls white with beadboard backsplash, which creates a beautiful contrast with the warm wood tones. The simplicity of white walls lets the natural beauty of the butcher block be the star. Cottage style is about unpretentious beauty, and butcher block embodies that perfectly.
My open shelving above the counters displays white ironstone dishes and vintage glassware. The combination of natural wood counters, white dishes, and soft natural light from my cottage windows creates exactly the peaceful atmosphere I wanted. I added a farmhouse sink in white fireclay, and the contrast between the crisp white basin and honey-toned wood is stunning. Simple brass hardware and vintage-inspired fixtures complete the look without competing.
I style my counters minimally because butcher block is beautiful enough not to need much decoration. I keep a wooden cutting board leaning against the backsplash, a ceramic crock with wooden spoons, and a small cutting board with whatever fruit is in season. Fresh herbs in simple jars add life and fragrance. This restrained approach keeps my cottage kitchen feeling spacious and serene rather than cluttered. The butcher block itself provides all the warmth and character the space needs.
Long-Term Durability and Refinishing
After three years with a butcher block in my cottage kitchen, I can speak to its durability. The surface has held up remarkably well despite daily use. I’ve developed a patina that makes the wood look richer and more beautiful than when it was new. Some areas near the sink have darkened slightly from moisture exposure, but this just adds to the aged, authentic cottage look I love.
I haven’t needed to refinish yet, but I love knowing I can. Unlike laminate or tile, which look worse as they age, butcher block can be sanded down and resealed to look brand new whenever needed. This renewable quality appeals to my desire for sustainable choices. I’m building an heirloom kitchen that can be restored rather than replaced. My contractor estimates I could sand and refinish 3-4 times over the next 30 years.
The investment continues to feel worthwhile. I paid about $2,400 total for materials and did the installation myself. Comparable quartz would have cost $4,000 installed. Beyond the financial savings, I got counters with soul and warmth that improve with age. Every time I walk into my cottage kitchen, I feel grateful for choosing natural wood. The connection to traditional cottage kitchens, the way the morning light plays across the grain, the smooth warmth under my hands when I’m kneading dough, these daily pleasures are priceless.

Is butcher block practical for a cottage kitchen’s heavy use?
Absolutely, and mine proves it daily. I cook from scratch most nights, bake weekly, and my kitchen gets constant use. The key is proper sealing and basic maintenance. I wipe spills immediately and oil monthly, taking maybe twenty minutes. Yes, I’ve gotten some marks and minor stains, but they add cottage character rather than looking damaged. After three years of real-life use, my counters are holding up beautifully. If you embrace patina rather than expecting perfection, butcher block is wonderfully practical.
How much does butcher block cost for a cottage kitchen?
I paid about $40 per square foot for maple edge grain butcher block, which ran $1,800 for my 45 square feet of counter space. Add another $200 for mineral oil, beeswax, sandpaper, and supplies. I saved $800 by installing it myself. Professional installation would have brought my total to around $3,000. End grain or exotic woods like walnut cost more, $60-100 per square foot. For a small cottage kitchen, even premium butcher block stays affordable compared to stone options.
Can butcher block handle moisture near sinks?
Yes, with proper sealing. I applied extra coats of mineral oil to all cut edges around my sink, probably eight coats versus the five I used elsewhere. Three years later, I have zero warping, swelling, or water damage despite daily sink use. I wipe up standing water and dry the counter after washing dishes. The key is treating it right from day one and maintaining good habits. I reseal the sink area every two months instead of monthly for extra protection.
What’s the best finish for cottage butcher block counters?
I use food-grade mineral oil followed by a beeswax blend, which keeps everything food-safe while providing good water resistance. Some people use polyurethane or varnish for more protection, but you lose the ability to prep food directly on the surface. For cottage aesthetics, I prefer the natural matte finish that oil provides. It requires reapplication, but lets the wood breathe and age naturally. Tung oil is another option, more durable than mineral oil but still food-safe when cured.
How do I remove stains from butcher block?
For water rings and light stains, I make a paste with baking soda and water, rub gently, then re-oil. Deeper stains need light sanding with 220-grit paper, always going with the grain. I sand just enough to remove the mark, blend the edges, then re-oil the entire section so it matches. Lemon juice and salt work for some stains, but can lighten the wood. Honestly, I’ve learned to live with most marks as they contribute to my cottage’s story and character.
Does butcher block work in small cottage kitchens?
Perfect for small spaces, actually. My 10×12 kitchen feels larger with a butcher block because the light wood tones reflect light and create airiness. Dark granite or busy tile patterns would have closed the space in. The natural warmth makes the small kitchen feel cozy rather than cramped. I chose maple over darker woods specifically to maximize this brightening effect. Butcher block also costs less than stone, important when cottage budgets are tight and every dollar counts toward making the space special.

Related articles:
- Butcher Block Countertops Decor
- Butcher Block Countertops Cottage
- Stain Butcher Block Countertops
- Butcher Block Countertops Vintage
- Butcher Block Countertop Farmhouse Sink
- Mahogany Butcher Block Countertops
- Butcher Block Countertop For Kitchen Island
- Can You Paint Butcher Block Countertops
- Butcher Block Countertops With White Cabinets
- Pine Butcher Block Countertops