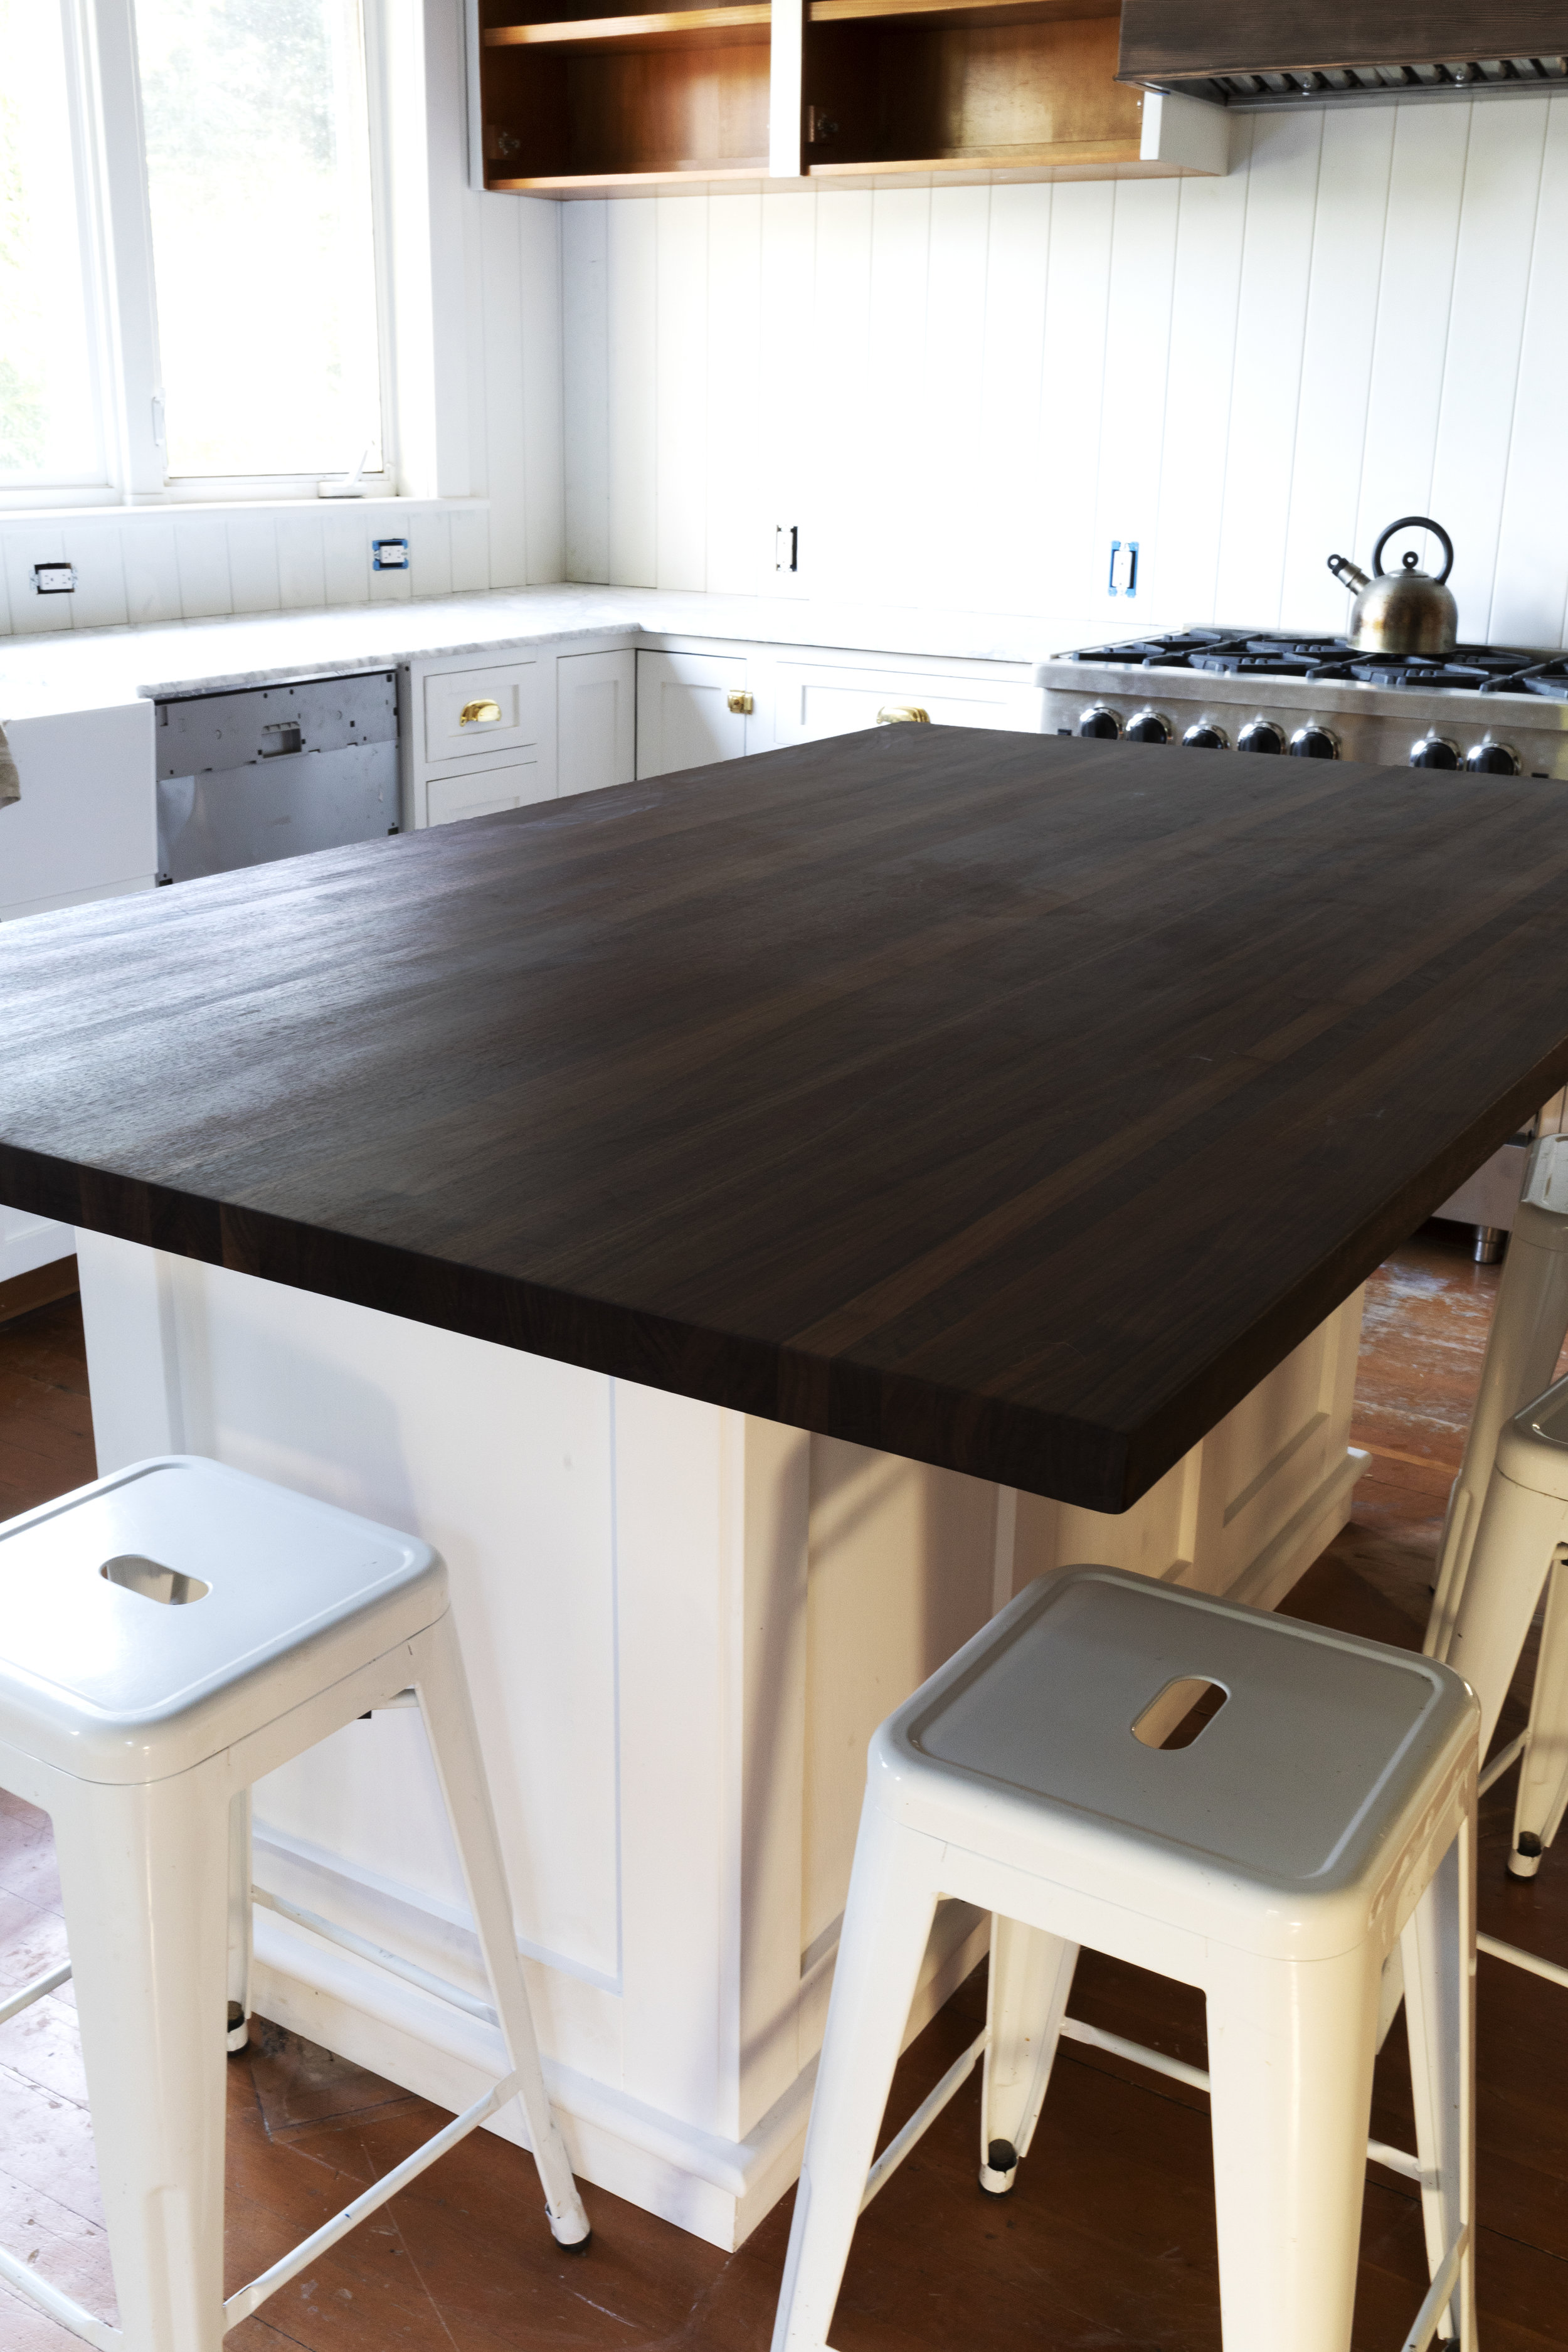
When I installed butcher block countertops in my kitchen three years ago, I faced the big decision of whether to stain them or leave them natural. After weeks of testing samples and consulting with woodworkers, I decided to stain them a rich walnut tone that would complement our cherry cabinets while still showing the beautiful wood grain. The staining process turned out to be more involved than I expected, but the results have been absolutely worth every hour of preparation and application. Now, living with these counters daily, I can share what really works and what I wish I’d known from the start.
Preparing the Surface for Staining
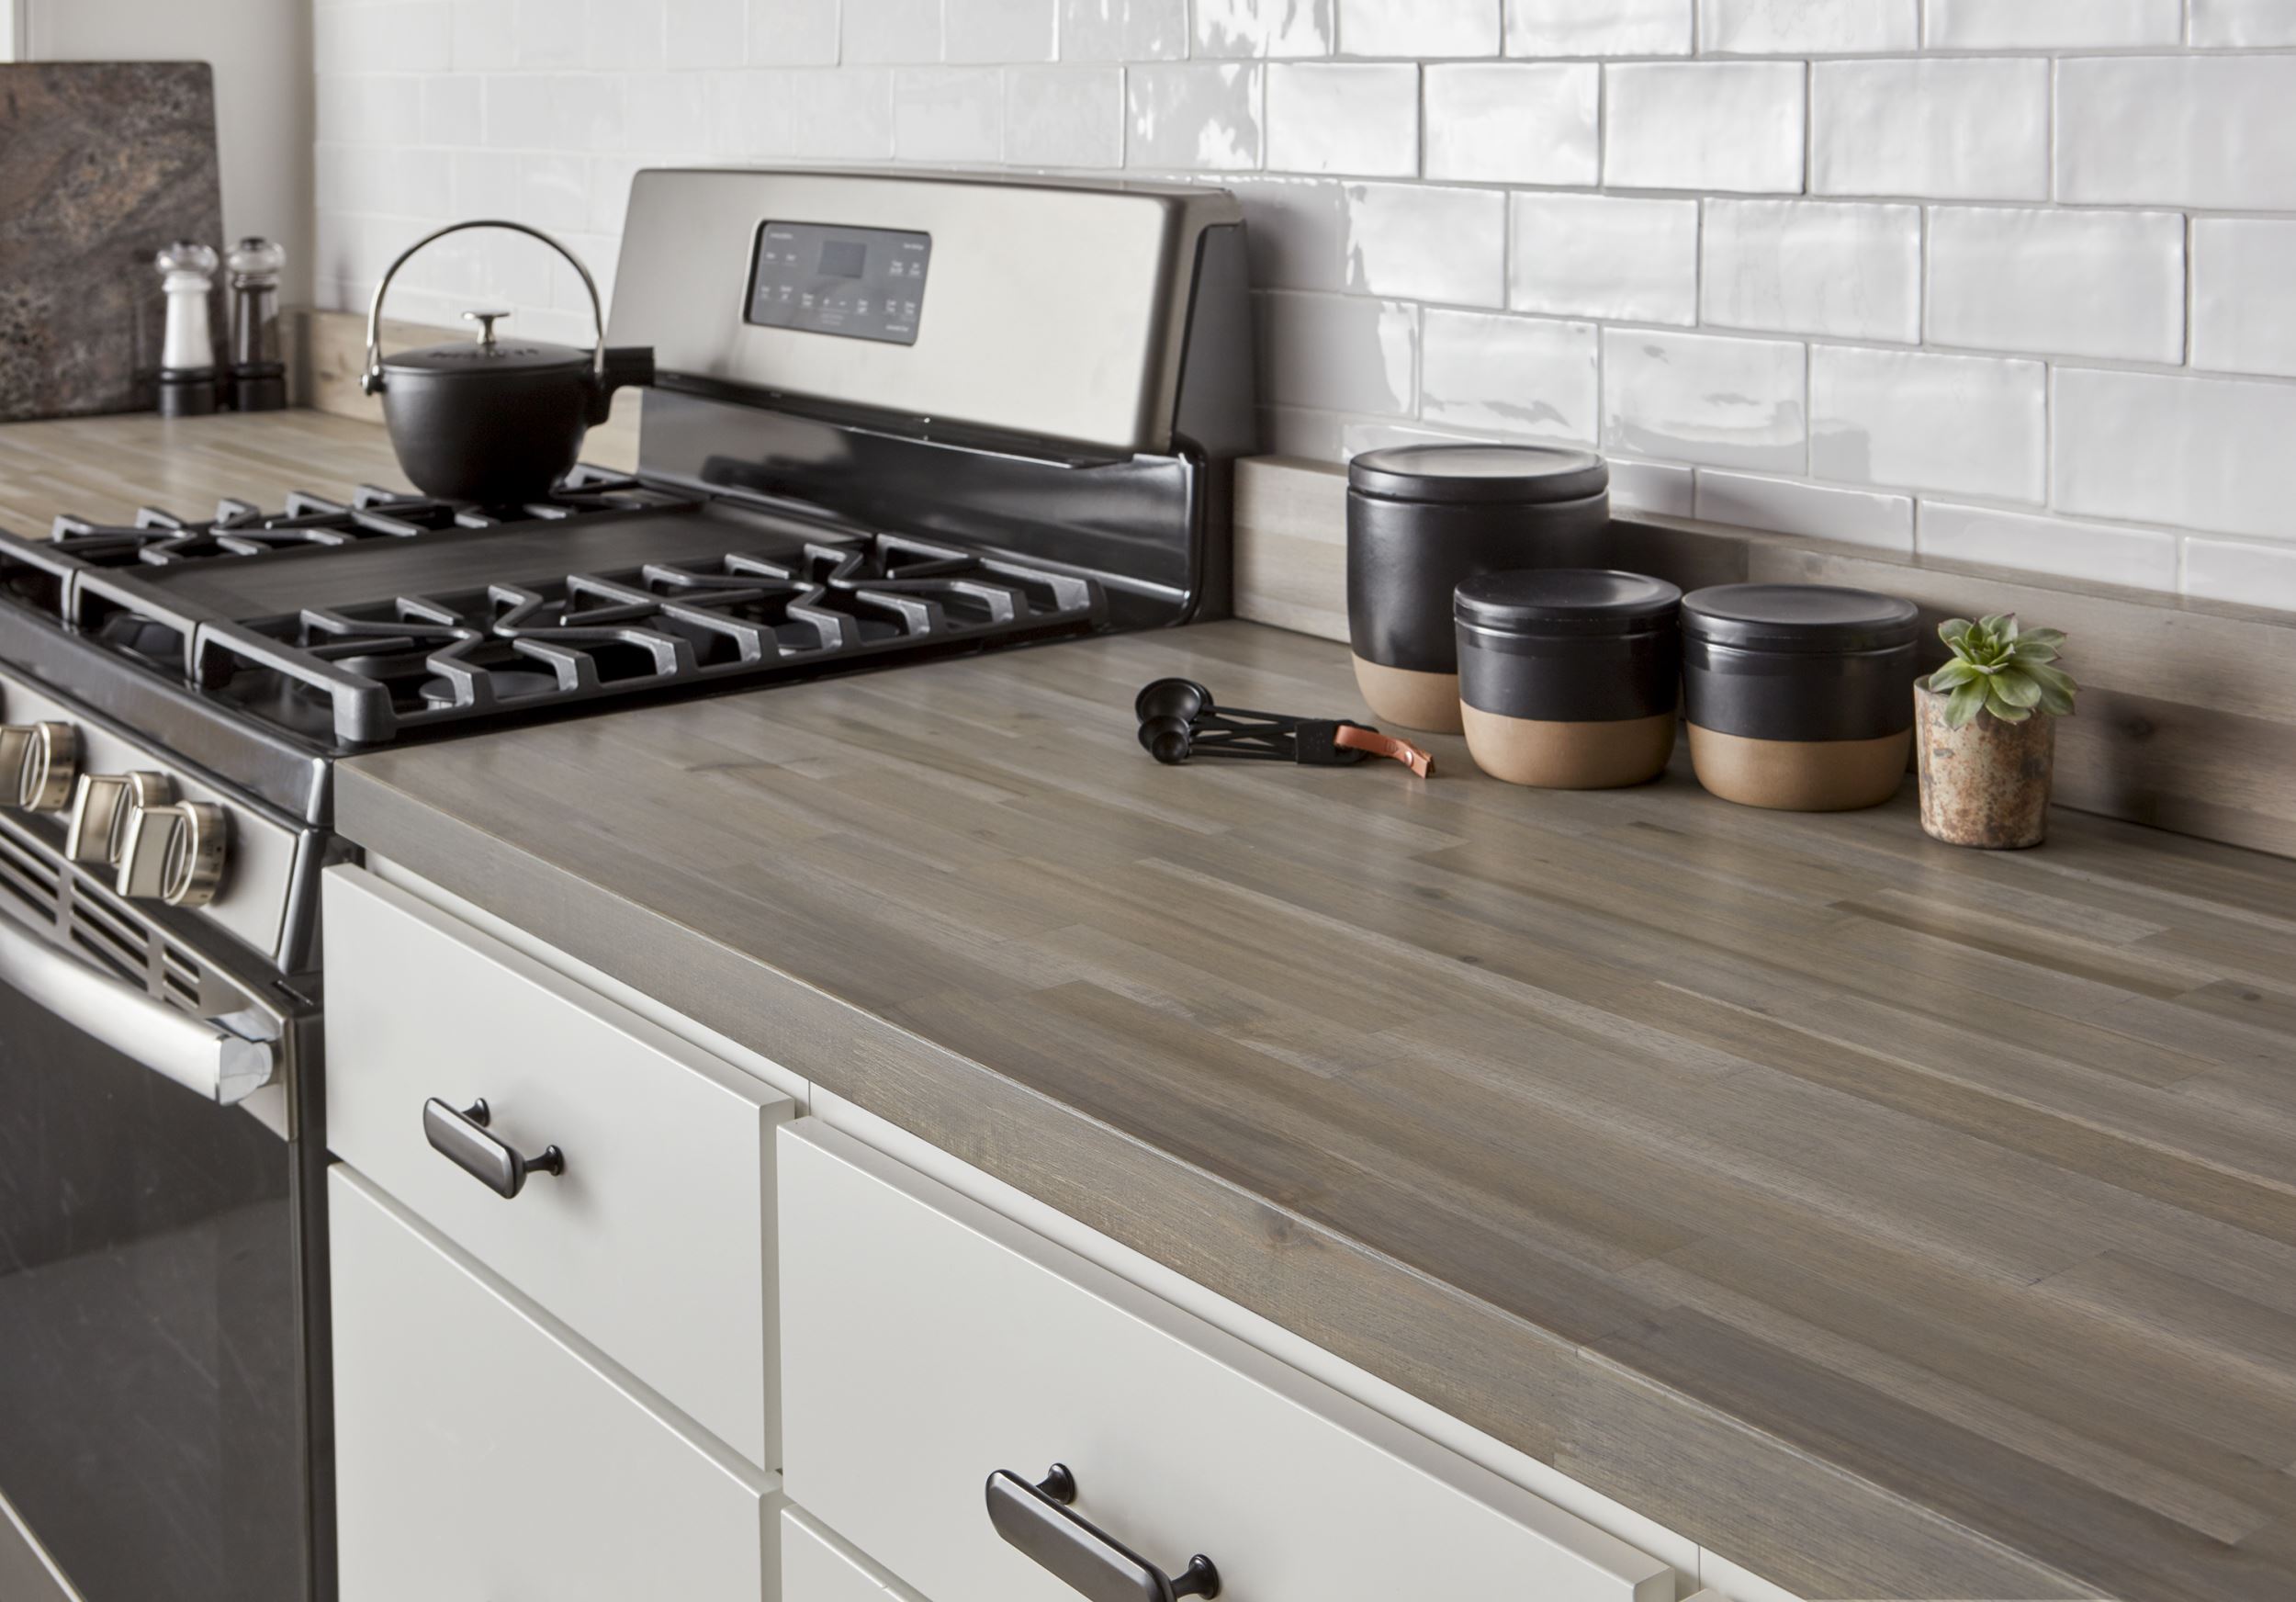
The preparation phase consumed far more time than the actual staining, teaching me that proper prep work makes all the difference in achieving professional-looking results. I spent two full days sanding our maple butcher block countertops, starting with 80-grit sandpaper to remove the factory finish and progressing through 120, 150, and finally 220-grit for a smooth surface. The orbital sander made this process manageable, though I still finished with hand sanding to reach corners and edges the machine couldn’t access properly.
Removing all dust between sanding stages proved absolutely critical for preventing imperfections in the final stained surface. I learned to use a tack cloth followed by a vacuum with a brush attachment, then wiped everything down with a slightly damp microfiber cloth. Any remaining dust particles would show up as light spots in the stain, something I discovered the hard way on my test piece. Taking the extra twenty minutes for thorough dust removal saved me from having to sand and restain problem areas later.
Conditioning the wood before staining became my secret weapon for achieving even color across the entire surface. Maple tends to absorb stain unevenly, creating blotchy results that look amateurish. I applied pre-stain wood conditioner following the manufacturer’s directions, which created a more uniform surface for the stain. This extra step added about an hour to my timeline but made an enormous difference in the final appearance, giving me the smooth, consistent color I wanted.

Choosing the Right Stain Color and Type
Selecting the perfect stain color involved testing far more samples than I initially thought necessary, but this investment of time prevented a costly mistake. I purchased eight different stain colors and tested each on scrap pieces of the same maple used in our countertops. The samples looked dramatically different on actual wood compared to the store display cards. What appeared as a warm honey tone on the card showed up as orange on our maple, while a “dark walnut” looked almost black.
Oil-based versus water-based stains presented distinct advantages and challenges that influenced my final choice. I tested both types extensively and ultimately chose oil-based stain for its richer color penetration and longer working time. Water-based stains dry faster, which sounds convenient but actually makes achieving even coverage more difficult for a large surface like countertops. The oil-based product gave me time to work methodically, ensuring consistent application without visible lap marks or color variations.
The number of coats dramatically affected the final color depth, something I learned through careful testing on my sample boards. One coat of my chosen walnut stain looked too light and showed the natural maple too prominently. Two coats achieved the perfect balance of warmth and depth while still allowing the beautiful wood grain to show through. I labeled each test piece with the exact product, number of coats, and drying time, creating a reference guide that proved invaluable during the actual application process.
Applying Stain for Even Coverage
The actual staining process required careful planning and execution to achieve the professional-looking finish I wanted for our kitchen. I started early in the morning to take advantage of natural light and moderate temperatures, both of which affected how the stain dried and looked. Working in sections about three feet long, I applied stain with a foam brush in the direction of the wood grain, maintaining a wet edge to prevent lap marks from forming between sections.
Timing the stain penetration became crucial for achieving consistent color across the entire surface. I let the stain sit for exactly eight minutes before wiping away the excess with clean cotton rags, working methodically from one end to the other. Areas where stain sat longer absorbed more color and appeared darker, so maintaining consistent timing throughout the application ensured even results. I set multiple timers on my phone to keep track of when each section needed wiping.
The wiping technique made an enormous difference in the final appearance and smoothness of the stained surface. I used long, continuous strokes following the wood grain, applying firm pressure to remove excess stain while working it into the wood. Frequent rag changes prevented redistributing stain or creating muddy areas. I went through probably thirty rags during the process, but this attention to detail created the smooth, even finish that makes our counters look professionally done.
Sealing and Protecting the Stained Surface
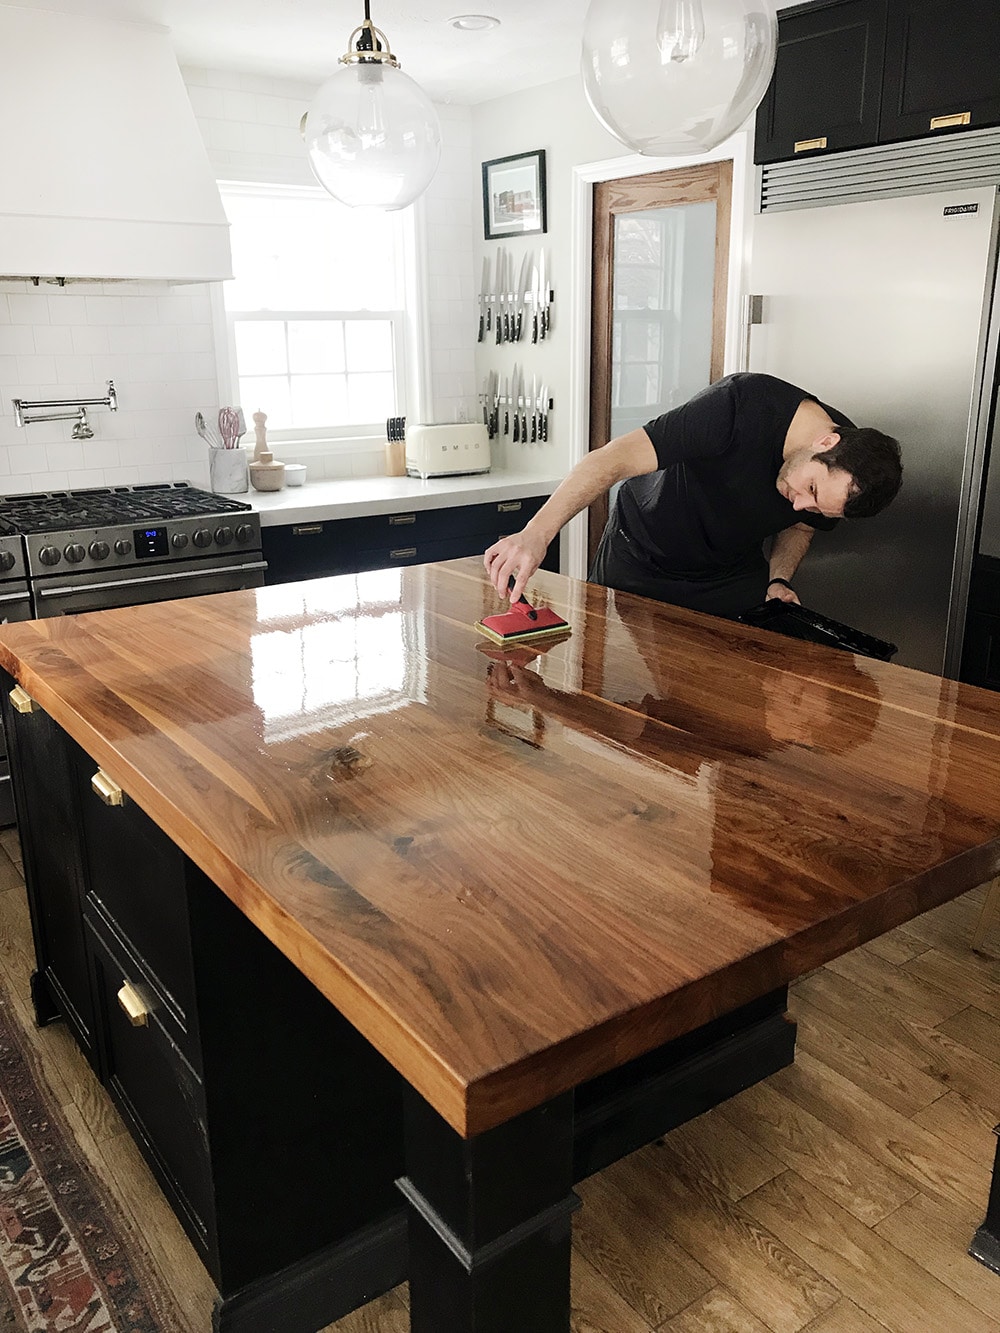
Choosing the right sealer proved just as important as the staining process for creating durable, food-safe countertops we could actually use daily. After extensive research into food-safe options, I selected Waterlox original sealer/finish, which penetrates deep into the wood while building a protective surface layer. This product specifically works well over oil-based stains and creates a waterproof barrier essential for kitchen countertops exposed to spills and moisture throughout the day.
The application process for the sealer required patience and multiple thin coats rather than trying to build protection quickly with thick applications. I applied five coats total, allowing each coat to dry for 24 hours before lightly sanding with 320-grit sandpaper and applying the next layer. This methodical approach took nearly a week to complete, but created a deep, lustrous finish that’s held up beautifully through three years of daily cooking, cleaning, and occasional mishaps.
Curing time became the hardest part of the entire project as I waited anxiously to use our beautiful new counters. The sealer required 30 days to fully cure before I could place hot items or use the surface for food preparation without protection. During this month, I used cutting boards and trivets religiously, resisting the temptation to test the durability prematurely. This patience paid off with counters that have remained gorgeous and functional through years of heavy family use.
Maintaining the Stained Finish Long-term
Daily maintenance of my stained butcher block countertops has become a simple routine that takes minimal time while preserving their beauty. I wipe up spills immediately using a damp cloth, preventing stains from setting into the sealed surface. For routine cleaning, I use mild dish soap and water, avoiding harsh chemicals or abrasive cleaners that could damage the finish over time. This basic care keeps the counters looking pristine despite cooking three meals a day for a family of four.
Annual maintenance involves light sanding and reapplication of sealer to high-wear areas that show signs of wear. After three years, only the sections around the sink and stove needed attention, requiring about four hours total to sand lightly and apply two fresh coats of sealer. This preventive maintenance costs roughly $50 in materials annually and keeps the counters looking as beautiful as the day I finished staining them. The investment of time feels minimal compared to the value these counters add to our kitchen.
Dealing with minor scratches and stains has proven easier than I expected with proper technique and quick action. Small scratches usually buff out with fine steel wool and a fresh application of sealer. For deeper scratches or stubborn stains, I sand the affected area with 220-grit sandpaper, reapply stain if needed to match the surrounding color, and seal according to the original process. Having leftover stain and sealer stored properly means I can address problems immediately before they become major issues.

Troubleshooting Common Staining Problems
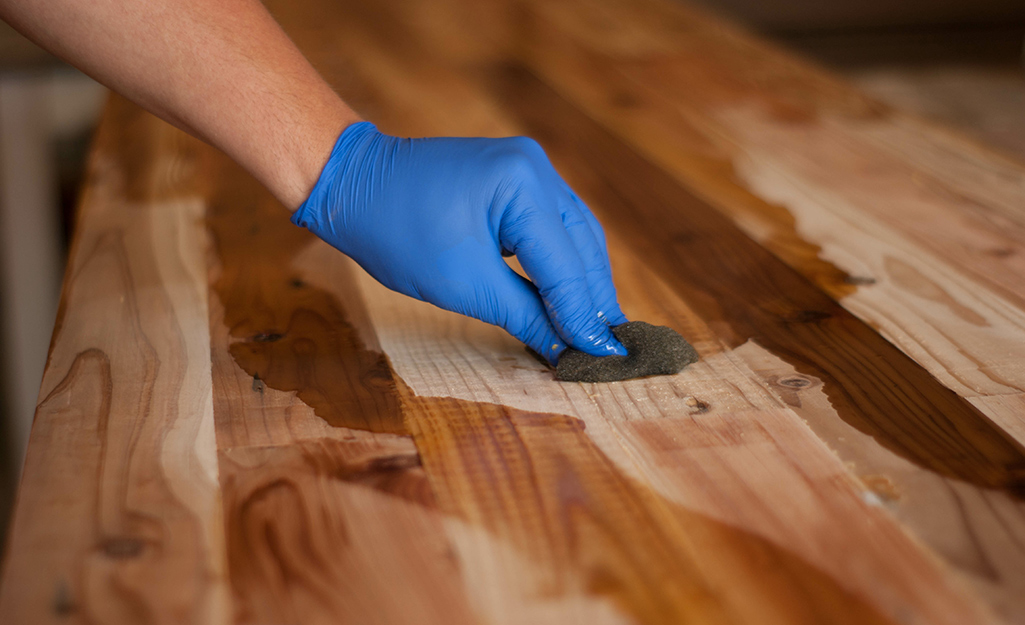
During my staining journey, I encountered several issues that taught me valuable lessons about working with wood and stain. Blotchy areas appeared in sections where I didn’t apply pre-stain conditioner evenly, creating lighter spots that stood out against the surrounding darker wood. I fixed these by lightly sanding the area, reapplying conditioner carefully, and restaining to match. This taught me the importance of meticulous application of every product, not just the visible stain layer.
Lap marks where one section of stain overlapped another created visible lines that looked unprofessional in certain lighting conditions. I learned that maintaining a wet edge while working and blending sections carefully prevents this problem. When lap marks did appear despite my efforts, I sanded the entire surface back to bare wood in that area and restained, blending more carefully into adjacent sections. This fix worked perfectly but reinforced the importance of proper technique from the start.
Air bubbles in the sealer created small imperfections that caught light and drew attention on the otherwise smooth surface. I discovered these appeared when I shook the sealer container before use rather than stirring gently, or when I applied coats too thickly. Light sanding between coats helped minimize bubbles, and I learned to work slowly and methodically during sealer application. For existing bubbles, gentle sanding and an additional thin coat of sealer smoothed everything out beautifully.

How long does the entire staining process take for butcher block countertops?
Plan for at least two weeks total. I spent two days sanding and prepping, one day staining, and another week applying five coats of sealer with drying time between coats. Then the sealer needed 30 days to cure fully before heavy use. The actual hands-on work totaled about 20 hours spread across this timeline. Rushing any stage compromises results.
Can I stain butcher block countertops darker after they’re already installed?
Yes, I successfully stained mine after installation. The key is thorough sanding to remove the existing finish and careful masking of walls, backsplash, and cabinets. I used plastic sheeting and painter’s tape extensively. Working with installed counters is more challenging than pre-installation staining, but definitely possible with patience and proper preparation. Just plan for extra cleanup time.

What’s the best stain type for butcher block used as food prep surface?
I used oil-based stain followed by Waterlox food-safe sealer, which creates a durable, food-safe surface once fully cured. The sealer protects the stain and wood, not the stain itself. Some people use pure mineral oil or butcher block oil instead of sealer for surfaces they’ll cut on directly, but this requires much more frequent maintenance.
How do I prevent stain from looking blotchy on maple butcher block?
Pre-stain wood conditioner is essential for maple, which naturally absorbs stain unevenly. I applied conditioner 15 minutes before staining, following product directions exactly. Test your complete process on scrap maple before starting. Some woods, like cherry or walnut, stain more evenly, but maple specifically needs conditioning for uniform results.

Is it better to stain butcher block before or after installation?
Before installation is much easier if possible. I stained after installation due to timing constraints, which meant extensive masking and careful cleanup. Pre-installation allows you to work on sawhorses in a garage or workshop with better control. However, either approach works with proper preparation. Consider your space constraints and comfort level with detail work.
How often do I need to reseal stained butcher block countertops?
I reseal high-wear areas annually and the full surface every 2-3 years. Areas around the sink and stove show wear faster. Watch for water that no longer beads up on the surface, indicating the seal is weakening. Catching wear early and resealing promptly prevents moisture damage and maintains appearance. Annual maintenance takes just a few hours.

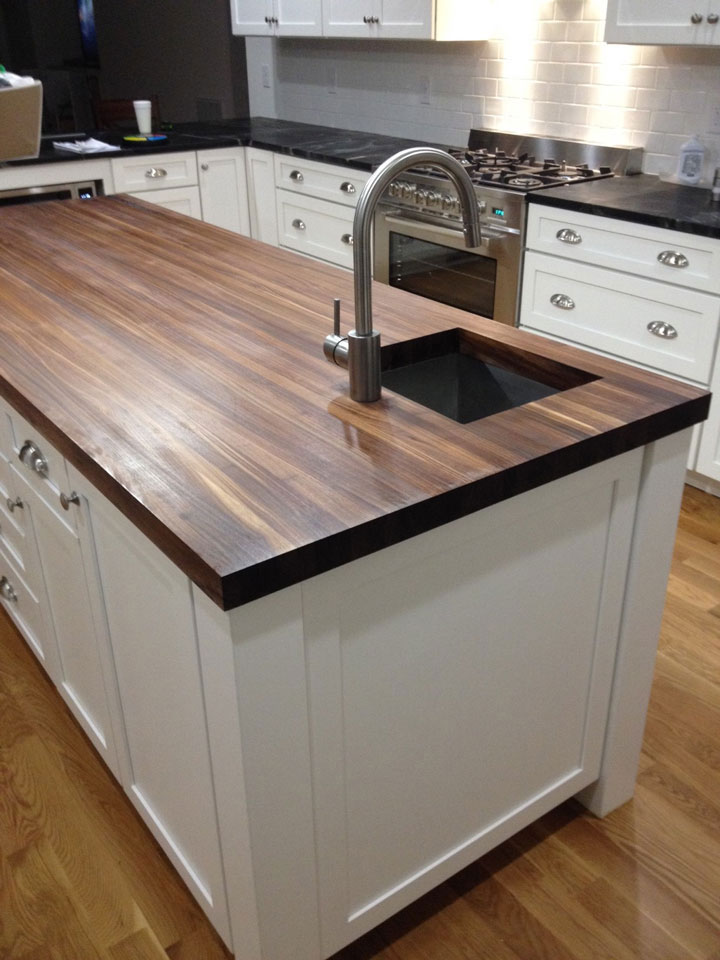
CenterPointe Butcher Block – VT Industries Inc.
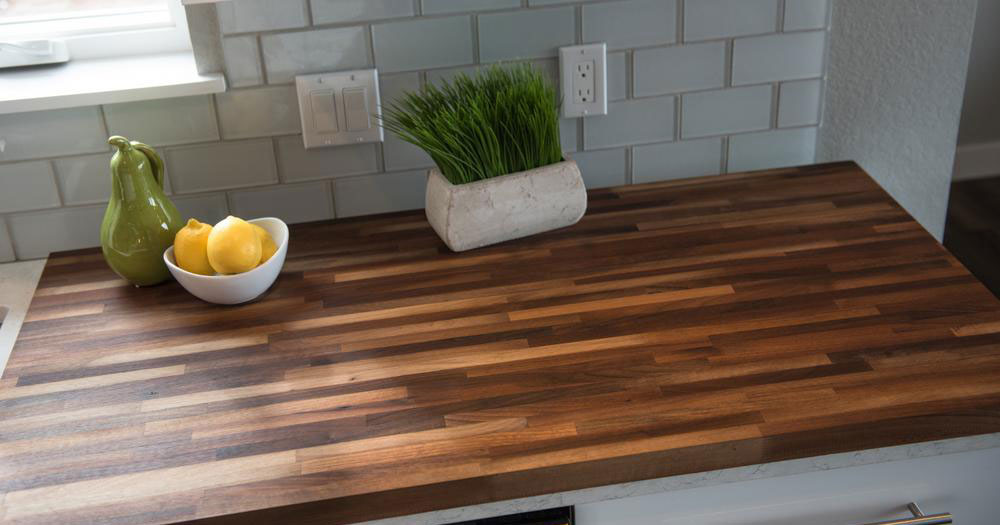
Walnut Butcher Block Countertops – Country Mouldings
Size and Wood Species Options for DIY Butcher Block Projects
Related articles:
- Butcher Block Countertops Decor
- Butcher Block Countertops Cottage
- Stain Butcher Block Countertops
- Butcher Block Countertops Vintage
- Butcher Block Countertop Farmhouse Sink
- Mahogany Butcher Block Countertops
- Butcher Block Countertop For Kitchen Island
- Can You Paint Butcher Block Countertops
- Butcher Block Countertops With White Cabinets
- Pine Butcher Block Countertops