Resurfacing a bathroom countertop DIY is a cost-effective and creative way to refresh the look of your bathroom without completely replacing the countertop. Whether you’re looking to update an outdated countertop or customize it to match your decor, resurfacing offers a variety of options to achieve your desired aesthetic. In this comprehensive guide, we’ll explore the steps, materials, and techniques involved in resurfacing a bathroom countertop DIY.
Assess the Condition: Before beginning the resurfacing process, assess the condition of your bathroom countertop. Determine if there are any cracks, chips, or stains that need to be repaired before proceeding with resurfacing.
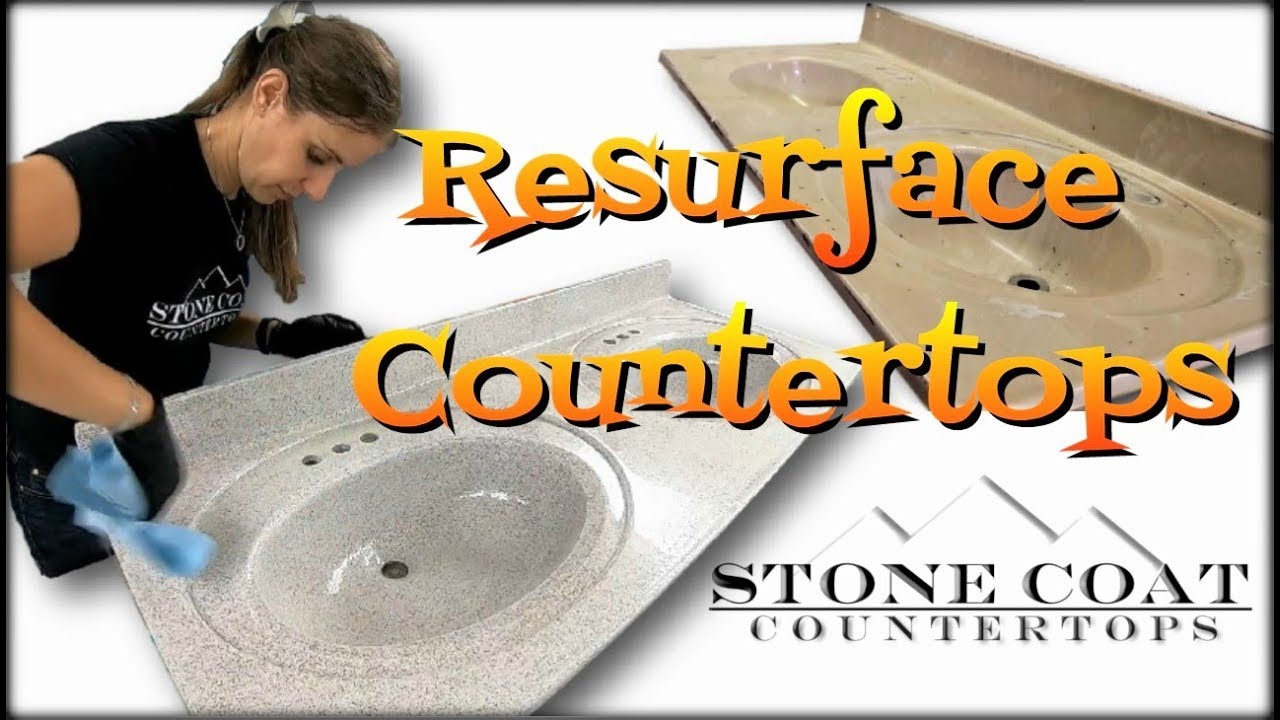
Choose the Resurfacing Material: There are several options available for resurfacing bathroom countertops, including paint, epoxy resin, laminate sheets, and tile overlays. Each material offers unique benefits and aesthetics, so choose the one that best suits your preferences and budget.
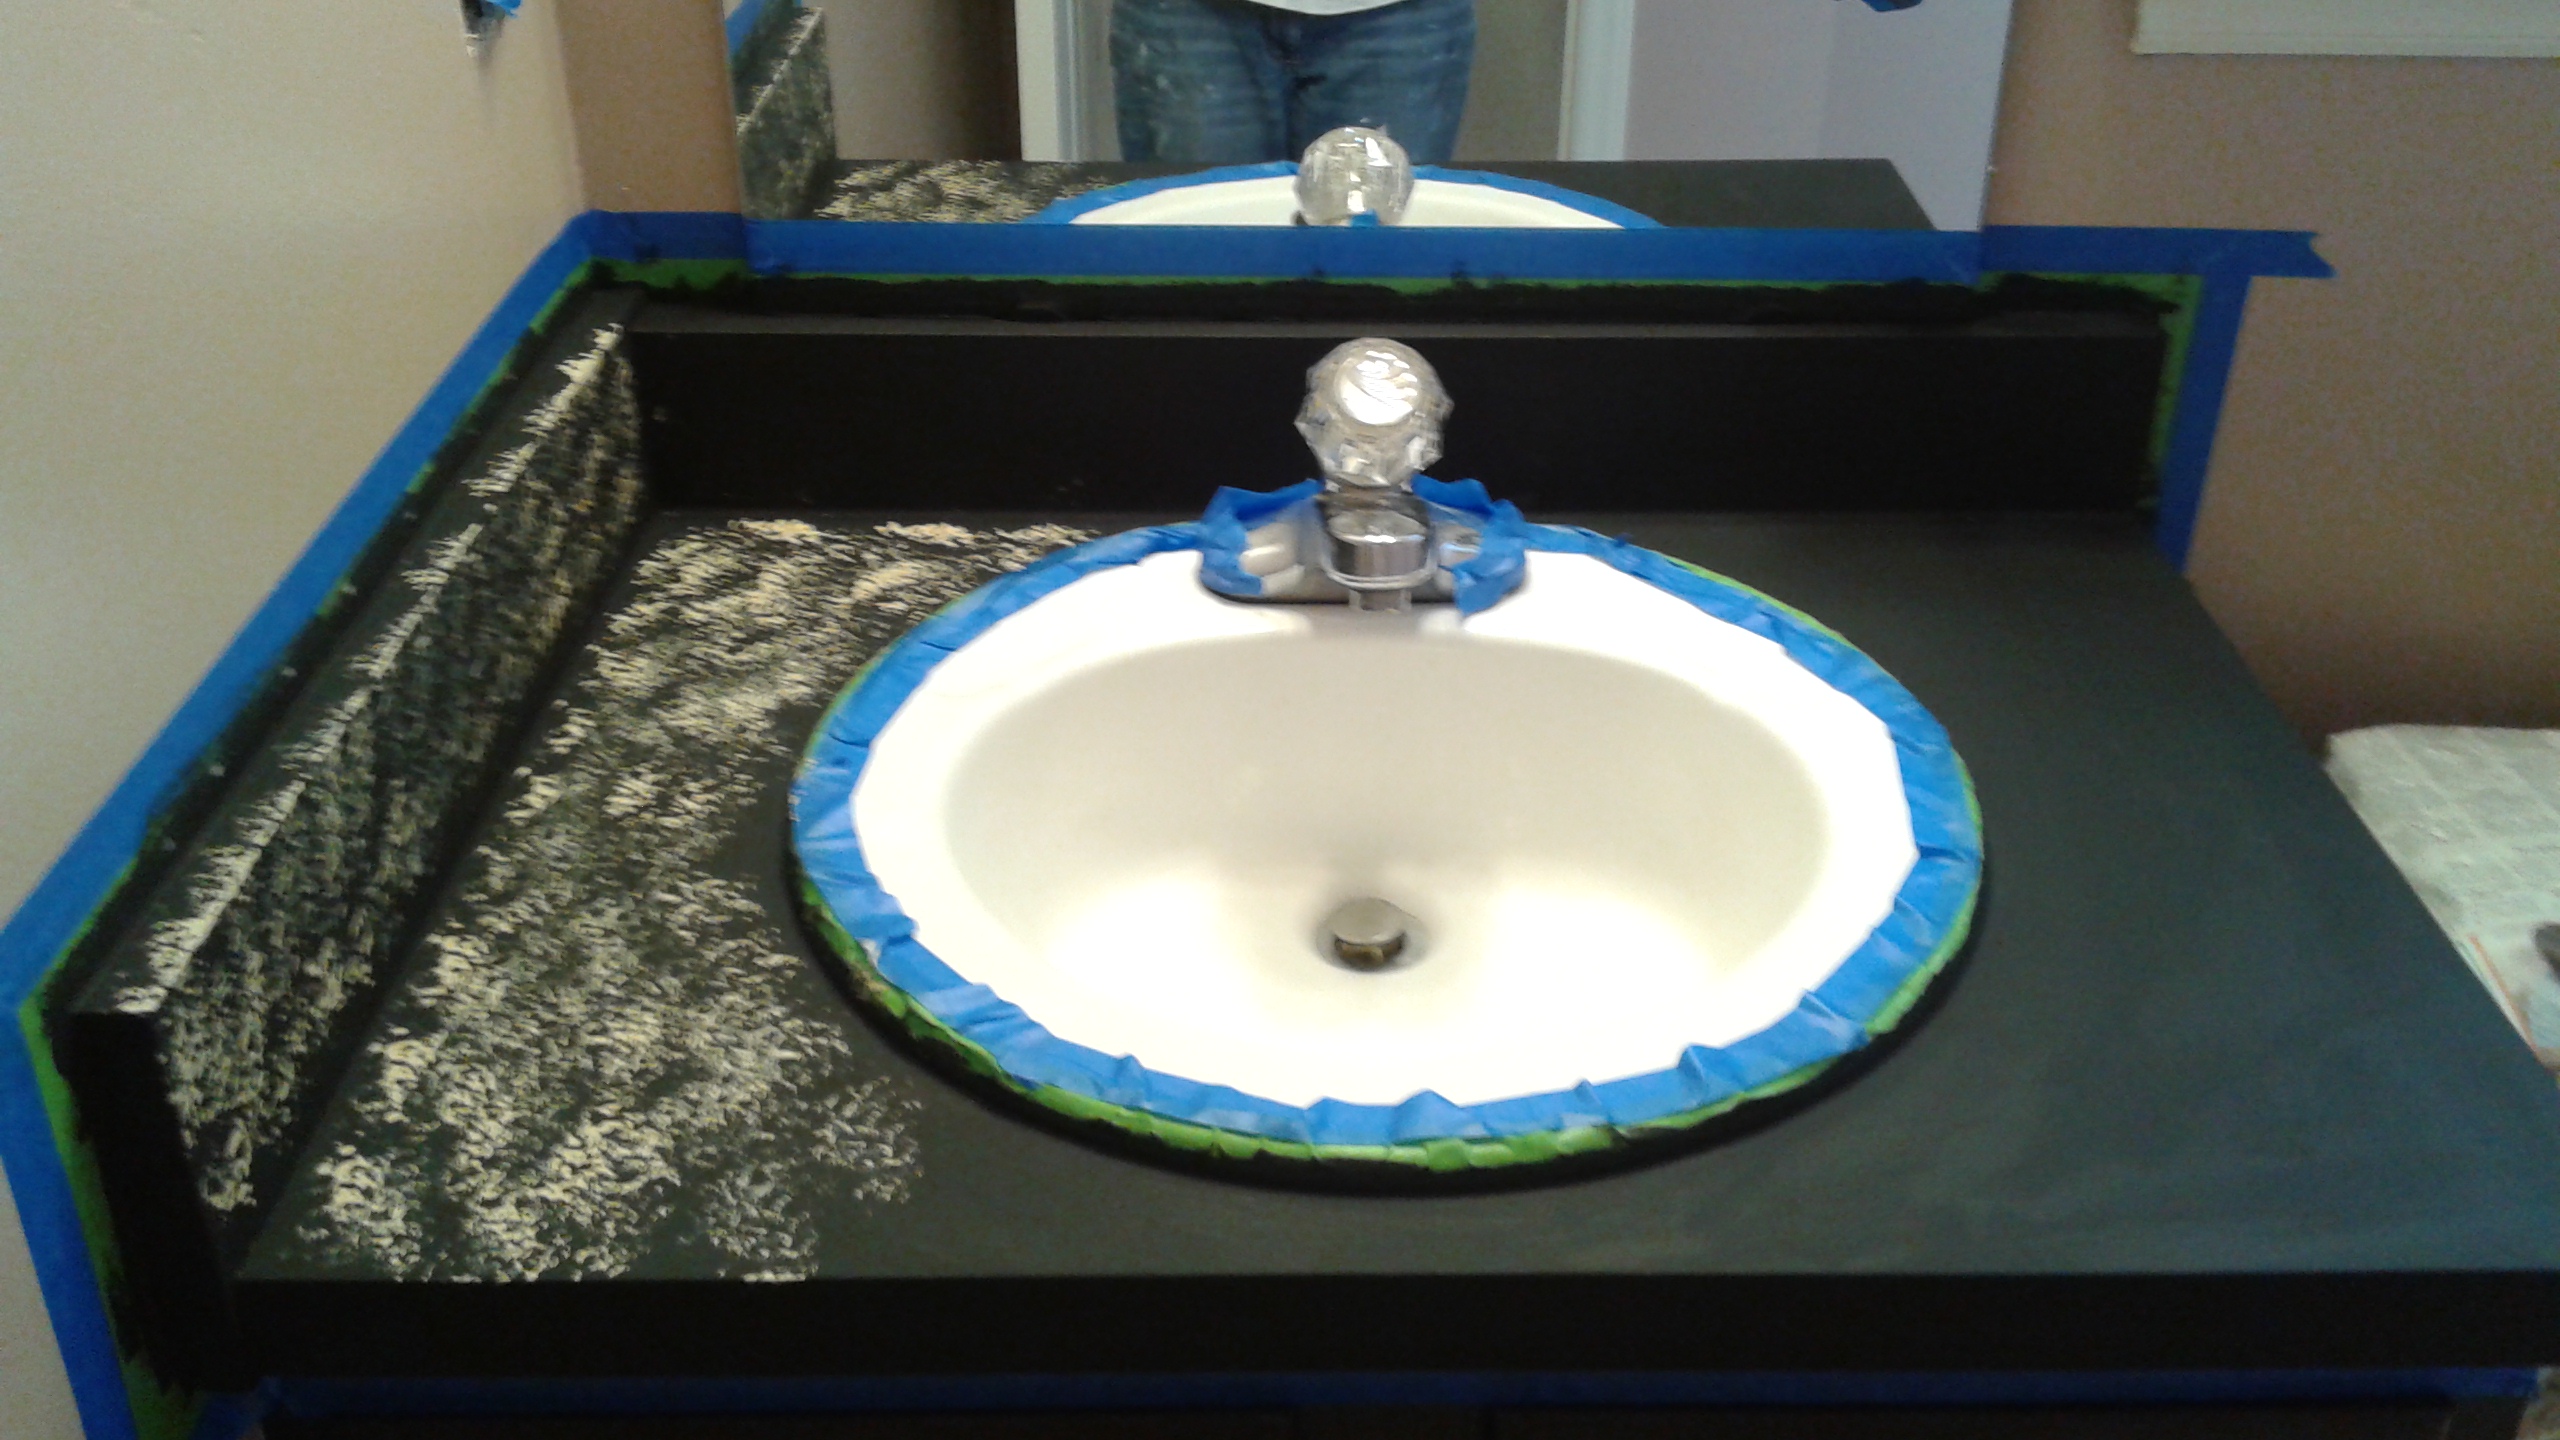
Prepare the Surface: Proper preparation is crucial for a successful resurfacing project. Clean the countertop thoroughly to remove any dirt, grease, or debris. Sand the surface lightly to create a rough texture that helps the resurfacing material adhere better.
Repair Any Damage: If your countertop has any cracks, chips, or holes, repair them using a suitable filler or epoxy. Allow the filler to dry completely before proceeding to the next step.

Apply Primer: Apply a bonding primer designed for the specific resurfacing material you’ve chosen. The primer helps the resurfacing material adhere to the countertop and ensures a durable finish.
Apply Resurfacing Material: Follow the manufacturer’s instructions to apply the chosen resurfacing material evenly to the countertop surface. Whether you’re painting, applying epoxy resin, or installing laminate sheets, take your time to achieve a smooth and uniform finish.
Allow for Drying/Curing Time: Depending on the type of resurfacing material used, allow sufficient drying or curing time before using the countertop. This step is essential to ensure that the finish is fully set and durable.
Seal and Protect: Once the resurfacing material has dried or cured completely, apply a sealant or topcoat to protect the countertop from moisture, stains, and daily wear and tear. Choose a sealant that is compatible with the resurfacing material for optimal results.
Reinstall Fixtures: If you removed any fixtures or hardware from the countertop during the resurfacing process, reinstall them once the sealant has dried. This includes faucets, sink drains, and any decorative elements.
Clean Up: Dispose of any leftover materials and clean up your work area thoroughly. Proper cleanup ensures a neat and professional-looking finish to your DIY resurfacing project.
Maintenance Tips: To maintain the appearance and durability of your resurfaced bathroom countertop, avoid abrasive cleaners and harsh chemicals that can damage the finish. Instead, use mild soap and water for regular cleaning, and wipe up spills promptly to prevent staining.
Considerations: Keep in mind that while DIY resurfacing can be a cost-effective option, it may not be suitable for all countertop materials or conditions. If your countertop is severely damaged or structurally unsound, it may be more practical to replace it entirely.

Customization Options: Resurfacing allows for a high level of customization, so don’t be afraid to get creative with colors, patterns, and textures. You can use stencils, decorative additives, or even incorporate natural elements like stones or shells for a unique look.
Budget-Friendly Alternative: Resurfacing is typically more affordable than replacing the entire countertop, making it a budget-friendly option for bathroom renovations. With careful planning and execution, you can achieve professional-looking results at a fraction of the cost.
Personal Satisfaction: Undertaking a DIY resurfacing project can be a rewarding experience, allowing you to showcase your creativity and handy skills while transforming your bathroom’s appearance.
Can I resurface my bathroom countertop myself?
Yes, resurfacing a bathroom countertop DIY is entirely possible with the right materials, tools, and techniques. However, it’s essential to assess the condition of your countertop and choose the appropriate resurfacing method for optimal results.
What is the best material for resurfacing a bathroom countertop?
The best material for resurfacing a bathroom countertop depends on your preferences, budget, and desired aesthetic. Options include paint, epoxy resin, laminate sheets, and tile overlays, each offering unique benefits and aesthetics.
How long does it take to resurface a bathroom countertop DIY?
The time required to resurface a bathroom countertop DIY depends on various factors, including the size of the countertop, the chosen resurfacing material, and the drying/curing times involved. Plan for at least a day or two to complete the project from start to finish.
Can I use my resurfaced bathroom countertop immediately after finishing the project?
It’s essential to allow sufficient drying or curing time for the resurfacing material and sealant to set completely before using the countertop. Follow the manufacturer’s instructions for specific drying/curing times to ensure a durable finish.
Is DIY resurfacing cost-effective compared to replacing the entire countertop?
Yes, DIY resurfacing is generally more cost-effective than replacing the entire countertop, making it a budget-friendly option for bathroom renovations. With careful planning and execution, you can achieve professional-looking results at a fraction of the cost.

Cultured Marble Resurfacing Marble countertops bathroom, Marble

How To Refinish Bathroom Cabinets DIY Domestic Blonde
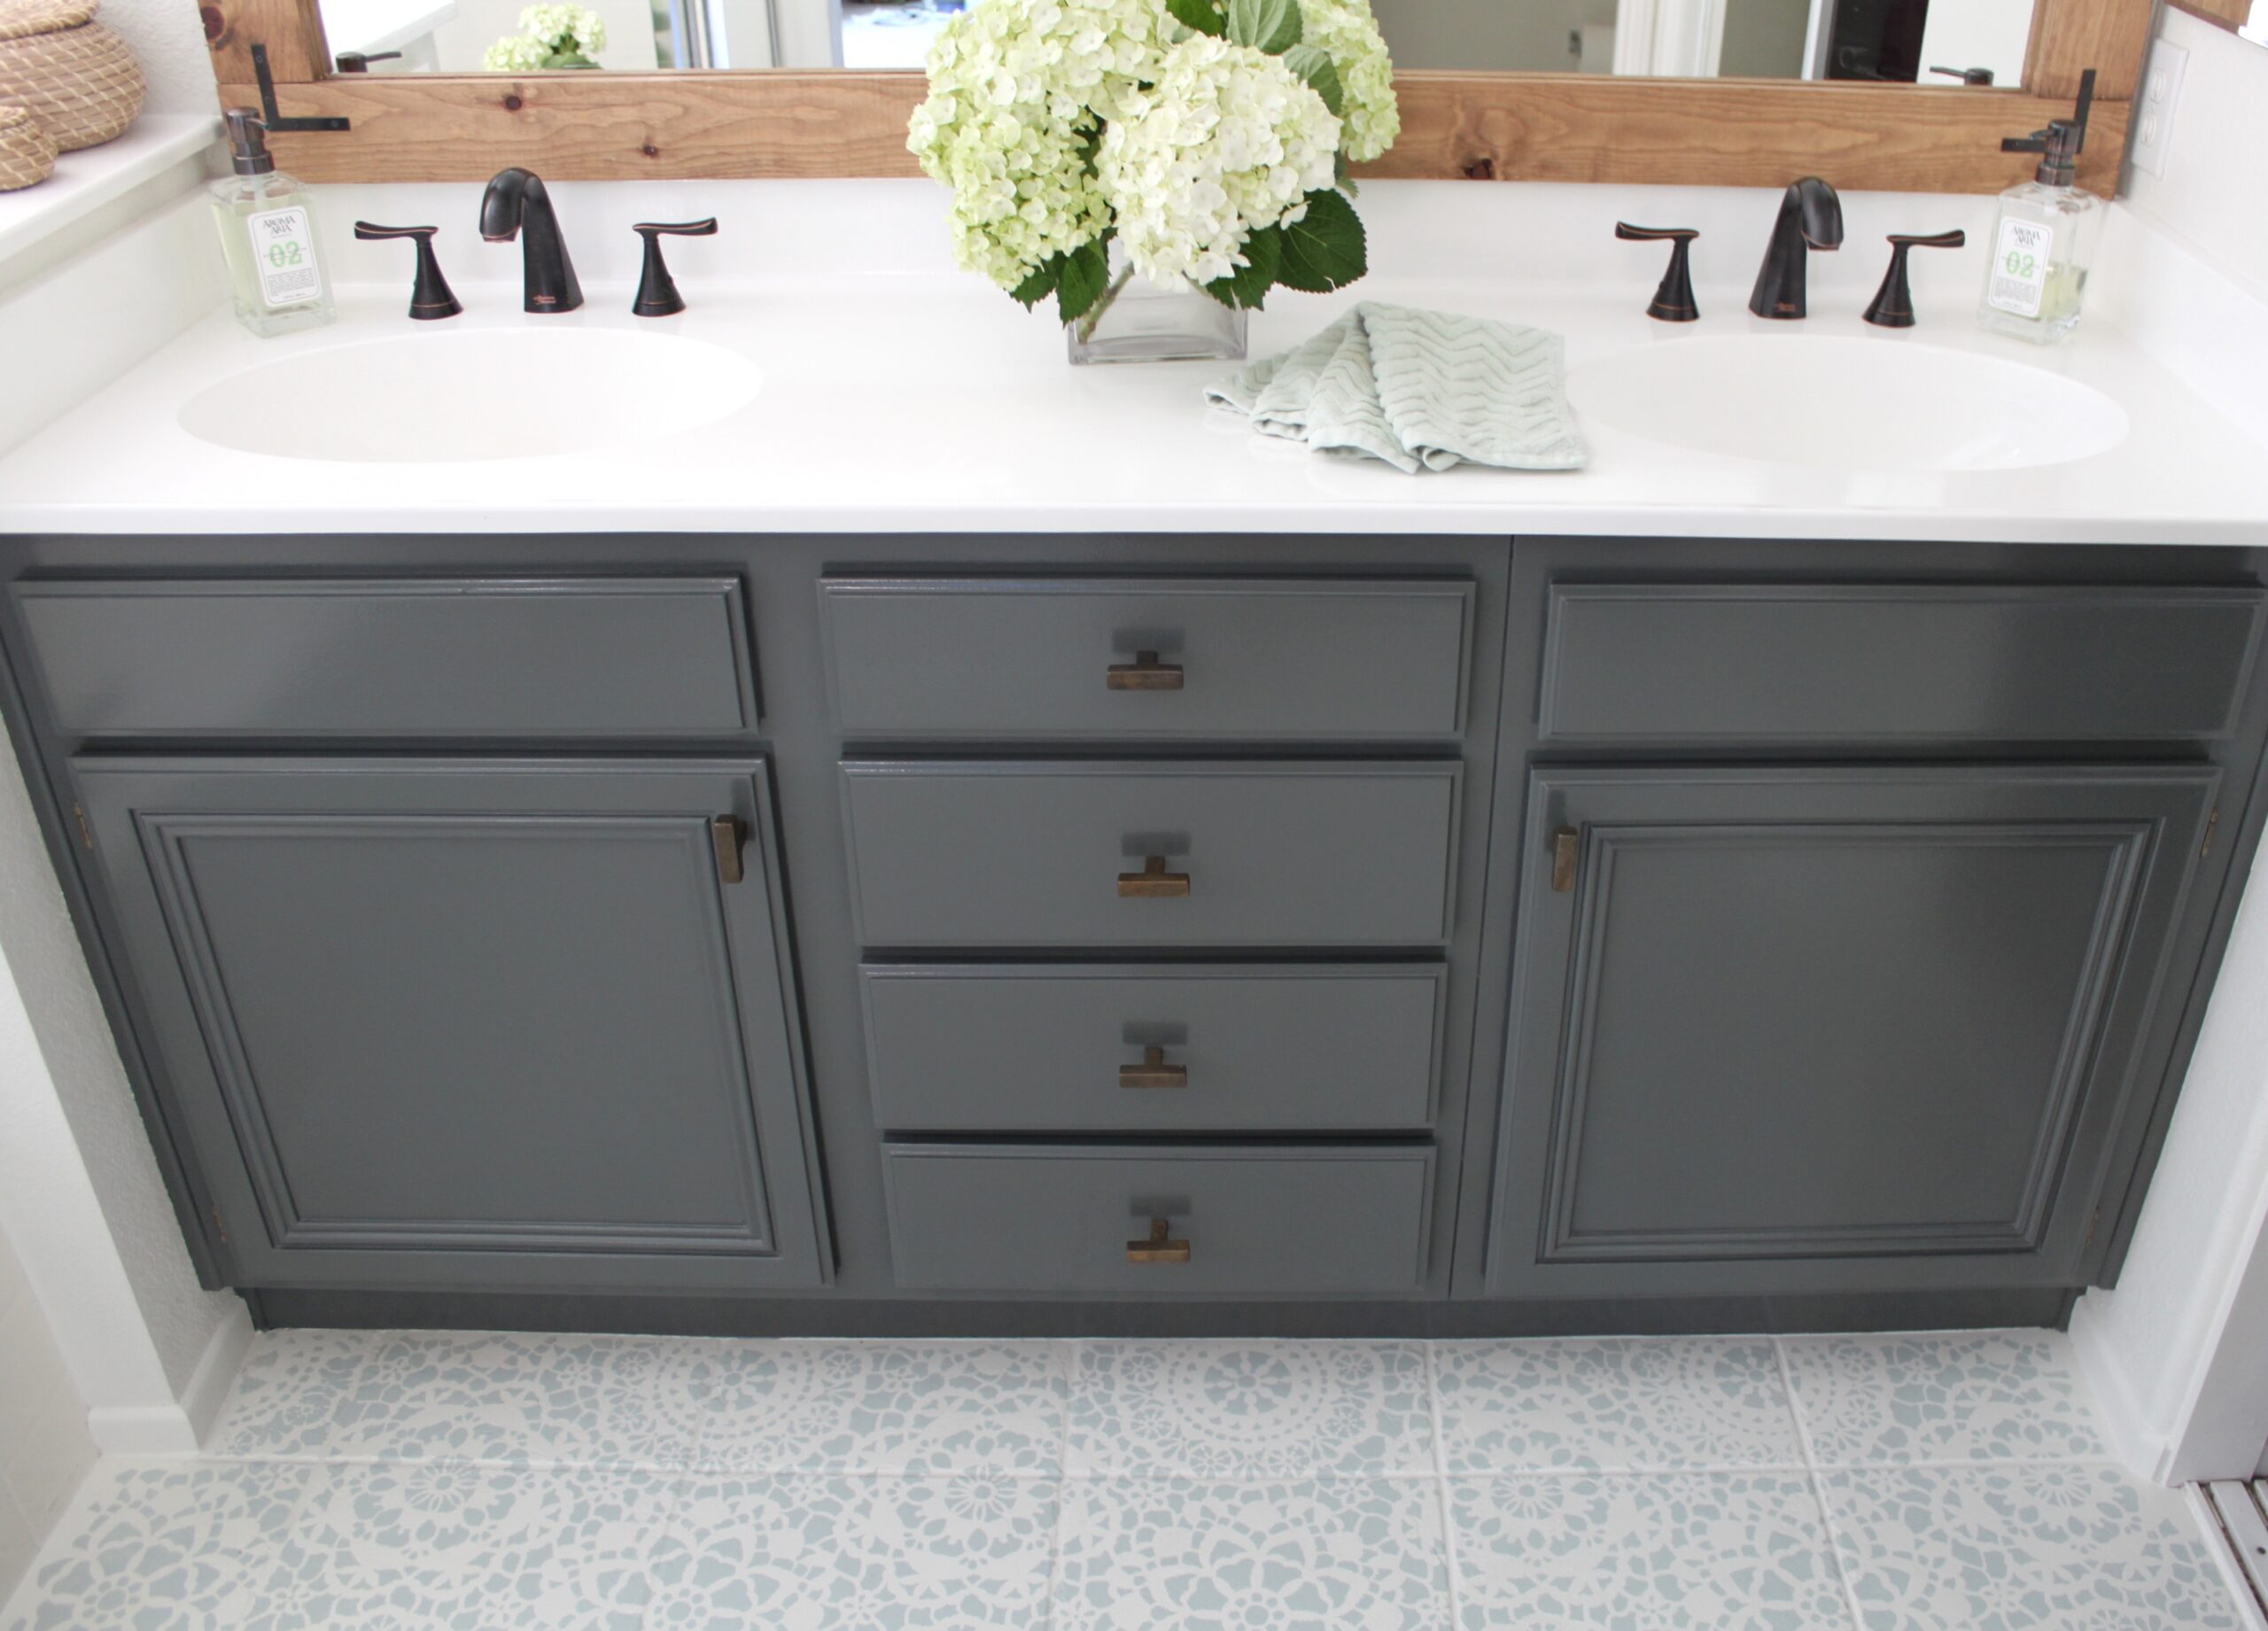
Bathroom Countertop Refinishing – A budget friendly bathroom update

Bathroom Countertop Refinishing – A budget friendly bathroom update

Remodelaholic Painted Bathroom Sink and Countertop Makeover

Related articles:
- Concrete Bathroom Countertop Ideas
- Farmhouse Bathroom Countertops
- Dark Bathroom Countertops
- White Bathroom Countertops
- Concrete Bathroom Countertops DIY
- Onyx Bathroom Countertops
- Bathroom Countertop Remodel
- Inexpensive Bathroom Countertops
- Resin Bathroom Countertops
- Walnut Bathroom Countertop