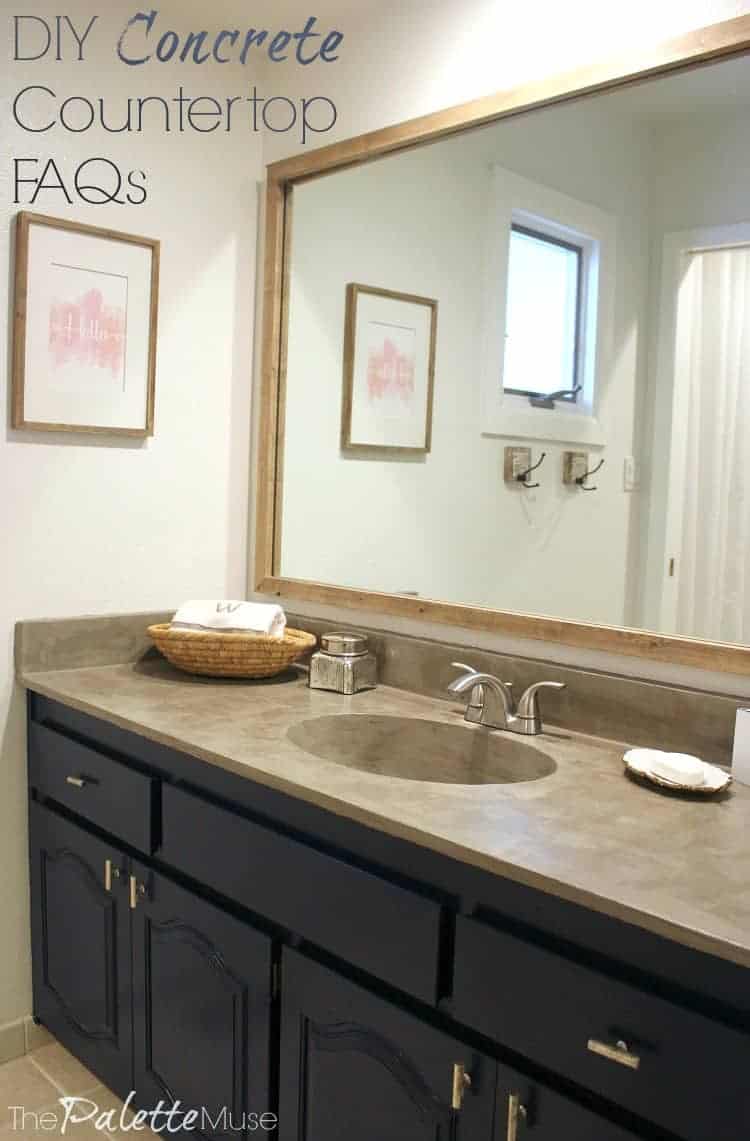
When I first suggested concrete countertops for our master bathroom renovation, my husband looked at me like I’d lost my mind. The idea of mixing and pouring concrete in our house seemed overwhelming and messy. But after two years of living with our beautiful, custom concrete counters, I can confidently say it was one of the most rewarding DIY projects we’ve ever tackled. The process taught me that concrete isn’t just for driveways; it’s an incredibly versatile material that can create stunning, one-of-a-kind bathroom surfaces for a fraction of the cost of natural stone.
Planning Your Concrete Mix and Materials
Choosing the right concrete mix was my first major decision, and I spent weeks researching options before settling on a high-strength countertop mix. I initially considered regular concrete, but specialized countertop mixes contain finer aggregates and additives that create smoother finishes. The extra cost was worth it for the professional results I wanted in our bathroom.
I learned that the water-to-cement ratio is absolutely critical for both strength and workability. Too much water weakens the concrete, while too little makes it difficult to work with and can cause cracking. After several test batches, I found the sweet spot was slightly less water than the package recommended, compensated by using a plasticizer to maintain workability.
Color additives opened up a whole new design possibility I hadn’t initially considered. I started with plans for natural gray concrete, but ended up adding a warm beige pigment that complements our bathroom’s earth tones beautifully. Integral color costs more than surface staining but provides consistent color throughout, which matters if you ever get chips or scratches.

Building the Perfect Form and Template System
Creating accurate forms was more challenging than I expected, especially around the sink cutouts and faucet holes. I used melamine-coated particleboard for the forms because its smooth surface creates a beautiful finish on the concrete. Regular plywood would have required extensive sanding and sealing to achieve the same results.
Getting the sink template exactly right took three attempts and plenty of cardboard mock-ups. I traced the actual sink multiple times and made a sturdy template from thin plywood. The key was making the opening about 1/8 inch smaller than the sink rim to ensure proper support. Measuring twice and cutting once definitely applies here.
I discovered that proper form release is essential for easy removal and a smooth finish. I used a combination of paste wax and plastic sheeting, applied generously to every surface the concrete would touch. This step saved me hours of cleanup later and prevented the heartbreak of concrete sticking to forms and creating rough spots.

Mixing and Pouring Techniques That Actually Work
My first mixing attempt was a disaster because I tried to mix too much at once. Concrete has a limited working time, especially in warmer weather, so I learned to work in smaller batches. For our 6-foot vanity, I mixed and poured in three separate sections, which gave me enough time to work each section properly.
The pouring technique makes a huge difference in the final appearance. I poured slowly and evenly, using a trowel to guide the concrete into corners and around curves. Vibrating the forms with a reciprocating saw (without the blade) helped eliminate air bubbles that would have created surface voids. This technique was a game-changer for achieving professional results.
Working the surface immediately after pouring was crucial for removing air bubbles and achieving smoothness. I used a combination of troweling and floating, working quickly but carefully. The concrete starts setting faster than you’d expect, so having all tools ready and a clear plan of attack is essential for success.

Finishing and Polishing for Professional Results
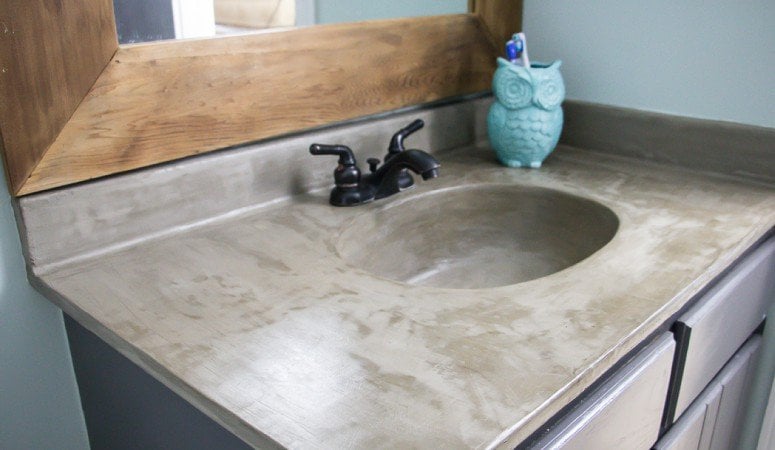
The initial finishing happened while the concrete was still workable, but the real magic happened during the polishing phase several days later. I started with 120-grit sandpaper to remove any high spots and imperfections, then worked progressively through 220, 400, and finally 800-grit for that smooth, stone-like finish I was after.
Wet sanding made all the difference in both dust control and achieving a smooth finish. I kept a spray bottle handy and worked in small sections, frequently cleaning the surface to check my progress. This process revealed the beautiful aggregate patterns and gave the surface that subtle sheen that makes people think it’s natural stone.
The polishing phase took longer than expected but was incredibly satisfying. Each successive grit level revealed more depth and character in the concrete. By the time I reached 800-grit, the surface was smooth enough that water beaded on it beautifully. This attention to detail is what separates amateur from professional-looking results.

Sealing and Waterproofing for Bathroom Use
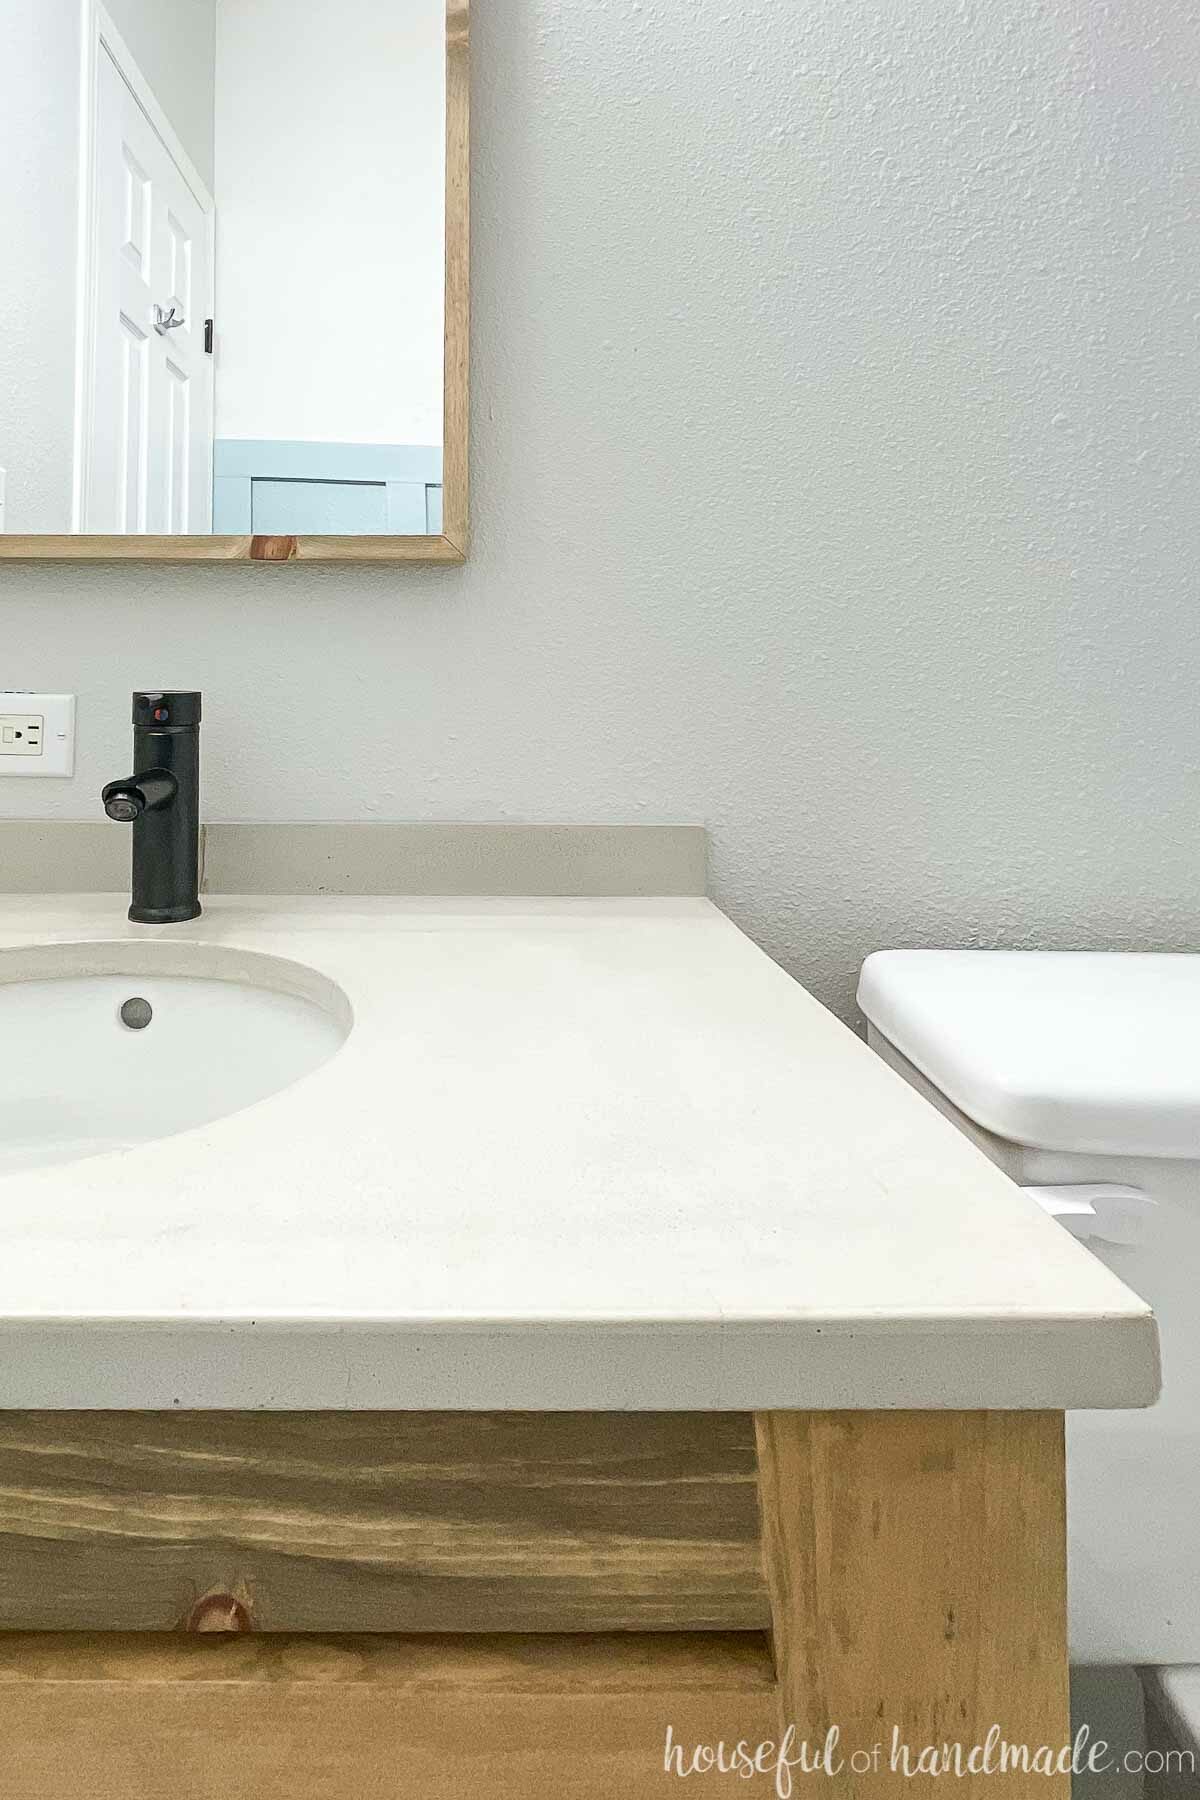
Sealing concrete countertops for bathroom use requires more than just any old sealer. I chose a penetrating sealer specifically designed for concrete in wet environments. This type of sealer soaks into the concrete rather than sitting on top, providing better long-term protection without creating a plastic-looking surface.
The application process was more involved than I anticipated. I applied three thin coats, allowing each to penetrate completely before applying the next. Rushing this process would have compromised the water resistance, which is obviously critical in a bathroom setting. The sealer also enhanced the color slightly, making it more vibrant.
I learned that proper curing before sealing is essential. I waited two full weeks before applying any sealer, even though I was eager to finish the project. Concrete continues to cure and gain strength for weeks, and sealing too early can trap moisture and cause problems down the road.
Installation and Final Assembly Tips
Installing the finished countertops was nerve-wracking because concrete is heavy and unforgiving if dropped. I enlisted two strong friends and we practiced the lift and placement several times with cardboard templates before attempting it with the real thing. Having a solid plan and clear communication prevented disaster.
The fit was nearly perfect, but I had to do some minor adjustments around the plumbing connections. A diamond blade in an angle grinder made quick work of these adjustments. I learned to make cuts slowly and keep the blade wet to prevent chipping and extend blade life. Having spare diamond blades on hand was money well spent.
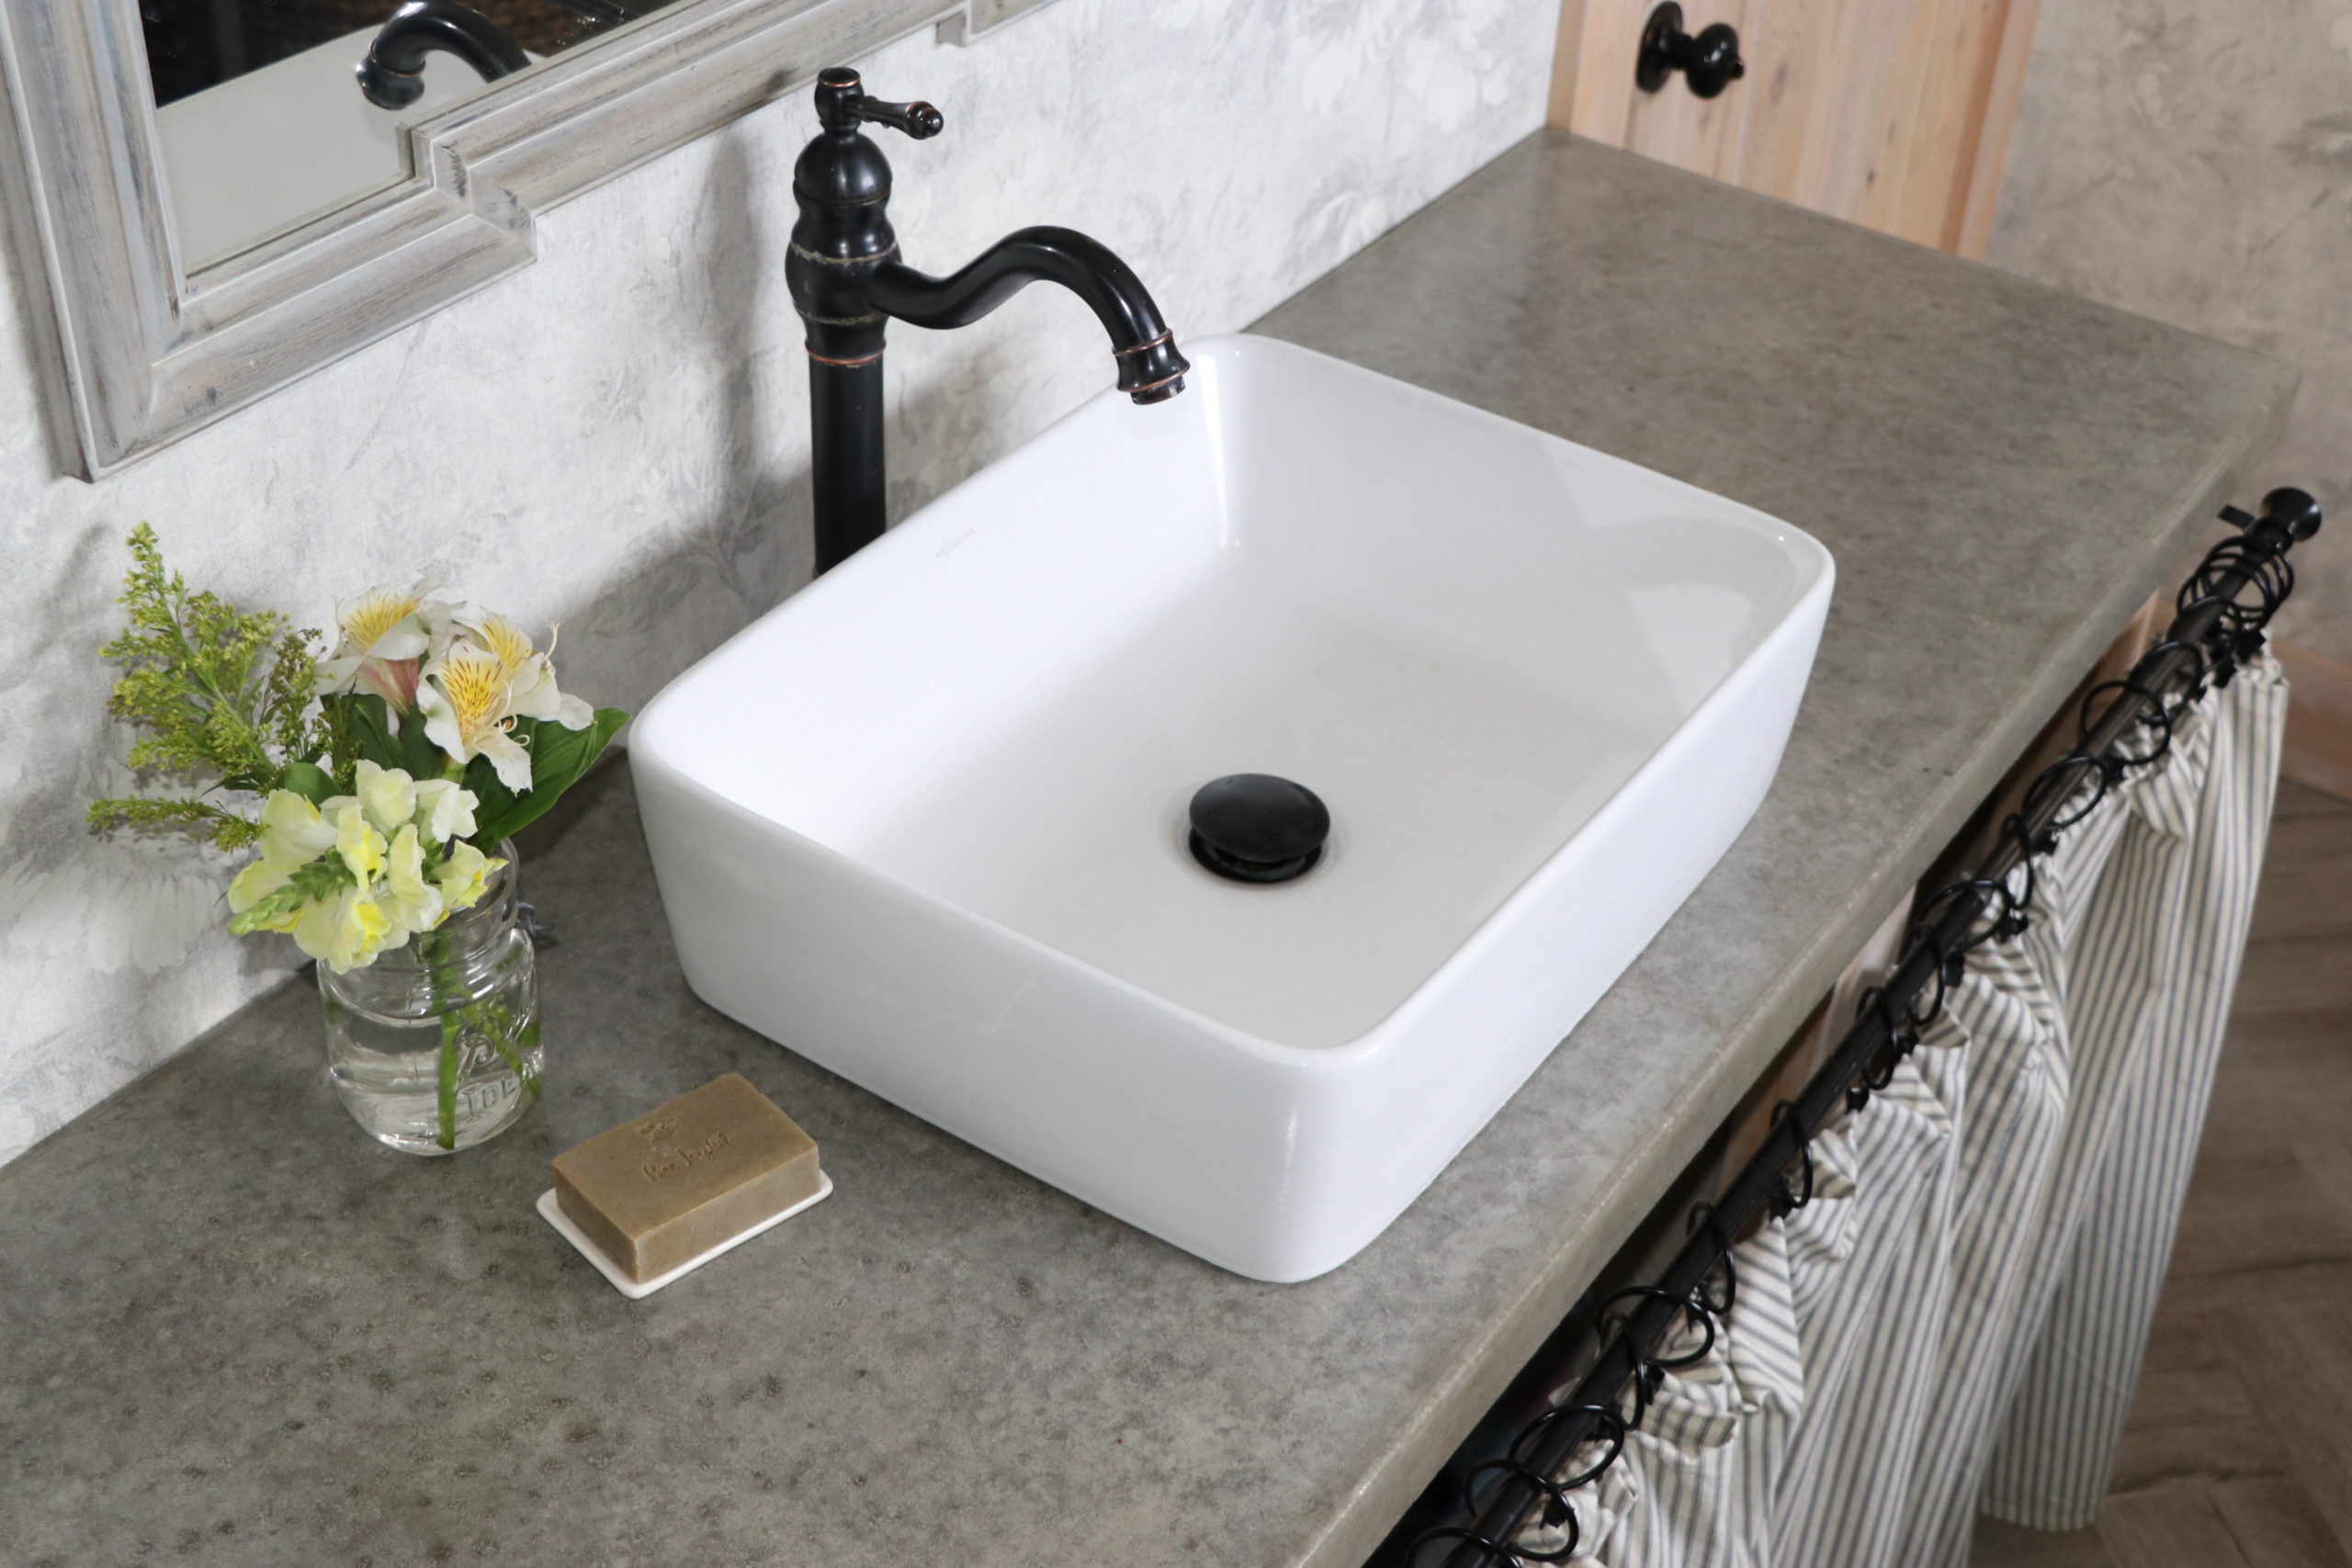
Final assembly included installing the sink, faucet, and any trim pieces. The concrete was strong enough to support the undermount sink without additional bracing, which was a relief. I used clear silicone caulk around all joints to ensure water-tight seals. The final result looked incredibly professional and cost about one-third of what stone would have been.
How difficult is it really to make concrete countertops as a DIY project?
It’s definitely challenging but totally doable with patience and planning. The hardest part for me was getting comfortable with the timing; concrete doesn’t wait for you to figure things out. I’d rate it intermediate difficulty, requiring good preparation but no special skills. Practice with small test pieces first.
What’s the total cost compared to other countertop materials?
My entire project cost around $200 for materials, including concrete mix, pigments, sealers, and forms. That’s for about 15 square feet of countertop. Comparable granite would have been $800-1200, and quartz even more. The savings made the extra work completely worth it for our budget.
How do concrete countertops hold up in a bathroom environment?
Mine have performed excellently for two years with proper sealing. They’re completely waterproof and show no signs of wear or staining. I re-seal them annually as preventive maintenance, which takes about an hour. They’ve handled everything from hair dye to nail polish remover without damage.
Can you achieve different colors and textures with concrete?
Absolutely! Color options are nearly limitless with integral pigments and acid stains. You can also add decorative aggregates, embed objects, or create different textures with stamping or brushing techniques. I kept mine simple, but I have seen stunning examples with embedded glass or shells.
What’s the biggest mistake people make with DIY concrete counters?
Rushing the process is the most common error I see. Concrete has its own timeline, and you can’t force it. Poor form preparation is another biggie; it shows in the final result. Also, many people don’t seal properly for bathroom use. Take time with each step, and you’ll get professional results.
How long does the entire project take from start to finish?
Plan on about two weeks total, though most of that is waiting time for curing. Active work time was probably 20-25 hours spread across several days. The forms took a full weekend to build, mixing and pouring was one long day, and finishing/polishing was another weekend. Worth every minute though!

Remodelaholic DIY Concrete Countertops in a Beautiful Master

DIY concrete bathroom vanity Flawless Chaos

Related articles: