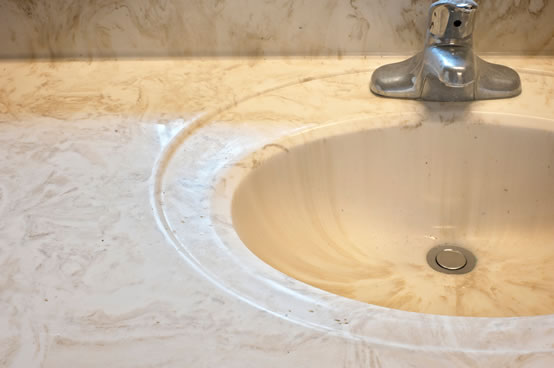
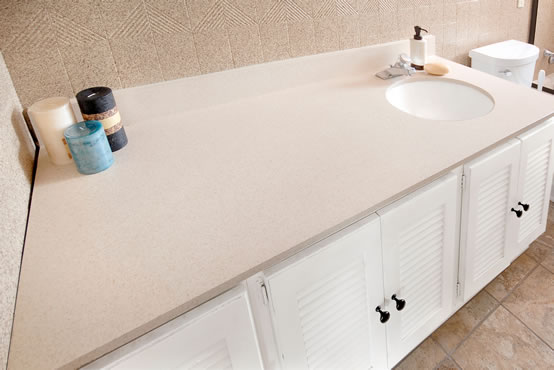
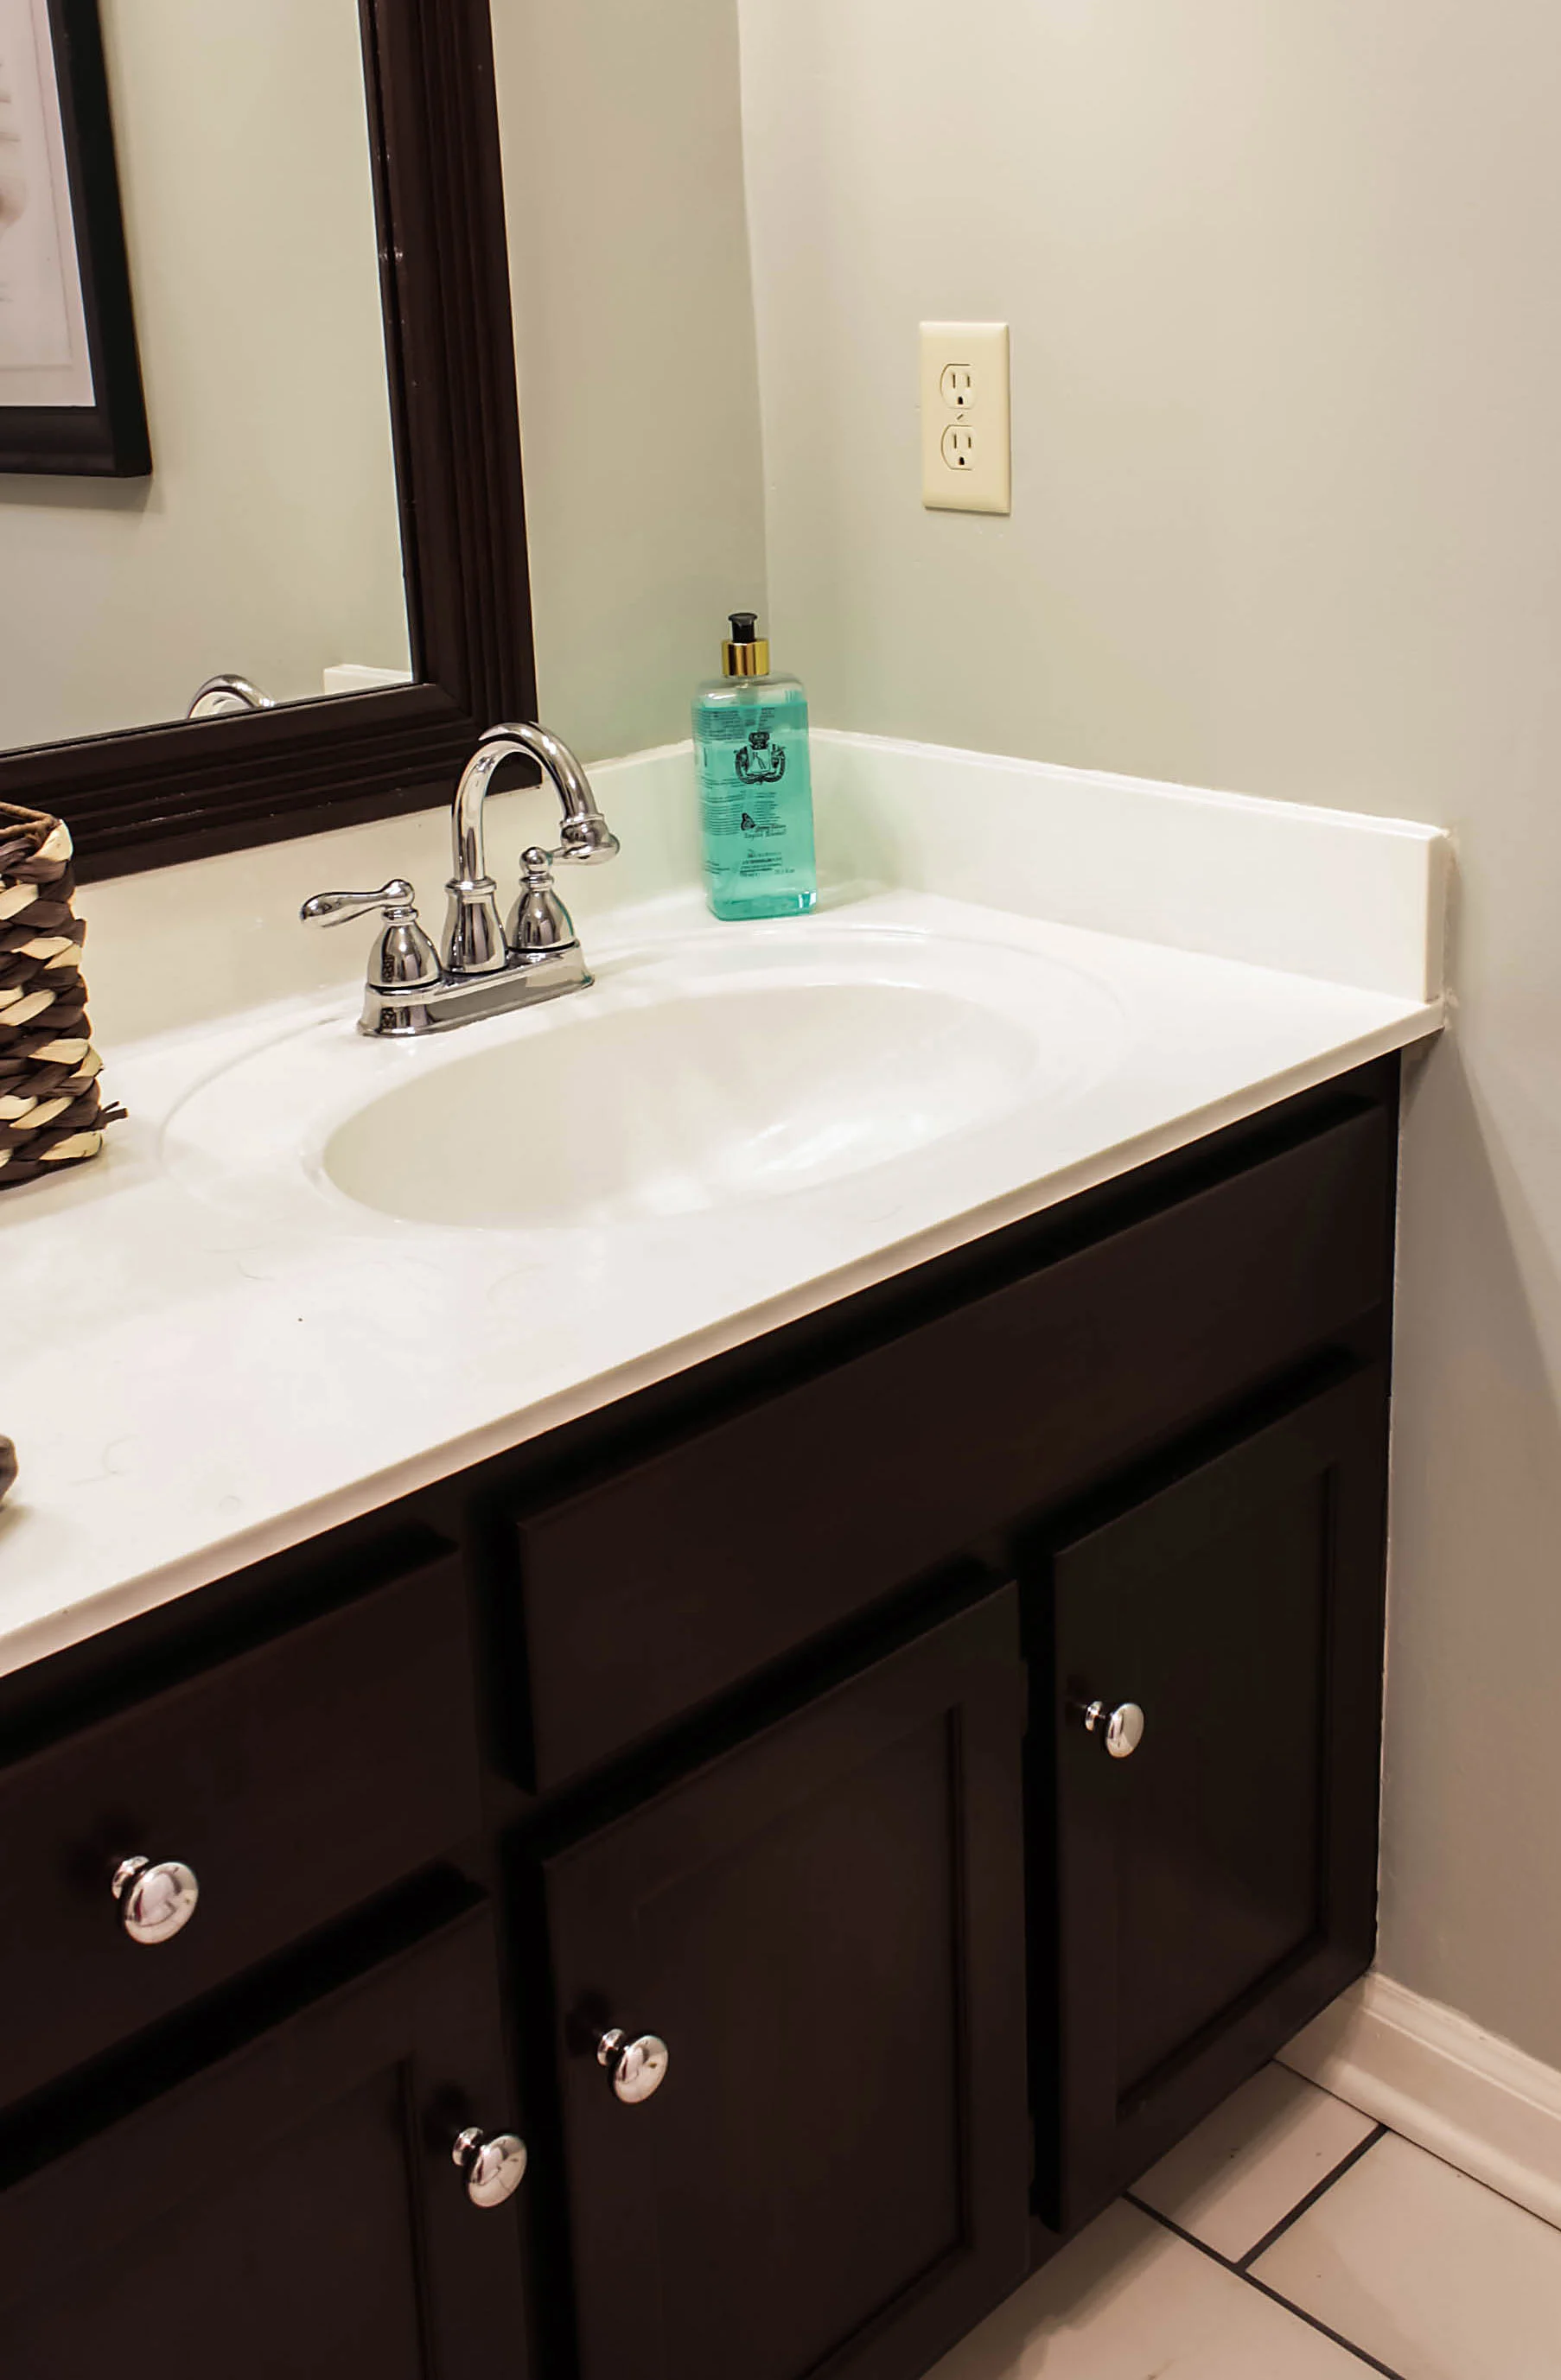
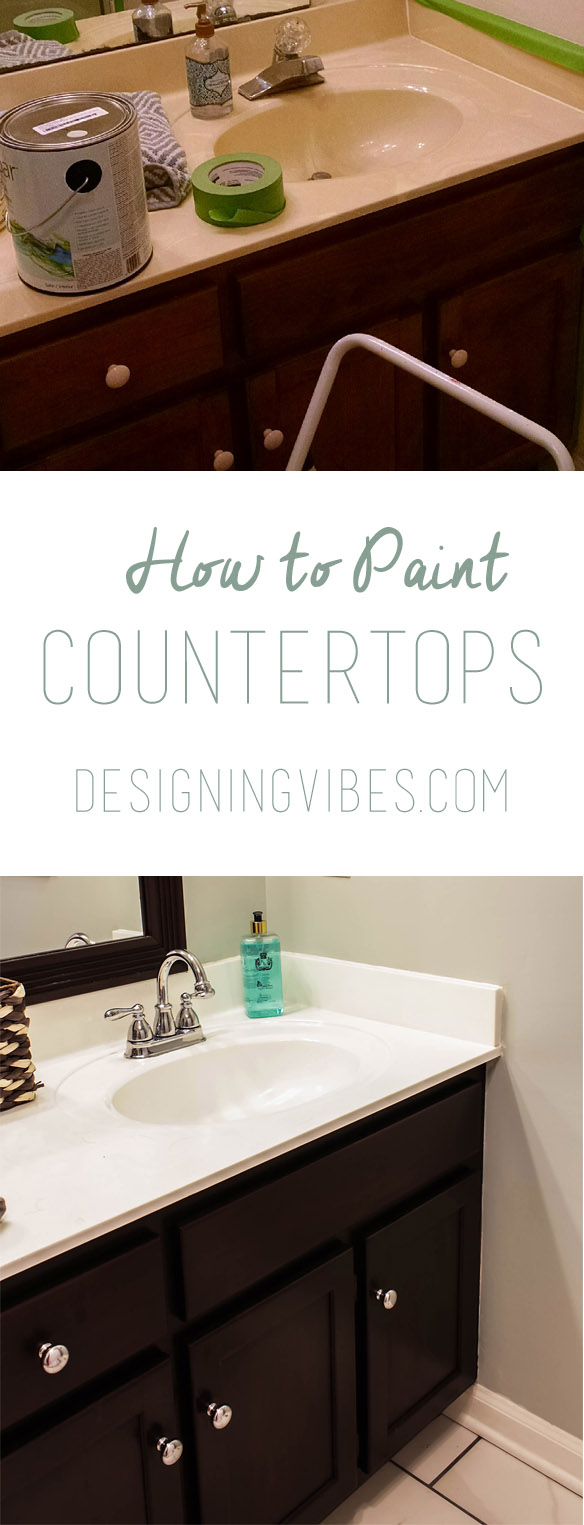
When I moved into my 1990s home two years ago, the cultured marble countertops in both bathrooms looked terrible. Years of hard water stains, scratches from previous owners, and that yellowed, dull appearance that screams “outdated” made me cringe every morning. I was ready to rip them out and start over until a contractor friend suggested refinishing instead of replacing. What seemed like an impossible task turned into one of my most satisfying DIY projects. Now, those same countertops look like brand-new natural stone, and I saved thousands of dollars in the process while learning skills I never thought I’d master.
Understanding Your Cultured Marble Surface
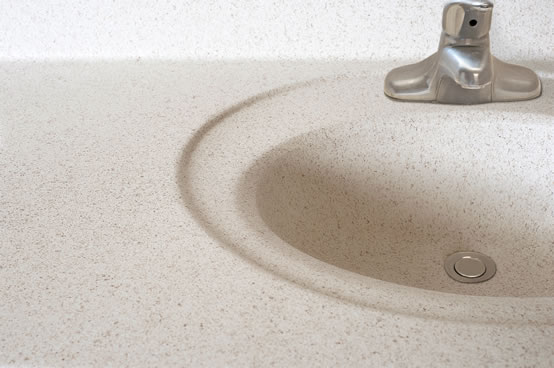
I quickly discovered that cultured marble isn’t actually marble at all, but rather a blend of marble dust, polyester resin, and pigments that creates a durable, non-porous surface. This composition makes it both easier and more challenging to refinish than natural stone because the gel coat finish can be renewed, but the process requires specific techniques and materials. Understanding this structure helped me realize why my countertops had developed that characteristic yellowing and surface scratching over time.
The gel coat layer became the key to my refinishing success once I understood its role in protecting the underlying cultured marble substrate. This thin protective coating gives cultured marble its glossy appearance and stain resistance, but it’s also what gets damaged over the years of use. I learned that most surface issues, including stains, scratches, and discoloration, only affect this top layer rather than the entire countertop thickness. This realization made refinishing seem much more achievable than I initially thought.
Surface preparation proved critical because cultured marble’s smooth, non-porous nature means that new coatings won’t adhere properly without proper roughening and cleaning. I spent considerable time learning about different abrasives and their effects on the gel coat surface. The goal was to create enough mechanical adhesion for the new finish while avoiding damage to the underlying substrate. This balance between aggressive enough preparation and preserving the countertop integrity became the foundation of my successful refinishing project.
Assessing Damage and Determining Refinishing Feasibility
Minor surface scratches and water stains gave me confidence that refinishing would work beautifully on my countertops because these issues only affected the gel coat layer. I tested the depth of scratches by running my fingernail across them, discovering that most were superficial enough to sand out during the refinishing process. Water stains that had seemed permanent responded well to gentle cleaning with appropriate compounds, indicating that the underlying surface remained sound and suitable for refinishing.
Deep gouges and chips required more careful evaluation because they penetrate beyond the gel coat into the cultured marble substrate itself. I found several areas where previous owners had dropped heavy objects, creating damage that would need filling before refinishing could begin. Learning to distinguish between surface-level issues and structural damage helped me plan the project scope and determine which areas would need special attention during the restoration process.
Heat damage from hot hair tools and curling irons presented unique challenges that I hadn’t initially considered when planning my refinishing project. These burns often create discoloration that goes deeper than typical surface stains, sometimes requiring more aggressive sanding to remove completely. I discovered that some heat damage might not be completely removable, requiring creative solutions like strategic placement of decorative elements to minimize the visual impact of these permanent marks.

Tools and Materials for Professional Results
Sanding equipment became my most important investment for achieving smooth, professional-looking results on my cultured marble refinishing project. I started with coarse grits around 220 to remove the old gel coat and major imperfections, progressing through finer grits up to 600 for the final smooth finish. Using an orbital sander saved hours of hand-sanding time while providing more consistent results than I could achieve manually. The dust collection system proved essential for maintaining visibility and preventing airborne particles from settling on wet surfaces.
Protective equipment transformed this project from potentially hazardous to safely manageable, allowing me to work confidently with the chemicals and dust involved in refinishing. I invested in a high-quality respirator rated for organic vapors, since the refinishing products release fumes that can be harmful in enclosed spaces. Safety glasses, nitrile gloves, and disposable coveralls protected me from chemical contact and allowed me to focus on the work rather than worrying about exposure risks.
Quality refinishing products made the difference between a temporary fix and a long-lasting restoration that would stand up to daily bathroom use. I researched various manufacturers and chose a two-part epoxy coating system specifically designed for cultured marble surfaces. The primer and topcoat combination provided superior adhesion and durability compared to single-component alternatives. Investing in professional-grade materials initially seemed expensive, but the results justified the cost through both appearance and longevity.

Step-by-Step Refinishing Process
Surface cleaning kicked off my refinishing process with thorough degreasing and removal of all soap residue, hard water deposits, and any existing wax or polish buildup. I used a strong degreasing agent followed by multiple rinses to ensure absolutely clean surfaces before beginning any abrasive work. This step proved more time-consuming than expected, but starting with completely clean surfaces ensured proper adhesion of subsequent coatings. Any shortcuts in cleaning would have compromised the entire project.
Sanding progression required patience and attention to detail as I worked through increasingly fine grits to achieve the smooth surface necessary for professional results. I began with 220-grit sandpaper to remove the old gel coat and level any surface imperfections, checking my progress frequently to avoid over-sanding in any areas. Each subsequent grit removed the scratches from the previous one, gradually creating the smooth foundation needed for the new finish. The final 600-grit sanding left surfaces ready for primer application.
Coating application demanded precise timing and technique to achieve the smooth, even finish that would make my countertops look professionally refinished. I applied the primer in thin, even coats using a high-quality foam roller, maintaining wet edges to prevent lap marks and ensuring complete coverage of all surfaces. The topcoat required even more care, as any imperfections would be visible in the final gloss finish. Working in manageable sections and maintaining consistent application speed produced the flawless results I was hoping to achieve.
Common Challenges and Solutions
Dust contamination frustrated my initial attempts at achieving a smooth finish until I learned proper dust control techniques for refinishing projects. Even microscopic particles settling on wet surfaces create visible imperfections in the final coating, so I installed plastic sheeting to create a relatively dust-free work environment. Tack cloths between coats removed any particles that managed to settle, while timing applications to avoid peak household activity minimized airborne contamination that could ruin hours of careful work.
Temperature and humidity variations affected coating performance more than I anticipated, causing issues with adhesion, curing times, and final appearance quality. I learned to monitor environmental conditions and adjust my work schedule accordingly, avoiding refinishing during extreme weather or when humidity levels exceeded manufacturer recommendations. Using fans and dehumidifiers helped maintain optimal conditions, while postponing work during unsuitable weather prevented coating failures that would have required starting over.
Brush marks and roller texture initially marred my finish until I mastered the application techniques that produce glass-smooth surfaces. Learning to maintain wet edges, use proper pressure, and overlap strokes consistently took practice on sample pieces before attempting the actual countertops. The investment in high-quality applicators made a significant difference in final appearance, while practicing technique on scrap materials built the confidence needed for flawless application on the final project surfaces.
Maintenance and Longevity Tips
Daily care routines protect my refinished countertops while maintaining their like-new appearance through simple but consistent maintenance practices. I clean surfaces with mild, non-abrasive cleaners and soft cloths, avoiding harsh chemicals or scrubbing pads that could damage the new finish. Immediate cleanup of spills prevents staining, while using cutting boards and trivets protects against scratches and heat damage. These small daily habits preserve the investment I made in refinishing and extend the time before any touch-up work becomes necessary.
Periodic maintenance keeps my refinished countertops looking fresh while addressing minor issues before they become major problems requiring extensive repair work. I inspect surfaces monthly for any developing problems like small chips or worn areas, addressing them promptly with touch-up materials I kept from the original project. Light polishing with appropriate compounds maintains the gloss level, while careful attention to high-wear areas allows me to plan preventive maintenance before visible damage occurs.
Long-term expectations help me appreciate the value of my refinishing investment while planning for eventual maintenance needs in the future. The refinished surface should last 10-15 years with proper care, significantly longer than paint-based alternatives but not quite as permanent as full replacement. Understanding this timeline helps me budget for eventual re-refinishing while enjoying years of beautiful countertops that cost a fraction of replacement prices. The skills I learned also make future maintenance projects much less daunting.
How long does the refinishing process take from start to finish?
My project took about four days total, spread over a week to allow proper curing time between coats. Active working time was roughly 12 hours, but waiting for each coat to cure properly is essential for durability. I recommend planning for a full weekend plus a few evenings, depending on the size of your countertops and your experience level with this type of project.
Can I use my bathroom while the countertops are curing?
I avoided using the bathroom for 24 hours after the final coat, then used it carefully for the next few days while the coating fully hardened. The fumes require good ventilation during application and initial curing, so I opened windows and used fans to maintain air circulation. Full cure takes about a week, during which I avoided placing anything heavy on the surfaces.
Is refinishing worth it compared to replacement costs?
I spent about $150 on materials and tools compared to $2,000+ for replacement countertops in both bathrooms. The time investment was significant, but the cost savings made it worthwhile for my budget. The results look professional and should last 10-15 years with proper care. For countertops in good structural condition, refinishing offers excellent value.
What’s the biggest mistake people make when refinishing cultured marble?
Inadequate surface preparation causes most refinishing failures I’ve seen. Skipping proper cleaning, rushing through sanding steps, or trying to refinish over existing damage leads to poor adhesion and premature coating failure. Taking time to properly prepare surfaces and address all damage before applying new coatings ensures long-lasting, professional-looking results.
Can I change the color when refinishing my countertops?
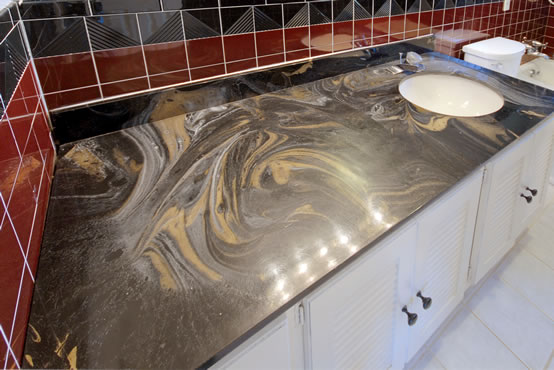
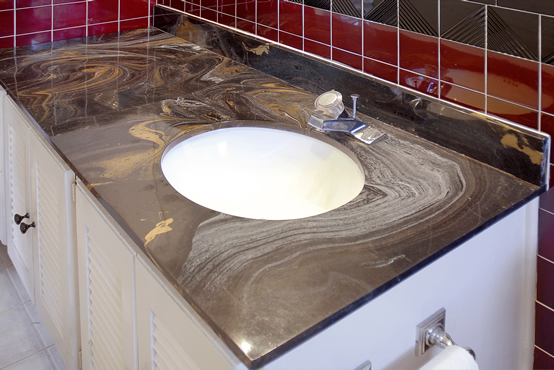
Yes, I could have chosen different colors for my topcoat, though I decided to stick with a neutral white that matched my bathroom design. The refinishing system I used offers various color options, from solid colors to faux stone patterns. Darker colors tend to hide imperfections better, while lighter colors require more careful preparation and application for flawless results.
How do I know if my countertops are good candidates for refinishing?
Structurally sound countertops with surface-level damage like stains, scratches, or discoloration refinish beautifully. I avoided refinishing if there were cracks through the substrate, loose sections, or extensive heat damage that penetrated deeply. A simple test is whether damage can be felt with your fingernail, surface issues refinish well, while deeper problems might need professional repair first.
No Spray Cultured Marble Refinishing Kits

Related articles: