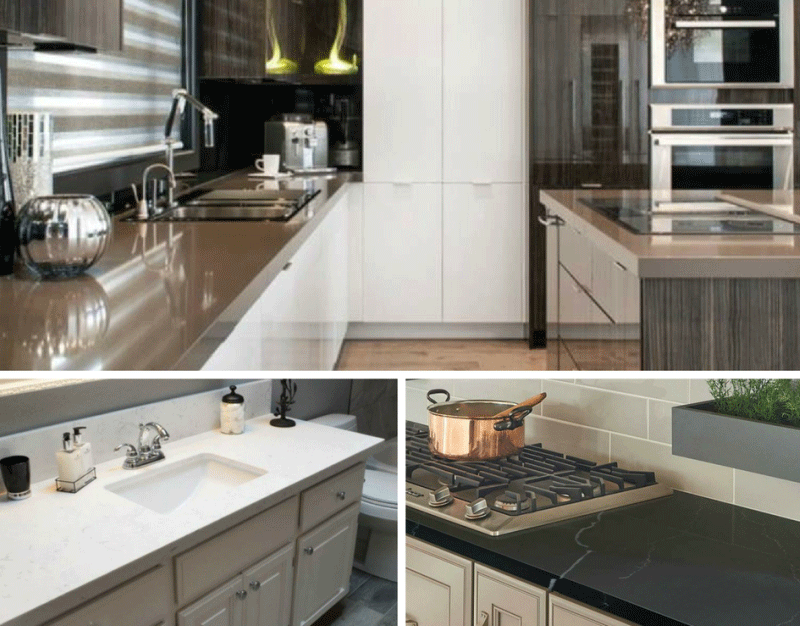
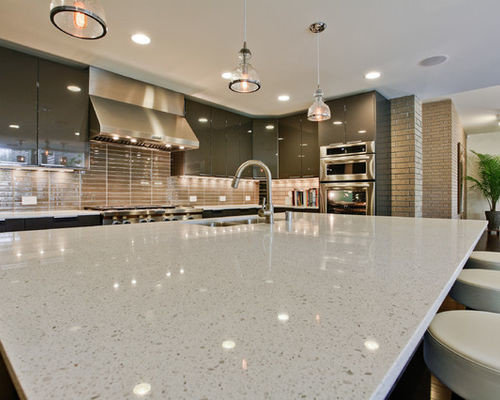
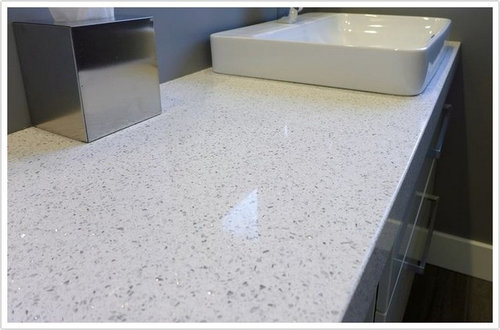
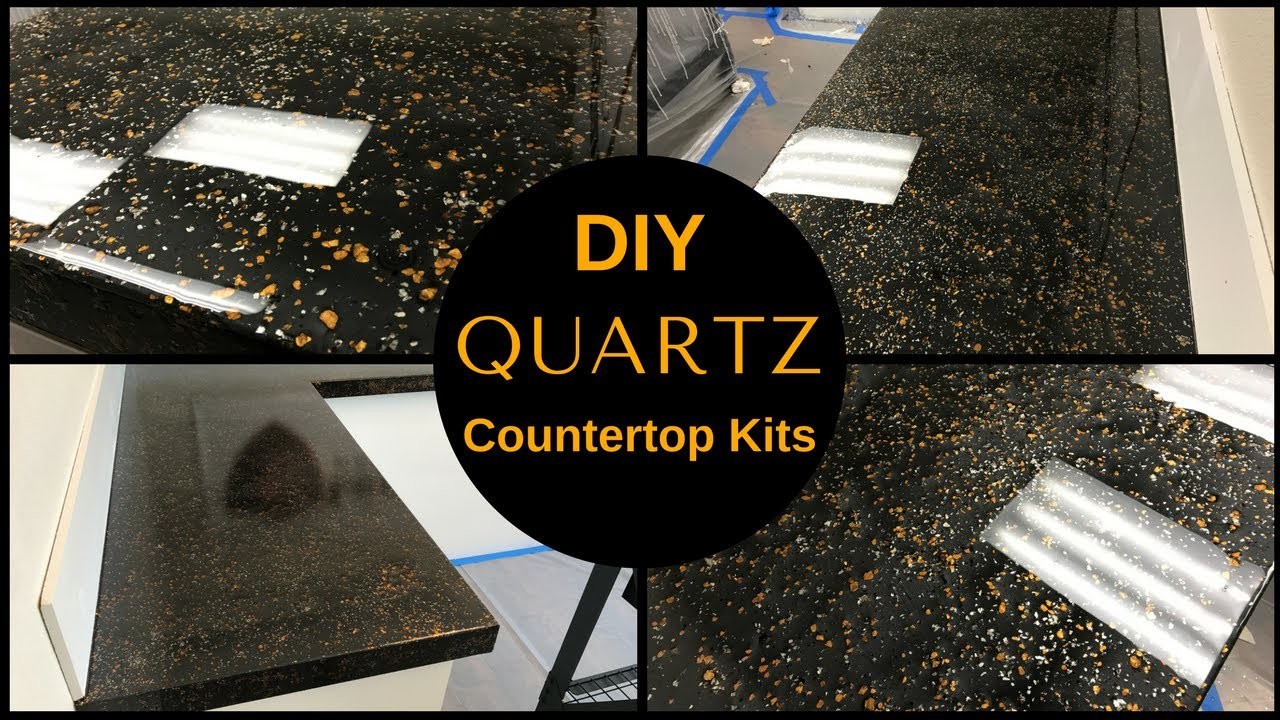
Quartz countertops have become a top choice for homeowners seeking a durable, low-maintenance, and aesthetically pleasing option. Although quartz countertops are traditionally installed by professionals, DIY installation has gained popularity among skilled DIY enthusiasts looking to save on installation costs. Quartz countertops are made from engineered stone, combining natural quartz crystals with resins and pigments to create a solid surface.
This mixture allows for a wide variety of colors and patterns that mimic the look of natural stone without the unpredictability and porosity of materials like granite or marble. Installing quartz countertops yourself requires precise measurements, the right tools, and patience, but with the right preparation, DIY installation can yield professional-looking results.
Before beginning a DIY quartz countertop installation, it’s essential to assess your space and take precise measurements. Start by measuring the length and depth of your existing countertops, considering any unique features like corners, sinks, and appliance areas. Make note of these measurements, as they will guide you in purchasing the correct size of quartz slabs and avoiding costly mistakes. Many suppliers offer custom-cut quartz slabs, which can simplify the process and reduce the need for additional adjustments on-site. However, for non-standard layouts, you may need to make cuts yourself. Having a clear plan for the placement of each countertop section will help ensure a smooth installation.
One of the primary advantages of quartz countertops is that they don’t require sealing, unlike granite or marble. This makes them low-maintenance and highly resistant to stains, which is a significant advantage for kitchens and bathrooms. The non-porous nature of quartz also makes it resistant to bacteria, providing a hygienic surface for food preparation. DIY enthusiasts can benefit from these properties, as once installed, quartz countertops require minimal upkeep. A simple wipe with warm, soapy water is usually sufficient for daily cleaning, and there’s no need for special polishes or sealants.

The tools required for a DIY quartz countertop installation are another important consideration. Common tools include a circular saw with a diamond blade, which is necessary for cutting the quartz. You’ll also need adhesive for securing the quartz to the cabinets, clamps to hold sections in place while the adhesive sets, and a level to ensure an even surface. Additionally, a caulk gun is useful for sealing seams and edges. For those unfamiliar with cutting stone, it may be beneficial to practice on scrap pieces or consider hiring a professional for this part, as cutting quartz can be challenging without experience.
During the installation process, ensuring a level and stable base is crucial for the longevity and stability of your quartz countertops. Check that your cabinets are level before placing the quartz slabs on top. Any unevenness in the base can lead to cracking or warping over time, as quartz is a rigid material that does not easily conform to irregular surfaces. If necessary, use shims to correct any minor variations in cabinet height. This extra preparation will prevent the need for adjustments once the heavy slabs are in place, allowing for a smoother installation process.
Attaching quartz countertops to the base typically involves a strong adhesive. Most DIY installers use silicone adhesive to secure the quartz to the cabinets. Apply the adhesive in a grid pattern or in generous beads around the perimeter of the cabinets, then carefully place the quartz slab on top, pressing down to create a solid bond. This step is critical, as it provides the main support for the countertop. Take care to apply the adhesive evenly, as too much in one area can create uneven pressure points. Allow the adhesive to cure for the recommended time before moving on to other steps, such as applying seams and caulking.

Seam placement is another key factor in quartz countertop installation, especially for large kitchens or bathrooms where multiple slabs are necessary. Ideally, seams should be placed in inconspicuous areas to minimize their appearance. When two slabs meet, a seam filler that matches the color of the quartz can be applied to create a smooth, cohesive look. Use a seam setter to pull the slabs together tightly before applying the seam filler. The goal is to create a nearly invisible joint that looks seamless to the casual observer, giving your DIY installation a professional finish.
Cutouts for sinks and appliances are often one of the most challenging aspects of DIY quartz countertop installation. These cutouts require precise measurements and careful cutting, as errors can lead to cracks or misaligned fixtures. Using a diamond blade, make cuts slowly and steadily, applying minimal pressure to avoid chipping the quartz. If you’re unsure about making these cutouts, consider having a professional handle this part, as it can be difficult to achieve the exact dimensions needed without experience. Additionally, remember to support the countertop adequately during this process, as the cutout areas can be fragile.
When it comes to edges, there are various styles to choose from, including straight, beveled, bullnose, and ogee edges. These finishes add a decorative touch to the countertop and can make a big difference in the overall appearance. Many quartz suppliers offer pre-finished edges, which can simplify installation. However, if you’re handling the edge finishing yourself, ensure that you have the correct tools and practice on scrap material if possible. Achieving a consistent, smooth edge requires precision and patience but can significantly enhance the final look of the countertops.
Another essential step in a DIY quartz countertop installation is caulking. Caulking the edges where the countertop meets the wall and around sink areas helps to prevent moisture from seeping underneath the countertop. Use a high-quality silicone caulk that matches the color of the quartz for a clean finish. Apply the caulk evenly, smoothing it out with a finger or caulk tool to create a neat, seamless look. Proper caulking not only enhances the appearance of the countertops but also protects the underlying cabinets and walls from water damage.

Safety is paramount when installing quartz countertops, as handling large, heavy slabs requires proper technique and equipment. It’s best to have at least one or two people to help lift and position the slabs to avoid injury. Additionally, wearing safety gear such as gloves, goggles, and a dust mask is essential, especially when cutting or grinding quartz. Quartz dust can be hazardous if inhaled, so working in a well-ventilated area or using a respirator is recommended when performing any cutting or grinding.
Once installed, maintaining quartz countertops is straightforward, but care is still required to keep them in good condition. Avoid placing extremely hot items directly on the surface, as sudden temperature changes can cause cracking. While quartz is scratch-resistant, it’s not scratch-proof, so using cutting boards is advisable to prevent damage. These precautions will ensure that your DIY-installed quartz countertops stay looking pristine for years to come.
Another advantage of quartz countertops is their consistency in appearance. Unlike natural stone, which can vary significantly from slab to slab, quartz countertops offer more uniformity. This allows DIY installers to achieve a cohesive look without worrying about matching unpredictable veining or color variations. For homeowners who want a clean, modern appearance, this consistency can be a significant advantage, especially in large spaces where multiple slabs are required.

Although quartz is durable, it’s still susceptible to some forms of damage, particularly around the edges and corners. During installation, take extra care when handling these areas, as they are more prone to chipping. Using a padded surface to lay out the quartz and protect it from hard impacts can help prevent accidental damage. For added protection, you can also apply edge guards temporarily until the countertop is fully secured and installed.
Quartz countertops are a great investment that adds value to a home. Even with a DIY installation, the appeal of quartz can increase the marketability of a property. Its durability and low maintenance are attractive to potential buyers, and the wide variety of colors and patterns means that it can complement many styles, from contemporary to classic. By taking on the installation process, homeowners can enjoy the cost-saving benefits without sacrificing quality or aesthetics.
Finally, DIY quartz countertop installation can be a rewarding project for those who are detail-oriented and prepared for the challenges involved. While not necessarily simple, it’s achievable with careful planning, patience, and the right tools. By taking the time to understand each step, from measurement to final installation, DIY enthusiasts can enjoy a stunning, high-quality countertop at a fraction of the cost of professional installation.

Common Mistakes to Avoid
Incorrect Measurements: Failing to measure precisely can lead to gaps, uneven seams, or misaligned fixtures. Double-checking all dimensions, including sink and appliance cutouts, is essential.
Inadequate Cabinet Support: Cabinets that are not level or do not have adequate support can lead to cracking or warping of the quartz countertop over time. Level and secure cabinets before installation.
Improper Sealing of Seams: Without properly sealing seams, dirt and moisture can accumulate, leading to visible lines and potential water damage. Using a matching seam filler and seam setter is crucial.
Skipping Safety Gear: Cutting quartz generates silica dust, which can be harmful if inhaled. Always use a mask, gloves, and goggles, and work in a well-ventilated area.
Placing Hot Items Directly on Quartz: Although quartz is heat-resistant, placing extremely hot items directly on the surface can cause thermal shock and lead to cracking. Always use trivets or hot pads.
Using Abrasive Cleaners: Harsh or abrasive cleaners can dull the surface. Stick to mild soap and water or approved quartz countertop cleaners to maintain the finish.

Can I install quartz countertops by myself?
Yes, it’s possible to install quartz countertops yourself, but it requires careful planning, precise measurements, and specific tools. DIY installation can save on costs, but you should be prepared for challenges like cutting, leveling, and handling heavy slabs. Those with some DIY experience may find it achievable, though assistance is often needed due to the weight of the quartz.
How do I cut quartz countertops for sinks or appliances?
Cutting quartz requires a circular saw with a diamond blade to avoid chipping. It’s best to make cuts slowly and steadily, especially around sink and appliance areas. This can be a difficult process, so if you’re uncertain, it may be worth having a professional make the cutouts to prevent costly mistakes or damage to the quartz.
What kind of adhesive is used for quartz countertop installation?
Silicone adhesive is commonly used to secure quartz countertops to cabinets. This strong adhesive holds the quartz in place, and applying it in a grid pattern helps distribute the weight evenly. Make sure to let the adhesive cure fully to ensure a stable bond before applying additional finishes.
Do I need to seal quartz countertops after installation?
No, quartz countertops are non-porous and do not require sealing, unlike natural stones. This makes quartz highly resistant to stains and bacteria, providing a durable, low-maintenance surface that’s ideal for kitchens and bathrooms.
How can I make seams less visible in a DIY installation?
Using a color-matching seam filler helps blend the seams for a smoother look. A seam setter tool can also be used to pull sections tightly together. Placing seams in less visible areas, such as corners, and using a quartz pattern that minimizes seam visibility can help achieve a more seamless appearance.
Is quartz safe for food preparation?
Yes, quartz countertops are non-porous, making them safe and hygienic for food preparation. Their resistance to bacteria and staining enhances their appeal for kitchens. However, using cutting boards is recommended to prevent scratches, ensuring a pristine surface over time.

Related articles: