Using a router to trim a laminate countertop can improve the visual appeal of your kitchen while guaranteeing a clean, expert finish. It’s important to comprehend the reasoning behind someone choosing this approach before proceeding. Despite their durability, laminate countertops frequently have conventional proportions that cannot match every kitchen design. Using a router to trim ensures smooth integration with your unique area and enables personalization.
First, collect the required equipment and supplies. For this purpose, the main tool used is a router with a flush-trim bit. To get precise cuts, make sure the router is in good operating order and that the bit is sharp. Wearing protective gear, such as safety glasses and ear protection, is important since safety precautions are of the utmost importance.
Measure and label the laminate countertop’s spots that require trimming first. At this point, accuracy is crucial since precise dimensions will produce a countertop that blends in perfectly with your kitchen’s layout. Consider any imperfections in the cabinet borders or walls that would need to be adjusted.
The next important step is to secure the countertop in place. The countertop can be fixed to a secure work surface with clamps to avoid unneeded movement when routing. Smooth and even cuts can only be achieved with this stability. Before continuing, make sure the countertop is firmly secured.
To match the laminate’s thickness, adjust the router bit’s depth. This stage guarantees that the underlying material won’t be harmed when the router slices through the laminate. The success of the trimming procedure as a whole is greatly increased by taking the time to make this change precisely.
Make a quick test cut on a piece of scrap laminate or a hidden area of the countertop before using the router. This enables you to evaluate the router’s functionality and make any required modifications prior to committing to the final edits. It’s an avoidance strategy that can help you avoid mistakes and redwork.
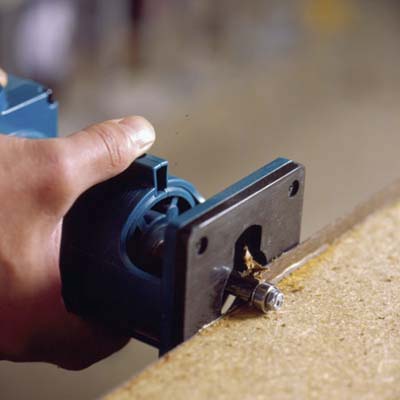
Once you’re OK with the router’s configuration, start the pruning procedure. To get consistent results, move the router consistently along the designated cutting lines at a constant pace. The countertop’s contours will be followed by the flush-trim bit, giving a neat and accurate edge. During this stage, take your time to provide a professional finish and prevent errors.
Because routing laminate produces dust, it’s a good idea to have a dust extraction system or wear a mask. In addition to keeping your workspace tidy, this promotes a safer and healthier atmosphere. For precision, the cutting line must be visible, and reducing dust interference makes the routing process go more smoothly.
It is imperative to handle corners and edges with caution. Depending on the router bit that is used, corners could need extra care to prevent chipping or splintering. The router bit will glide easily along the edges of the countertop if you make slow, deliberate movements around corners. This will give the countertop a polished look.
Keep an eye out for any last inconsistencies or defects as the routing procedure draws to a close. Even small changes made now can have a big impact on how things turn out. Make sure the trimmed edge fulfills your expectations regarding both appearance and functionality by taking the time to thoroughly check it.
After routing is finished, take the clamps off and look for any uneven or rough areas on the countertop. Any edges that feel harsh to the touch can be smoothed out using fine-grit sandpaper. This step enhances the trimmed countertop’s tactile attractiveness by adding a final touch.
The last step in this procedure is to clean the workspace. Clear away any dust or debris that could have gathered throughout the routing. This keeps your workstation organized and enables you to fully understand the significance of the trimming task.
Using a router to cut a laminate countertop is a painstaking procedure that requires accuracy and close attention to detail. Every stage of the process, from the first measurements to the last sanding, adds to the project’s overall success. Whether you are an experienced do-it-yourselfer or a novice router user, following these instructions will guarantee that your laminate countertop is expertly trimmed and fits in perfectly with the rest of your kitchen.
Images Related to How To Trim Laminate Countertop With A Router
Router Laminate Countertop Edge

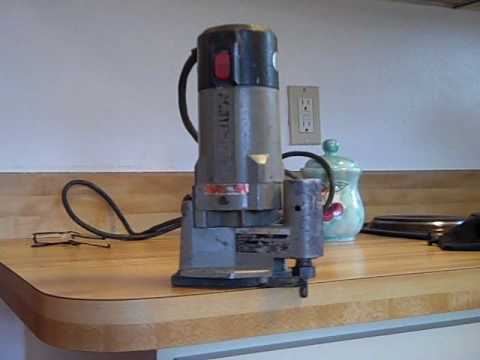
Laminate Countertop Trimming/Router Trick

Flush Trim Routing Tips

Related articles: