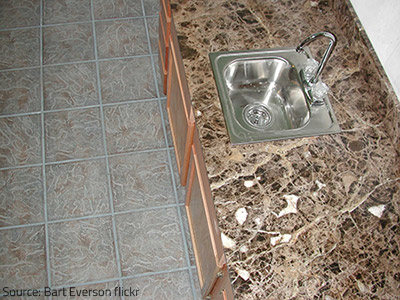
Marble countertops are renowned for their timeless beauty and elegance. However, over time, they may lose their luster and develop wear and tear. Repolishing marble countertops is a great way to breathe new life into your kitchen or bathroom. In this comprehensive guide, we will explore the step-by-step process of re-polishing marble countertops, the materials and tools you’ll need, and essential tips to ensure a successful restoration.
Assessing the Condition: Before you start re-polishing your marble countertops, assess their current condition. Determine if they have scratches, etching, or dull spots. This evaluation will help you decide how much work is needed and what type of polishing process to follow.
Gathering Your Supplies: To re-polish marble countertops, you’ll need specific supplies, including a marble-specific polishing powder, a buffer or polishing machine, microfiber cloths, and a clean, damp cloth. It’s crucial to use a marble-specific polishing powder, as it’s formulated to work effectively on this delicate stone.
Cleaning the Surface: Begin by thoroughly cleaning the countertop. Use a mild, pH-neutral cleaner and a damp cloth to remove any surface dirt, stains, or residue. Allow the countertop to dry completely before proceeding.

Preparing the Polishing Powder: Follow the manufacturer’s instructions to mix the polishing powder with water to create a slurry. This slurry will act as the abrasive substance needed to re-polish the marble.
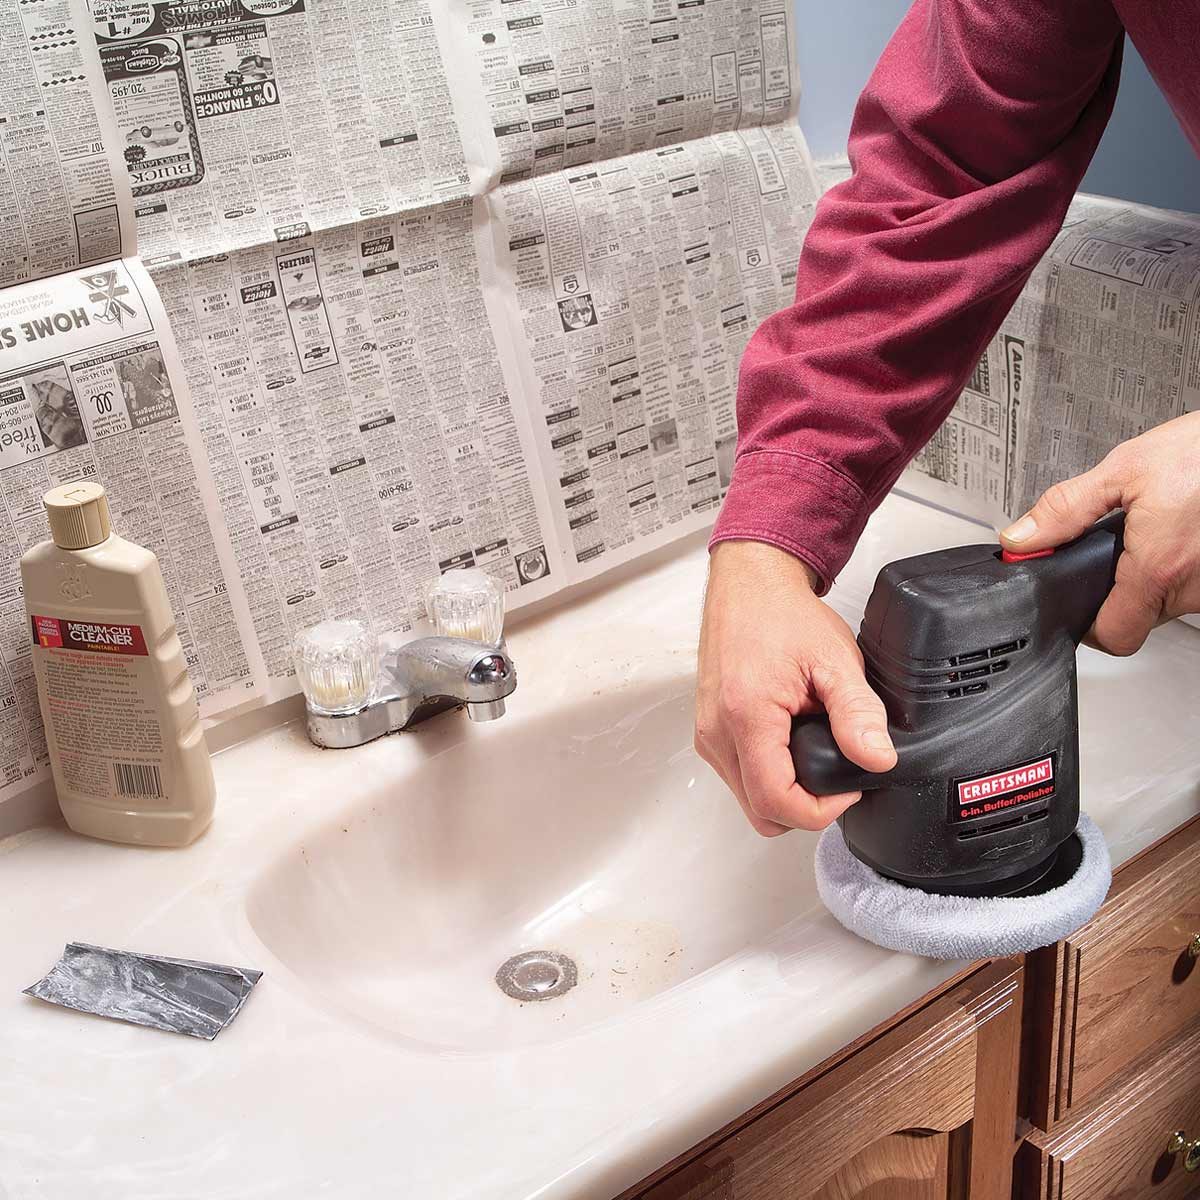
Buffing the Countertop: Attach a soft, felt pad to your buffer or polishing machine. Apply the slurry evenly over the countertop. Start buffing at a slow speed to spread the slurry evenly. Gradually increase the speed as you work, but always maintain a steady and consistent pressure.
Working in Sections: Divide your countertop into smaller sections for more manageable polishing. Work on one section at a time, ensuring thorough coverage with the slurry. Pay extra attention to areas with scratches or dullness.

Rinsing and Drying: Once you’ve completed polishing a section, it’s essential to rinse the countertop thoroughly with clean water. Ensure all the slurry is removed. After rinsing, dry the countertop with a clean, dry microfiber cloth.
Assessing the Results: After completing the entire countertop, step back and assess the results. The marble should have a renewed shine and a smooth, even surface. If you still notice imperfections, repeat the polishing process.
Sealing the Marble: To protect your newly polished marble countertops, consider applying a high-quality marble sealer. This will help prevent future staining and etching. Follow the sealer manufacturer’s instructions for application and drying times.
Routine Maintenance: To keep your marble countertops looking their best, maintain a regular cleaning routine. Use pH-neutral, non-abrasive cleaners and avoid acidic substances like vinegar or lemon juice, which can etch the surface. Always wipe up spills promptly to prevent staining.

Re-polishing marble countertops is a rewarding DIY project that can revive the natural beauty of this exquisite stone. By assessing the condition, gathering the necessary supplies, following a systematic process, and practicing routine maintenance, you can enjoy the timeless elegance of your marble countertops for years to come. It’s a cost-effective way to breathe new life into your kitchen or bathroom while preserving the charm of this classic material.
Polishing And Restoring Marble Countertops u2013 Marble Polishing Services

Restoring our Marble Counters – Honey Weu0027re Home

How to Polish Marble: 14 Steps (with Pictures) – wikiHow Life

Tips For Polishing Marble Countertops

Marble Polishing – How to refinish and polish marble

How to Renew a Scratched Countertop (DIY) Family Handyman

Related articles:
- Tuscan Marble Countertop
- Italian Marble Countertops
- Modern Marble Countertops
- Marble Countertops Design
- Refinishing Cultured Marble Countertops
- White Marble Countertops
- Marble Countertops Backsplash
- DIY Refinishing Cultured Marble Countertops
- Marble Countertops In Bathrooms
- Cultured Marble Countertops