Assess the Situation: Before diving into a bathroom sink countertop replacement project, assess the current state of your countertop and sink. Determine if it’s necessary to replace the entire countertop or just the sink. If the countertop is damaged or outdated, replacing it entirely might be the best option for a fresh and cohesive look.
Gather Your Tools and Materials: To replace a bathroom sink countertop, you’ll need various tools and materials, including a screwdriver, pliers, a utility knife, a pry bar, a saw, a drill, screws, adhesive, a new countertop, and a sink. Make sure you have everything on hand before starting the project.
Turn Off the Water Supply: Begin by turning off the water supply to the bathroom. Locate the shut-off valves beneath the sink and turn them clockwise to close the water supply. Once the water is off, turn on the faucet to release any remaining water in the pipes.
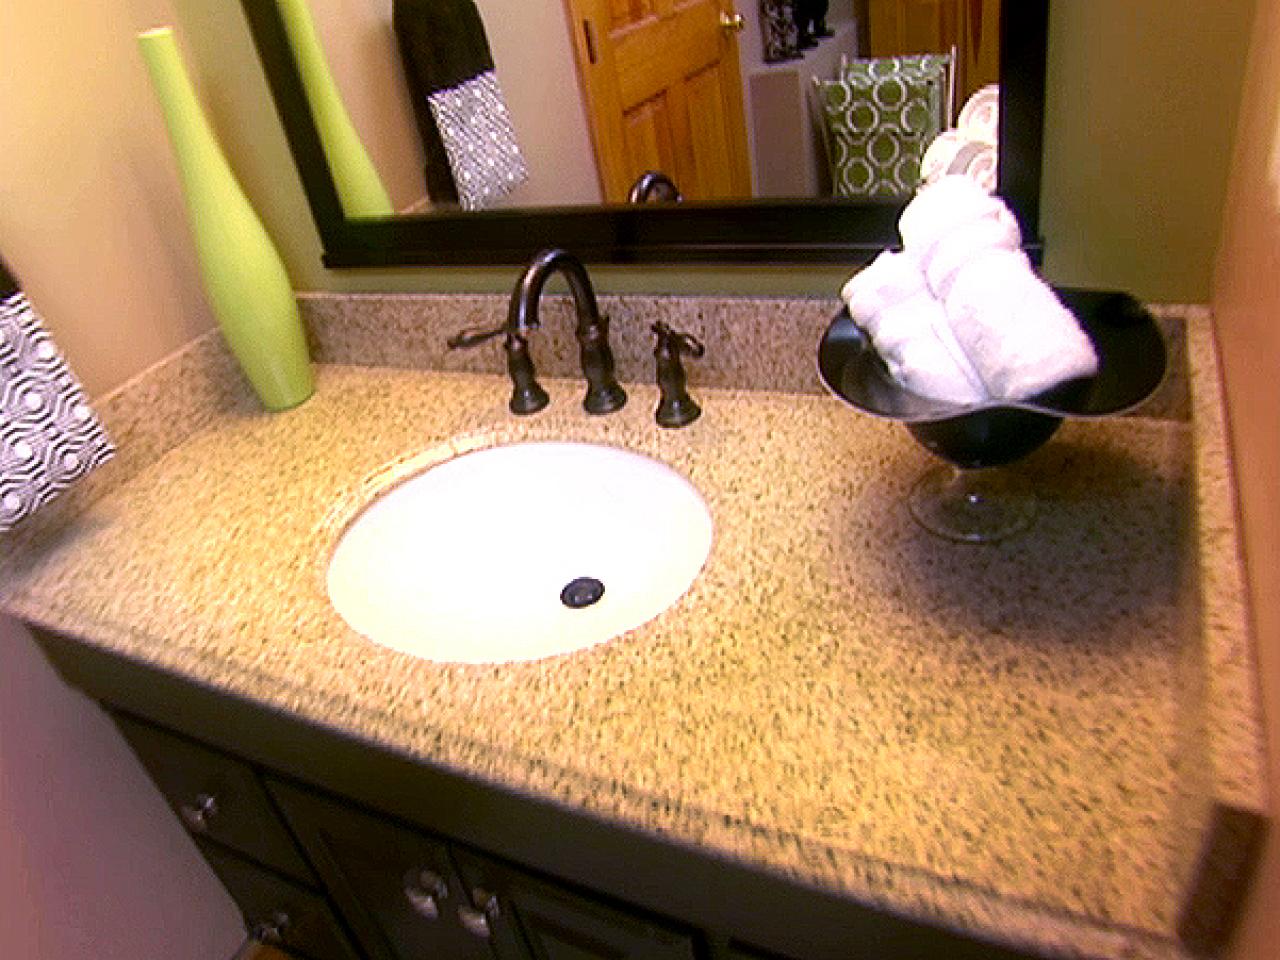
Disconnect Plumbing and Fixtures: Use your pliers and a wrench to disconnect the water supply lines and the drain pipes connected to the sink. Be sure to place a bucket or towels underneath to catch any water that may spill during this step.
Remove the Old Countertop: Carefully detach the old countertop from the vanity or cabinet. Most countertops are secured with screws or adhesive. Use your screwdriver or pry bar to remove any screws and gently pry the countertop away from the base.

Prepare the Vanity or Cabinet: Clean and inspect the vanity or cabinet to ensure it’s in good condition. If there’s any damage or mold, address it before proceeding. You may also need to make adjustments to the cabinet to accommodate the new countertop or sink.
Install the New Countertop: Place the new countertop on the vanity or cabinet, ensuring it fits correctly. If necessary, use a saw to trim the countertop to the desired size. Secure the countertop in place using screws or adhesive, following the manufacturer’s instructions.
Attach the Sink: Depending on the type of sink you’ve chosen, you may need to install it before or after securing the countertop. Follow the sink manufacturer’s guidelines for proper installation. Typically, sinks can be attached with clips, brackets, or adhesive.
Reconnect Plumbing and Fixtures: Once the sink and countertop are securely in place, reconnect the water supply lines and drain pipes. Make sure all connections are tight and secure. Turn on the water supply and check for any leaks.
Finishing Touches: After the plumbing is reconnected and everything is functioning correctly, tidy up the area around the sink and countertop. Apply caulk around the edges of the sink to seal it to the countertop and prevent water from seeping underneath. Wipe down the surfaces to remove any adhesive residue or debris.
How to Replace A Bathroom Countertop u2013 Love u0026 Renovations
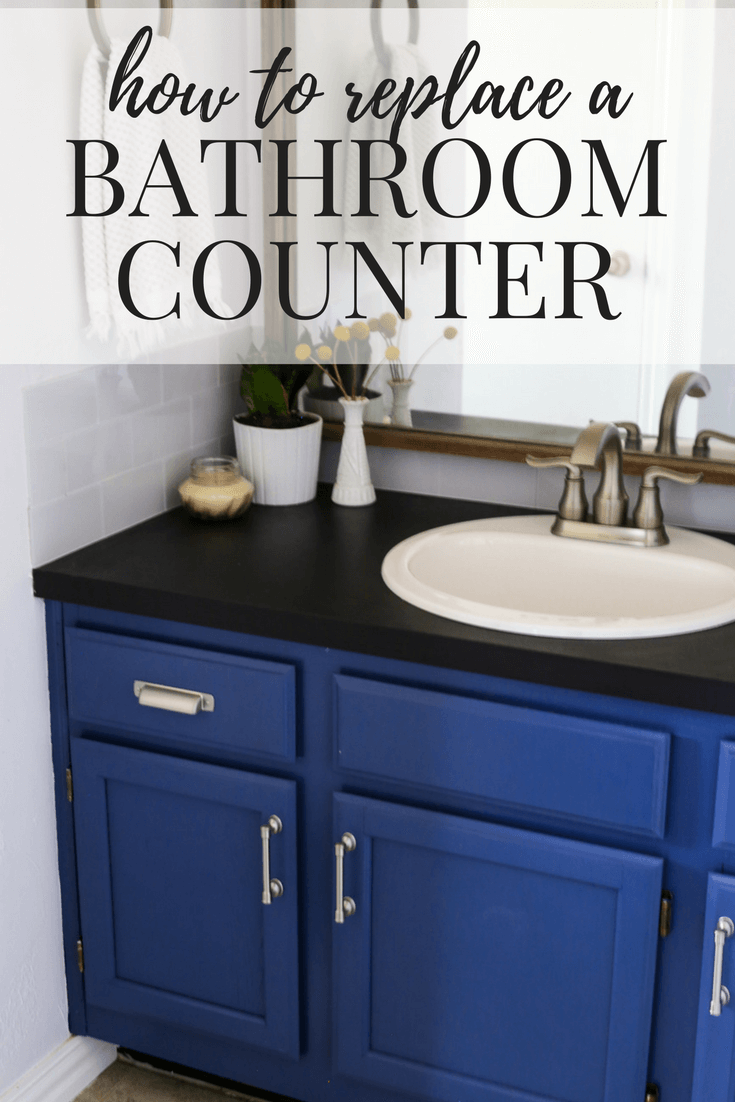
How to Replace a Bathroom Countertop HomeAdvisor
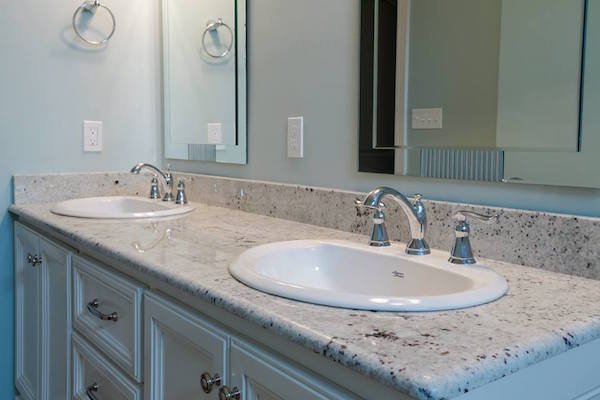
How to Replace a Vanity Top (and save $$$) Craving Some Creativity
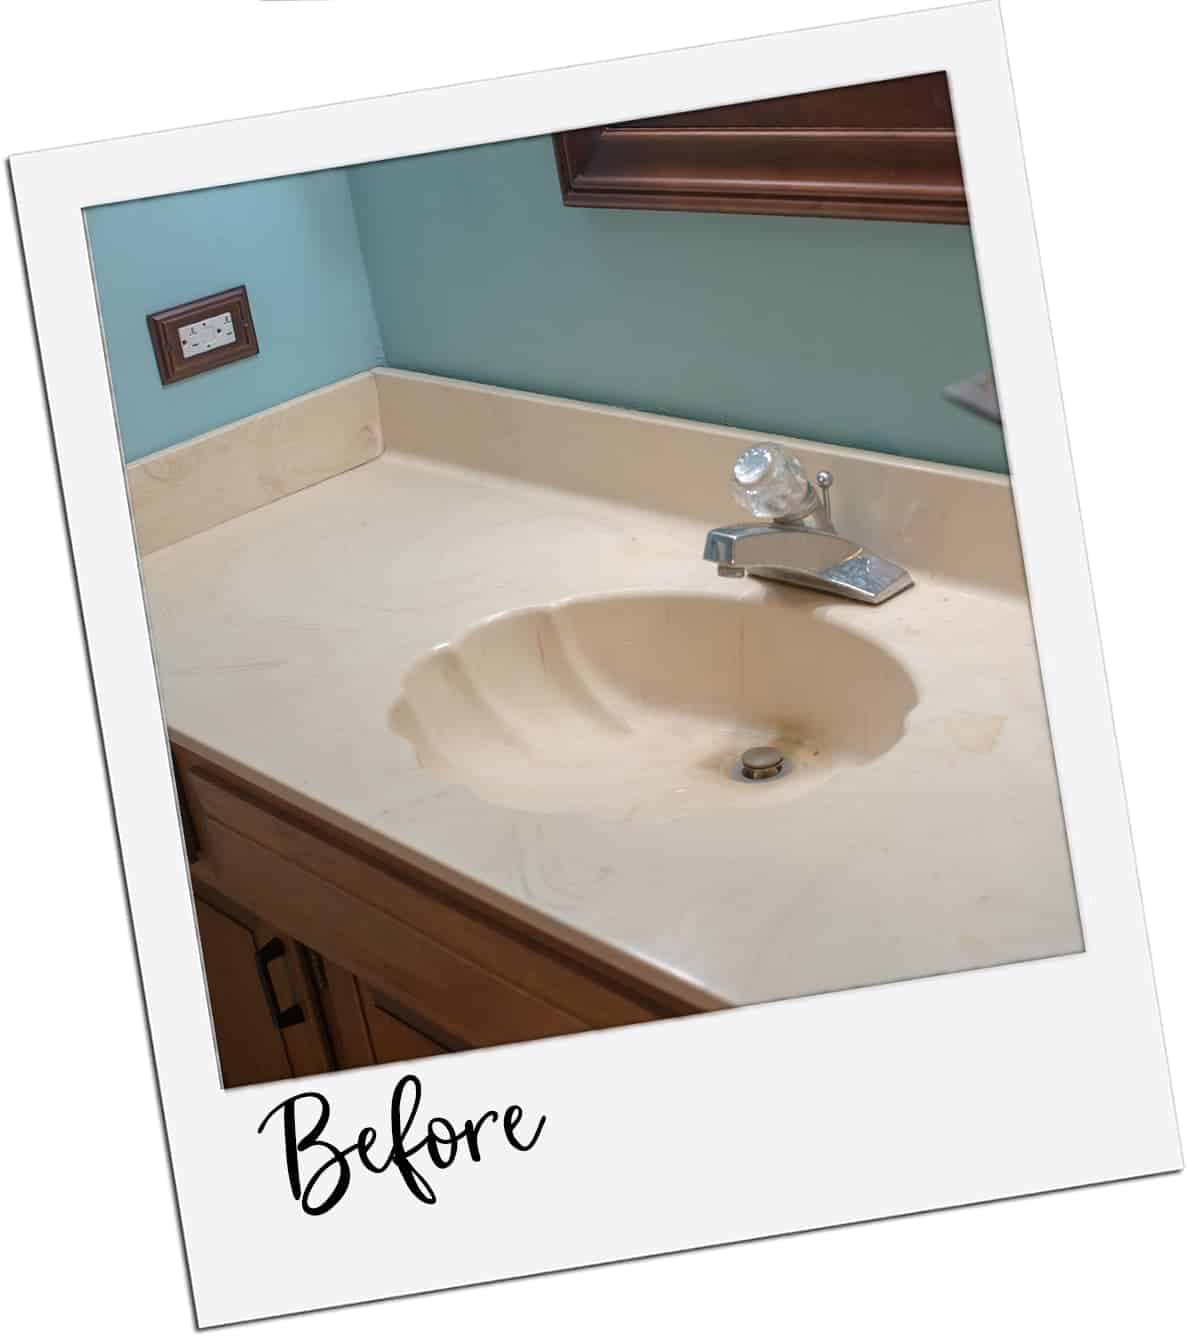
How to Replace a Vanity Top (and save $$$) Craving Some Creativity
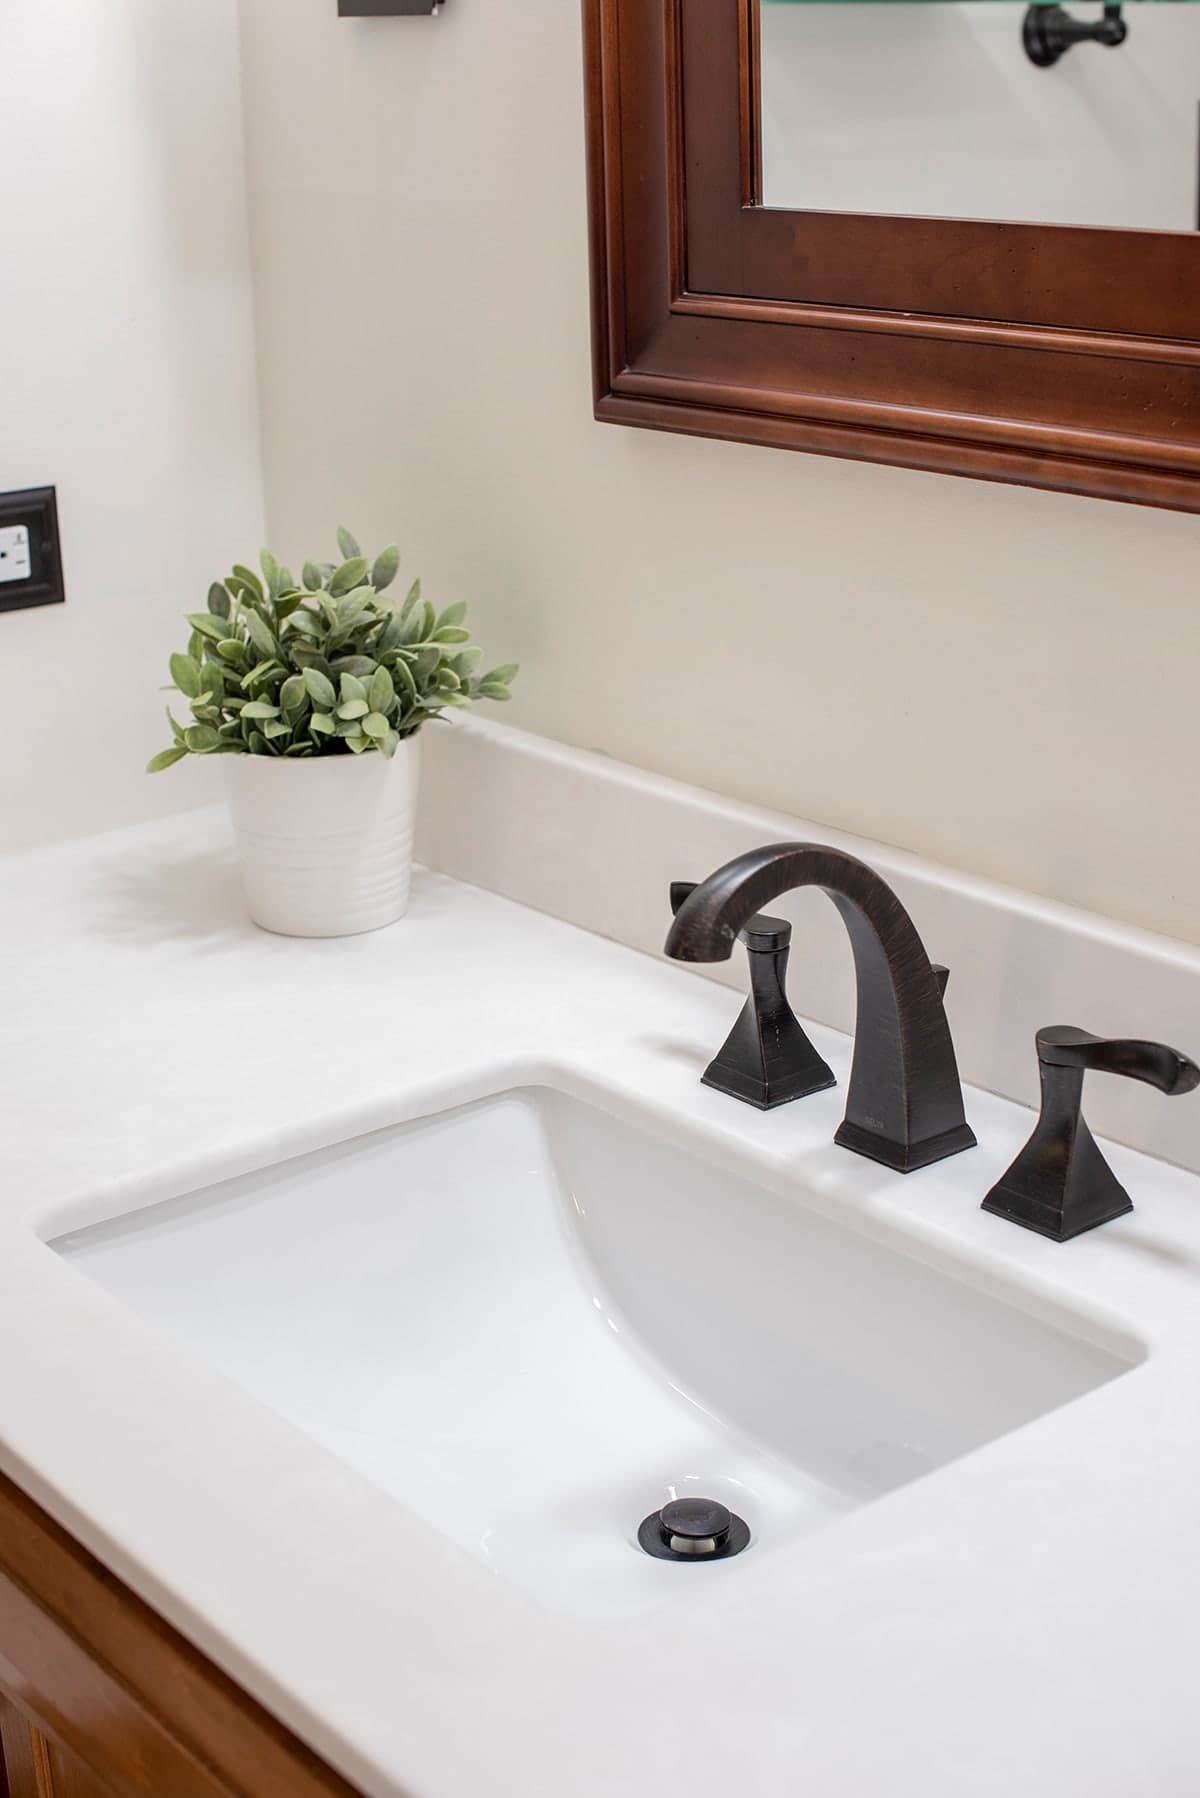
How to Install a Vanity Top – Onyx Sink Top

How to Replace A Bathroom Countertop u2013 Love u0026 Renovations

How to Remove a Countertop From a Vanity » Decor Adventures

Related articles:
- Concrete Bathroom Countertops DIY
- Onyx Bathroom Countertops
- Bathroom Countertop Remodel
- Inexpensive Bathroom Countertops
- Resin Bathroom Countertops
- Walnut Bathroom Countertop
- Green Granite Bathroom Countertops
- Cheap Bathroom Countertops
- Resurface Bathroom Countertops
- Ideas For Bathroom Countertops
