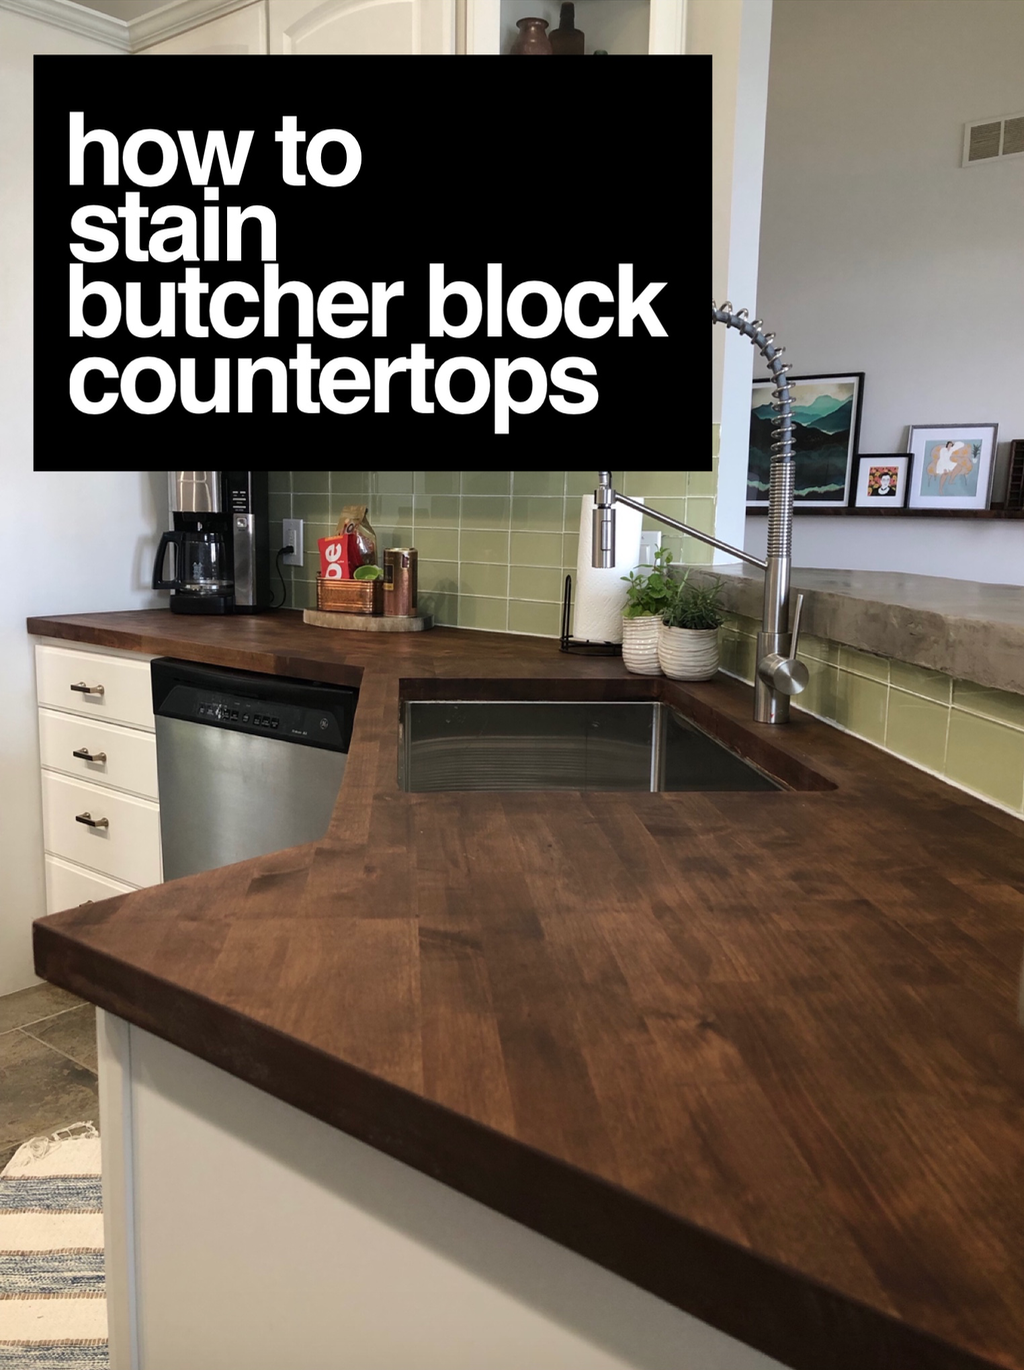
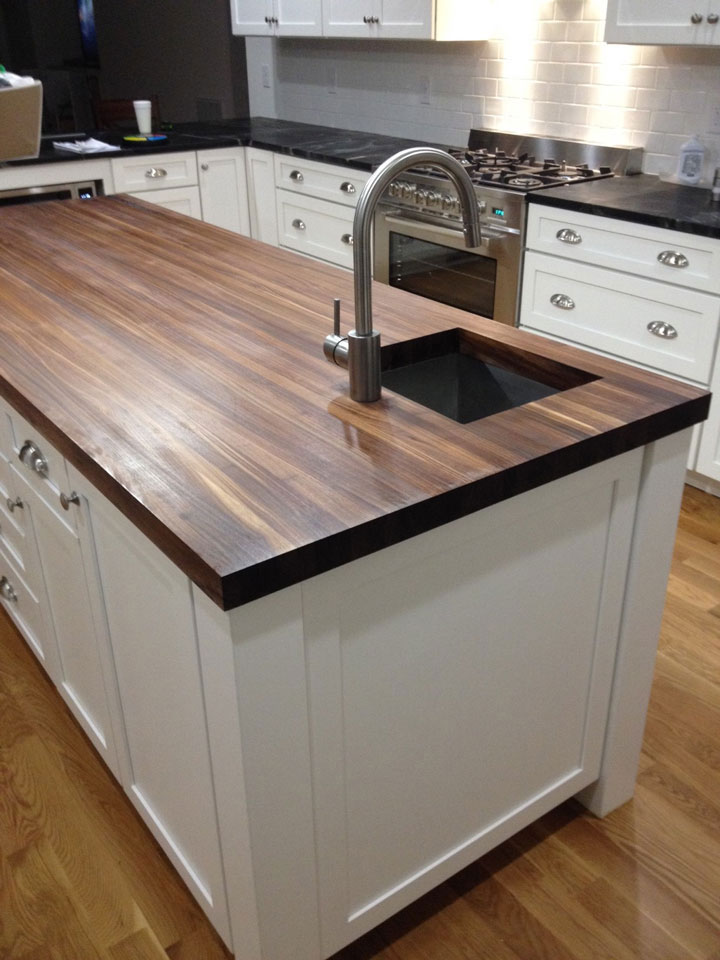
Staining butcher block countertops can transform the appearance of your kitchen or workspace, bringing out the natural beauty of the wood and giving it a warm, rich color. Butcher block, made from hardwoods like maple, oak, or walnut, is not only durable but also versatile in its aesthetic appeal. By staining, you can either enhance the wood’s grain and color or give it a completely new look that matches the rest of your decor. When staining butcher block countertops, it’s essential to understand that the process involves several key steps, from preparation to sealing, and requires a bit of patience to achieve the best results.
The first step in staining butcher block countertops is preparing the surface. Sanding is crucial to ensure the wood is smooth and free of any previous finishes or imperfections. Even if your butcher block is new and unfinished, it’s important to sand it down with progressively finer grits of sandpaper, typically starting with 80-grit and moving up to 220-grit for a smooth finish. This not only helps open up the wood grain to absorb the stain evenly but also ensures that any minor scratches or blemishes are removed.
Once sanding is complete, cleaning the surface is the next priority. Wipe down the butcher block with a tack cloth or a damp rag to remove all the dust and debris from sanding. Any leftover dust can interfere with the stain absorption and result in an uneven finish. Some people also use mineral spirits to clean the surface further, which helps highlight any areas that may need additional sanding.
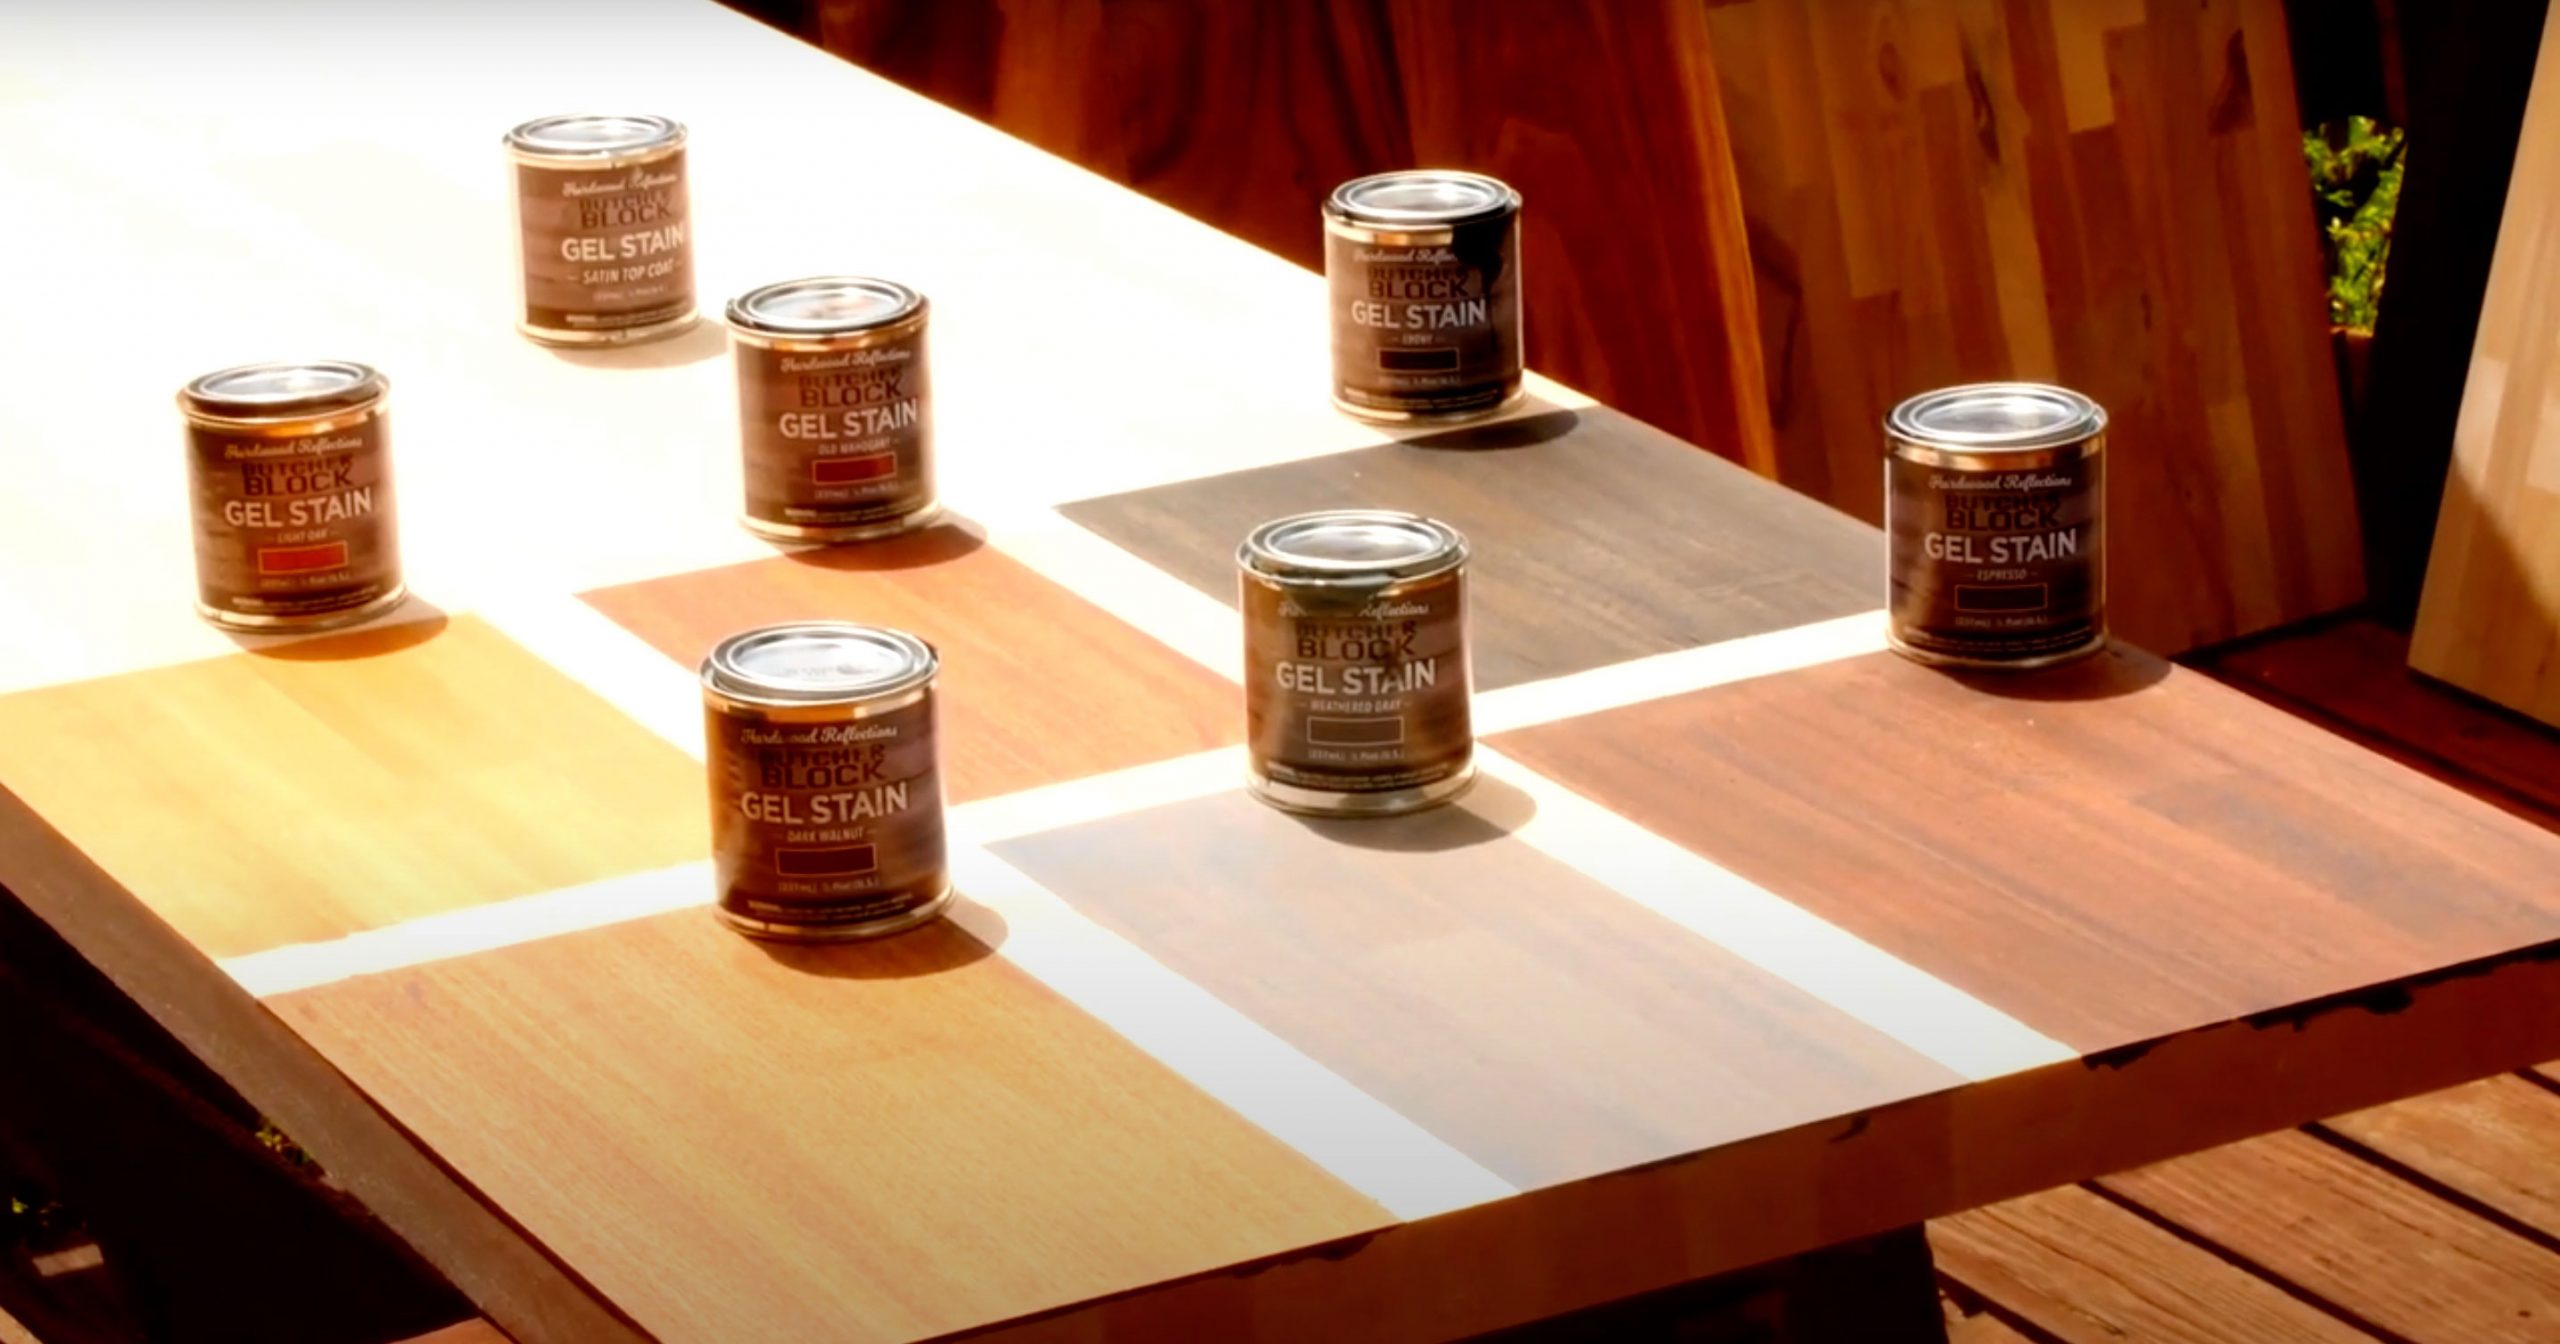
When choosing a stain for butcher block countertops, consider both the type of wood and the color you want to achieve. Oil-based stains are a popular choice because they penetrate deeply into the wood, providing a long-lasting finish. However, water-based stains are also available and can be easier to clean up. You can find stains in a wide range of colors, from natural wood tones like oak or walnut to bolder, more contemporary hues such as gray or black. Test the stain on a scrap piece of wood or a hidden section of the countertop to ensure you’re happy with the color before applying it to the entire surface.
Applying the stain requires care and precision. Use a clean, lint-free cloth or a foam brush to apply the stain in the direction of the wood grain. Work in small sections, allowing the wood to absorb the stain evenly. It’s important not to overload the surface with stain, as this can lead to blotchiness. After applying the stain, let it sit for a few minutes to soak in, then wipe off any excess with a clean cloth. The longer you leave the stain on the wood before wiping, the darker the color will be, so adjust the timing based on the depth of color you want to achieve.
Once the stain has dried completely, typically after 24 hours, you can decide whether you want to apply a second coat to deepen the color. Be sure to lightly sand the surface between coats with fine-grit sandpaper to smooth out any raised grain and ensure an even finish. However, avoid over-sanding, as this could remove too much stain and affect the final appearance.
After staining, sealing the butcher block is essential to protect the wood and the stain from moisture, heat, and wear. Butcher block countertops are highly susceptible to damage from water and food spills if not properly sealed. There are several options for sealing, including polyurethane, mineral oil, or food-safe wood finishes like tung oil or beeswax. If the butcher block is used primarily for food preparation, a food-safe oil or wax is the best choice, as it won’t introduce harmful chemicals into the surface. Polyurethane, on the other hand, provides a more durable, waterproof barrier and is ideal if your butcher block is used more for aesthetic purposes.
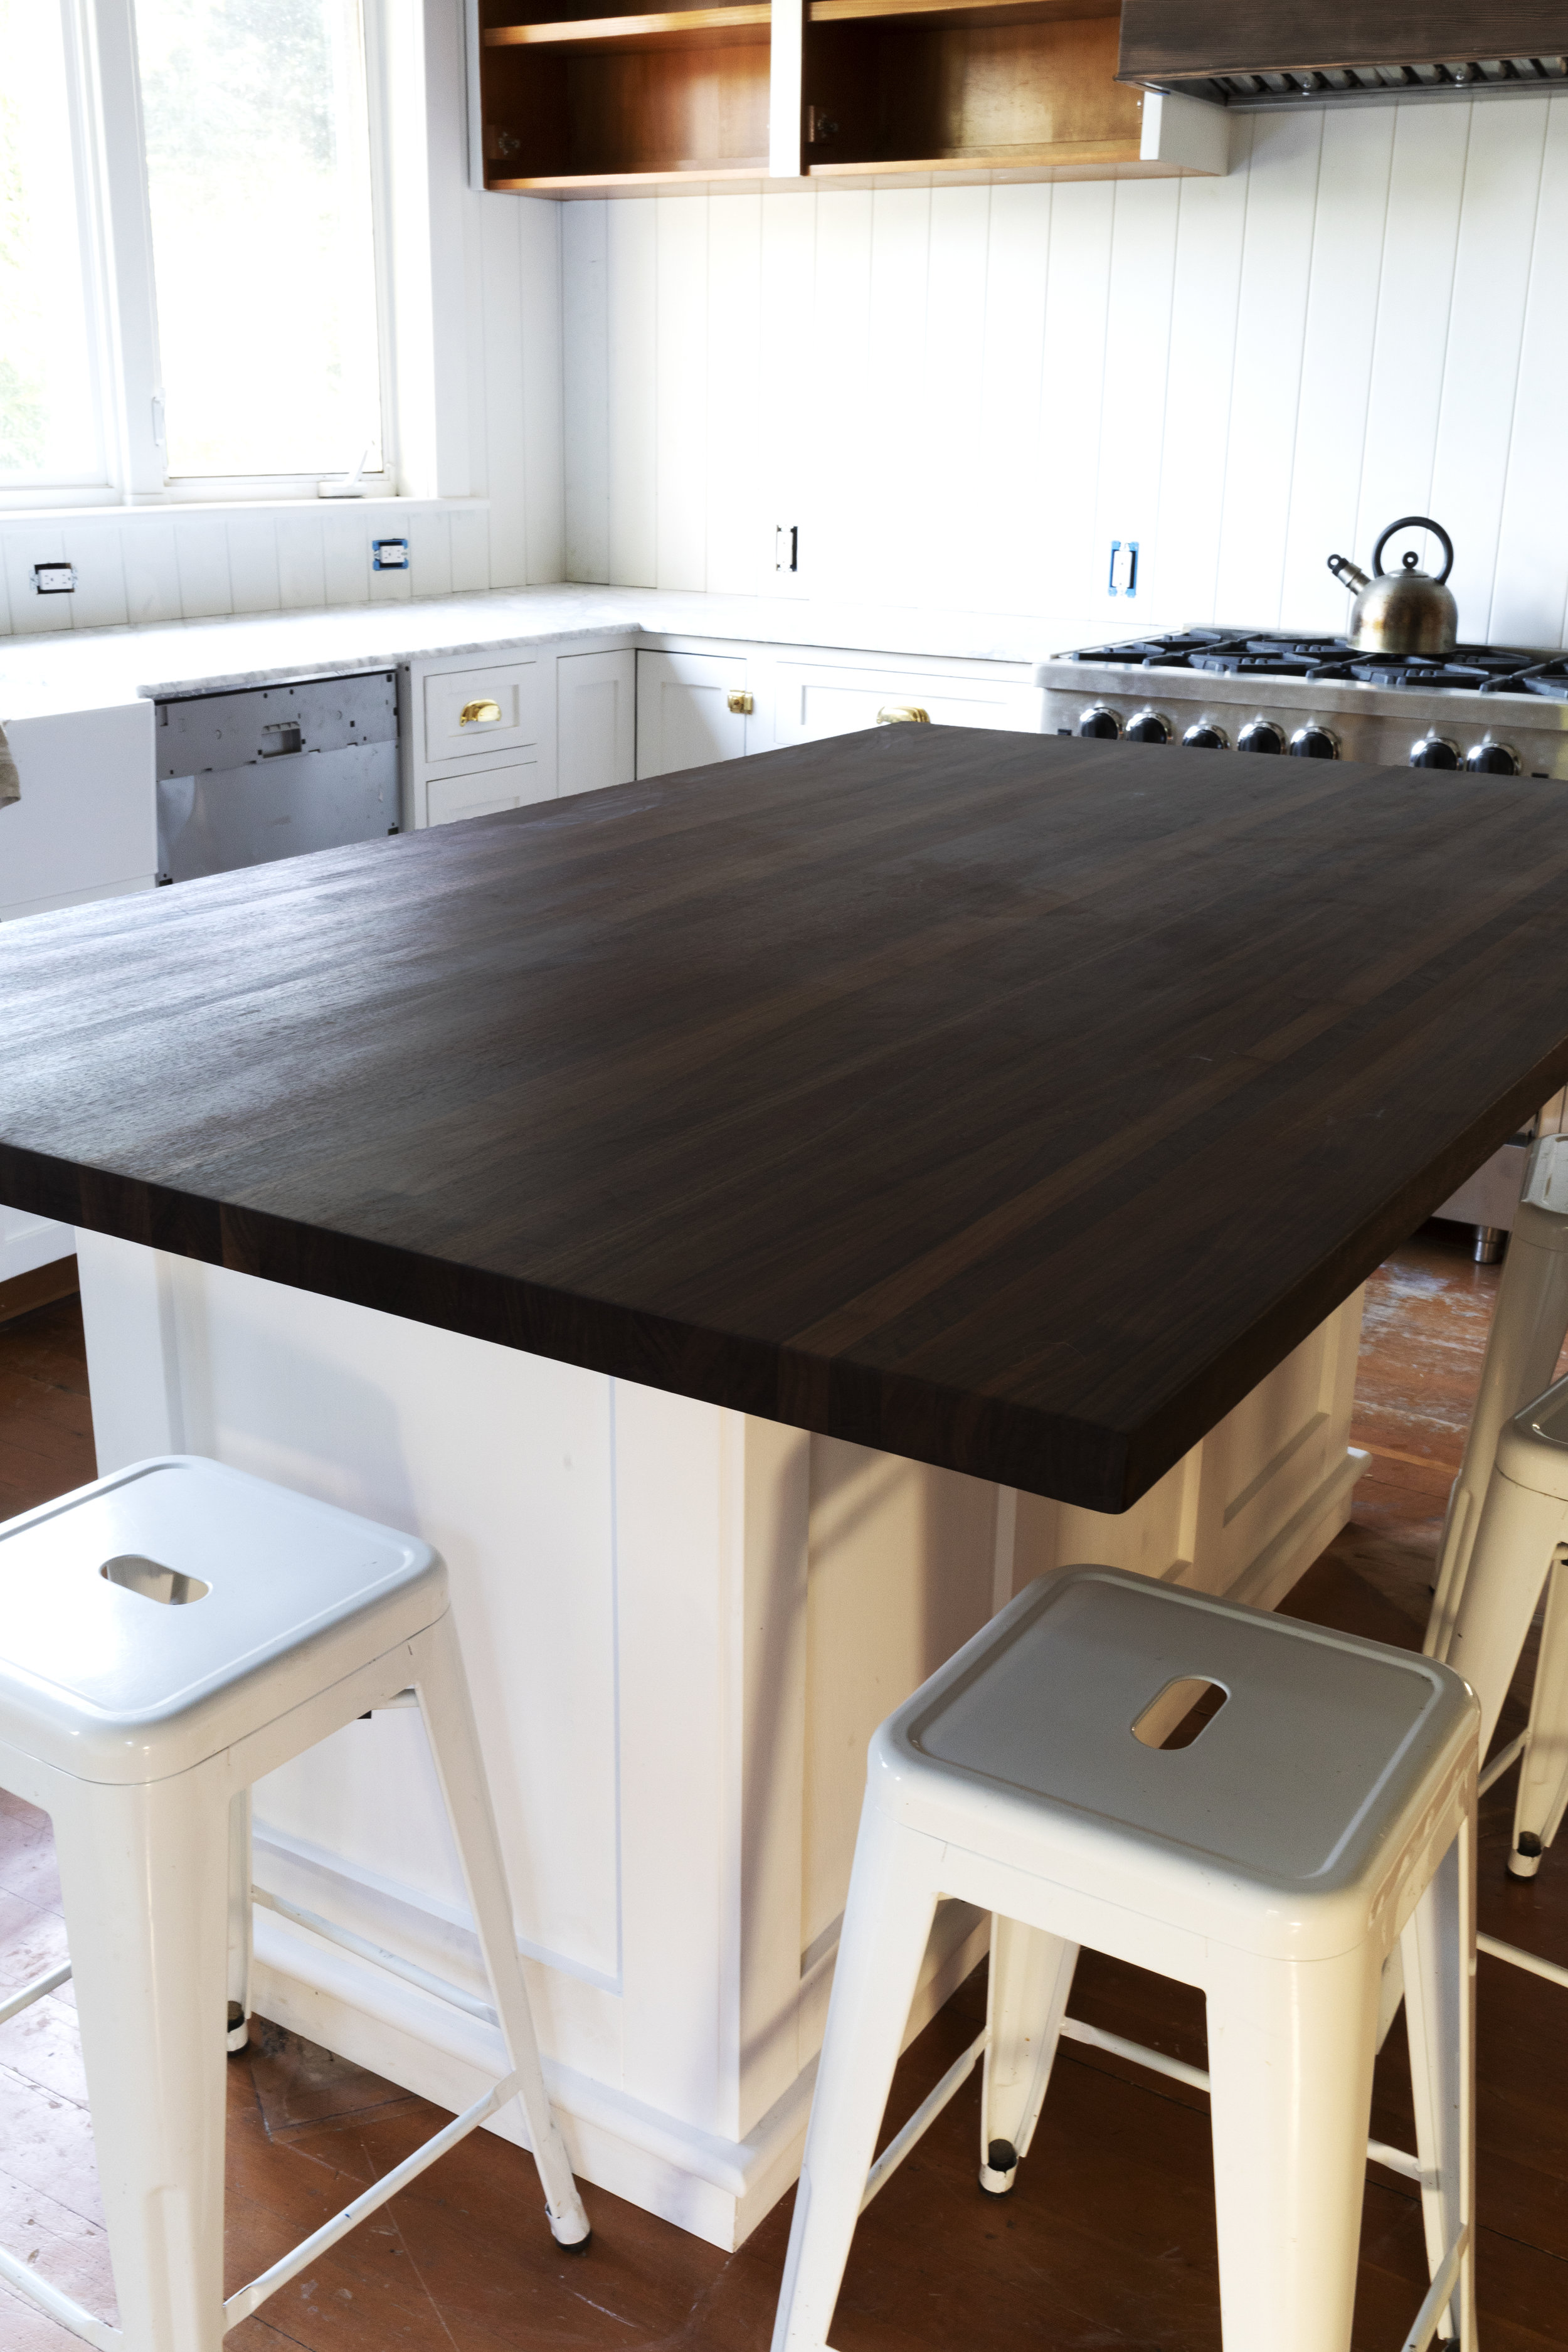
Applying the sealer is similar to applying the stain. Use a clean brush or cloth to apply thin, even coats of sealer, allowing each coat to dry thoroughly before applying the next. Lightly sanding between coats helps to achieve a smooth, professional-looking finish. Be sure to follow the manufacturer’s instructions regarding drying times and the number of coats required.
One important consideration when sealing butcher block countertops is maintenance. Depending on the type of finish you choose, regular reapplication of oil or wax may be necessary to keep the wood hydrated and protected. Polyurethane finishes, while more durable, can still wear over time, especially in high-use areas, and may need to be reapplied every few years.
Staining butcher block countertops not only enhances their appearance but also helps protect the wood from everyday wear and tear. The stain adds color and character, while the sealer protects against moisture and damage. It’s a project that requires attention to detail, but the result is a beautiful, long-lasting surface that adds warmth and natural beauty to your space.
For those using butcher block countertops for food preparation, it’s important to use food-safe products. While polyurethane offers excellent protection, it may not be the best option for a surface that regularly comes into contact with food. Instead, consider using natural oils like tung oil, linseed oil, or mineral oil. These oils penetrate the wood deeply, providing both protection and a food-safe surface.
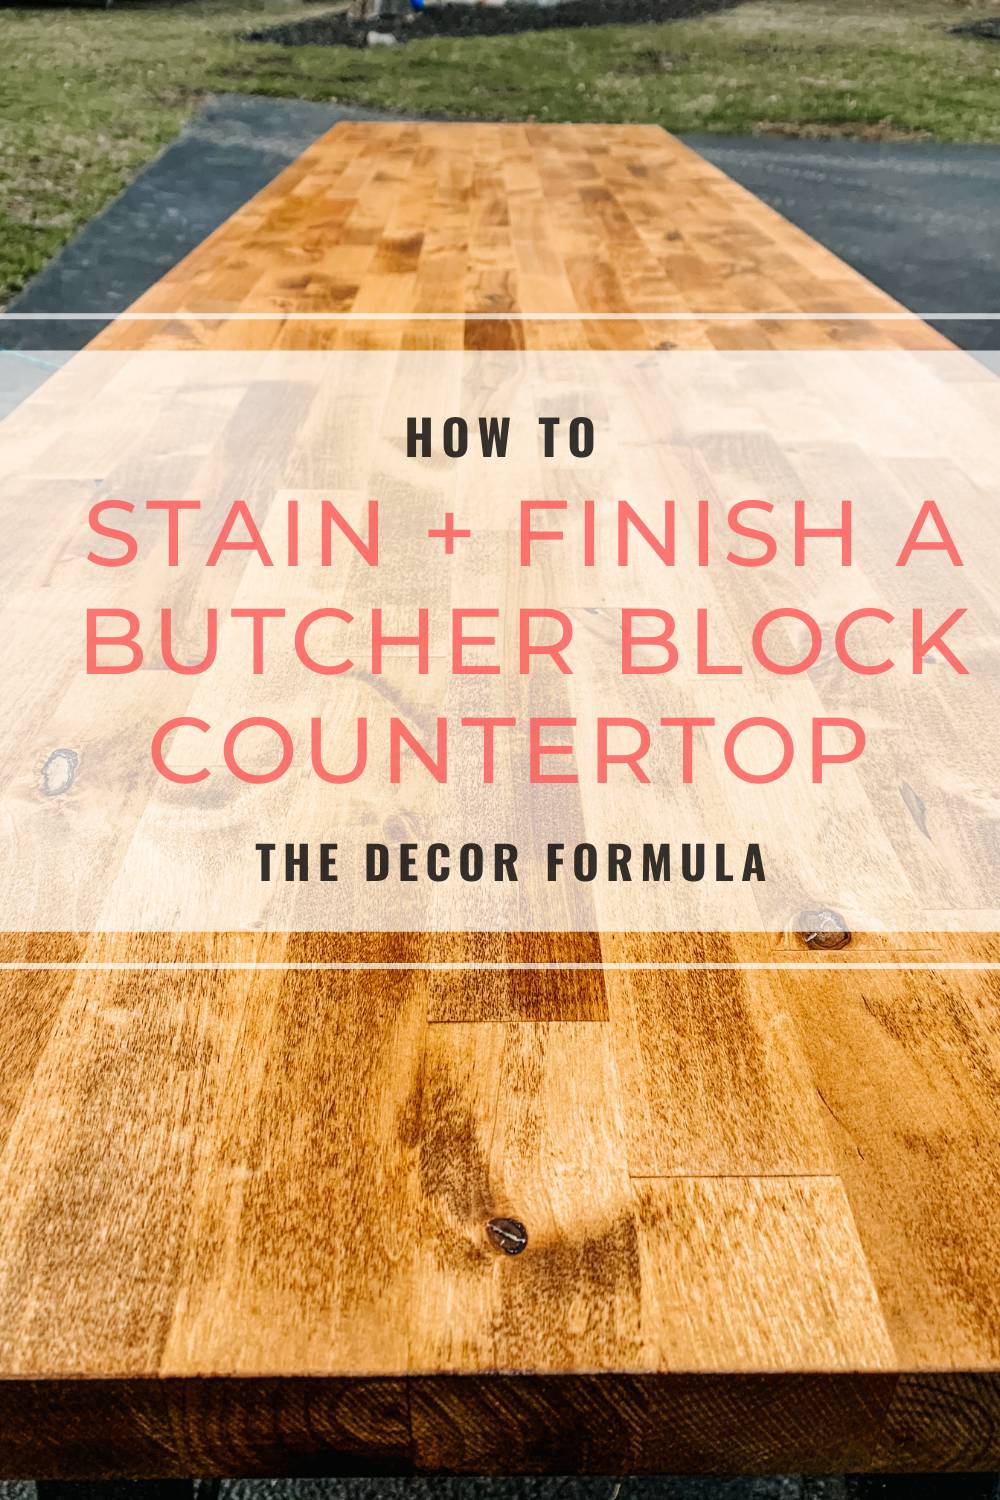
Stained butcher block countertops can last for many years with the right care. Regular cleaning with a mild soap and water solution, avoiding harsh chemicals, and reapplying oil or wax when necessary will keep your countertops looking beautiful. For deep cleaning, a mixture of vinegar and water can help disinfect the surface without damaging the wood or the stain.
One potential challenge with stained butcher block is ensuring that the stain penetrates evenly, especially with lighter woods like maple. Some woods are more porous than others, leading to uneven absorption. To avoid this, using a wood conditioner before staining can help. This product preps the wood to absorb the stain more uniformly, reducing blotchy spots or streaks.
Another challenge can arise if the stain does not achieve the desired depth or color after the first application. In these cases, it’s possible to apply a second or even third coat of stain. However, it’s crucial to allow sufficient drying time between each coat and to sand lightly between applications for the smoothest finish. Patience is key in ensuring the wood absorbs the stain properly.
Common Mistakes to Avoid
One common mistake when staining butcher block countertops is failing to properly sand the surface beforehand. Skipping or rushing through sanding can lead to uneven stain absorption and a rough, unfinished texture. Always take the time to sand thoroughly, using finer grit paper as you progress to achieve a smooth, even surface.
Another frequent mistake is applying too much stain in one go. It’s tempting to load up the brush or cloth with a lot of stains, but this can cause pooling or blotchiness. Instead, work in thin layers and build up the color gradually. This approach ensures even coverage and a smoother finish.
Failing to clean the surface after sanding can also cause problems. Leftover dust particles will interfere with the stain, leading to uneven coloration or a gritty texture. Always use a tack cloth or damp rag to wipe away all dust before staining.
Skipping the sealing process is another major error. Stain alone won’t protect the wood from water, heat, or wear. Sealing the countertop is essential to preserve both the wood and the stain. Whether you choose oil, wax, or polyurethane, don’t neglect this final step in the process.
Lastly, not allowing enough drying time between coats can lead to smudging or tackiness. Patience is key when staining butcher block countertops. Each coat of stain and sealer needs ample time to dry fully before moving on to the next step. Always follow the manufacturer’s recommendations for drying times.

How do I choose the right stain color for my butcher block countertops?
Choosing the right stain color depends on your style, the type of wood, and the look you’re trying to achieve. If you want to enhance the natural beauty of the wood, opt for lighter or natural wood tones. For a more dramatic effect, consider darker stains like walnut or ebony. Testing the stain on a small, inconspicuous area or a scrap piece of wood can help you see how it will look once applied.
Is it necessary to sand my butcher block countertops before staining?
Yes, sanding is a crucial step in the staining process. Sanding ensures the wood is smooth, clean, and ready to absorb the stain evenly. Without proper sanding, the wood may have imperfections or old finishes that prevent the stain from penetrating evenly, resulting in an uneven or blotchy appearance.
What is the best sealer to use after staining butcher block countertops?
The best sealer depends on how you plan to use the countertop. For countertops primarily used for food preparation, food-safe options like mineral oil or beeswax are ideal. They protect the wood while being safe for food contact. If the countertop is more decorative, polyurethane provides a tougher, longer-lasting finish that resists moisture and heat better than oils or waxes.
Can I use my butcher block countertops immediately after staining and sealing?
It’s important to let both the stain and sealer cure fully before using your countertops. This can take several days, depending on the products used and the conditions in your home (like humidity and temperature). Rushing this process can lead to a tacky surface or damage to the finish.
How often should I reapply oil or sealer to my stained butcher block countertops?
If you’ve sealed your countertops with oil or wax, it’s a good idea to reapply every few months, or whenever the wood starts to look dry or dull. Polyurethane finishes, on the other hand, typically last much longer, often several years, before needing reapplication, but may still require touch-ups in high-use areas.
What’s the best way to clean and maintain my stained butcher block countertops?
Regular cleaning with mild soap and water is sufficient for everyday maintenance. Avoid harsh chemicals that can damage the wood or the finish. For deeper cleaning, use a vinegar and water solution to sanitize the surface. Periodically reapplying oil or wax helps keep the wood nourished and protected.

How To Stain and Seal Butcher Block Counters – The Chronicles of Home

Related articles:
- Butcher Block Countertop For Kitchen Island
- Can You Paint Butcher Block Countertops
- Butcher Block Countertops With White Cabinets
- Pine Butcher Block Countertops
- Butcher Block Countertops Walnut
- Maple Butcher Block Countertops
- Care Of Butcher Block Countertop
- Butcher Block Countertops Maintenance
- Antique Butcher Block Countertops
- Butcher Block Countertop Sealing
