Making your butcher block countertops can be a rewarding and cost-effective DIY project, allowing you to customize the look and dimensions to suit your kitchen or workspace. The process begins with selecting the right wood for your countertops. Hardwoods like maple, oak, cherry, and walnut are popular choices due to their durability and resistance to wear. Consider the aesthetic you desire and the functional requirements of your space when choosing the wood.
Once you’ve chosen the wood, the next step is to acquire the necessary materials and tools. In addition to the hardwood planks, you’ll need glue, screws, a sander, a saw, and a food-grade finish. It’s crucial to select a food-safe finish to ensure that the countertops are safe for food preparation. Mineral oil and beeswax are common choices for finishing butcher block surfaces.
Measure and cut the wood planks to the desired dimensions for your countertops. Precision is key, so take your time during this stage to ensure a seamless fit. Consider factors like overhangs for seating or the integration of a sink, and plan accordingly. Once the pieces are cut, arrange them in the desired pattern to create an aesthetically pleasing design.
The next step is to glue the wood planks together. Apply wood glue along the edges of each plank and press them together. Use clamps to hold the pieces tightly while the glue dries. This step is crucial for creating a solid and stable butcher block surface. Allow sufficient drying time according to the glue manufacturer’s recommendations.
After the glued planks have dried, use a sander to smooth the surface and create an even and level countertop. Start with a coarse grit sandpaper and progressively move to finer grits for a polished finish. Pay attention to the edges and corners, ensuring they are smooth and free of any rough spots.

Once the sanding is complete, you can cut the butcher block to its final dimensions. Use a saw to trim any excess wood and create the desired shape. If you’re incorporating a sink into your countertop, this is the stage to cut out the opening for it.
After the final cuts, it’s time to apply the finish to your butcher block countertops. Use a food-grade mineral oil or a combination of mineral oil and beeswax. Apply the finish liberally, allowing the wood to absorb it. This step not only enhances the appearance of the wood but also protects it from moisture and stains.
Let the finish dry completely before installing your DIY butcher block countertops. The drying time will depend on the type of finish you’ve chosen, so follow the manufacturer’s guidelines. Once the finish has cured, you can install the countertops. Secure them in place using screws from underneath, ensuring a stable and secure fit.
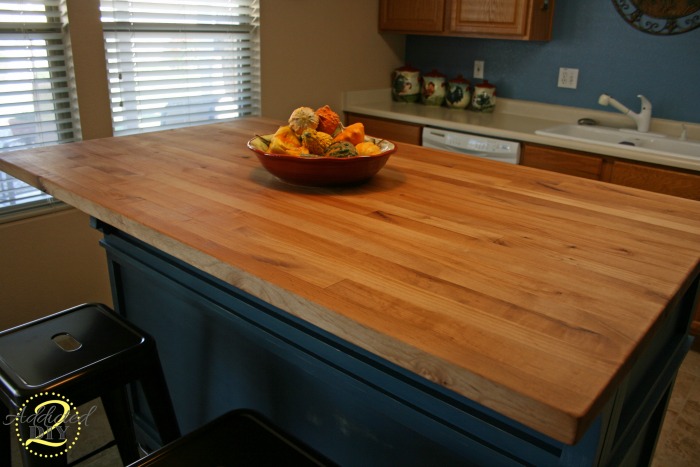
Proper care and maintenance are crucial for preserving the beauty and functionality of your homemade butcher block countertops. Regularly clean the surface with a mild soap and water solution, avoiding harsh chemicals that can damage the finish. Periodically reapply the food-grade finish to keep the wood nourished and protected.
Considerations for long-term durability include avoiding excessive moisture exposure. Wipe up spills promptly, and avoid placing hot pots or pans directly on the surface. Using cutting boards for food preparation is recommended to prevent scratches. With proper care, your DIY butcher block countertops can last for many years, providing a functional and visually appealing surface in your kitchen or workspace.
One of the advantages of making your butcher block countertops is the cost savings compared to purchasing pre-made ones. DIY projects allow you to control expenses, and the satisfaction of creating a custom piece for your home adds value beyond the monetary savings. Additionally, the unique and personal touch of a handmade countertop can enhance the overall aesthetic of your kitchen.
The DIY approach also offers flexibility in design. You have the freedom to choose the wood species, create unique patterns or arrangements, and tailor the dimensions to fit your specific needs. This customization ensures that your countertops are not only functional but also a reflection of your style and preferences.
Embarking on a DIY project like making your butcher block countertops provides a sense of accomplishment and ownership. You get to be intimately involved in every step of the process, from selecting the raw materials to putting the finishing touches. This hands-on experience can be both fulfilling and educational, allowing you to gain valuable skills in woodworking and home improvement.
Before starting your DIY project, it’s essential to do thorough research and possibly seek advice from experienced woodworkers. Understanding the specific characteristics of the wood you’re using, the proper techniques for gluing and finishing, and the tools required will contribute to the success of your project. Taking the time to learn and plan will help you avoid common pitfalls and ensure a professional-looking result.
Making your own butcher block countertops is a DIY project that combines practicality, creativity, and cost savings. Selecting the right wood, employing precise measurements, and following the correct steps for gluing, sanding, and finishing are crucial aspects of the process. With attention to detail and proper care, your homemade butcher block countertops can become a focal point in your kitchen, providing a durable and unique surface for years to come.
DIY Butcher Block Countertops Oh, yes you can! – Tidbits
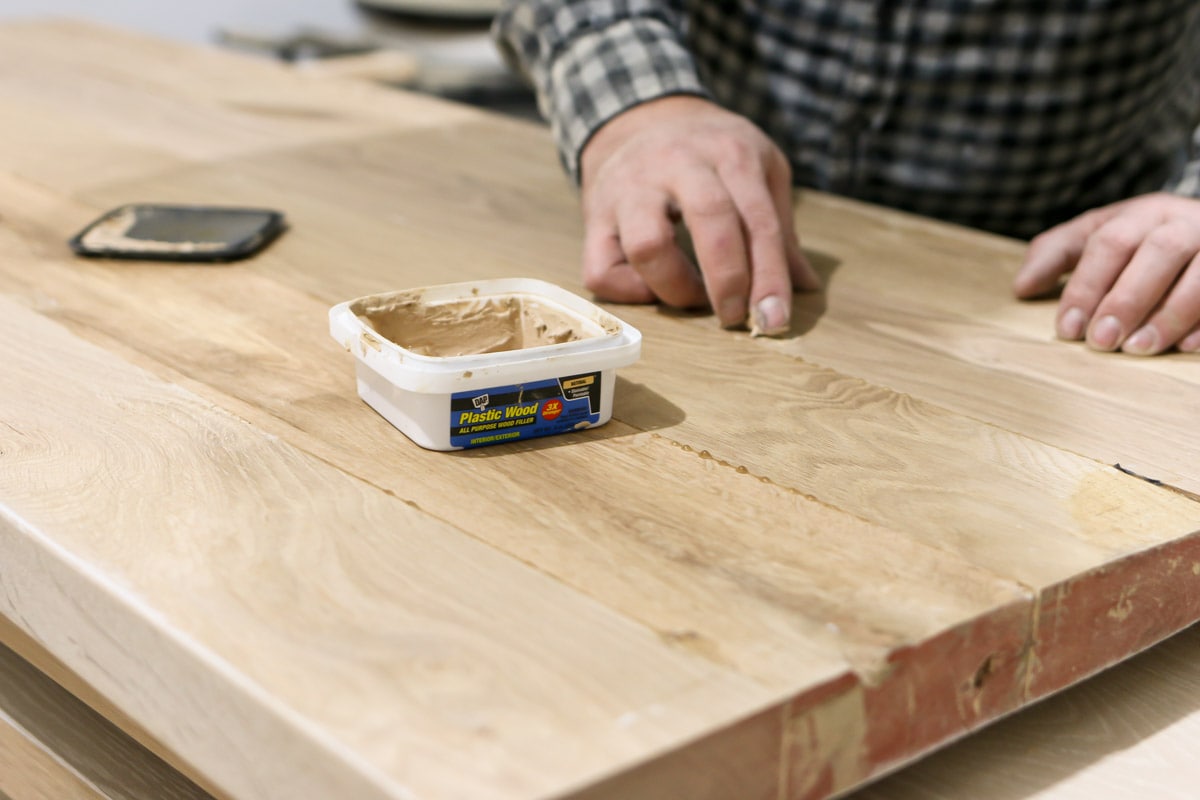
How To Make A BUTCHER BLOCK COUNTER

Painted Furniture Ideas 9 Steps to DIY Butcher Block Countertop
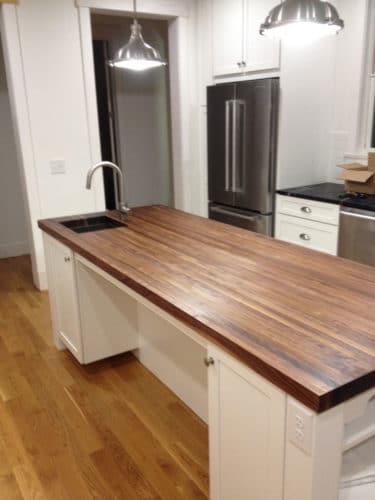
How to: Build Your Own Butcher Block – Addicted 2 DIY
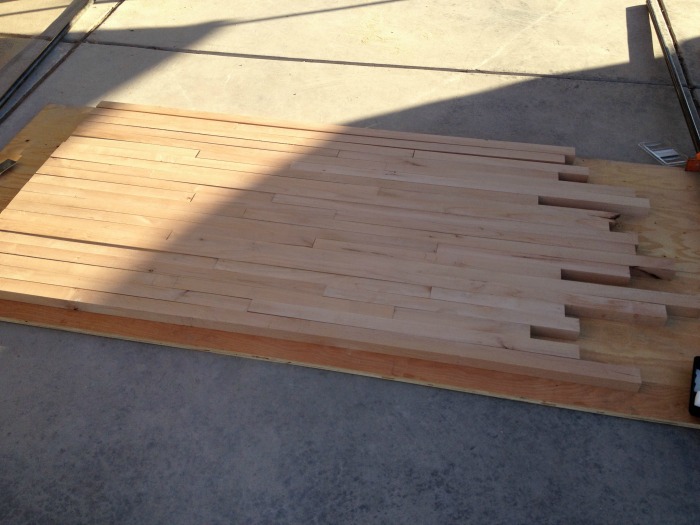
How to: Build Your Own Butcher Block – Addicted 2 DIY
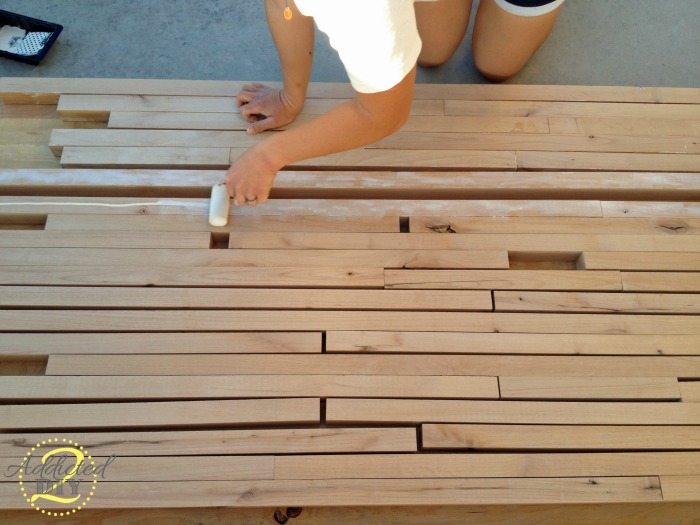
DIY Wooden Counter Top

Related articles:


 Related articles: