Butcher block countertops are a classic and durable choice for the kitchen. Not only are they highly functional for food preparation, but they also add a warm, rustic charm to any space. If you’re looking to upgrade your kitchen with a custom butcher block countertop, making your own is a rewarding DIY project that can save you money compared to a professionally made one. With the right tools and materials, you can create a beautiful and long-lasting butcher block surface to suit your kitchen’s style and needs.
The first step is to select the right wood for your project. Hardwoods like maple, oak, walnut, and cherry are popular choices for butcher blocks due to their strength and durability. The wood should be free of knots, cracks, or other imperfections that could compromise the integrity of the countertop. You’ll also need to decide on the grain pattern you prefer, such as edge grain, end grain, or a combination. Edge grain, where the wood boards are arranged side by side, is the most common and easiest to construct. End grain, where the wood is arranged with the end of the boards facing up, creates a more unique and visually interesting surface but is more complex to build.
Once you’ve chosen your wood, you’ll need to purchase enough boards to cover the desired countertop area, allowing for a few extra inches on each side. The thickness of the boards can vary, but a standard butcher block is typically 1.5 to 2 inches thick. You’ll also need wood glue, clamps, a circular saw or table saw, a belt sander, and a router with a flush trim bit.
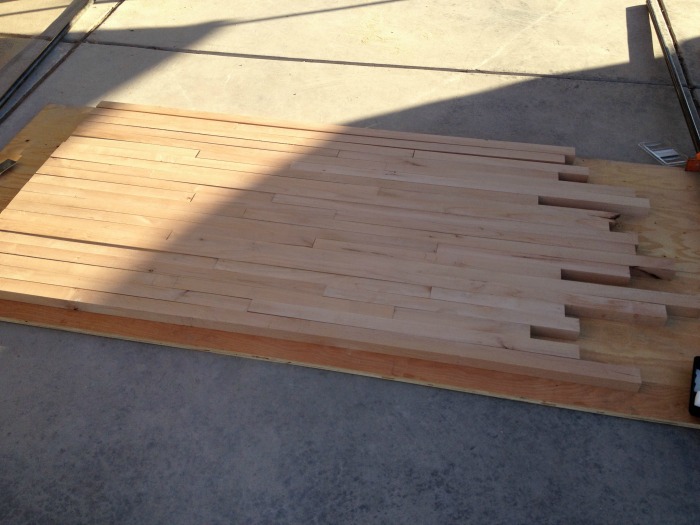
Begin by carefully measuring and cutting the wood boards to size. It’s important to ensure that all the boards are the same length and width to create a seamless, even surface. Apply a generous amount of wood glue to the edges of the boards and clamp them tightly together, making sure they are perfectly aligned. Let the glue dry completely, which can take several hours or even overnight depending on the type of glue used.
After the glue has dried, use a belt sander to smooth the surface of the butcher block, taking care to sand evenly across the entire surface. This will remove any unevenness or ridges between the boards. Once the surface is smooth, use a router with a flush trim bit to carefully trim the edges, ensuring they are perfectly square and flush with the rest of the countertop.
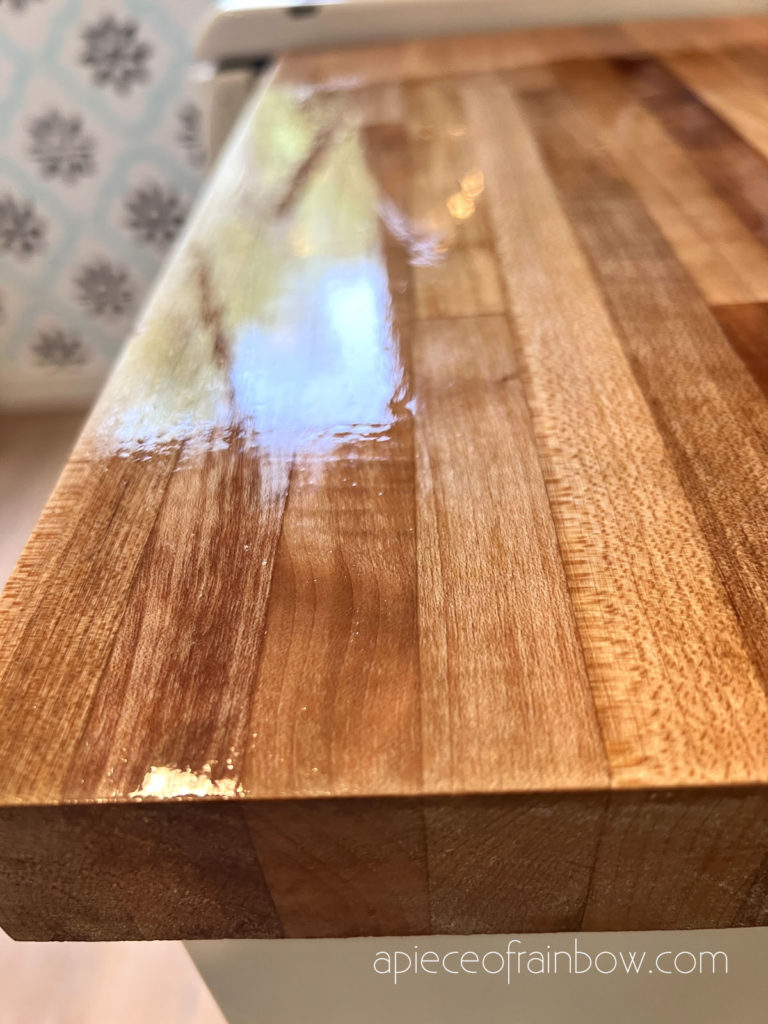
Next, you’ll need to apply a food-safe finish to protect the wood and make it easy to clean. Several options include mineral oil, beeswax, or a mixture of the two. Apply the finish liberally, allowing it to soak into the wood, and then buff it with a clean, dry cloth. Repeat this process several times until the wood is fully saturated and has a smooth, glossy appearance.
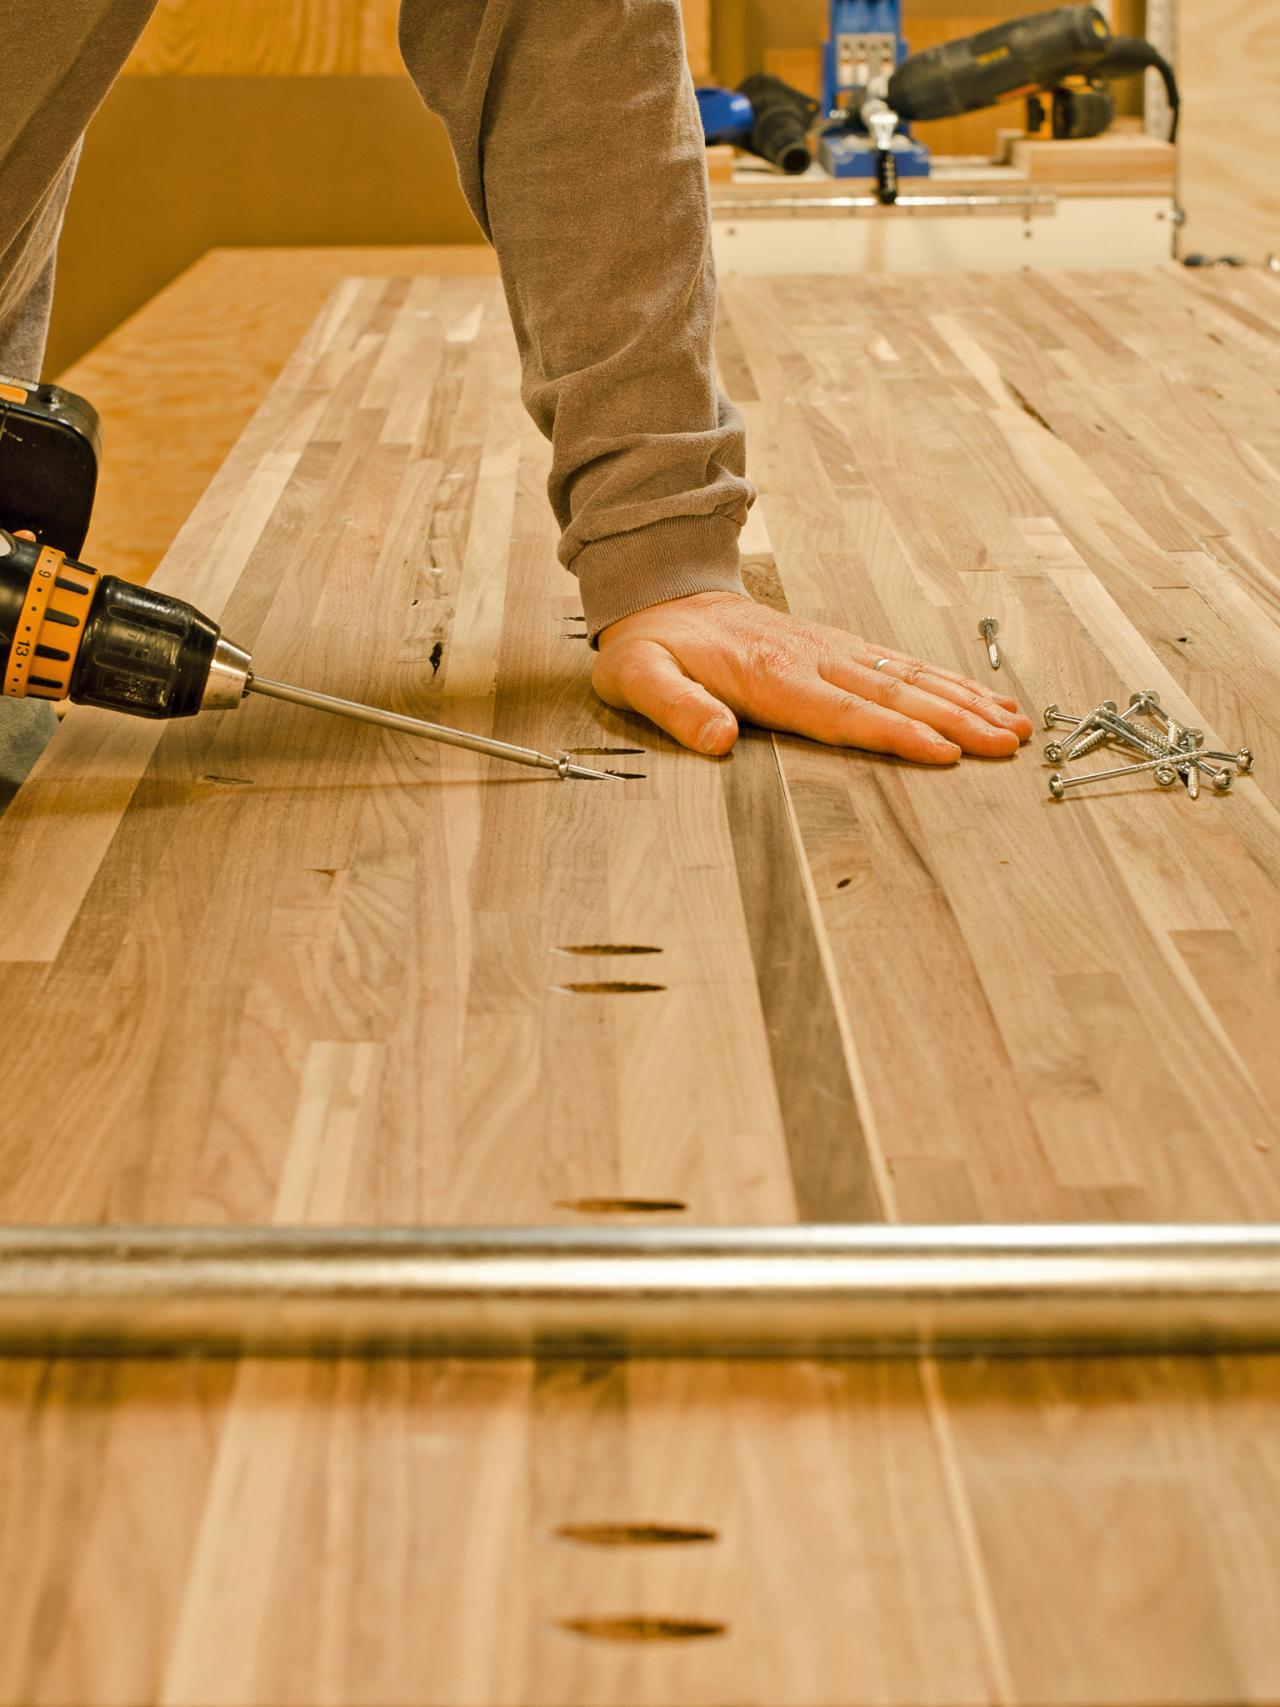
To install your new butcher block countertop, carefully measure the space and cut the countertop to fit. Use wood screws or L-brackets to attach the countertop to the existing cabinets or supports securely. You can also use silicone caulk to seal any gaps or seams.
Maintaining your butcher block countertop is essential to ensure its longevity. Regularly apply a fresh coat of mineral oil or beeswax to keep the wood nourished and protected. Avoid cutting directly on the surface, and use cutting boards to prevent scratches and dents. When cleaning, use a damp cloth and mild soap, and avoid submerging the countertop in water.
With proper care and maintenance, a handmade butcher block countertop can last for years, adding both function and character to your kitchen. The process of creating your custom countertop can be a fun and rewarding DIY project, allowing you to personalize your space and take pride in your handiwork.
Common Mistakes to Avoid:
Using the wrong type of wood: Not all woods are created equal when it comes to butcher block countertops. Hardwoods like maple, oak, walnut, and cherry are the best choices for their strength, durability, and attractive grain patterns. Softer woods like pine or fir may not hold up as well over time.
Improper board alignment: Ensuring that all the wood boards are perfectly aligned and evenly spaced is crucial for a seamless, professional-looking finish. Take the time to carefully measure and clamp the boards together during the gluing process.
Insufficient clamping: Applying adequate clamping pressure is essential for creating a strong, long-lasting bond between the wood boards. Insufficient clamping can lead to gaps, uneven surfaces, and potential structural issues.
Failing to sand thoroughly: Skipping the sanding step or not sanding evenly can result in an uneven or rough surface that is uncomfortable and difficult to clean. Be sure to use a belt sander to smooth the entire surface before applying the final finish.
Choosing the wrong finish: Not all finishes are created equal when it comes to food-safe and durable options for butcher block countertops. Mineral oil and beeswax are popular choices, but some other finishes may not be suitable for food preparation surfaces.
What type of wood is best for a butcher block countertop?
Hardwoods like maple, oak, walnut, and cherry are the most popular choices for butcher block countertops. These woods are known for their strength, durability, and attractive grain patterns. When selecting the wood, it’s important to choose boards that are free of knots, cracks, or other imperfections that could compromise the integrity of the countertop.
What’s the difference between edge grain and end grain butcher blocks?
Edge grain butcher block is the most common and easiest to construct, with the wood boards arranged side by side. End grain butcher block, where the boards are arranged with the end of the wood facing up, creates a more unique and visually interesting surface, but it’s more complex to build. End grain countertops are also considered more durable and self-healing, as the end of the wood fibers are more resistant to knife marks and scratches.
How do I properly care for my homemade butcher block countertop?
Proper care and maintenance are essential to ensure the longevity of your butcher block countertop. Regularly apply a food-safe finish, such as mineral oil or beeswax, to keep the wood nourished and protected. Avoid cutting directly on the surface and use cutting boards to prevent scratches and dents. When cleaning, use a damp cloth and mild soap, and never submerge the countertop in water. With the right care, your homemade butcher block can last for many years.
What tools and materials do I need to make my butcher block countertop?
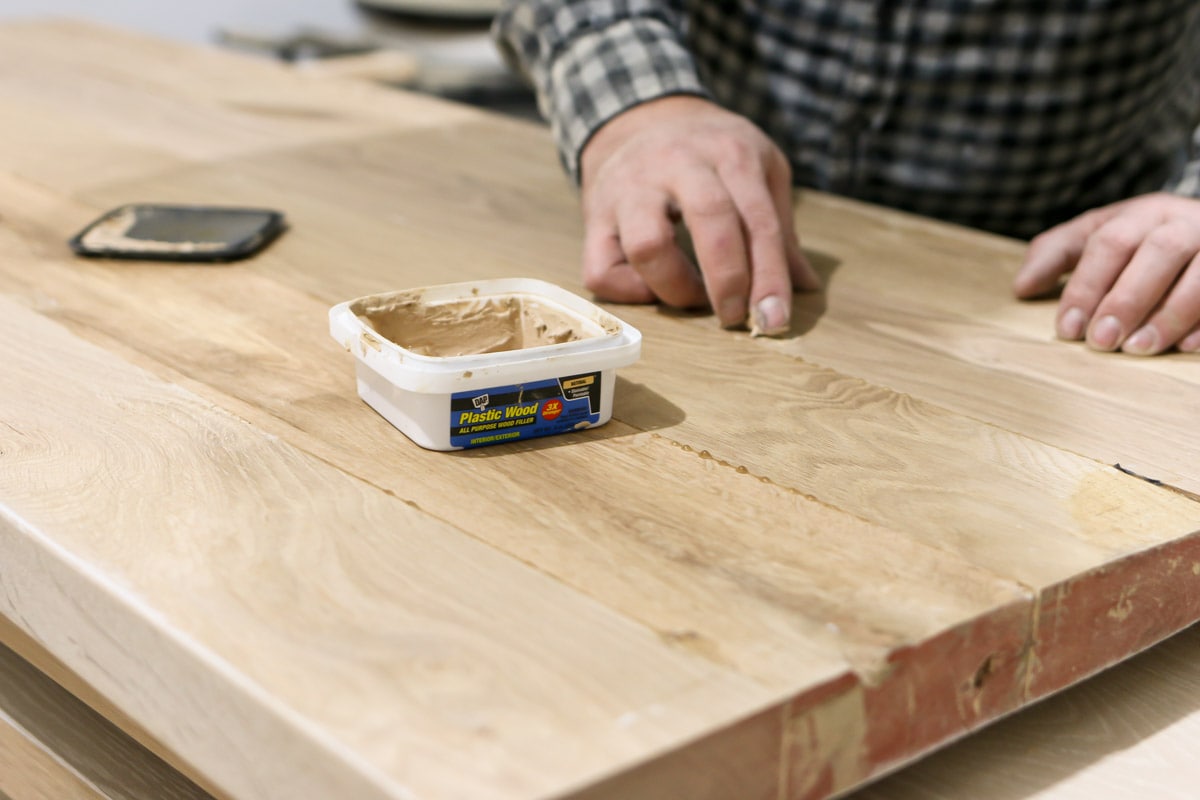
To make your butcher block countertop, you’ll need the following materials: hardwood boards (such as maple, oak, walnut, or cherry), wood glue, clamps, a circular saw or table saw, a belt sander, and a router with a flush trim bit. You may also want to have on hand wood putty, mineral oil or beeswax for the finish, and screws or L-brackets for installation.
How long does it take to make a homemade butcher block countertop?
The time it takes to make a homemade butcher block countertop can vary depending on your skill level and the size of the project. On average, the process can take anywhere from 8 to 16 hours, including cutting the wood, gluing and clamping the boards, sanding, trimming the edges, and applying the final finish. The drying time for the wood glue can also add several hours or even overnight to the overall timeline. However, with the right tools and a little patience, creating a custom butcher block countertop can be a very rewarding DIY project.
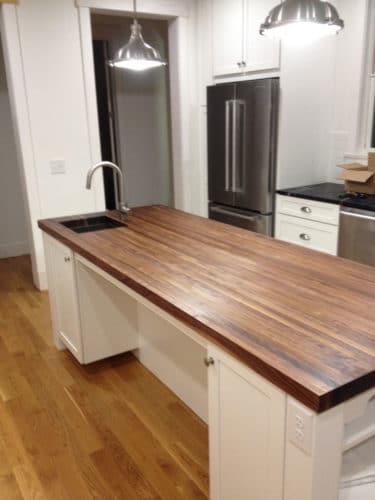
How to: Build Your Own Butcher Block – Addicted 2 DIY
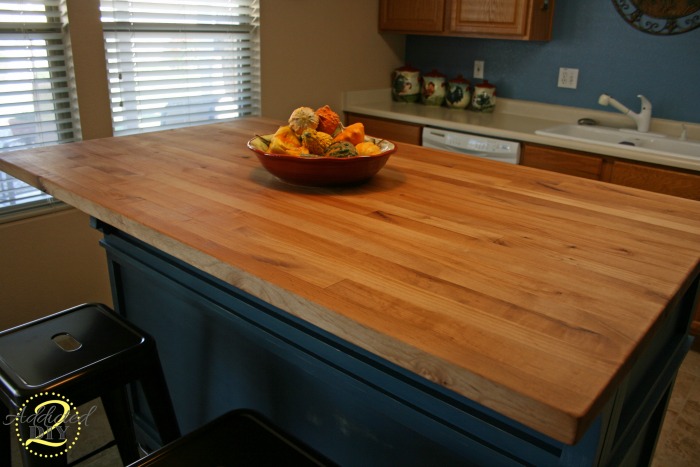
How to: Build Your Own Butcher Block – Addicted 2 DIY
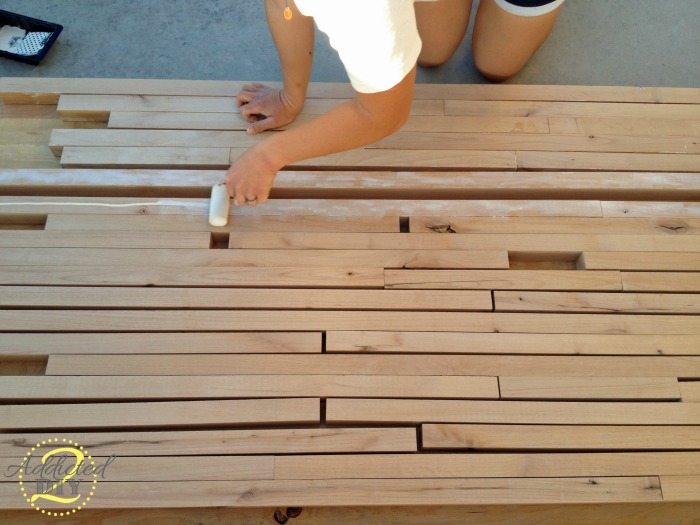
How To Make A BUTCHER BLOCK COUNTER

DIY Wooden Counter Top

Do-It-Yourself Butcher-Block Kitchen Countertop

Related articles:
- Butcher Block Countertop For Kitchen Island
- Can You Paint Butcher Block Countertops
- Butcher Block Countertops With White Cabinets
- Pine Butcher Block Countertops
- Butcher Block Countertops Walnut
- Maple Butcher Block Countertops
- Care Of Butcher Block Countertop
- Butcher Block Countertops Maintenance
- Antique Butcher Block Countertops
- Butcher Block Countertop Sealing