Building butcher block countertops can be a rewarding DIY project that not only adds a rustic and warm feel to your kitchen but also offers a durable and functional surface for food preparation. In this discussion, we’ll explore the steps and considerations involved in building your own butcher block countertops.
First, you’ll need to choose the wood for your butcher block countertops. Hardwoods like maple, oak, and cherry are popular choices due to their durability and attractive grain patterns. Ensure the wood is properly kiln-dried to prevent warping and cracking.
Next, you’ll need to decide on the dimensions of your countertops. Measure your kitchen space carefully to determine the size of the countertop. Keep in mind that butcher block countertops can be heavy, so make sure your cabinets can support the weight.
Prepare your work area with the necessary tools and safety equipment, including a saw, sander, clamps, and safety goggles. You’ll also need food-grade wood glue for assembling the butcher block.

Cut the wood strips to the desired length and width. The thickness of each strip will determine the overall thickness of the countertop. Common thicknesses range from 1.5 to 2 inches.
Arrange the strips in a pattern that you find appealing, alternating the orientation of the wood grain to create a visually interesting surface. This step allows you to design your countertop with a unique look.
Glue the strips together, applying a generous amount of food-grade wood glue between each strip. Use clamps to hold the strips in place and allow the glue to dry thoroughly, typically for at least 24 hours.

After the glue has dried, sand the surface of the countertop to create a smooth and even finish. Start with coarse-grit sandpaper and progressively move to finer grits until the surface is smooth and free from any imperfections.
Apply a food-grade finish to the countertop. Natural oils like mineral oil or a dedicated butcher block finish can be used to seal and protect the wood. These finishes are safe for food preparation and will enhance the wood’s natural beauty.
Finally, install the butcher block countertop onto your cabinets, securing it in place. Make sure it’s level and securely attached to prevent any movement during use.
Building butcher block countertops is a satisfying DIY project that can add charm and functionality to your kitchen. Selecting the right wood, precise measurements and proper assembly are essential steps to ensure your countertops are not only visually appealing but also durable and safe for food preparation. With the right tools and attention to detail, you can create a beautiful and functional butcher block countertop that will be a centerpiece in your kitchen for years to come.
DIY Butcher Block Countertops Oh, yes you can! – Tidbits
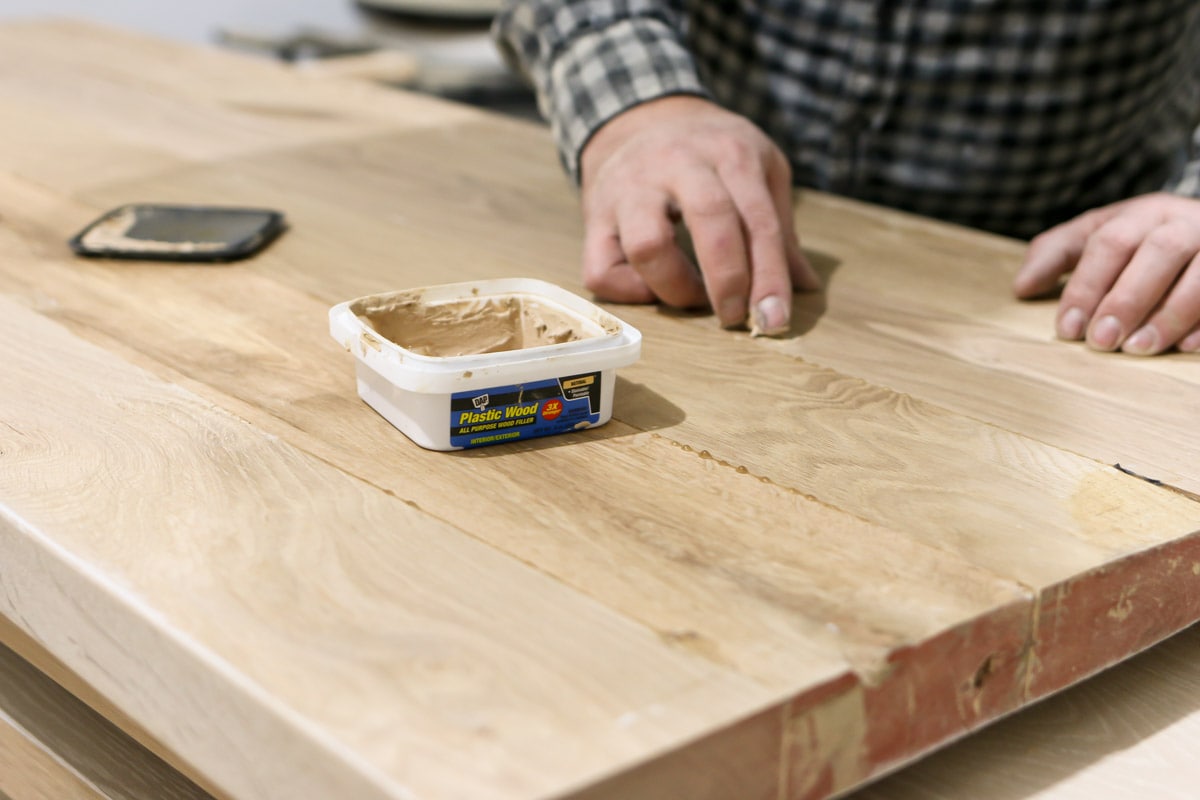
Remember what you’re going to work with the block for and next make sure that you have one that’s big enough to accommodate it. One thing you are going to find when you are looking for a butchers block is the fact that there are plenty of different wood types that you can pick from. You’ll additionally be able to cut costs on the particular block.
How To Make A BUTCHER BLOCK COUNTER

How to: Build Your Own Butcher Block – Addicted 2 DIY
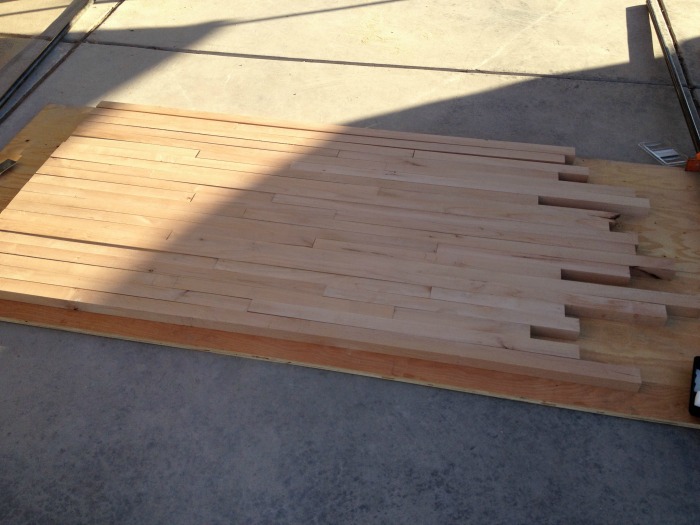
Painted Furniture Ideas 9 Steps to DIY Butcher Block Countertop
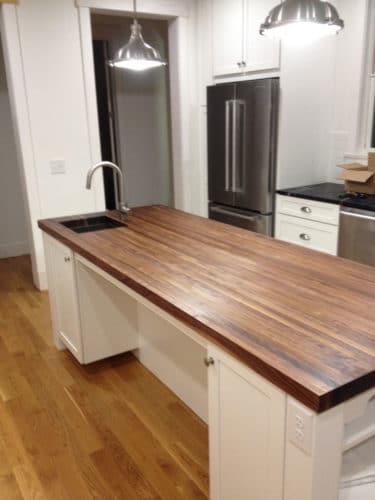
How to: Build Your Own Butcher Block – Addicted 2 DIY
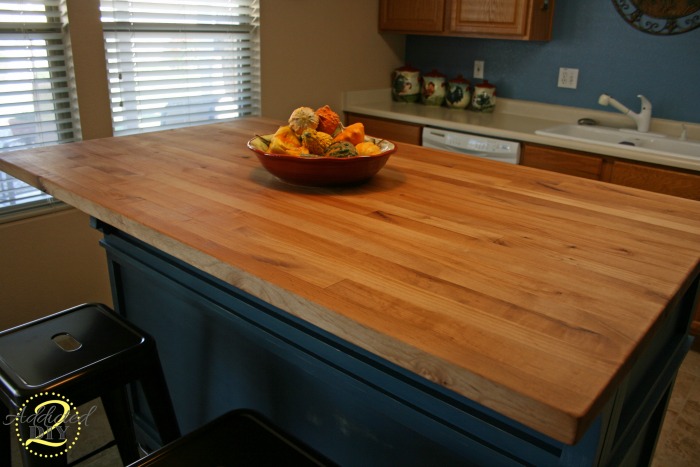
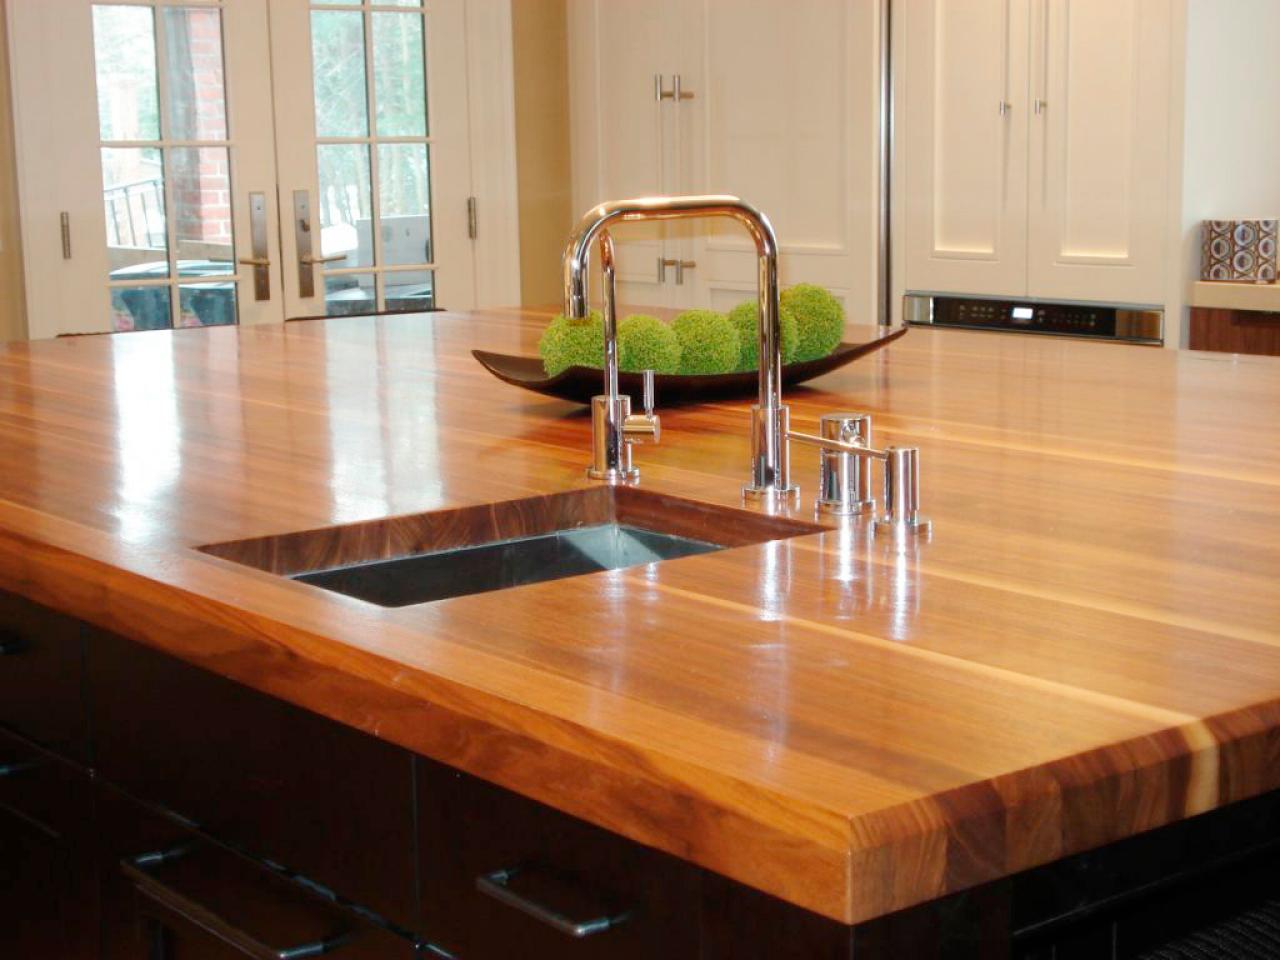
Butcher Block and Wood Countertops HGTV
Related articles:
- Butcher Block Countertop For Kitchen Island
- Can You Paint Butcher Block Countertops
- Butcher Block Countertops With White Cabinets
- Pine Butcher Block Countertops
- Butcher Block Countertops Walnut
- Maple Butcher Block Countertops
- Care Of Butcher Block Countertop
- Butcher Block Countertops Maintenance
- Antique Butcher Block Countertops
- Butcher Block Countertop Sealing