When it comes to adding a personal and natural touch to your bathroom, few things are as impactful as DIY wood countertops. Wood countertops can transform the aesthetic of a bathroom, offering warmth, character, and a sense of craftsmanship. Unlike traditional materials such as marble, granite, or quartz, wood is softer and has a distinct organic quality that can make a bathroom feel more welcoming and unique. Whether you’re interested in using reclaimed wood for an eco-friendly option or creating a custom countertop from new wood, the DIY approach allows you to tailor the design and finish to your specific taste. Building your wood bathroom countertop is not just an opportunity to showcase your creativity but also a cost-effective way to update the space with a material that’s both timeless and trendy.
The first step in creating a DIY wood countertop for your bathroom is selecting the right type of wood. Hardwoods such as oak, walnut, and maple are popular choices due to their durability and resistance to wear. They are less likely to dent or scratch, making them suitable for a high-traffic area like the bathroom. If you’re going for a rustic or reclaimed look, barn wood or pallet wood can add a lot of character. Reclaimed wood brings with it a history of use, and the natural imperfections, knots, and grain patterns add to its charm. For those who prefer a more contemporary aesthetic, sleek and polished woods like cherry or birch can offer a smooth, refined finish.
Once you’ve selected your wood, the next step is measuring and cutting it to fit your bathroom vanity or countertop space. Accurate measurements are critical, as the countertop needs to fit snugly against walls and around sinks or other fixtures. It’s also essential to consider the thickness of the wood. Thicker slabs provide a more substantial and luxurious feel, while thinner cuts may be easier to work with and install. If you’re new to DIY projects, pre-fabricated wood slabs are a great option, as they come already sanded and ready for installation, saving you time and effort.
After cutting your wood to the correct size, the next phase involves sanding the surface to ensure it is smooth and ready for sealing. Sanding the wood not only removes any rough spots but also opens up the grain, allowing the sealant to penetrate more effectively. Start with a coarse grit sandpaper to remove any major imperfections, then move to finer grits to achieve a smooth, polished surface. Sanding also brings out the natural beauty of the wood, highlighting its unique grain patterns, color variations, and knots, which are often the focal points of a wooden countertop.
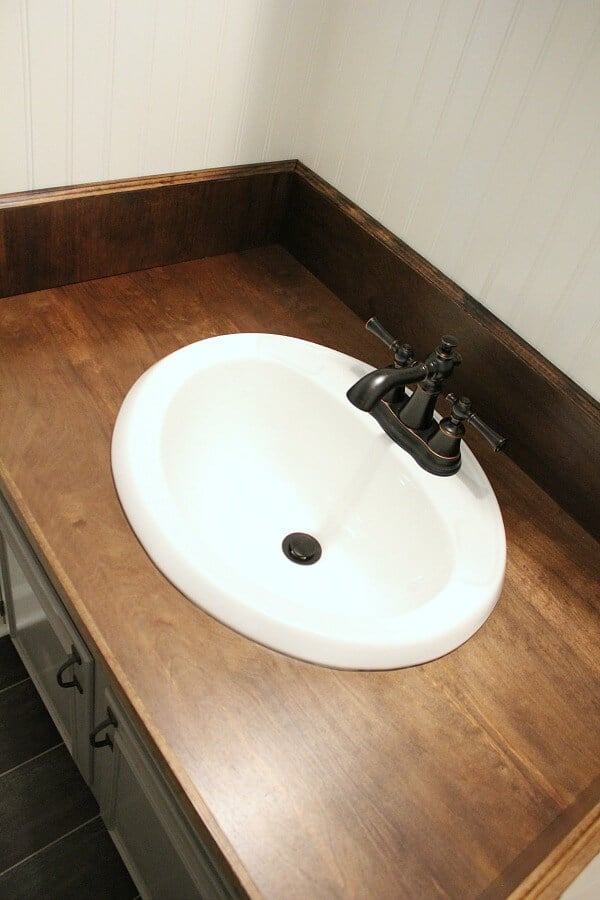
Sealing the wood is one of the most important steps in making sure your DIY bathroom countertop is both functional and long-lasting. Bathrooms are humid environments, and wood is susceptible to water damage, warping, and mold growth if not properly sealed. Polyurethane, epoxy resin, or tung oil are commonly used sealants that create a waterproof barrier on the wood’s surface. Polyurethane is highly durable and provides a glossy finish, while epoxy resin can create a glass-like surface that’s both water-resistant and easy to clean. Tung oil penetrates deep into the wood, offering a more natural finish that enhances the wood’s grain while protecting it from moisture.
In addition to choosing the right sealant, it’s important to apply it correctly to ensure maximum protection. Typically, multiple coats of sealant are required, with drying time between each layer. Be sure to cover the entire surface, including edges and any cuts made for sinks or fixtures, as water can easily seep into these areas. For a smooth finish, lightly sand the surface between coats, removing any dust or debris that may have settled. Sealing is key to ensuring your wood countertop remains in good condition over time, resisting both moisture and wear.
When it comes to installation, you have a few options for securing the wood countertop to your vanity or base. Wood glue or construction adhesive can be used to attach the countertop to a wooden base, while metal brackets or screws may be necessary if attaching the wood to a non-wood surface. Make sure to account for expansion and contraction, as wood naturally expands in humid conditions and contracts when dry. Leave a slight gap between the countertop and surrounding walls or fixtures to accommodate this movement, and use flexible caulk to seal these spaces.
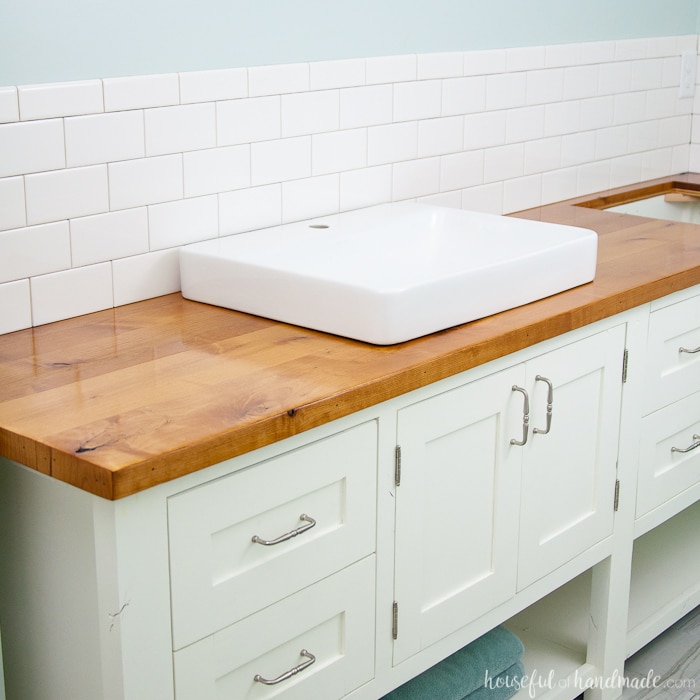
Another important consideration is the sink. If you’re installing an undermount or vessel sink, precise cutting is required to ensure the sink fits perfectly into the countertop. A hole saw or jigsaw is typically used to cut the sink opening, and the edges should be carefully sanded and sealed to prevent water damage. Vessel sinks, which sit on top of the counter, are often easier to install as they require smaller openings and can be placed directly onto the wood surface.
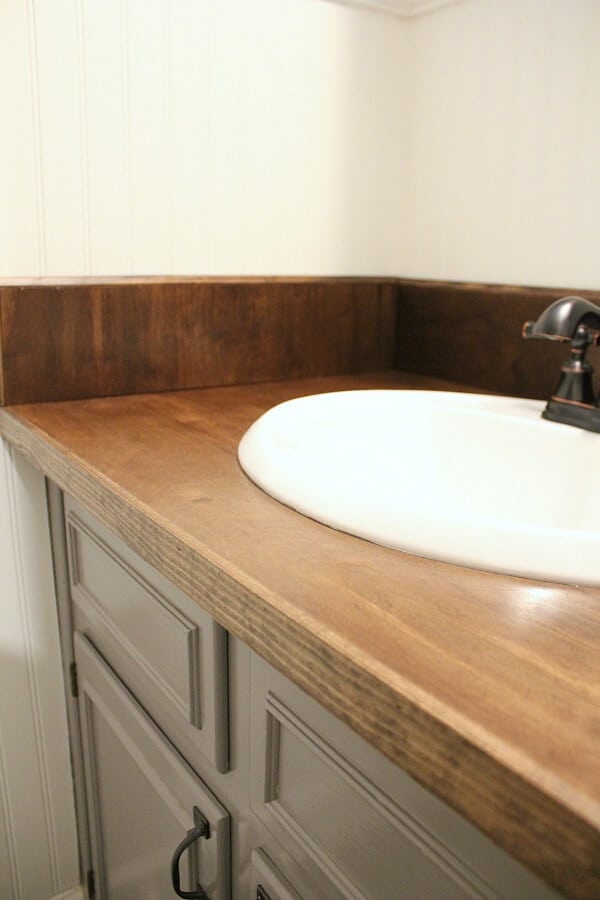
The finish you choose for your DIY wood countertop can drastically change the look of your bathroom. A clear, natural finish brings out the grain and color of the wood, offering a warm and organic appearance. On the other hand, staining the wood can change its color entirely, allowing you to match the countertop to other elements in your bathroom, such as the cabinetry or flooring. Dark stains like espresso or walnut can create a rich, dramatic look, while lighter stains such as honey or natural oak bring a more casual, airy feel.
Incorporating live-edge wood is another way to make your DIY countertop stand out. Live-edge countertops feature the natural edge of the wood slab, rather than a smooth, cut edge. This design element adds an organic and rustic feel to the space, making the countertop appear as though it was cut directly from the tree. While live-edge wood may require a bit more work in terms of sanding and sealing, the result is a stunning, one-of-a-kind piece that instantly becomes the focal point of the bathroom.
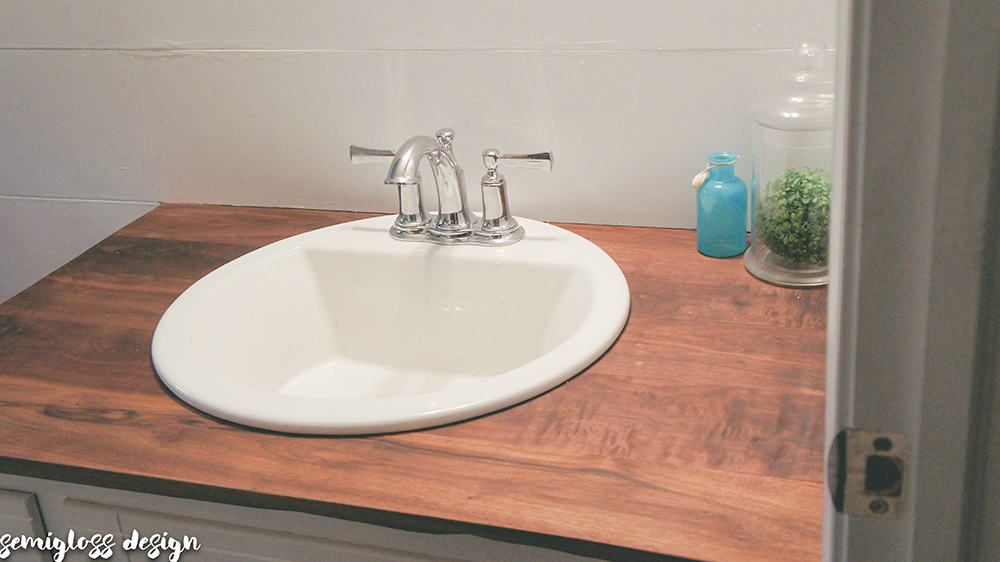
One of the advantages of building your own wood countertop is the ability to customize it according to your needs. You can create custom storage solutions underneath the countertop, such as shelves or cubbies, to make better use of the space. Additionally, you can choose the exact dimensions and overhang to suit your bathroom’s layout. Unlike store-bought countertops, which come in standard sizes, a DIY wood countertop can be tailored to fit perfectly, ensuring it meets both your aesthetic and practical requirements.
Durability is a common concern when using wood in the bathroom, but with the right care, your wood countertop can last for many years. Regular maintenance includes cleaning the surface with a mild, non-abrasive cleaner and avoiding harsh chemicals that can damage the sealant. Additionally, resealing the wood every couple of years helps maintain its water resistance and prevents the wood from drying out. Small scratches or dents can often be sanded out, allowing you to keep the countertop looking new even with daily use.
A DIY wood bathroom countertop offers a blend of rustic charm and modern appeal that is hard to find in mass-produced countertops. Its natural beauty and warmth bring a unique element to the space, while the DIY aspect allows for complete customization. Whether you choose a polished, contemporary finish or a rustic, reclaimed look, a wood countertop will add both character and function to your bathroom. With the right materials and a little bit of patience, you can create a stunning feature that transforms your bathroom into a cozy, personalized retreat.
Common Mistakes to Avoid
A common mistake when creating DIY wood countertops is failing to properly seal the wood. Bathrooms are humid environments, and without the right protection, the wood can warp, crack, or become stained.
Another mistake is choosing the wrong type of wood. Softwoods like pine, while inexpensive, are prone to dents and scratches and may not hold up well in the bathroom. Improper measurements can also lead to problems, such as gaps around the sink or walls, which can allow moisture to seep in.
Failing to account for wood’s natural expansion and contraction due to humidity is another error that can cause warping or cracking over time. Finally, not sanding the wood thoroughly before sealing can result in a rough, uneven surface that detracts from the overall look.

What kind of wood should I use for a DIY bathroom countertop?
Hardwoods such as oak, walnut, and maple are ideal for bathroom countertops because they are durable and resistant to moisture and wear. Softwoods like pine may be cheaper but are prone to damage in a high-moisture environment. Reclaimed wood is also an excellent option for a rustic look, but ensure it’s been properly treated to resist water damage.
How do I protect a wood countertop from water damage?
Sealing the wood is essential to protect it from water damage. Use a waterproof sealant like polyurethane, epoxy, or tung oil, applying multiple coats to create a strong barrier against moisture. Be sure to cover all edges and cuts, especially around the sink area, to prevent water from seeping in and causing warping or mold growth.
How often do I need to reseal a wood countertop?
The frequency of resealing depends on the type of sealant you use. Polyurethane or epoxy finishes can last several years before needing reapplication, while natural finishes like tung oil may require resealing every 12-18 months. Regularly inspecting the surface for signs of wear, such as dullness or water spots, can help determine when it’s time to reseal.
Can I install a vessel sink on a wood countertop?
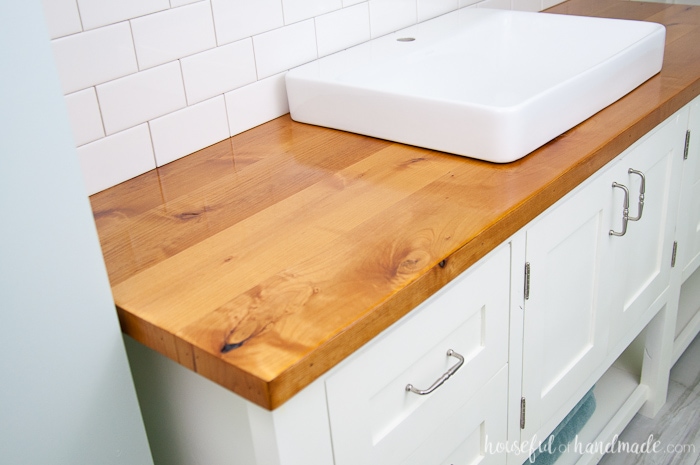
Yes, vessel sinks are easier to install on wood countertops because they require only a small hole for the drain pipe. Be sure to carefully seal the area around the sink opening to prevent water from seeping into the wood. Vessel sinks also sit on top of the counter, reducing the risk of water damage to the surrounding area.
How do I clean and maintain a wood bathroom countertop?
To clean a wood countertop, use a mild, non-abrasive cleaner and avoid harsh chemicals that can damage the sealant. Wipe up any water spills immediately to prevent moisture from penetrating the wood. Regularly resealing the countertop helps maintain its water resistance, and sanding out small scratches or dents keeps the surface looking smooth and new.
Is a DIY wood countertop a good idea for a high-traffic bathroom?
While wood countertops can be used in high-traffic bathrooms, they require more maintenance than stone or composite materials. Hardwoods like oak and walnut are more durable and resistant to wear, but regular sealing and careful cleaning are necessary to keep the countertop in good condition. If properly maintained, a wood countertop can last for many years, even in a busy bathroom.
How To Build Beautiful DIY Wood Countertops In A Day
DIY Wood Bathroom Countertop: An Easy Way to Change your Vanity in
Related articles: