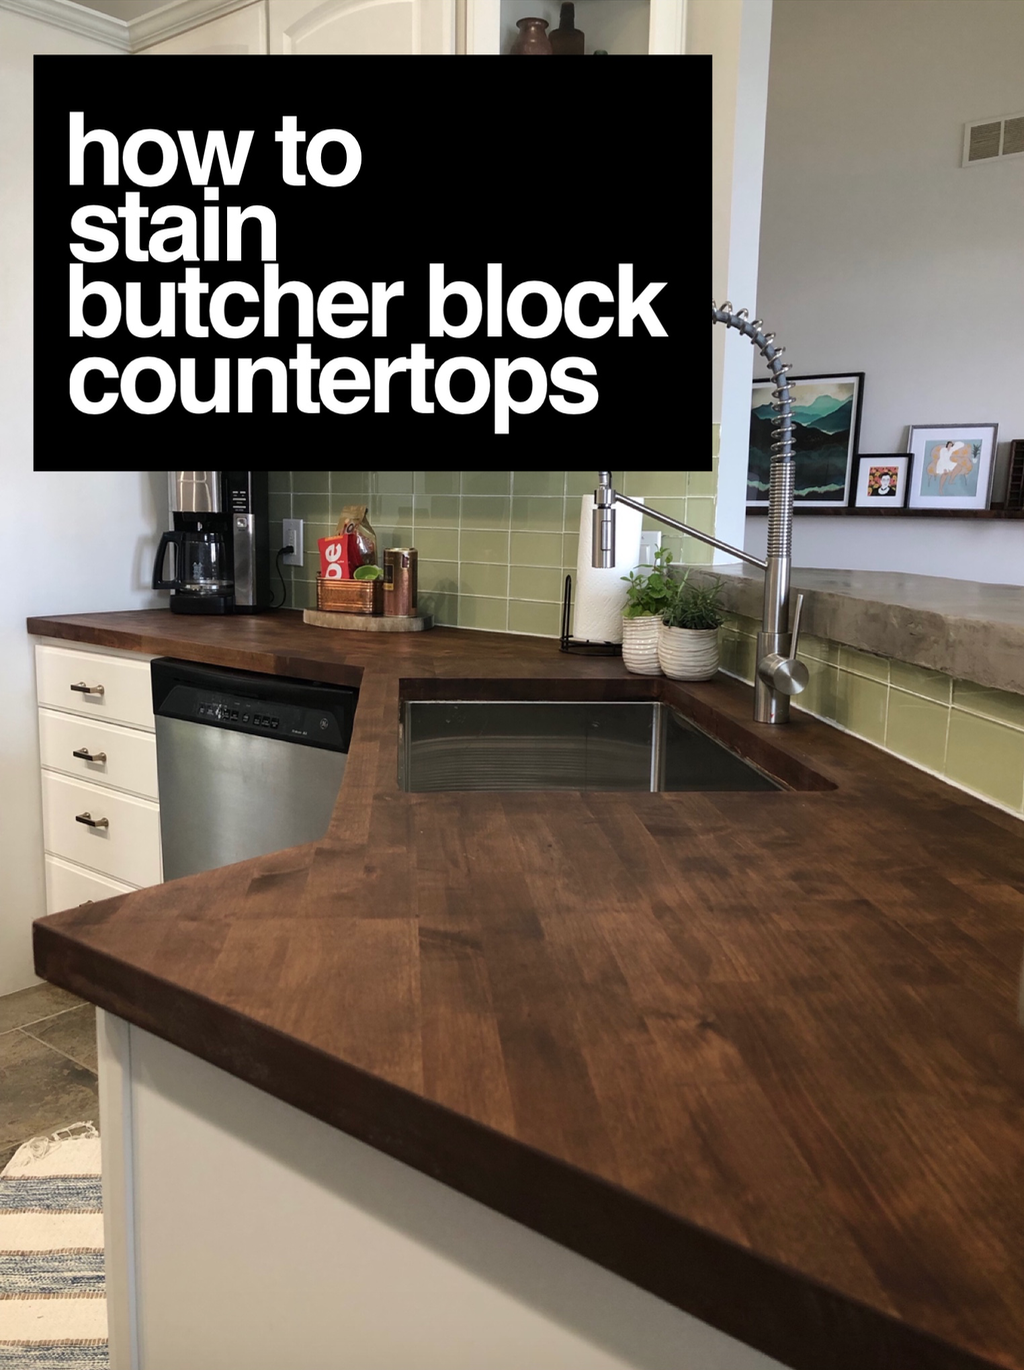
Staining a butcher block countertop is a popular way to enhance the natural beauty of the wood while providing additional protection against daily wear and tear. Butcher block countertops, made from hardwoods such as maple, oak, and walnut, offer a warm and inviting aesthetic that complements various kitchen styles. Staining these countertops can bring out the unique grain patterns and color variations of the wood, creating a custom look that enhances the overall design of the kitchen.
One of the primary benefits of staining a butcher block countertop is the added protection it provides. Wood is a porous material, meaning it can absorb moisture, stains, and odors if left untreated. Staining helps to seal the wood, making it more resistant to spills and reducing the likelihood of water damage and bacterial growth. This is particularly important in kitchens, where countertops are exposed to frequent contact with liquids and food.
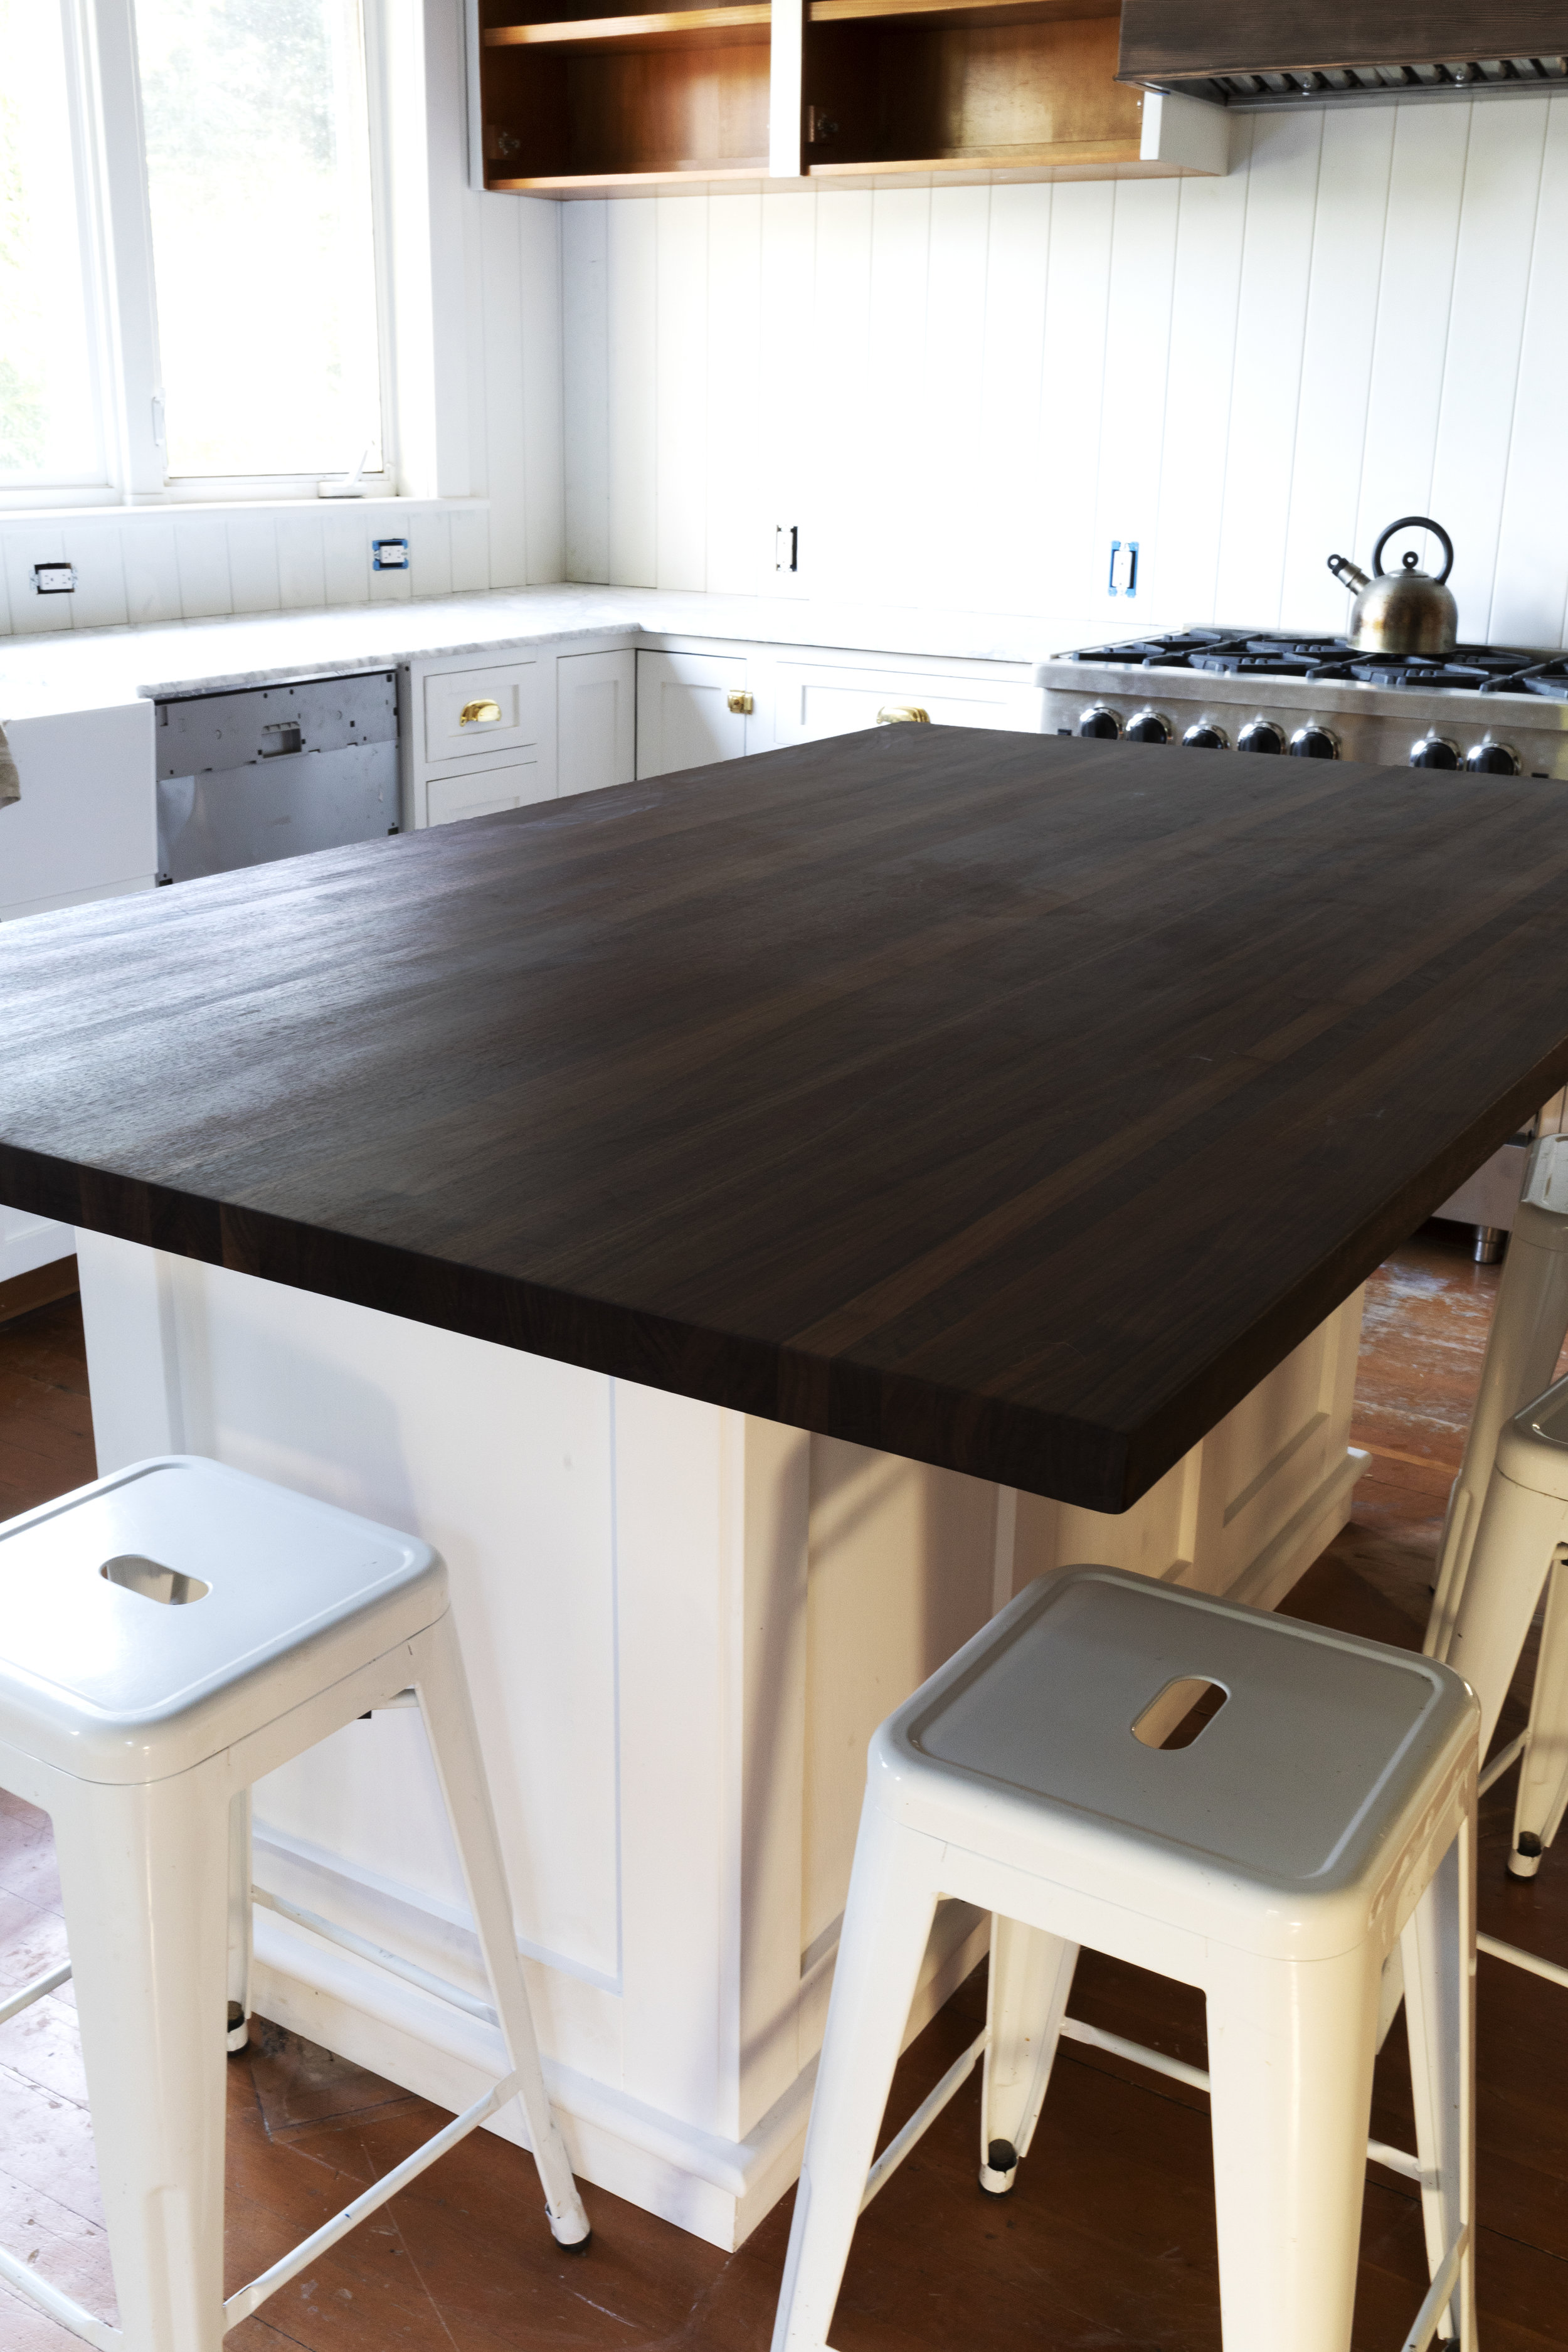
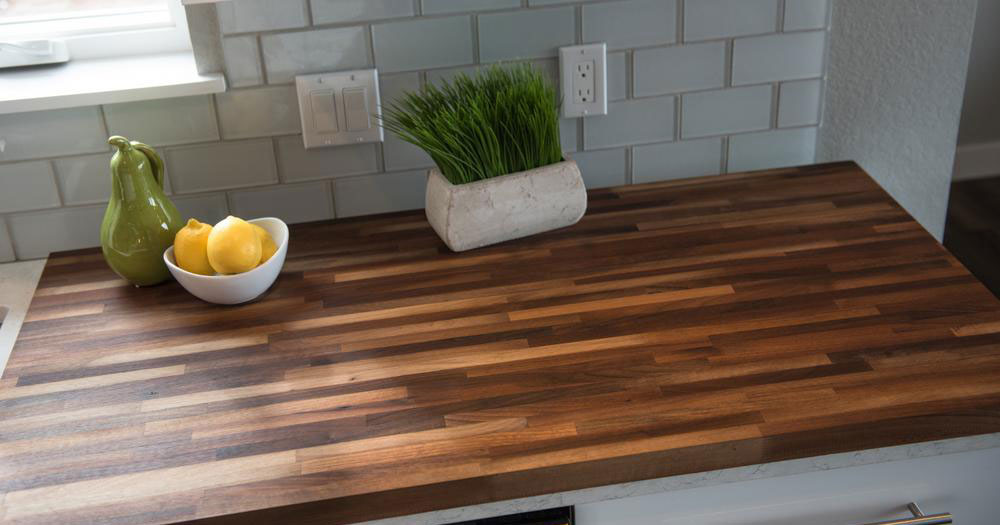
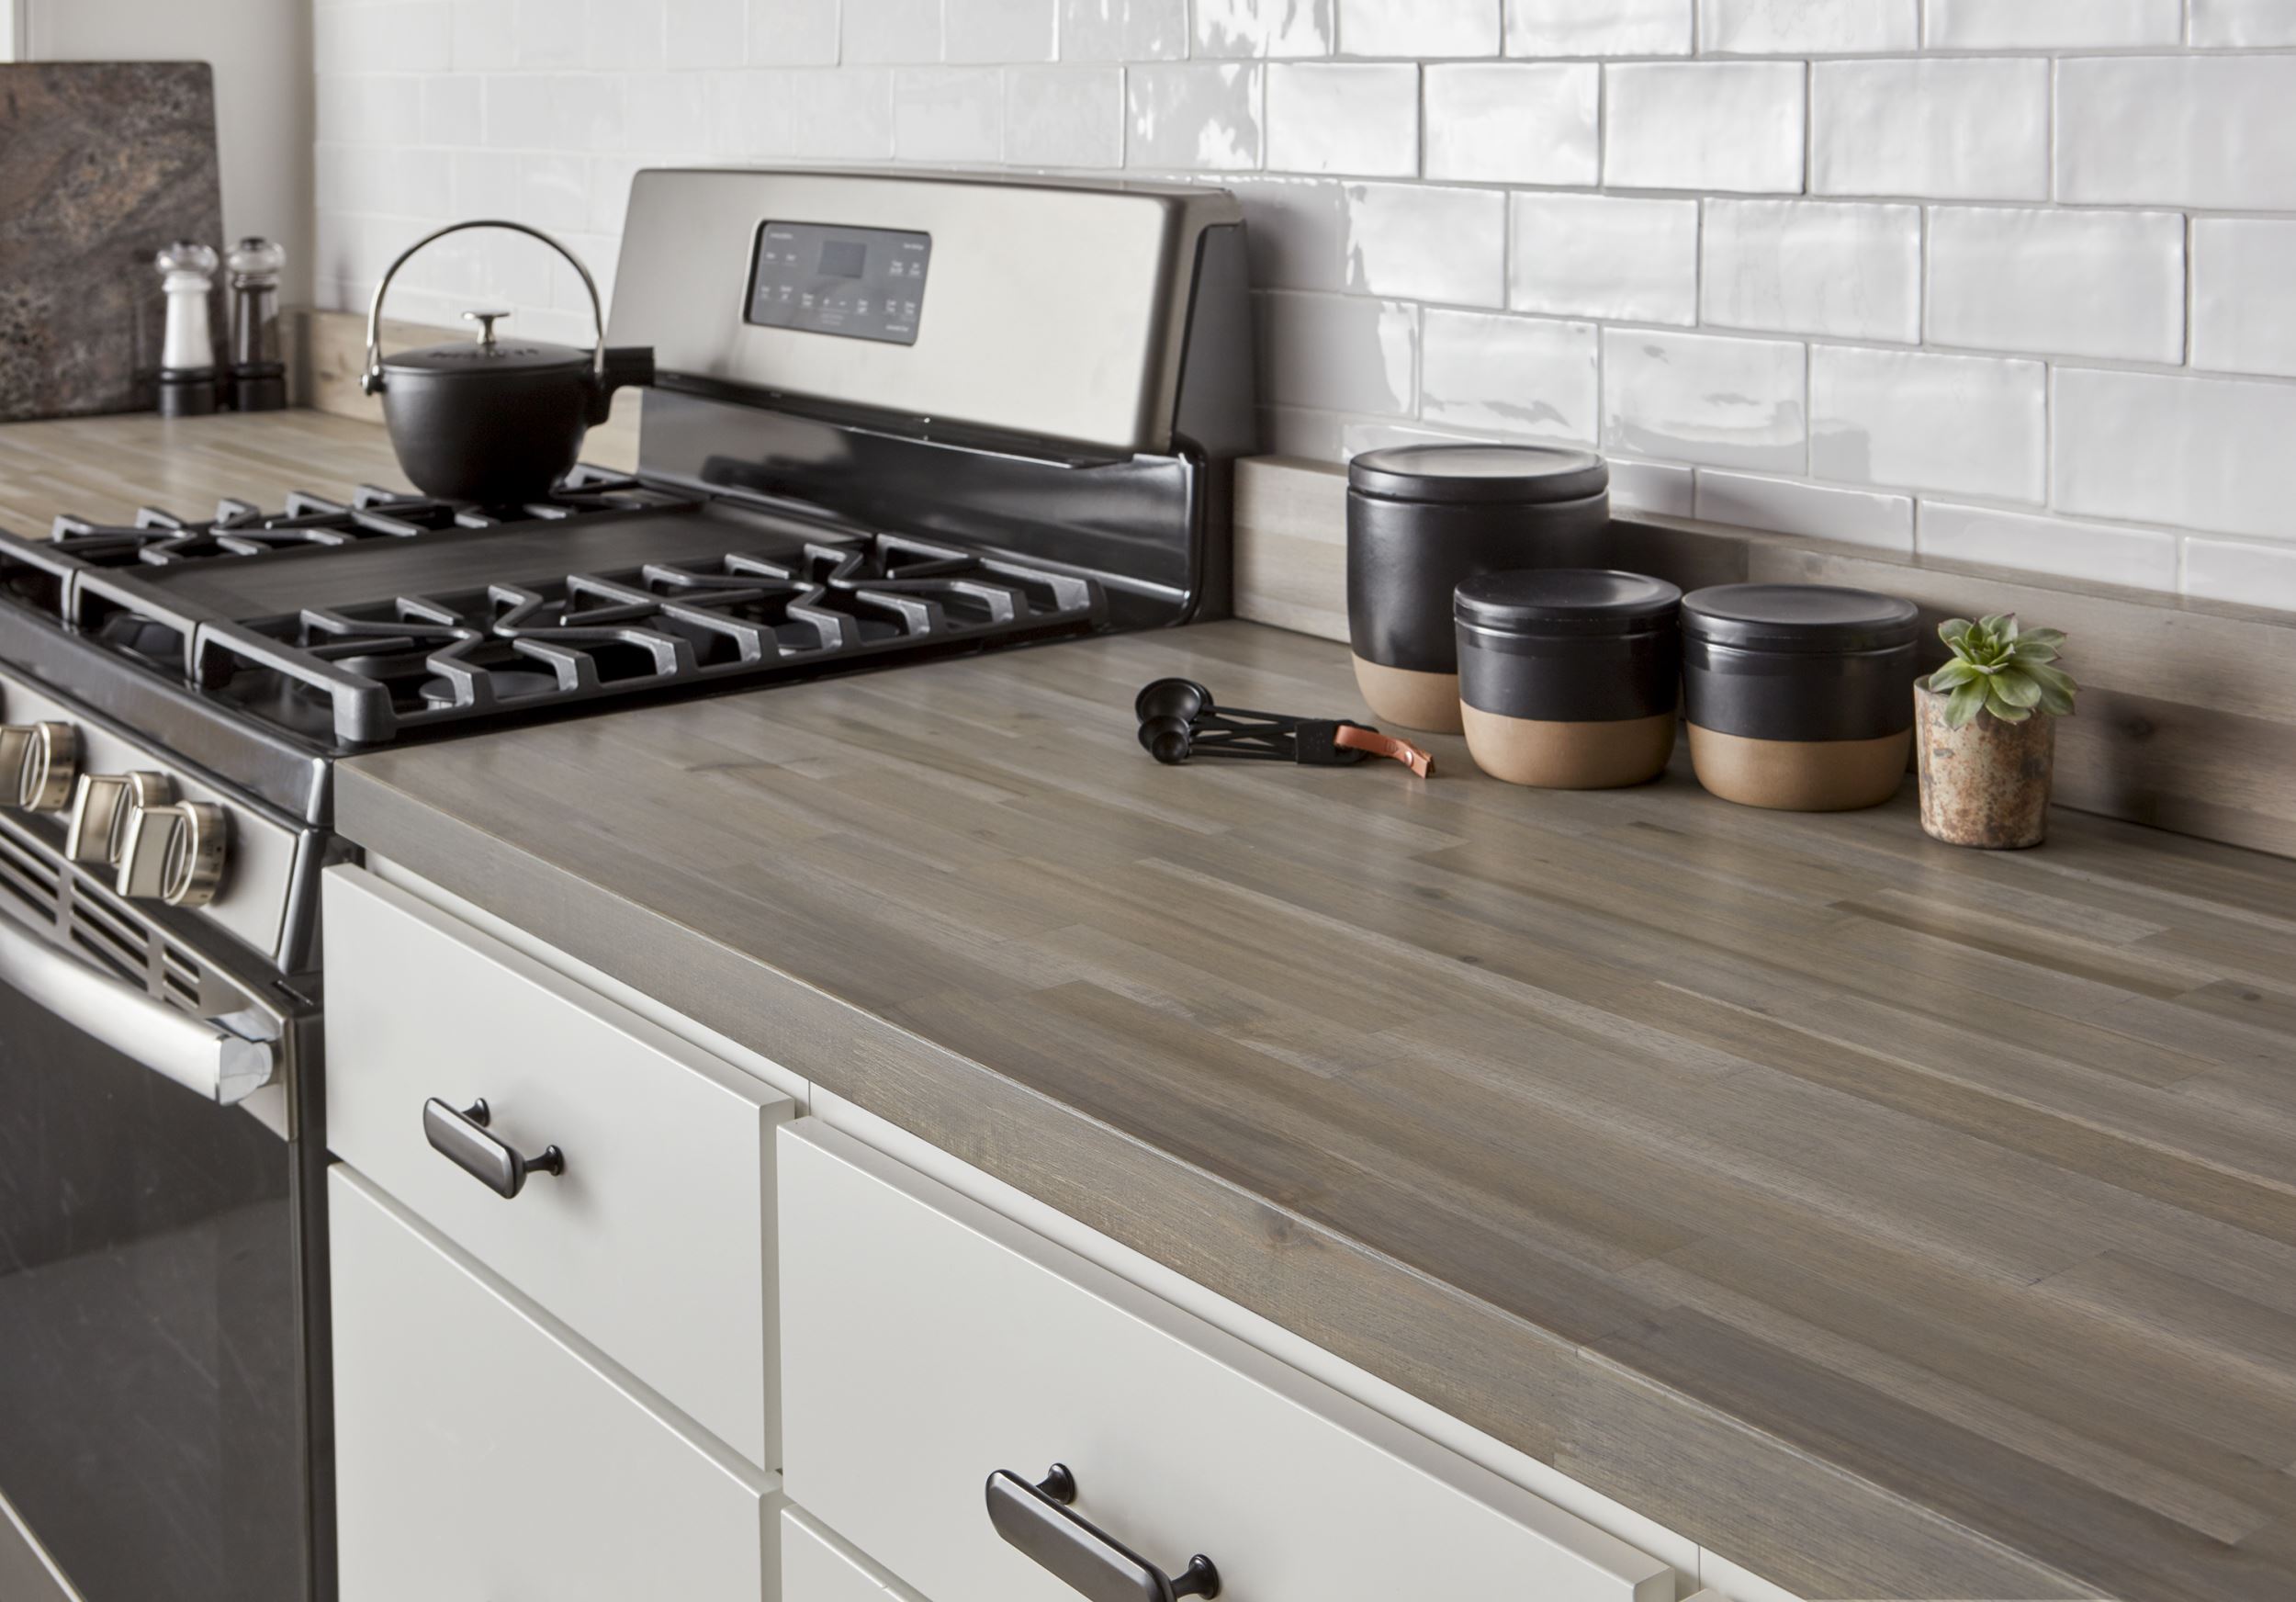
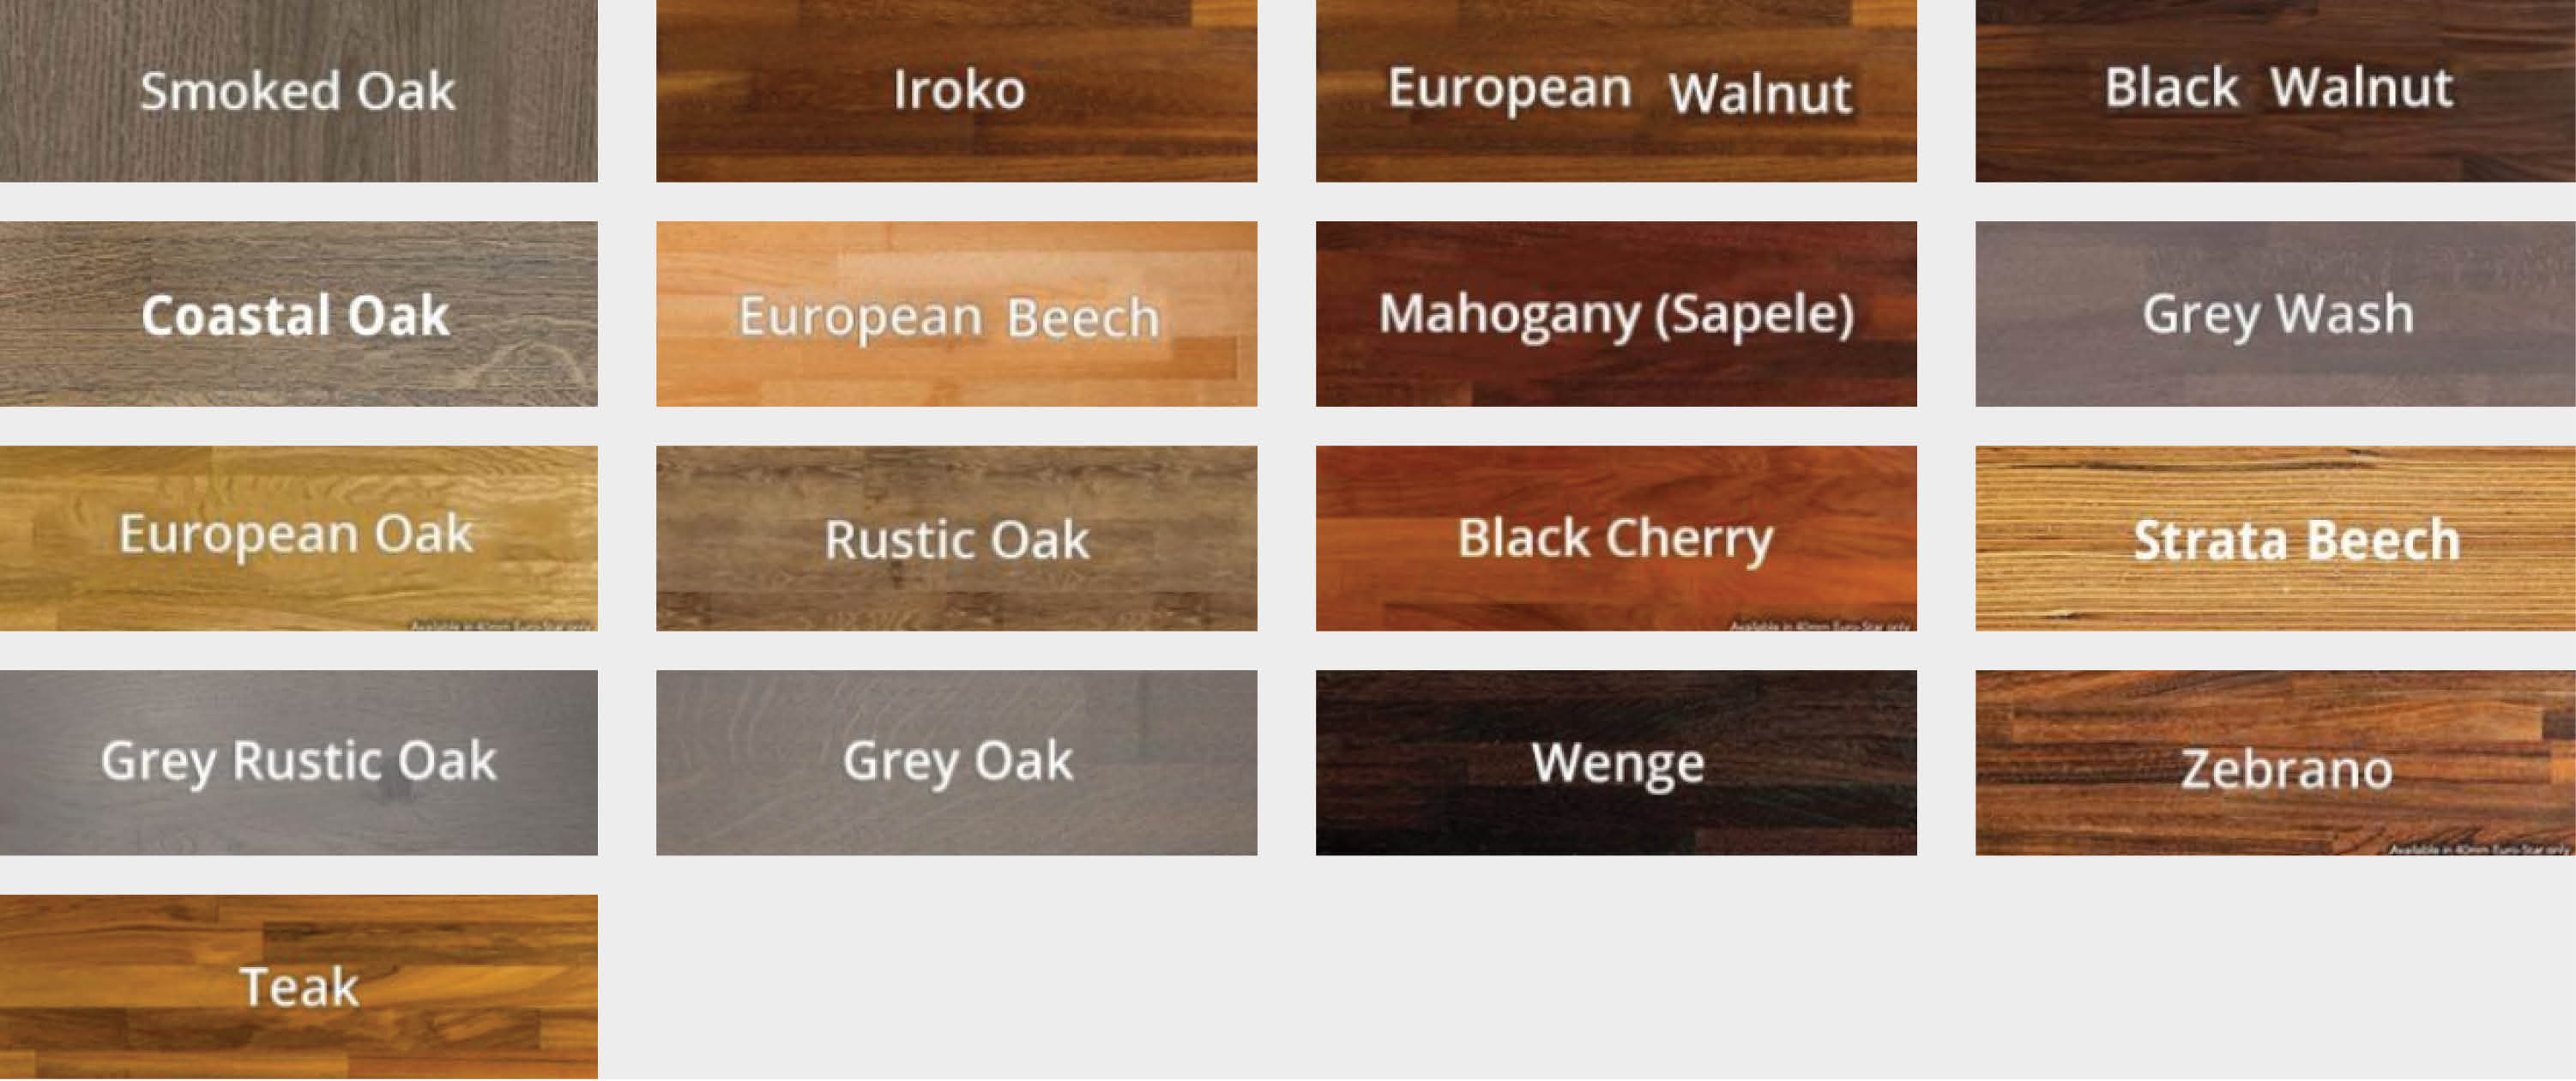
Staining also offers aesthetic advantages, allowing homeowners to customize the look of their butcher block countertops to match their kitchen decor. There are various stain colors available, from light, natural hues that preserve the original look of the wood, to dark, rich tones that can add drama and sophistication. By choosing the right stain, you can enhance the natural beauty of the wood while achieving the desired color scheme for your kitchen.
Applying stain to a butcher block countertop involves several steps, starting with proper preparation. The surface must be thoroughly cleaned and sanded to remove any existing finish or debris. Sanding ensures that the stain penetrates evenly and provides a smooth, consistent appearance. It’s essential to use progressively finer grits of sandpaper, finishing with a very fine grit to achieve a silky-smooth surface ready for staining.
After sanding, the countertop should be cleaned again to remove all dust particles. This can be done with a damp cloth or a tack cloth specifically designed for this purpose. Any remaining dust can interfere with the staining process, leading to uneven coloration or a rough texture. Ensuring a clean surface is crucial for a professional-looking finish.
The next step is to apply the stain. It’s advisable to test the stain on a small, inconspicuous area of the countertop first to ensure the color meets your expectations. Stains can appear differently on various types of wood, so this test can help prevent any unwanted surprises. Once you’re satisfied with the test area, you can proceed with staining the entire countertop.
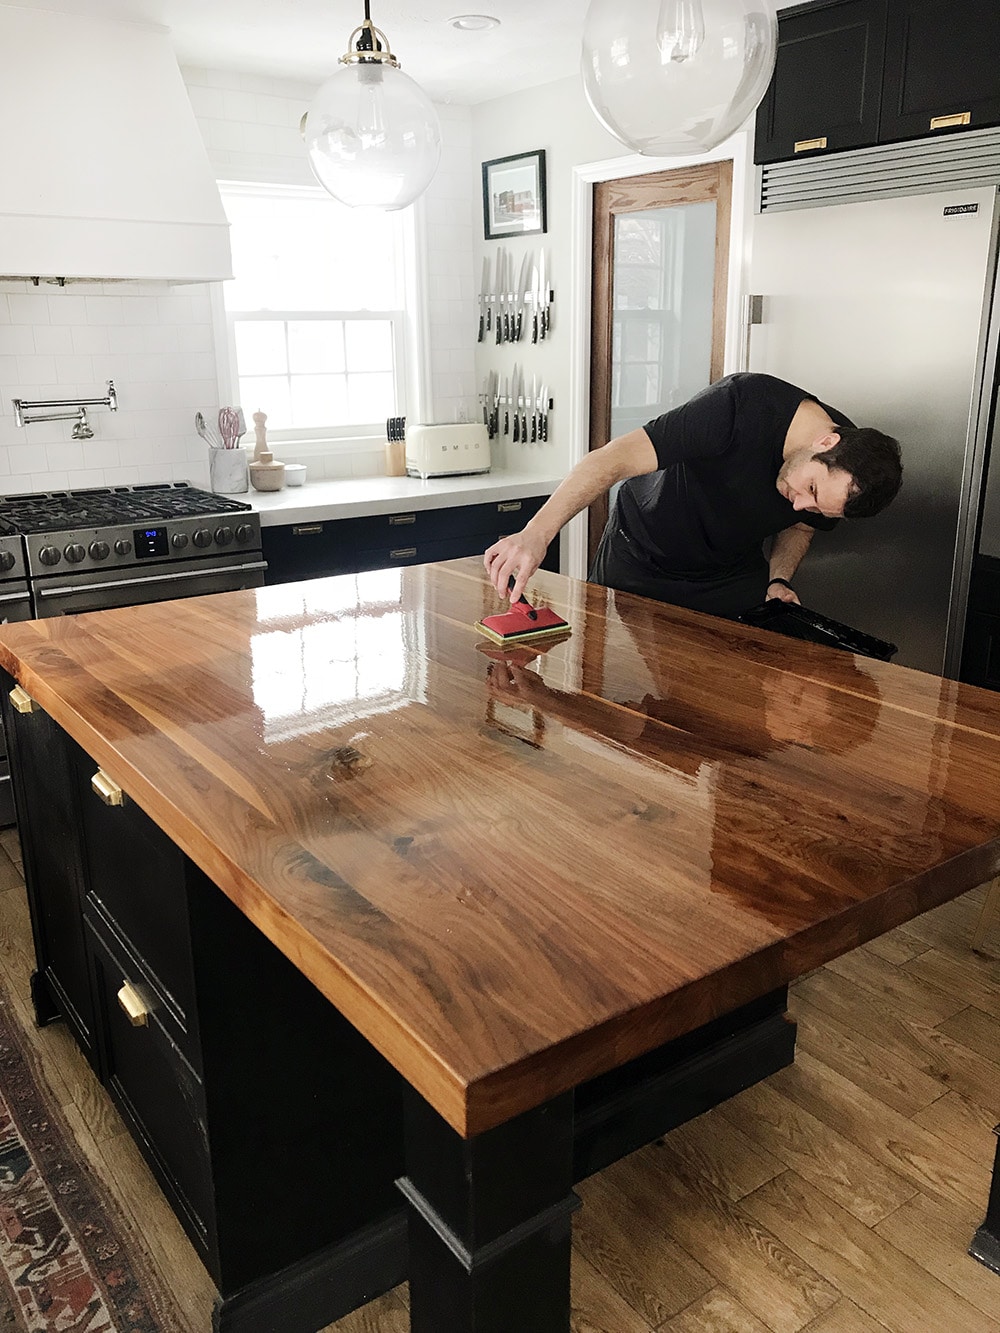
Staining should be done with a clean, lint-free cloth or a brush, applying the stain in the direction of the wood grain. This helps the stain penetrate evenly and highlights the natural patterns of the wood. It’s important to work in sections, applying the stain evenly and wiping off any excess to prevent blotchy areas. Depending on the desired depth of color, multiple coats may be applied, allowing each coat to dry completely before adding the next.
After the final coat of stain has dried, the countertop needs to be sealed. Sealing is a critical step that protects the stained wood from moisture, stains, and daily wear. There are several types of sealers available, including mineral oil, tung oil, and polyurethane. Each type of sealer has its advantages, with some providing a more natural finish and others offering enhanced durability and protection.

Mineral oil is a popular choice for sealing butcher block countertops because it is food-safe and easy to apply. However, it requires regular reapplication to maintain its protective qualities. Tung oil and linseed oil penetrate the wood and harden over time, providing a durable, water-resistant finish. Polyurethane offers the highest level of protection, creating a hard, durable surface that can withstand heavy use, though it can give the wood a slightly glossy appearance.
Regular maintenance is essential to keep a stained butcher block countertop looking its best. This includes periodic resealing, especially if the countertop is frequently used for food preparation. Cleaning should be done with a mild soap and water solution, avoiding harsh chemicals that can damage the finish. It’s also important to use cutting boards and trivets to protect the surface from scratches and heat.
Over time, the finish on a stained butcher block countertop may begin to wear, particularly in high-use areas. When this happens, the countertop can be lightly sanded and re-stained to refresh its appearance. This ability to refinish the surface is one of the advantages of butcher block countertops, allowing them to maintain their beauty and functionality for many years.
In addition to the practical benefits, a well-stained butcher block countertop can significantly enhance the value of your home. Kitchens are a focal point for homebuyers, and a beautiful, well-maintained countertop can make a positive impression. The warmth and character of wood, combined with a custom stain, can create a unique and appealing feature that sets your kitchen apart.
Staining butcher block countertops can also be a rewarding DIY project for homeowners who enjoy working with their hands. The process requires attention to detail and patience, but the results can be highly satisfying. By following proper preparation and application techniques, you can achieve a professional-looking finish that enhances the beauty and durability of your countertop.
Finally, the choice of stain and finish can be tailored to your specific needs and preferences. Whether you prefer a natural look that highlights the wood’s grain or a bold color that makes a statement, there are numerous options available. Consulting with a professional or conducting thorough research can help you select the best products and methods for your project.
Common Mistakes to Avoid
One common mistake when staining a butcher block countertop is inadequate preparation. Skipping or rushing the sanding process can lead to uneven stain absorption and a blotchy finish. It’s crucial to thoroughly sand the surface, gradually using finer grits of sandpaper to achieve a smooth, even texture.
Another mistake is not cleaning the surface properly before staining. Any dust or debris left on the countertop can interfere with the stain’s penetration and adhesion, resulting in an uneven appearance. Use a tack cloth or damp rag to remove all dust particles before applying the stain.
Applying the stain too thickly is a frequent error. This can result in a sticky, uneven finish that takes longer to dry and may never fully cure. It’s better to apply thin, even coats, allowing each to dry completely before adding additional layers. This approach ensures a smooth, even color and a professional-looking finish.
Failing to test the stain on a small area first can lead to unexpected results. Different woods react differently to stains, and the final color can vary based on the wood type and existing finish. Testing in an inconspicuous area allows you to see how the stain will look and make any necessary adjustments before committing to the entire surface.
Neglecting to seal the stained countertop is another common mistake. Sealing is crucial for protecting the wood from moisture, stains, and daily wear. Choose a sealer that fits your needs, whether it’s mineral oil for a natural look or polyurethane for maximum durability. Regular resealing is also necessary to maintain the protective barrier and keep the countertop looking its best.

How do I clean and maintain a stained butcher block countertop?
Cleaning a stained butcher block countertop is straightforward. Use a mild soap and water solution for daily cleaning, and avoid harsh chemicals that can damage the finish. Regularly apply a food-safe mineral oil or another sealer to maintain the protective layer. To address scratches or wear, lightly sand the affected area and reapply the stain and sealer as needed. Always use cutting boards and trivets to prevent damage from knives and hot items.
What type of stain should I use for my butcher block countertop?
The type of stain you choose depends on the look you want to achieve and the wood type of your countertop. Oil-based stains are popular because they penetrate deeply and enhance the wood grain, providing rich, long-lasting color. Water-based stains are easier to clean up and have lower VOCs, making them a more environmentally friendly option. Gel stains are another choice, providing a thick consistency that can be easier to control. Testing the stain on a small, hidden area first is advisable to ensure you get the desired effect.
How often should I reseal my stained butcher block countertop?
The frequency of resealing depends on how often the countertop is used and the type of sealer applied. For mineral oil, it’s typically recommended to reapply every month or two, as it doesn’t harden and wears away more quickly. Tung oil or polyurethane finishes can last longer, often requiring resealing only once a year or even less frequently. Regular inspection of the countertop will help you determine when it needs resealing; if water doesn’t bead on the surface, it’s time to reapply the sealer.
Can I use my stained butcher block countertop as a cutting surface?
While butcher block countertops are designed for chopping and food preparation, it’s not advisable to use them directly as a cutting surface, especially if they are stained and sealed. Cutting directly on the countertop can damage the finish and expose the wood to moisture and bacteria. Always use a cutting board to protect the surface from scratches and maintain the integrity of the stain and sealer.
How do I repair scratches or damage on my stained butcher block countertop?
To repair scratches or damage, start by lightly sanding the affected area with fine-grit sandpaper until the scratch is smooth. Clean the area thoroughly to remove any dust, then reapply the stain to match the surrounding area. Allow the stain to dry completely before applying the sealer. If the damage is extensive, you may need to sand down the entire countertop and restain and reseal it for a uniform appearance. Regular maintenance and using cutting boards can help prevent future damage.
Size and Wood Species Options for DIY Butcher Block Projects
CenterPointe Butcher Block – VT Industries Inc.
Pin on Jolly Little Times Projects

Let’s Talk Butcher Block – Moscow & Pullman Building Supply
How We Refinished our Butcher block Countertop – Chris Loves Julia
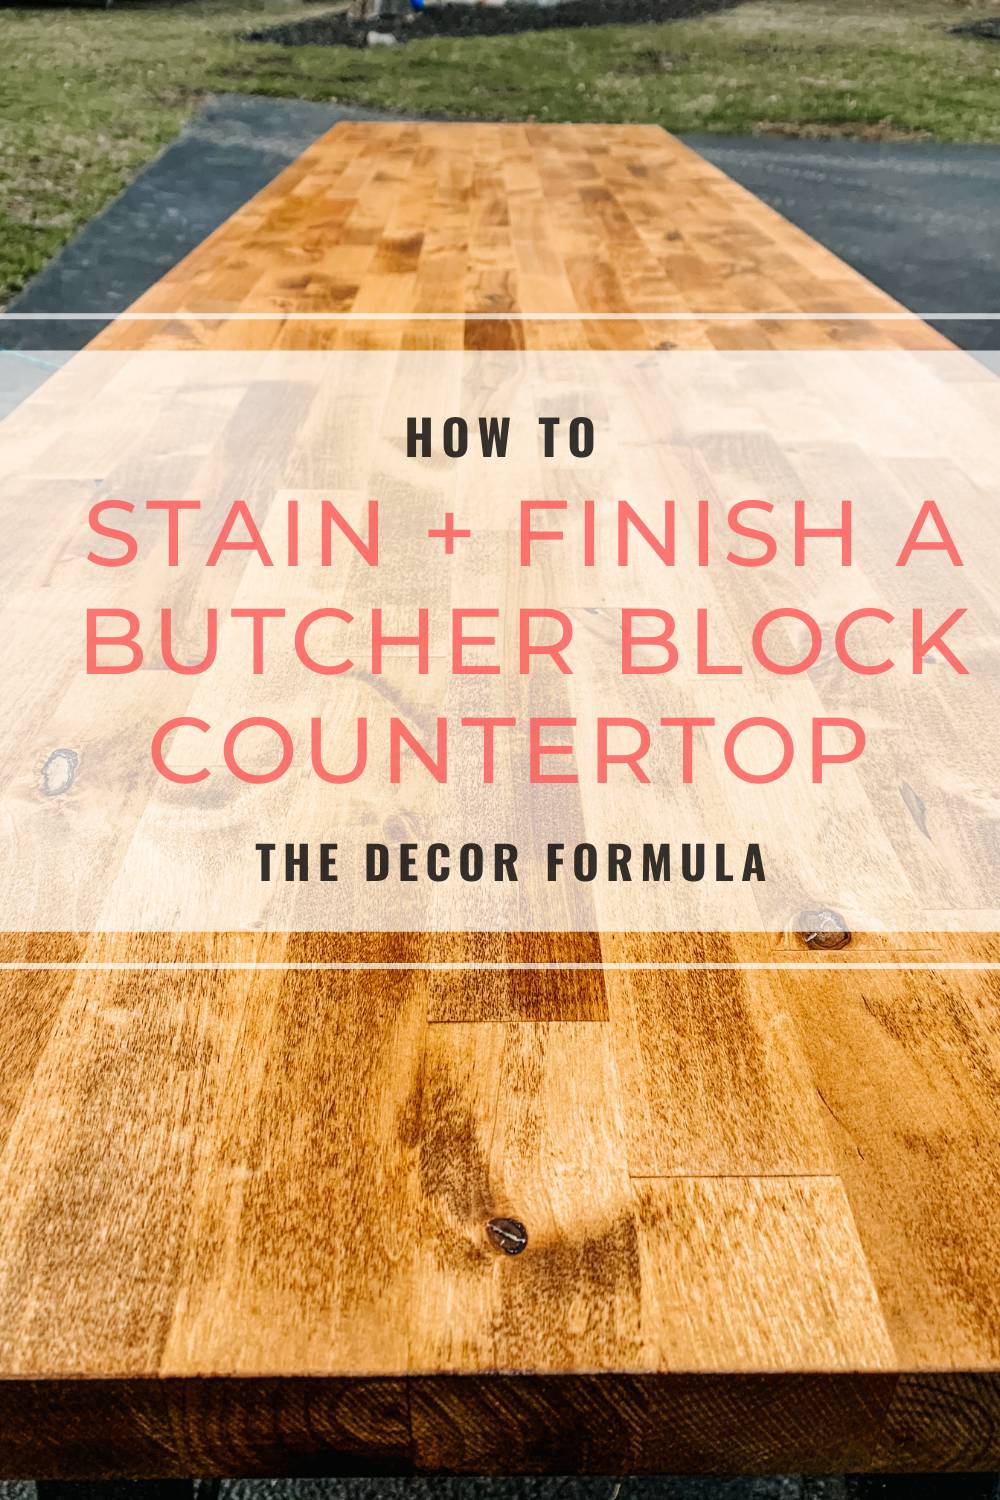
How to Stain Butcher Block Countertops u2014 The Decor Formula
Related articles:
- Butcher Block Countertops Decor
- Butcher Block Countertops Cottage
- Stain Butcher Block Countertops
- Butcher Block Countertops Vintage
- Butcher Block Countertop Farmhouse Sink
- Mahogany Butcher Block Countertops
- Butcher Block Countertop For Kitchen Island
- Can You Paint Butcher Block Countertops
- Butcher Block Countertops With White Cabinets
- Pine Butcher Block Countertops