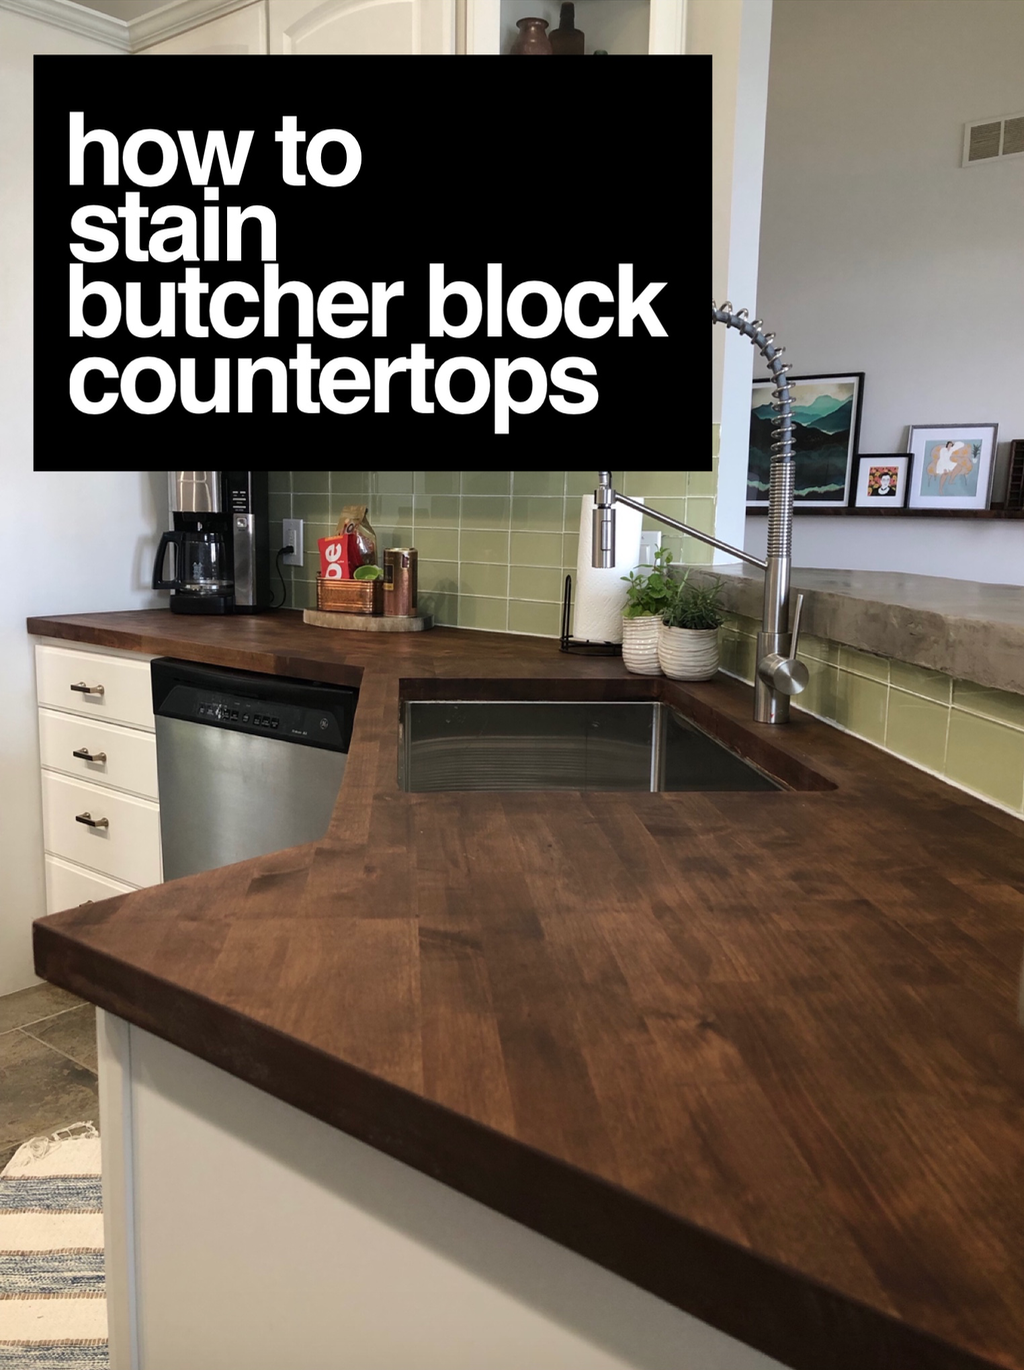
Butcher block countertops are beloved for their natural beauty, durability, and timeless appeal. Staining these countertops can enhance their appearance and protect the wood, making them more resistant to wear and tear. This comprehensive guide walks through the process of staining butcher block countertops, ensuring your project is successful and rewarding.
Preparing the Butcher Block Countertop
Cleaning the Surface
Before starting the staining process, it’s crucial to clean the butcher block countertop thoroughly. Dust, grease, and grime can interfere with the stain’s absorption, leading to uneven color and poor finish. Begin by using a gentle cleaner or a mixture of dish soap and warm water. Scrub the surface with a sponge, paying special attention to any stained or greasy areas. Rinse with clean water and wipe dry with a clean cloth.
Sanding the Wood
Sanding is essential for opening up the wood grain, which allows the stain to penetrate more effectively. Start with medium-grit sandpaper (around 120 grit) to remove any existing finish or rough patches. Then, progress to a finer grit (220 grit) for a smooth finish. Always sand in the direction of the wood grain to prevent scratches. Once sanding is complete, wipe the surface with a tack cloth to remove any dust.
Filling Gaps and Cracks
Examine the countertop for any gaps, cracks, or imperfections. Use a wood filler that matches the butcher block’s color to fill these areas. Apply the filler with a putty knife, pressing it firmly into the gaps. Let it dry according to the manufacturer’s instructions, then sand the filled areas smooth. This step ensures a uniform surface for staining.
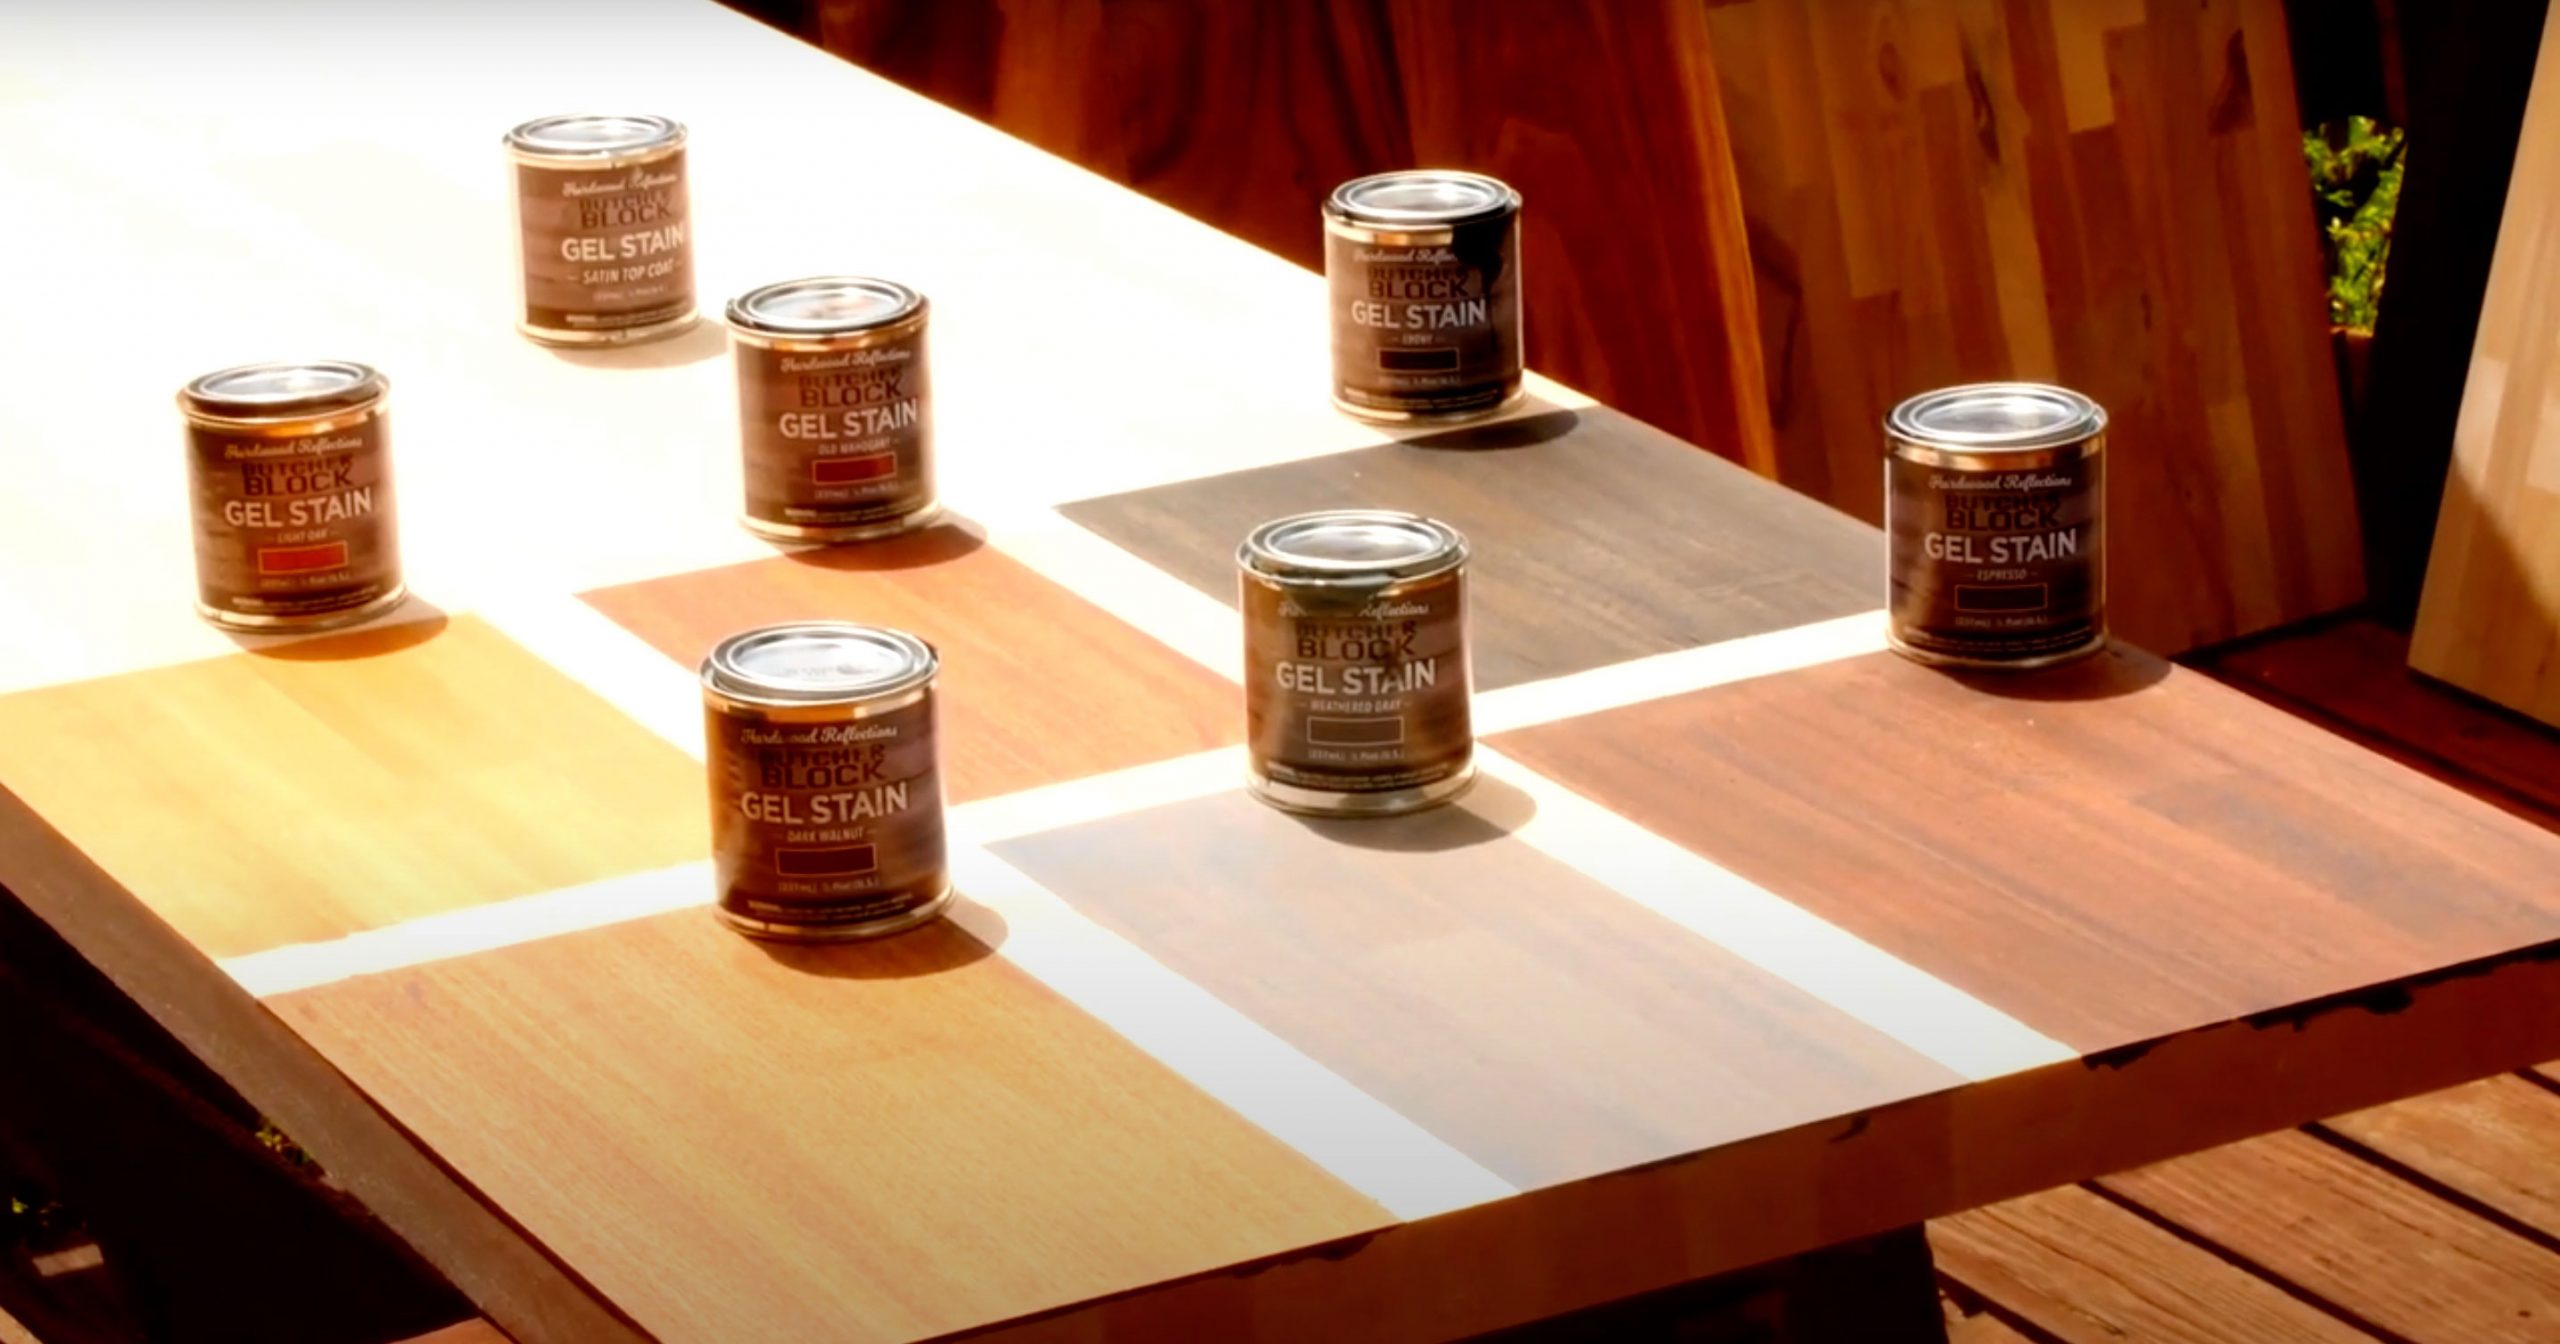
Choosing the Right Stain
Selecting the appropriate stain is critical for achieving your desired look. Stains come in various types, including oil-based, water-based, and gel stains. Oil-based stains penetrate deeply and provide a rich color, while water-based stains are easier to clean up and have a faster drying time. Gel stains are thicker and less likely to drip, making them ideal for vertical surfaces. Consider the wood species of your butcher block and the look you want to achieve when choosing a stain.
Testing the Stain
Before applying the stain to the entire countertop, test it on a small, inconspicuous area. This allows you to see how the wood reacts to the stain and if the color matches your expectations. Apply a small amount of stain with a cloth or brush, following the grain of the wood. Let it sit for a few minutes, then wipe off the excess. Evaluate the color once it’s dry, and make any necessary adjustments.
Gathering Materials
Ensure you have all the materials needed before starting the staining process. You’ll need sandpaper (120 and 220 grit), a tack cloth, wood filler, a putty knife, painter’s tape, plastic sheeting or drop cloths, a brush or cloth for applying the stain, and the stain itself. Having everything on hand will make the process smoother and more efficient.
Applying the Stain
Setting Up Your Workspace
Create a clean, well-ventilated workspace before starting the staining process. Lay down plastic sheeting or drop cloths to protect the surrounding area from drips and spills. Use painter’s tape to mask off any areas you don’t want to be stained, such as the edges or adjacent surfaces. Ensure you have adequate lighting to see the wood’s grain and the stain’s application.
Stirring the Stain
Before applying the stain, stir it thoroughly to ensure the pigments are evenly distributed. Avoid shaking the can, as this can create bubbles that might transfer to the wood. Use a stir stick and mix the stain until it has a consistent color and texture. Stirring periodically during the application process keeps the pigments suspended and ensures an even color.
Applying the Stain with a Brush
When using a brush to apply the stain, choose a high-quality, natural bristle brush for oil-based stains or a synthetic brush for water-based stains. Dip the brush into the stain, allowing the excess to drip off. Apply the stain in long, even strokes, following the direction of the wood grain. Work in manageable sections to ensure the stain doesn’t dry before you can wipe off the excess. Avoid overloading the brush to prevent drips and uneven application.
Wiping Off Excess Stain
After applying the stain, let it sit for the time recommended by the manufacturer, usually a few minutes. Use a clean, lint-free cloth to wipe off the excess stain, following the grain of the wood. Wipe thoroughly to ensure an even color and prevent blotchy spots. If you want a darker color, you can apply additional coats, allowing each coat to dry completely before applying the next.
Blending Overlapping Areas
When staining large surfaces like countertops, overlapping areas can sometimes appear darker. To blend these areas, use a clean cloth dampened with the stain to feather out the edges. Blend the overlapping sections while the stain is still wet to achieve a seamless, uniform appearance. Work quickly and methodically to prevent noticeable lines.
Letting the Stain Dry
Allow the stain to dry completely according to the manufacturer’s instructions. Drying times can vary based on the type of stain, wood species, and environmental conditions. Ensure the workspace is well-ventilated to facilitate drying. Avoid touching or placing objects on the countertop until the stain is fully cured to prevent smudges or damage.
Sealing the Butcher Block
Choosing the Right Finish
Once the stain has dried, sealing the butcher block is essential to protect the wood and enhance its appearance. Several types of finishes are available, including polyurethane, mineral oil, and tung oil. Polyurethane provides a durable, protective layer, making it ideal for high-traffic areas. Mineral oil is food-safe and easy to apply but requires regular reapplication. Tung oil penetrates deeply, offering excellent protection and a natural look.
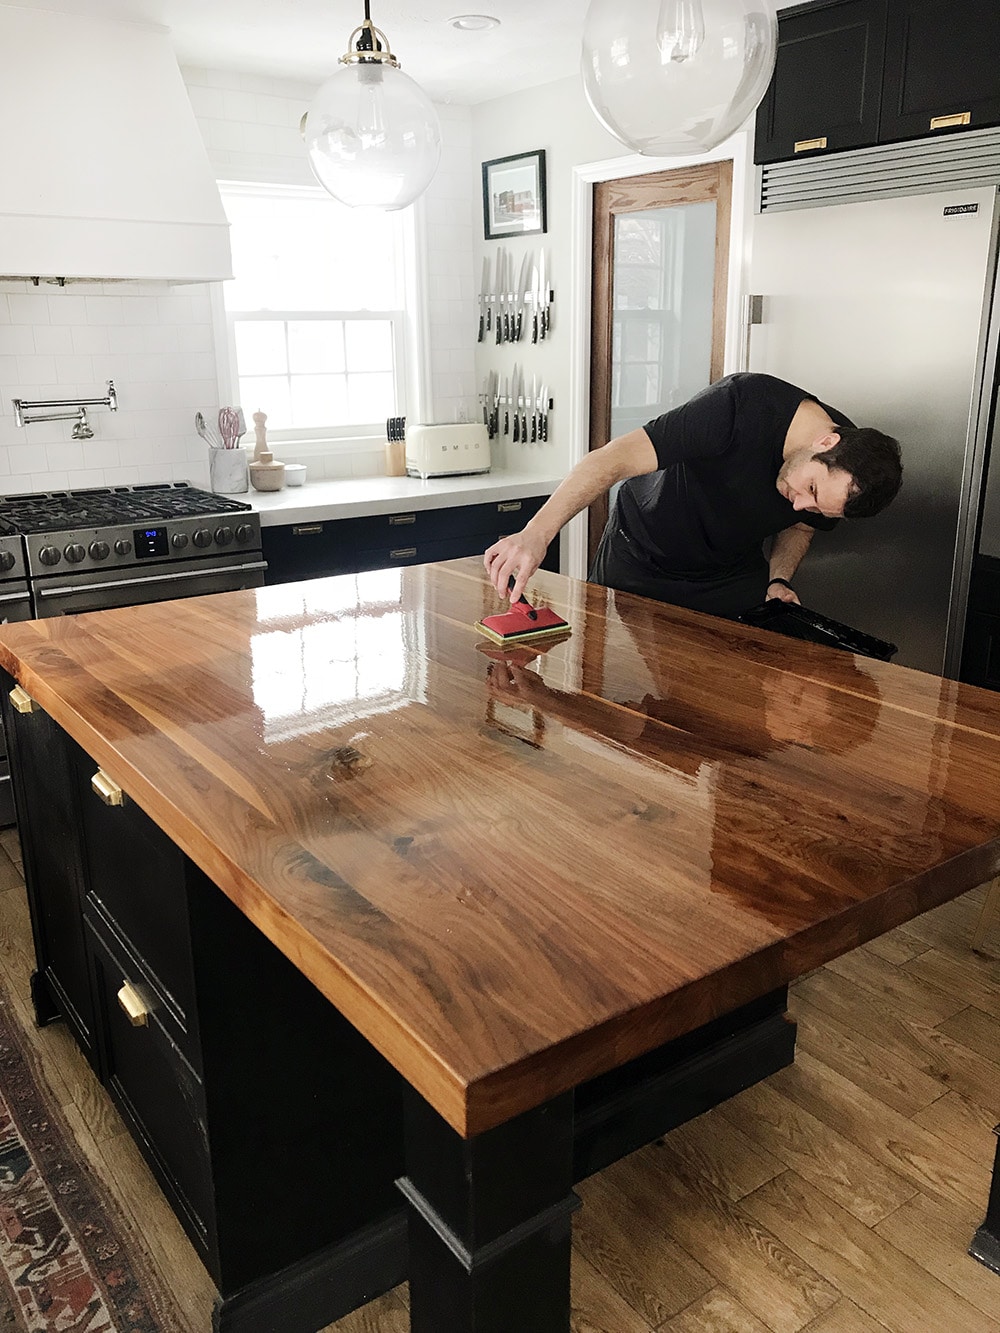
Applying the Finish
The application method depends on the type of finish you choose. For polyurethane, use a high-quality brush or foam applicator to apply thin, even coats, following the grain of the wood. Let each coat dry according to the manufacturer’s instructions, then sand lightly with fine-grit sandpaper between coats for a smooth finish. For oil finishes, apply the oil with a cloth, allowing it to soak into the wood. Wipe off any excess oil and let it dry before applying additional coats.
Sanding Between Coats
If using a polyurethane finish, sanding between coats is crucial for a smooth, professional-looking result. Use fine-grit sandpaper (320 grit or finer) to sand lightly between coats, removing any dust, bubbles, or imperfections. Wipe the surface with a tack cloth to remove sanding dust before applying the next coat. This step ensures a flawless finish that enhances the wood’s natural beauty.
Ensuring Proper Ventilation
Proper ventilation is essential when applying finishes to avoid inhaling fumes and expedite the drying process. Work in a well-ventilated area, and consider using fans or opening windows to improve airflow. If working indoors, use a respirator mask designed for paint and solvent fumes to protect your health.
Curing Time
After applying the final coat of finish, allow the butcher block to cure completely before using it. Curing times vary depending on the type of finish and environmental conditions but generally range from a few days to a couple of weeks. Avoid placing heavy objects on the countertop or exposing it to moisture during this period to ensure the finish sets properly and provides maximum protection.
Regular Maintenance
Maintaining your stained and sealed butcher block countertop is essential for its longevity and appearance. Clean the surface regularly with a mild soap and water solution, avoiding harsh chemicals that can damage the finish. Reapply oil finishes periodically to keep the wood nourished and protected. For polyurethane finishes, inspect the surface for signs of wear and touch up as needed to maintain its durability and beauty.

Troubleshooting Common Issues
Uneven Stain Color
Uneven stain color can result from improper sanding, not wiping off excess stain, or applying the stain unevenly. To fix this, sand the affected areas lightly and reapply the stain, blending it with the surrounding areas. Ensure you wipe off excess stains promptly to achieve a uniform color. Practicing on a scrap piece of wood can help you perfect your technique before working on the countertop.
Blotchy Finish
Blotchy finishes can occur when the wood absorbs the stain unevenly, often due to varying wood grain density. Using a pre-stain wood conditioner can help mitigate this issue by promoting even absorption. Apply the conditioner according to the manufacturer’s instructions, then stain the wood. If blotchiness persists, sanding and re-staining the affected areas may be necessary.
Streaks or Brush Marks
Streaks or brush marks can be caused by using a low-quality brush, applying the stain too thickly, or not blending overlapping areas. Use a high-quality brush or cloth for a smooth application. Apply thin, even coats and blend overlapping sections to prevent noticeable lines. Wiping off excess stain and sanding lightly between coats can also help achieve a smooth finish.
Dust and Debris in Finish
Dust and debris can settle on the wet finish, causing imperfections. To avoid this, work in a clean, dust-free environment and ensure the surface is free of dust before applying the finish. Sanding lightly between coats and wiping with a tack cloth can help remove any particles. If debris does get into the finish, sand the affected areas lightly and reapply the finish to smooth it out.
Sticky Finish
A sticky finish often results from applying the finish too thickly or not allowing enough drying time between coats. To remedy this, allow the finish to dry completely, then sand lightly to remove the sticky layer. Apply a thinner coat of finish and ensure proper drying time between coats. Proper ventilation can also help the finish dry more quickly and evenly.
Peeling or Flaking Finish
Peeling or flaking can occur if the finish does not adhere properly to the wood, often due to inadequate surface preparation. Ensure the wood is clean, dry, and sanded before applying the finish. If peeling occurs, sand the affected areas to remove the loose finish and reapply the stain and finish, ensuring proper adhesion.

Enhancing the Stain with Additional Techniques
Creating a Distressed Look
For a rustic, distressed look, use techniques such as sanding edges, hitting the surface with a chain or using a wire brush to create texture. Apply the stain and finish as usual, then lightly sand the high points to reveal the natural wood underneath. This technique adds character and charm to your butcher block countertop.
Using Multiple Stain Colors
For a unique, multi-tonal effect, consider using more than one stain color. Apply the first color as a base coat, then add the second color in selected areas, blending them for a natural look. This technique works well with wood that has varied grain patterns and adds depth to the overall appearance.
Applying a Glaze
Glazing involves applying a translucent layer over the stained wood to enhance its color and depth. Mix a glaze with a compatible stain color and apply it over the stained wood, working it into the grain. Wipe off the excess glaze, leaving it in the grain and crevices to create a rich, dimensional look. Seal with a clear finish to protect the glaze.
Whitewashing for a Light Finish
For a lighter, more modern look, consider whitewashing the stained wood. Mix white paint with water to create a wash, then apply it over the stained wood with a brush or cloth. Wipe off the excess wash, leaving a thin layer that allows the stain to show through. This technique softens the wood’s appearance and adds a contemporary touch.
Using a Wood Grain Enhancer
Wood grain enhancers highlight the natural patterns in the wood, making them stand out more prominently. Apply the enhancer after staining and before sealing, following the manufacturer’s instructions. This product accentuates the wood’s grain, adding visual interest and depth to your butcher block countertop.
Incorporating Metallic Accents
For a modern, industrial look, incorporate metallic accents into the finish. Mix metallic powder with a compatible finish or use metallic paint to highlight specific areas of the wood. Apply the metallic accent sparingly to avoid overpowering the natural beauty of the wood. This technique adds a touch of sophistication and uniqueness to your countertop.

Common Mistakes to Avoid
Skipping Surface Preparation
Skipping surface preparation, such as cleaning and sanding, can lead to poor stain absorption and an uneven finish. Always clean the surface thoroughly and sand it properly to ensure the wood is ready for staining.
Not Testing the Stain
Failing to test the stain on a small area can result in an undesirable color. Always test the stain on an inconspicuous area to ensure it meets your expectations before applying it to the entire countertop.
Applying Too Much Stain
Applying too much stain can cause blotchy, uneven color and a sticky finish. Use thin, even coats and wipe off excess stain promptly to achieve a smooth, uniform finish.
Rushing the Drying Process
Rushing the drying process can lead to a poor finish and potential damage. Allow adequate drying time between coats of stain and finish to ensure each layer sets properly.
Neglecting Ventilation
Neglecting ventilation can lead to prolonged drying times and exposure to harmful fumes. Ensure your workspace is well-ventilated to facilitate drying and protect your health.
Ignoring Maintenance
Ignoring regular maintenance can shorten the lifespan of your butcher block countertop. Clean the surface regularly and reapply finishes as needed to keep the wood protected and looking its best.

How long should I wait between coats of stain?
The waiting time between coats of stain depends on the type of stain used and environmental conditions. Generally, you should wait at least 24 hours between coats. Oil-based stains may require longer drying times, especially in humid conditions. Always follow the manufacturer’s recommendations for best results.
Can I stain an already sealed butcher block countertop?
Staining an already sealed butcher block countertop can be challenging, as the sealer prevents the stain from penetrating the wood. To stain a sealed countertop, you must first remove the existing finish by sanding or using a chemical stripper. Once the sealer is removed, clean the surface thoroughly before applying the stain.
How do I maintain a stained and sealed butcher block countertop?
Maintain a stained and sealed butcher block countertop by cleaning it regularly with a mild soap and water solution. Avoid harsh chemicals that can damage the finish. For oil finishes, reapply oil periodically to keep the wood nourished and protected. Inspect polyurethane finishes for signs of wear and touch up as needed to maintain durability and appearance.
What is the best type of stain for a butcher block countertop?
The best type of stain for a butcher block countertop depends on your preferences and the wood species. Oil-based stains provide a rich color and deep penetration, making them ideal for hardwoods. Water-based stains are easier to clean up and dry faster, while gel stains are less likely to drip and provide consistent coverage. Consider the desired look and maintenance requirements when choosing a stain.
Can I use a butcher block countertop immediately after staining?
You should not use a butcher block countertop immediately after staining. Allow the stain to dry completely, then apply a protective finish and let it cure. The curing process can take several days to a couple of weeks, depending on the type of finish used. Avoid placing heavy objects or exposing the countertop to moisture during this time to ensure the finish sets properly.
Butcher Block Countertop Finishing and Installing
Basics of Finishing Butcher Block – Hardwood Reflections
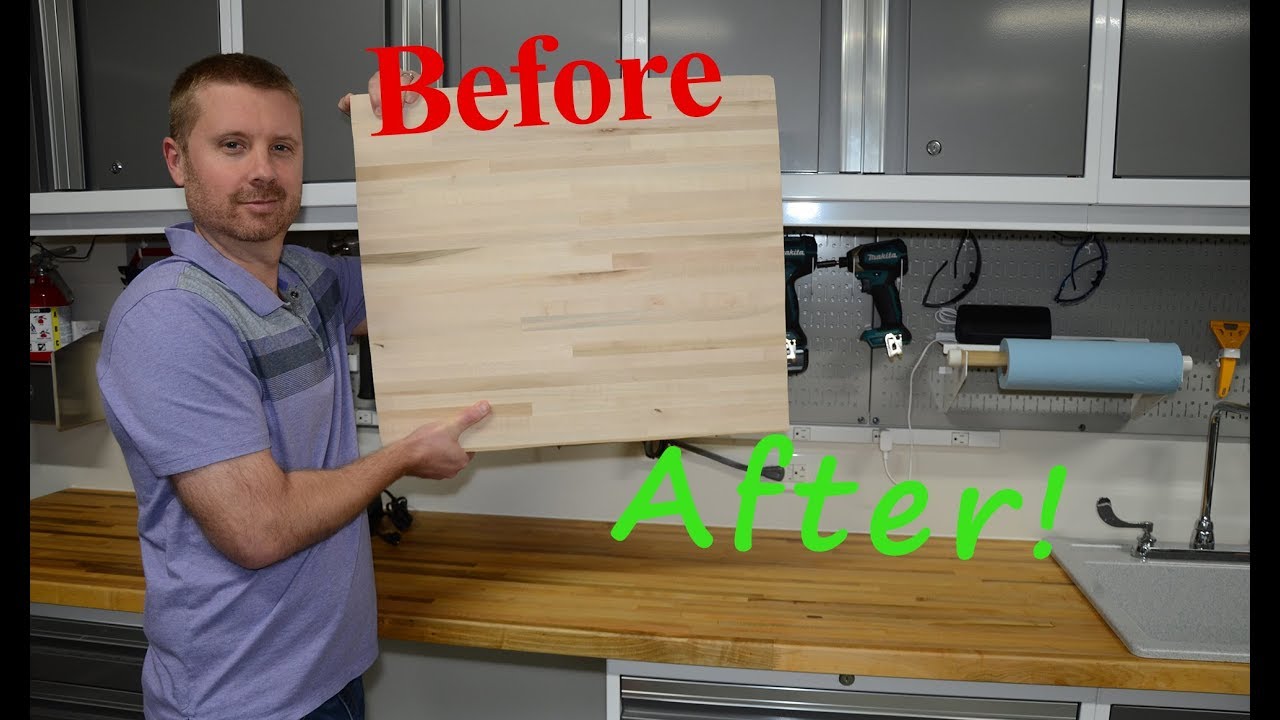
How To Stain And Seal Butcher Block Counters
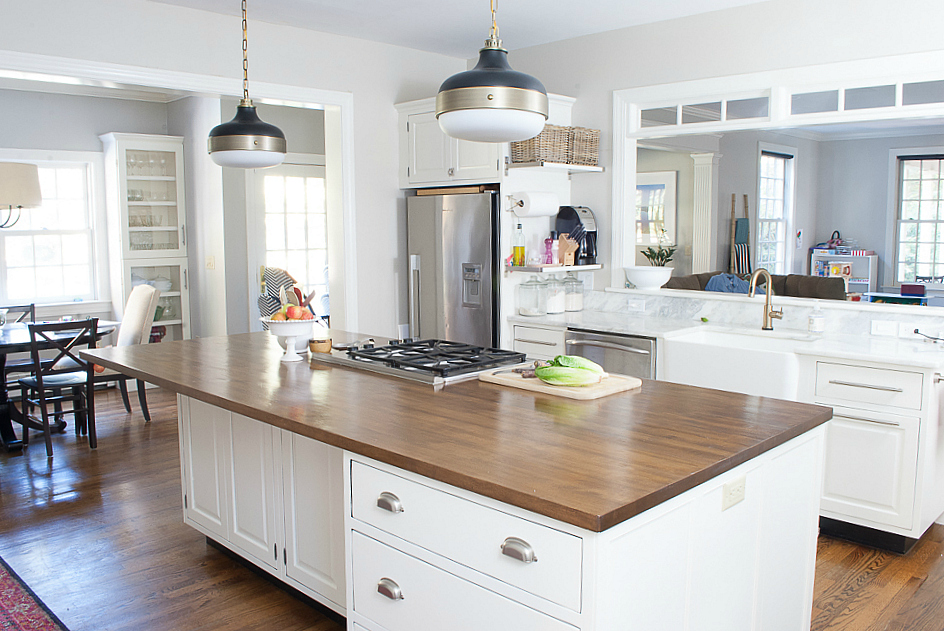
How We Refinished our Butcher block Countertop – Chris Loves Julia
Related articles:
- Butcher Block Countertops Decor
- Butcher Block Countertops Cottage
- Stain Butcher Block Countertops
- Butcher Block Countertops Vintage
- Butcher Block Countertop Farmhouse Sink
- Mahogany Butcher Block Countertops
- Butcher Block Countertop For Kitchen Island
- Can You Paint Butcher Block Countertops
- Butcher Block Countertops With White Cabinets
- Pine Butcher Block Countertops