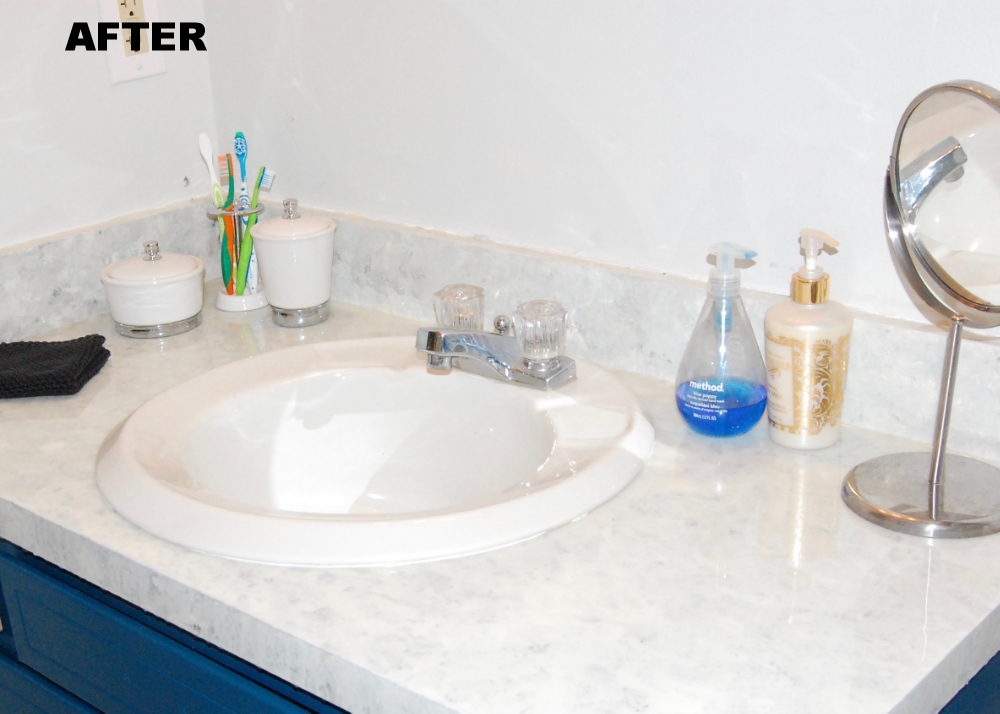
Refinishing bathroom countertops on your own can be an incredibly rewarding project, especially when you see the transformation unfold before your eyes. I’ve taken on this task myself, and while it may seem a bit daunting at first, with the right tools and a bit of patience, it’s a manageable project that can refresh your entire bathroom space. The first thing I noticed when refinishing my bathroom countertops was how much of a difference a simple update can make. What started as a dull, worn surface ended up looking like a brand-new countertop, giving my bathroom a much-needed facelift without the hefty cost of replacement.
Before diving into the refinishing process, I made sure to thoroughly clean the countertop. It’s one of the most important steps because any dirt, grime, or soap residue left behind can affect how well the new finish adheres. I used a mild abrasive cleaner and a sponge to scrub every inch of the surface, paying special attention to the areas around the faucet and sink. This prep work may seem tedious, but I can’t stress enough how crucial it is to get a smooth, flawless finish in the end.
Once the countertop was spotless, I started sanding the surface. This part of the process helps to rough up the existing finish so that the new coating can bond more effectively. I opted for a fine-grit sandpaper, around 220-grit, which worked well for the laminate material I was working with. Sanding can be a bit messy, so I made sure to wear a mask and goggles to protect myself from the dust. One thing I found helpful was using a hand-held sander, which made the process much quicker and gave me more control over the evenness of the sanding.
After the sanding was complete, I carefully wiped down the surface to remove all dust particles. Any leftover dust can create bumps or imperfections in the new finish, so I made sure to be thorough. At this point, I was ready to apply the primer. A bonding primer is essential because it helps the paint or refinishing product stick to the countertop surface. I used a roller for larger areas and a small brush to get into tight corners around the sink and backsplash. Giving the primer adequate time to dry is critical; I let mine sit overnight to ensure it was fully set.
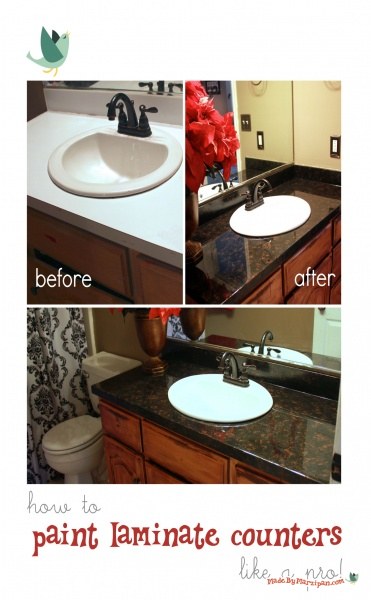
The next step in refinishing the countertop involved choosing the right refinishing kit or paint. I decided to go with a countertop refinishing kit specifically designed for bathroom surfaces. These kits often come with everything you need, including the coating, applicators, and even a topcoat for extra durability. I went with a stone-look finish that added some texture and depth to the countertop, and I was really impressed with the results. The kit made the process straightforward, and the instructions were easy to follow.
Applying the new finish was one of the most satisfying parts of the project. Using a foam roller, I applied the first coat in smooth, even strokes, working my way from one side of the countertop to the other. The key here is patience. It’s tempting to rush through the process, but applying thin, even layers ensures a better result. I waited a few hours between coats to let each layer dry properly before moving on to the next. Depending on the kit you use, you may need to apply two or three coats for full coverage.
One thing I learned through trial and error is that you really need to let the finish cure properly. It’s not just about the drying time between coats; after the final coat is applied, it’s crucial to give the countertop several days to fully cure before using it. This can be challenging, especially in a busy household, but trust me, the wait is worth it. If you use the countertop too soon, you risk damaging the finish before it’s had a chance to harden.

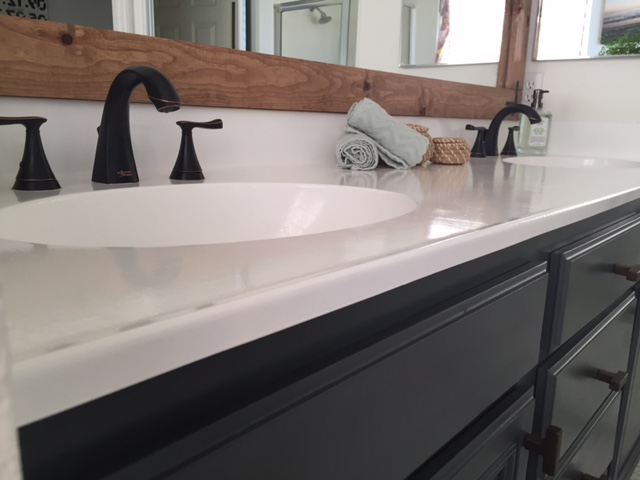
Once the countertop was fully cured, I added a clear topcoat to protect the surface. This step is optional depending on the finish you choose, but I highly recommend it for added durability, especially in a bathroom where moisture is constantly present. I found that the topcoat added a subtle sheen and made the countertop feel much more resistant to water and daily wear. It also gave me peace of mind knowing that my hard work was protected for the long haul.
Throughout the project, I made sure to tape off the edges of the countertop and any areas I didn’t want to get paint or primer on. Using painter’s tape around the sink, backsplash, and walls is a must to ensure clean lines and prevent accidental smudges. I also placed a drop cloth over the sink and floor to catch any drips. These small steps can save you a lot of hassle during the cleanup process.
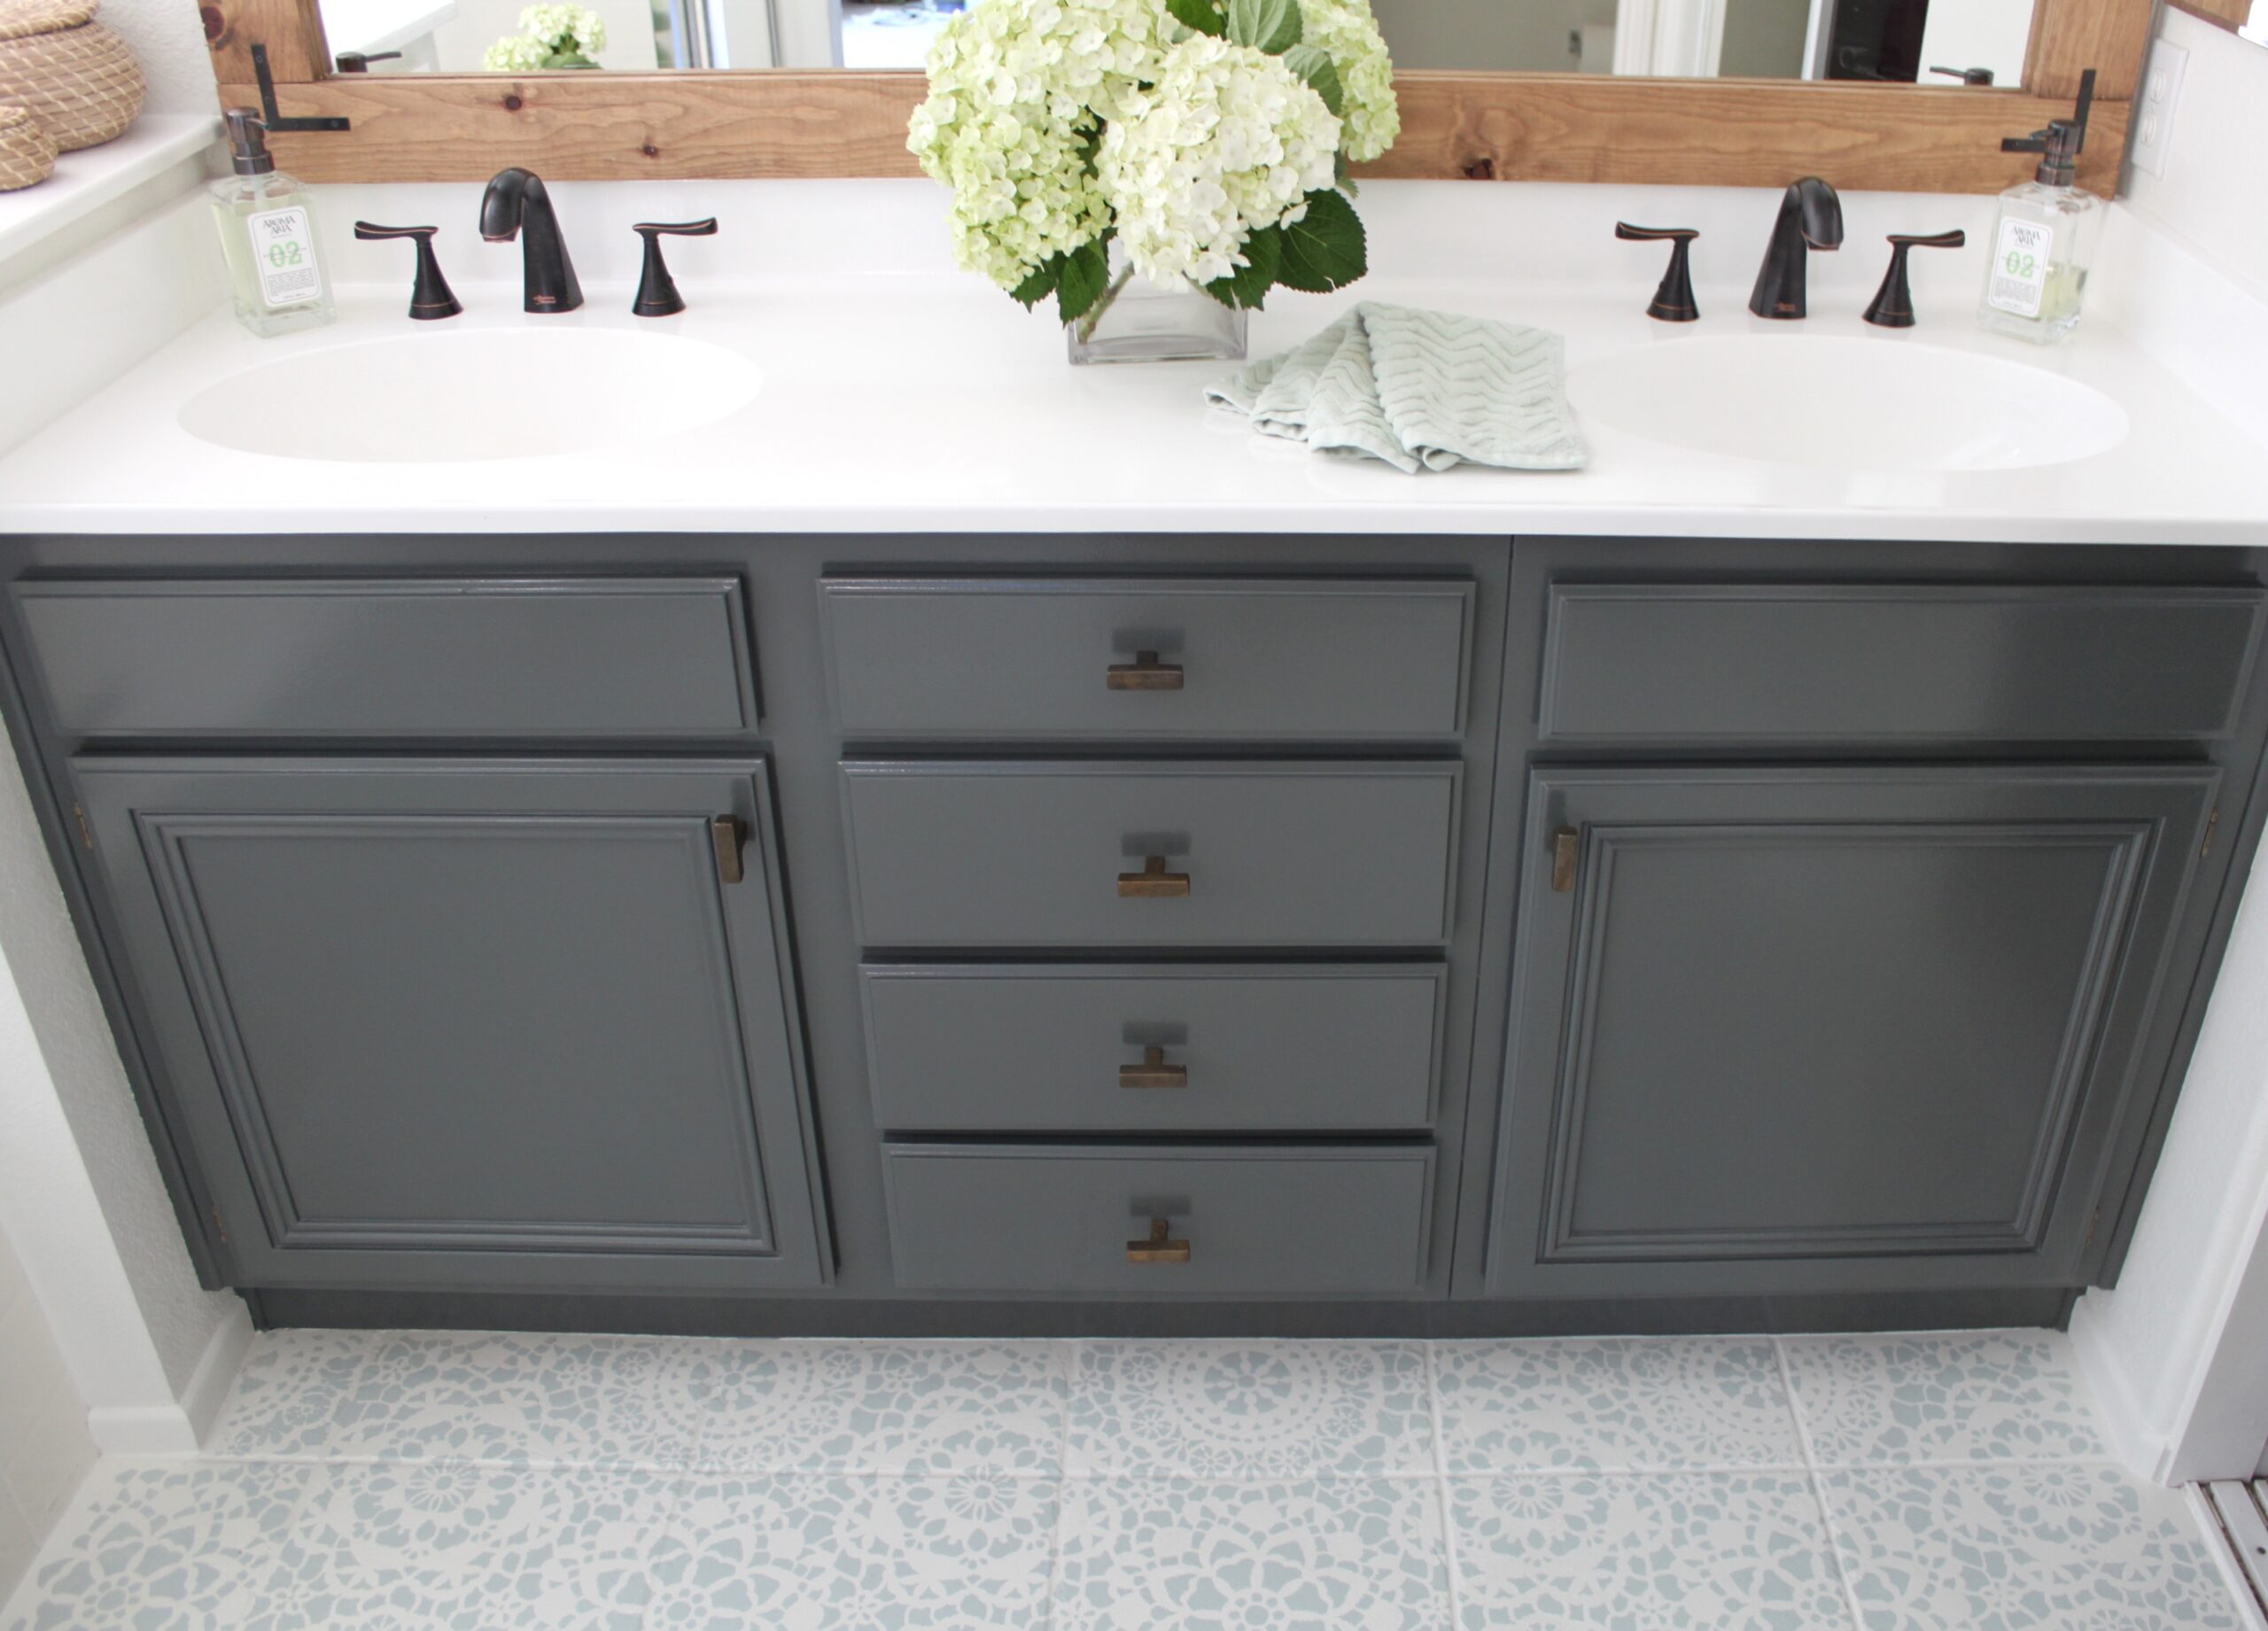
One thing I didn’t anticipate was how much the refinished countertop would change the overall look of my bathroom. What started as a DIY project to refresh a single surface ended up inspiring me to make other small updates to the space, like replacing the hardware on the vanity and adding new towels. Refinishing the countertop made the bathroom feel brighter and more modern, and it became a focal point that tied the whole room together.
Refinishing a bathroom countertop can be a cost-effective way to update your space without a full renovation. I was surprised by how affordable the project was, especially compared to replacing the entire countertop. With the refinishing kit and a few basic supplies, I was able to achieve a high-end look for a fraction of the price. Plus, it was a project I could complete over the weekend, making it perfect for anyone with a busy schedule.

If you’re worried about durability, I can assure you that with the right refinishing products, the countertop will hold up well to daily use. My refinished countertop has been in place for over a year now, and it still looks as good as new. The top coat has helped protect it from water damage and stains, and I haven’t had any issues with chipping or peeling. It’s a testament to how far DIY refinishing products have come in terms of quality.
While the project was relatively simple, there are a few things I would do differently if I were to refinish another countertop. For example, I would invest in higher-quality brushes and rollers. While the kit came with applicators, I found that using my tools resulted in a smoother finish. Additionally, I would take more time sanding between coats to ensure each layer was perfectly smooth before moving on to the next. These small adjustments can make a big difference in the final result.
Refinishing a bathroom countertop is a project I would recommend to anyone looking to refresh their bathroom on a budget. It’s a manageable DIY task that yields professional-looking results with just a bit of patience and attention to detail. Whether you want to update an outdated surface or breathe new life into a worn countertop, refinishing is a great way to achieve a fresh, modern look without the expense of a full replacement.
Common Mistakes to Avoid:
One of the most common mistakes when refinishing a bathroom countertop is not properly prepping the surface. Skipping steps like thorough cleaning and sanding can cause the new finish to peel or bubble over time.
Another mistake is applying the finish too thickly. It’s tempting to rush the process, but applying thin, even coats will give you a smoother result. Not allowing enough drying and curing time between coats is another frequent issue. Be patient and give each layer ample time to dry before moving on to the next.
Finally, failing to apply a protective topcoat can reduce the longevity of the refinished surface, especially in a moisture-heavy bathroom environment.

Can I refinish any type of bathroom countertop?
Yes, most bathroom countertops can be refinished, including laminate, tile, and solid surfaces. The key is selecting the right refinishing product for the material you’re working with. I’ve had success refinishing laminate countertops, but it’s always a good idea to check the manufacturer’s recommendations to ensure compatibility with your surface type.
How long does it take to refinish a bathroom countertop?
The actual refinishing process can take a weekend or less, but it’s important to factor in drying and curing time. After each coat of primer, finish, and topcoat, you’ll need to wait several hours to ensure it dries completely. Once the final coat is applied, I recommend letting the countertop cure for at least three days before using it.
What tools do I need for refinishing my countertop?
You’ll need a few basic tools to get started, including sandpaper, a cleaning solution, painter’s tape, rollers or brushes, and a refinishing kit. I found that having a hand-held sander sped up the sanding process, but it’s not necessary if you’re comfortable with manual sanding.
How long will a refinished countertop last?
With proper care, a refinished countertop can last several years. My own refinished bathroom countertop has held up well for over a year with no signs of wear. The key to longevity is using a protective topcoat and avoiding harsh cleaners or abrasive tools that can damage the finish.
Can I use my countertop immediately after refinishing?
No, it’s essential to allow the finish to cure for a few days after the final coat. Using the countertop too soon can damage the surface before it fully hardens. I waited three days before using my refinished countertop, and I recommend being patient to ensure the best results.
Is refinishing a countertop more affordable than replacing it?
Absolutely! Refinishing is a budget-friendly alternative to replacing your countertop. When I refinished my bathroom countertop, the cost of the refinishing kit and supplies was a fraction of what it would have cost to install a new countertop. It’s a great option for those looking to update their space without a major renovation.

How to Refinish Bathroom Countertops Domestic Blonde
Refinish Your Old and Outdated Laminate Countertop DIY Direct Colors

Related articles: