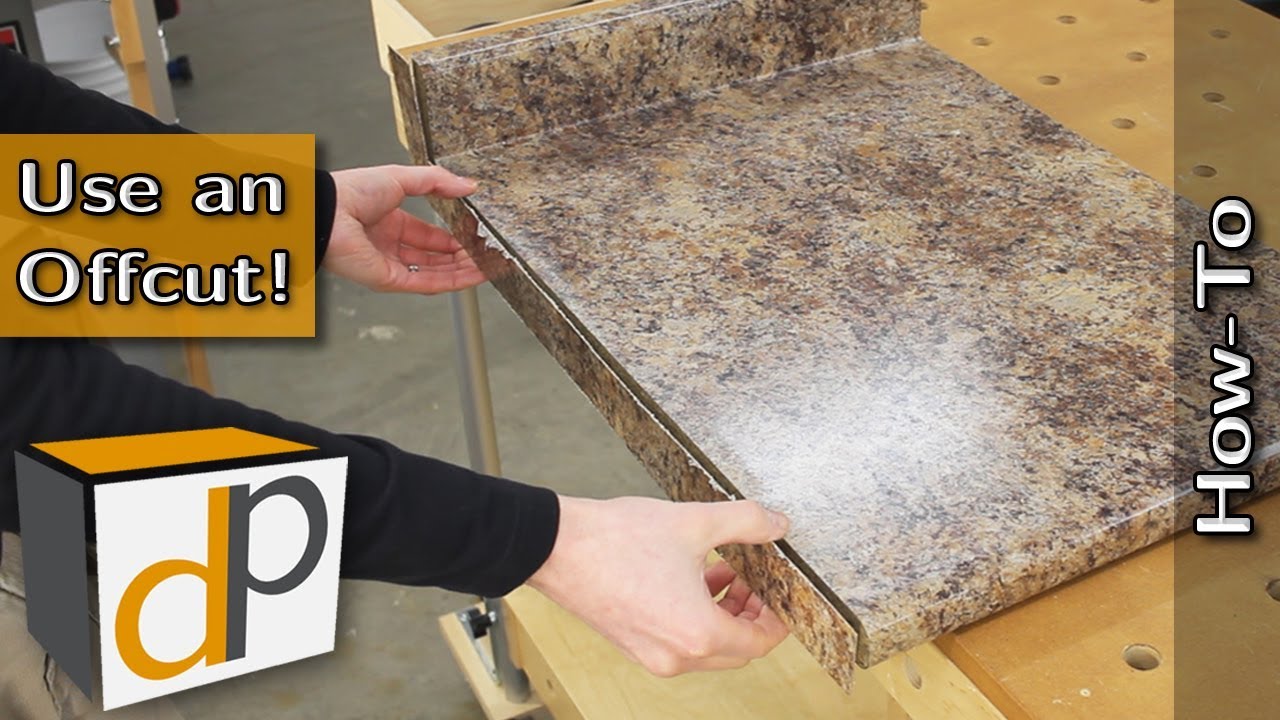
Installing laminate countertop edging is a task that can significantly enhance the appearance and durability of your kitchen or bathroom countertops. Laminate countertop edging, also known as laminate trim or laminate edge banding, is used to cover the exposed edges of laminate countertops, providing a finished look while also protecting the edges from moisture and damage. Here’s a comprehensive guide to help you understand the process of installing laminate countertop edging.
Firstly, before you start the installation process, you’ll need to gather all the necessary materials and tools. These typically include the laminate edging strips, contact cement or adhesive, a utility knife, a file or sandpaper for smoothing edges, a roller or laminate trimmer, and a straightedge or ruler for precise cutting.
The first step in installing laminate countertop edging is to measure and cut the edging strips to the appropriate length. Using a straightedge or ruler, measure the length of the exposed countertop edge and cut the laminate edging strip slightly longer than the measured length to allow for trimming later.
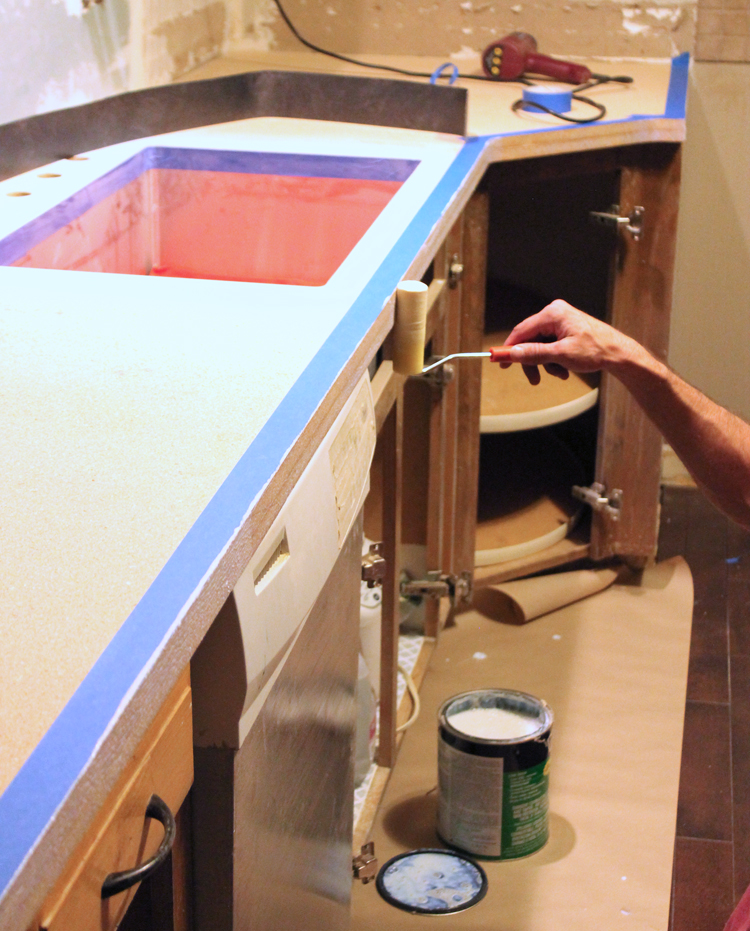
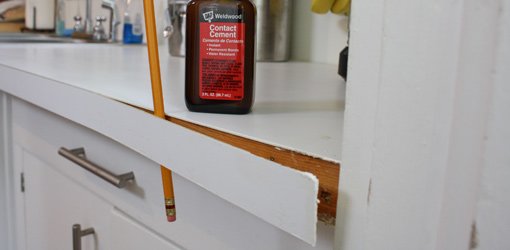
Next, apply contact cement or adhesive to both the backside of the laminate edging strip and the exposed countertop edge. Follow the manufacturer’s instructions for applying the adhesive, ensuring thorough coverage on both surfaces. Allow the adhesive to set according to the recommended drying time.
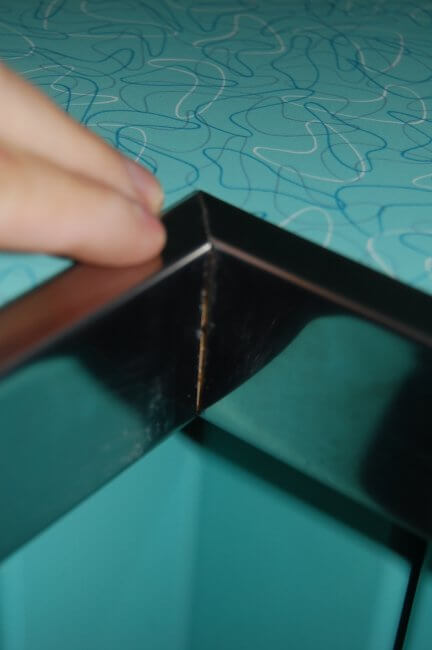
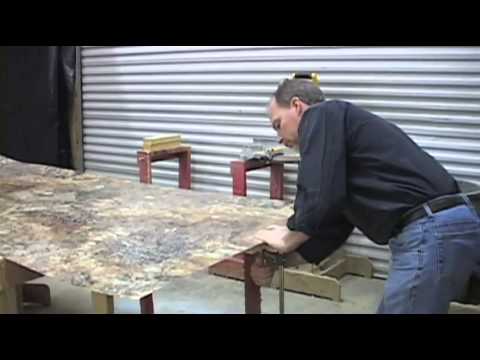
Once the adhesive has dried to a tacky consistency, carefully position the laminate edging strip onto the exposed countertop edge, aligning it evenly and ensuring a tight fit. Press down firmly on the edging strip to secure it in place, using a roller or laminate trimmer to ensure proper adhesion.
After securing the laminate edging strip to the countertop edge, use a utility knife to trim any excess material from the ends of the strip, creating a clean and flush edge with the countertop surface. Be sure to trim the ends at a slight angle to prevent sharp corners or edges.
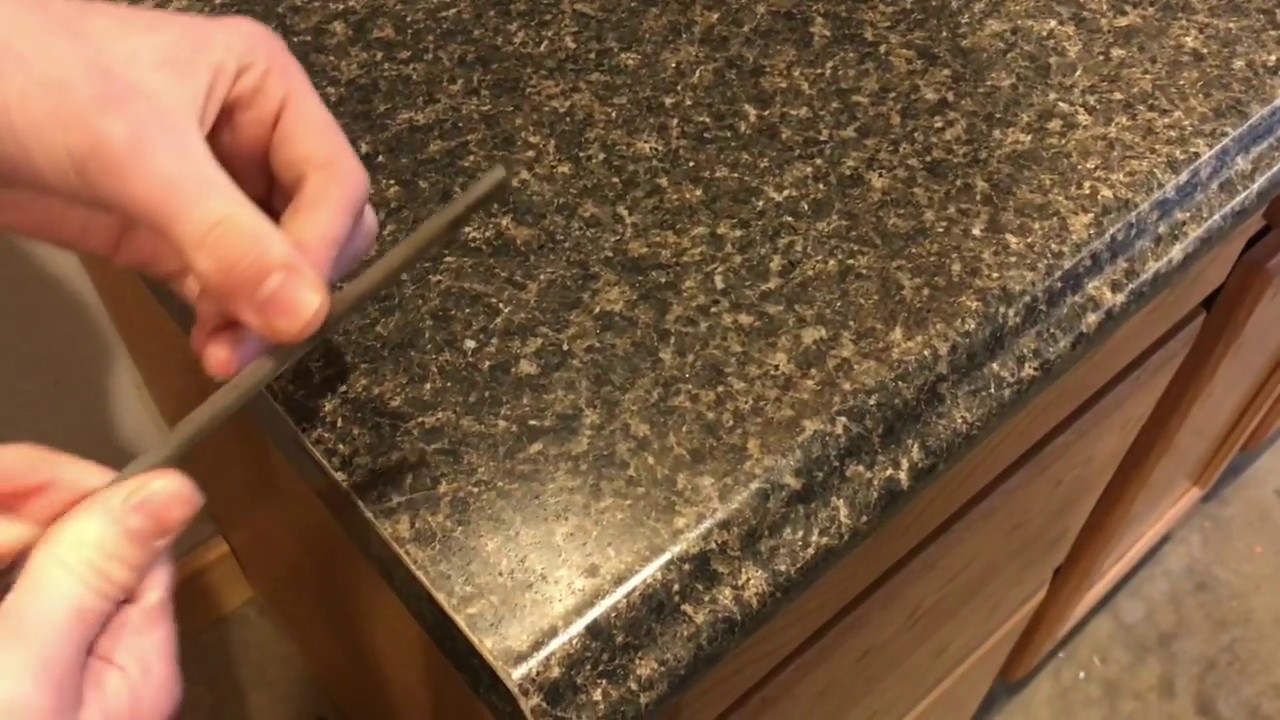
Once the edging strip is trimmed to size, use a file or sandpaper to smooth out any rough edges or imperfections along the trimmed edge. This will help achieve a seamless and professional-looking finish.
Repeat the above steps for each section of exposed countertop edge, taking care to measure, cut, apply adhesive, position, secure, and trim the laminate edging strips with precision and accuracy.
After all the laminate edging strips are installed and trimmed, allow the adhesive to fully cure according to the manufacturer’s instructions before using the countertop. This typically involves letting the countertop sit undisturbed for a specified period to ensure maximum adhesion and durability.
Once the adhesive has fully cured, you can enjoy your newly installed laminate countertop edging, which not only enhances the aesthetic appeal of your countertops but also provides added protection against moisture and damage.

What is laminate countertop edging?
Laminate countertop edging, also known as laminate trim or edge banding, is a material used to cover the exposed edges of laminate countertops, providing a finished look while also protecting the edges from moisture and damage.
How do I install laminate countertop edging?
To install laminate countertop edging, you’ll need to measure and cut the edging strips to size, apply adhesive to both the strip and the countertop edge, position the strip onto the edge, secure it in place, trim any excess material, and smooth out the edges for a professional finish.
What tools and materials do I need for installing laminate countertop edging?
You’ll need laminate edging strips, contact cement or adhesive, a utility knife, a file or sandpaper, a roller or laminate trimmer, and a straightedge or ruler for precise cutting.
Can I install laminate countertop edging myself, or do I need professional help?
With the right tools and materials, installing laminate countertop edging can be a DIY project. However, if you’re unsure or uncomfortable with the process, it’s always best to seek professional help to ensure proper installation.
How long does it take for the adhesive to cure after installing laminate countertop edging?
The curing time for the adhesive used to install laminate countertop edging varies depending on the type and brand of adhesive. It’s essential to follow the manufacturer’s instructions for the specific adhesive you’re using and allow the recommended drying or curing time before using the countertop.
How to Install Laminate Countertop Edge

Wilsonart® Decorative Edges Installation
how to FINISH a formica countertop laminate edge
How to Reattach Plastic Laminate Countertop Edging
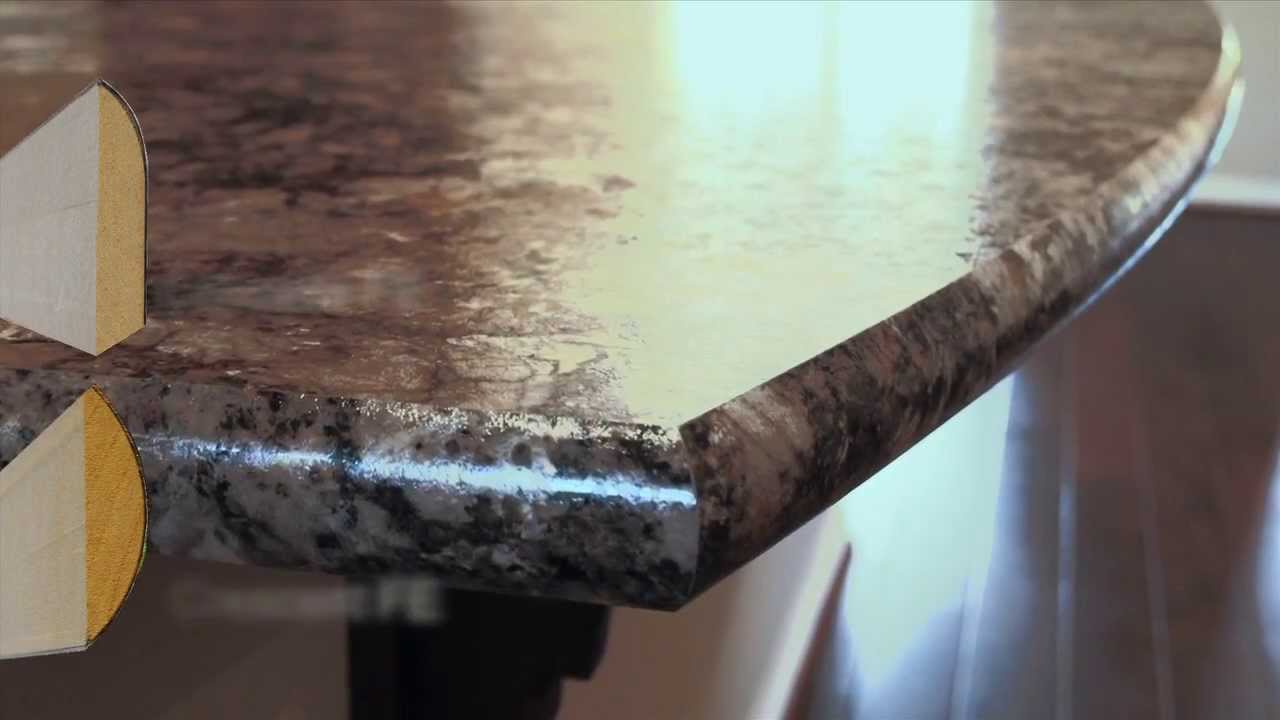
DIY Laminate Countertop and Bevel Edge Trim
Related articles: