Changing the color of your kitchen countertop is a great way to update the look of your kitchen without the expense and hassle of a full renovation. There are several methods to change the color of your countertop, each suited to different materials and desired finishes. The process typically begins with thorough cleaning and preparation of the existing surface to ensure the new color adheres properly and looks even. A well-prepared surface is key to a successful and durable finish, regardless of the method you choose.
One popular method for changing the color of a laminate countertop is painting. Laminate countertops are common in many kitchens and can be transformed with a few coats of specialized paint. Start by cleaning the surface thoroughly with a degreaser to remove any grease and grime. Sanding the countertop with fine-grit sandpaper helps create a rough surface that allows the paint to adhere better. After sanding, wipe the countertop clean to remove any dust. Applying a primer specifically designed for laminate ensures the paint will stick well and provide a durable finish.
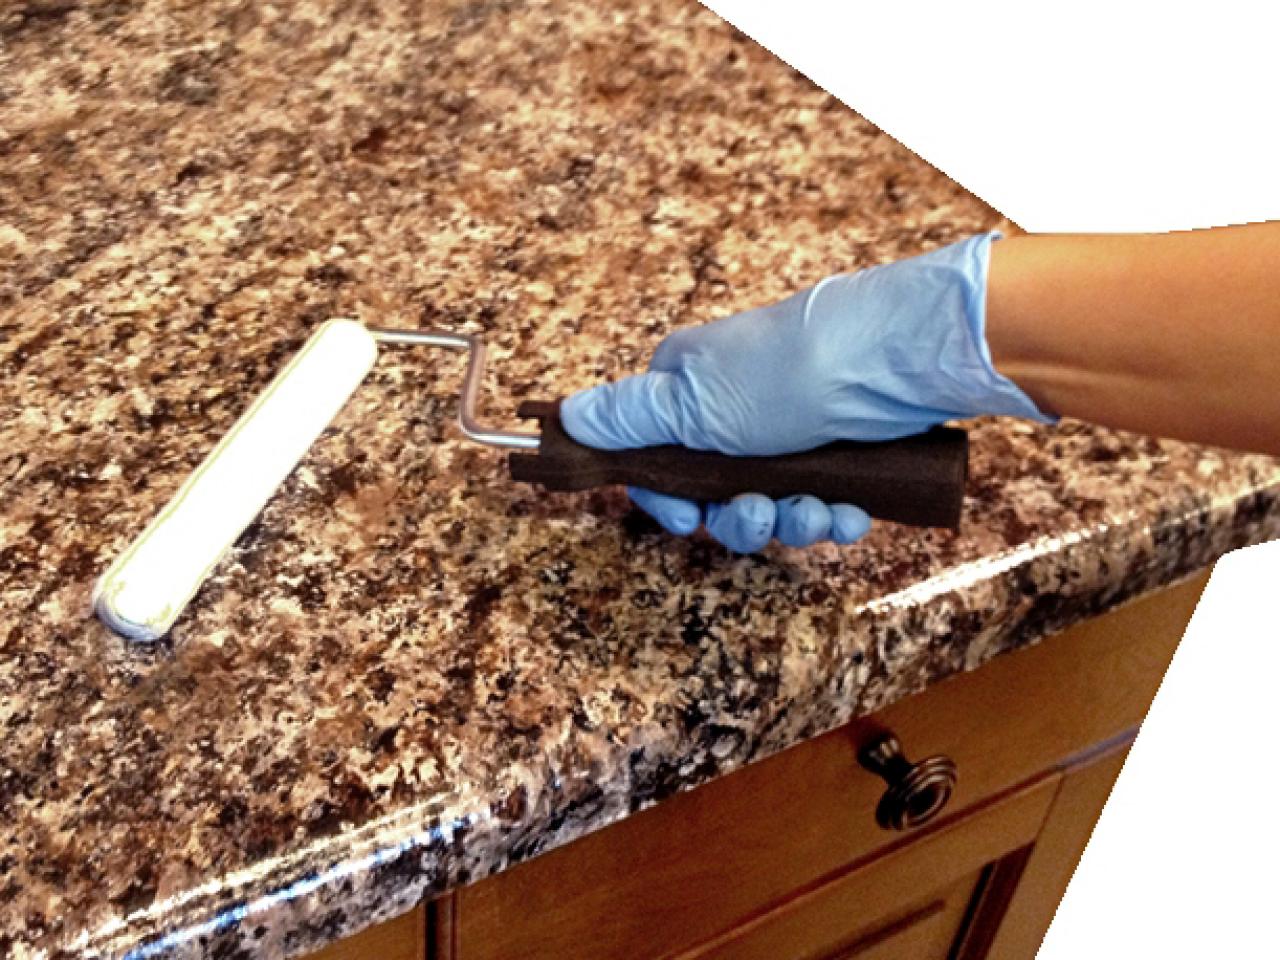
Once the primer is dry, you can begin painting. Using a high-quality acrylic latex paint is recommended for durability and ease of application. Apply the paint in thin, even coats using a foam roller or brush, allowing each coat to dry completely before applying the next. Typically, two to three coats are needed to achieve full coverage. After the final coat of paint is dry, sealing the countertop with a clear polyurethane sealer protects the finish and makes it more resistant to scratches and stains. This step is crucial for maintaining the appearance of your newly painted countertop.
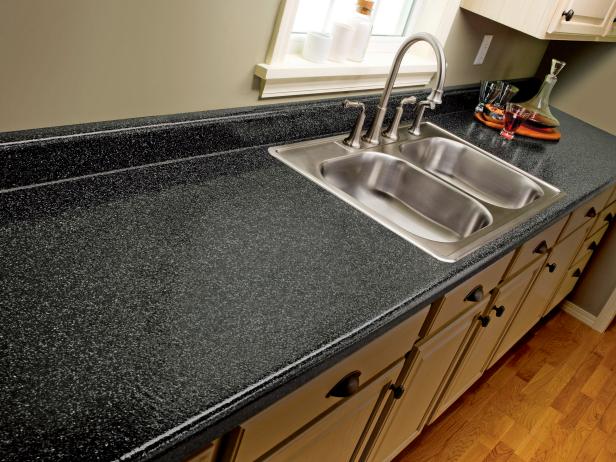
For those with solid surface countertops like granite or quartz, changing the color is a bit more complex. While these materials are durable and attractive, they do not readily accept paint or stains. However, you can apply a colored epoxy or resurface the countertop to change its color. Epoxy coatings are available in various colors and finishes, including metallic and stone-like appearances. The process involves thoroughly cleaning and lightly sanding the countertop, then applying the epoxy in a thin, even layer. Epoxy provides a durable, glossy finish that can mimic the look of natural stone.
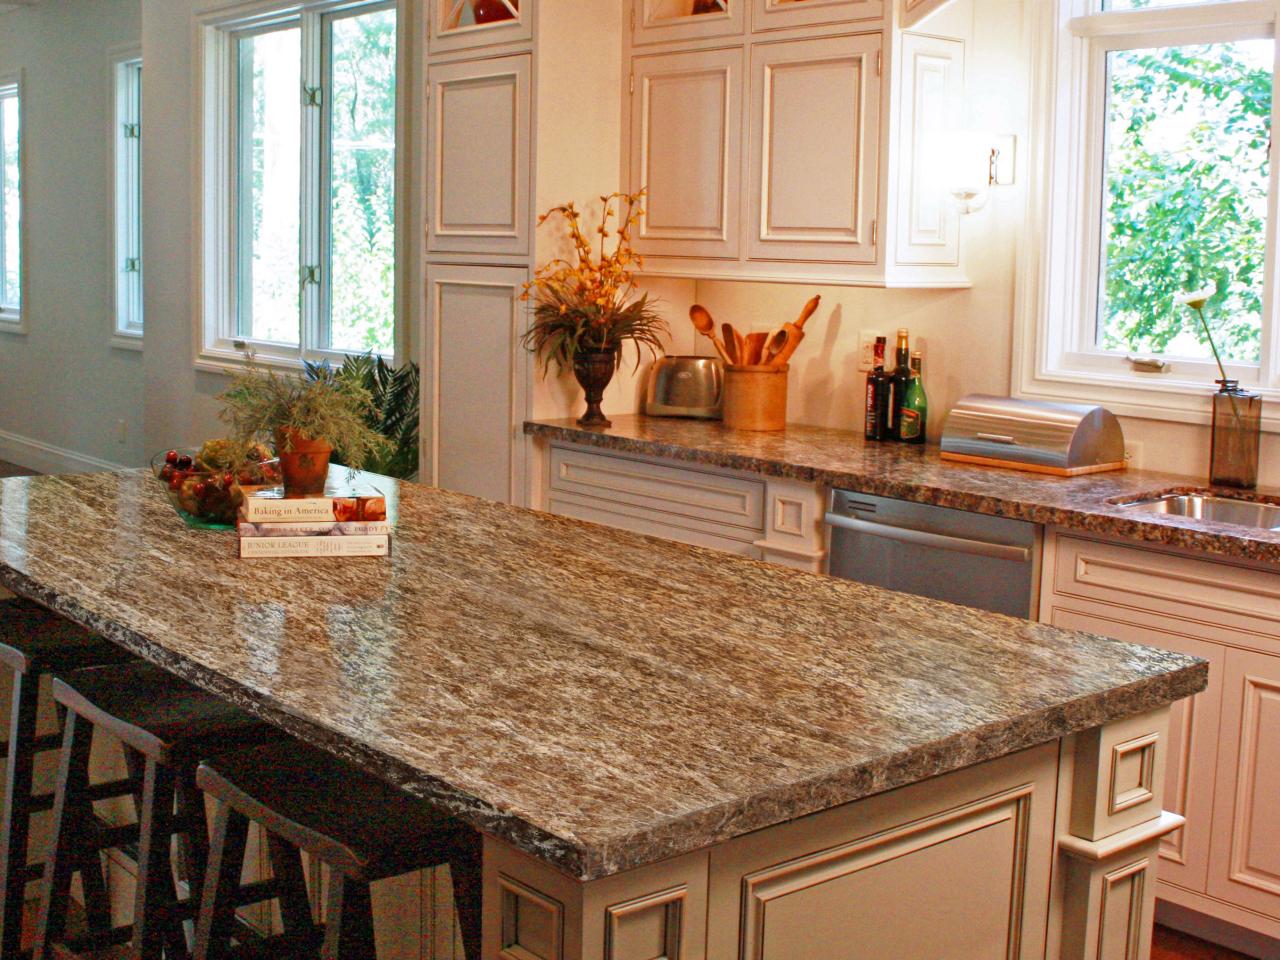
Another option for solid surface countertops is using concrete overlay. This technique involves applying a thin layer of concrete over the existing countertop, which can then be colored with dyes or stains. Concrete overlays allow for a wide range of color options and can create a modern, industrial look. The process begins with cleaning and sanding the countertop to create a rough surface for the concrete to adhere to. A bonding agent is applied to ensure the concrete sticks properly. The concrete is then mixed and spread over the countertop in a thin, even layer.
Once the concrete has set, it can be stained or dyed to achieve the desired color. Acid stains create a variegated, natural stone look, while water-based stains offer more uniform color. After staining, the concrete must be sealed to protect it from stains and moisture. A high-quality concrete sealer enhances the color and provides a durable, easy-to-clean surface. This method requires some skill and experience with concrete, so it may be best suited for those who are comfortable with DIY projects or willing to hire a professional.
For wood countertops, changing the color can be achieved through staining or painting. If you prefer a natural look, sanding the countertop down to bare wood and applying a new stain can refresh and change the color. Stains come in various shades, from light, natural tones to rich, dark colors. Applying a wood conditioner before staining helps achieve an even color and prevents blotchiness. After the stain has dried, sealing the wood with a polyurethane finish protects it from moisture and wear.
Painting a wood countertop is another option, especially if you want a bold color that’s not achievable with stain. As with other materials, thorough cleaning and sanding are essential before applying primer and paint. Using a high-quality, water-based paint provides a durable finish that’s safe for use in kitchens. Sealing the painted surface with a clear topcoat protects the paint and makes it easier to clean. Regular maintenance and care are important to keep the painted surface looking its best.

Changing the color of a tile countertop involves either painting the tiles or applying a new layer of tiles. Painting tiles is a cost-effective option and can be done with specialized tile paint. Start by cleaning and sanding the tiles to create a rough surface. Applying a primer designed for tiles helps the paint adhere better. Use a high-quality epoxy or acrylic paint for durability and finish with a clear sealer to protect the paint. This method can give your tiled countertop a fresh, new look without the hassle of retiling.
Retiling is a more labor-intensive option but allows for complete customization of your countertop. Removing the old tiles and preparing the surface for new tiles can be time-consuming but results in a completely new appearance. Choose tiles that complement your kitchen’s decor and follow proper tiling techniques to ensure a smooth, even finish. Grouting and sealing the new tiles completes the process, providing a durable and attractive countertop.
Using countertop film or vinyl is another quick and affordable way to change the color of your countertop. These adhesive films come in various colors and patterns, including marble, granite, and solid colors. Applying the film involves thoroughly cleaning the countertop and carefully aligning and smoothing the film to avoid air bubbles and wrinkles. This method is ideal for renters or those looking for a temporary change, as the film can be easily removed without damaging the countertop.
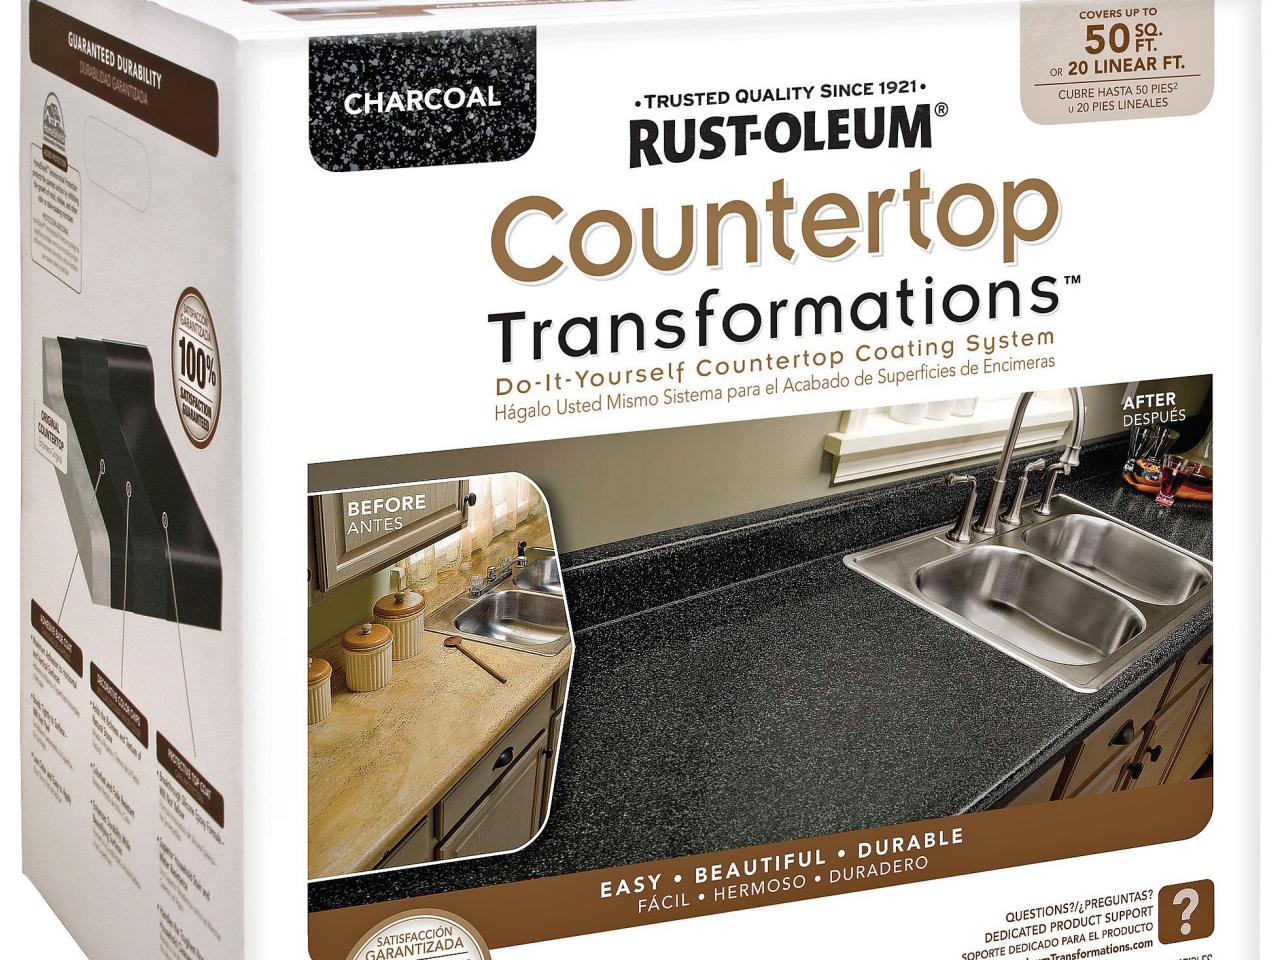
Resurfacing kits are available for those who prefer a comprehensive solution. These kits typically include everything needed to change the color of your countertop, including primers, paints, and sealers. They are designed to be user-friendly and often come with detailed instructions. Resurfacing kits are available for various countertop materials and offer a range of color options and finishes. This method provides a durable, professional-looking finish with minimal effort.
Regardless of the method you choose, proper preparation and application are crucial to achieving a long-lasting and attractive finish. Taking the time to clean, sand, and prime the countertop ensures the new color adheres well and wears evenly. Following the manufacturer’s instructions for any products used is also important for the best results. Regular maintenance and care help keep your newly colored countertop looking fresh and vibrant for years to come.
Common Mistakes to Avoid:
Inadequate Surface Preparation: Failing to properly clean and sand the countertop can result in poor adhesion and an uneven finish. Always thoroughly clean and sand the surface before applying any new color.
Skipping Primer: Primer is essential for ensuring the paint or coating adheres properly to the countertop. Skipping this step can lead to peeling and chipping.
Using the Wrong Products: Not all paints and coatings are suitable for countertops. Use products specifically designed for the material of your countertop and follow the manufacturer’s recommendations.
Applying Too-Thick Coats: Applying paint or epoxy in thick coats can lead to drips and uneven coverage. Thin, even coats provide a smoother, more durable finish.
Rushing the Drying Process: Allowing adequate drying time between coats and before using the countertop is crucial. Rushing this process can result in a weak finish that is prone to damage.
Ignoring Ventilation and Safety: Some paints and coatings emit strong fumes. Ensure proper ventilation and wear appropriate safety gear, such as masks and gloves, when working with these products.
Neglecting Sealing: Sealing is essential for protecting the new color and finish. Skipping this step can lead to stains and wear, reducing the lifespan of your updated countertop.
Improper Mixing: For products like epoxy or concrete overlays, improper mixing can result in uneven color and texture. Follow mixing instructions carefully to achieve a consistent finish.
Overlooking Maintenance: Regular maintenance is key to keeping your newly colored countertop looking its best. Follow recommended cleaning and resealing schedules to maintain its appearance and durability.
Not Testing Products First: Always test paints, stains, and sealers on a small, inconspicuous area first to ensure you are satisfied with the color and finish before applying them to the entire countertop.
![]()
Can I change the color of my granite countertop?
Changing the color of a granite countertop is challenging because granite is a non-porous, natural stone. While painting granite is not recommended due to its natural beauty and durability, you can use a colored epoxy coating to change its appearance. The process involves thoroughly cleaning and lightly sanding the granite surface to help the epoxy adhere. Applying the epoxy in thin, even layers can transform the color and finish of your granite countertop. However, this method may not replicate the natural look and feel of granite and should be considered carefully.
How long does it take to change the color of a countertop?
The time required to change the color of a countertop depends on the method and materials used. Painting a laminate countertop can be completed in a few days, including drying time between coats. Using epoxy coatings or concrete overlays might take longer, typically around a week, due to the need for multiple layers and curing time. Thorough surface preparation and proper drying times between steps are crucial for achieving a durable finish, so rushing the process is not advisable.
Is it possible to remove the new color if I change my mind?
Yes, it is possible to remove or change the new color of your countertop, but the process can be labor-intensive and may not fully restore the original surface. For painted countertops, you can sand down the paint and start over with a new color. Epoxy coatings and concrete overlays are more permanent and difficult to remove. In such cases, you may need to sand or grind off the surface layer, which could damage the underlying material. It’s essential to be certain about your color choice before committing to the change.
How durable is a painted countertop compared to other methods?
A painted countertop can be quite durable if the correct products and techniques are used, including primer, high-quality paint, and a clear sealer. However, painted surfaces may not be as durable as epoxy coatings or concrete overlays, which are more resistant to scratches, heat, and stains. Regular maintenance, such as resealing and gentle cleaning, is necessary to keep a painted countertop looking good. Avoiding abrasive cleaners and heavy impacts helps prolong the lifespan of the painted surface.
Can I use the kitchen normally while changing the countertop color?
During the process of changing your countertop color, you may experience some disruptions to normal kitchen use, especially if using methods that require multiple coats and drying times. It’s important to allow adequate drying and curing times to ensure a durable finish. For methods like painting or applying epoxy, the countertop surface will be unusable for several days. Planning the project during a time when the kitchen is not in heavy use or setting up a temporary kitchen area can help minimize the inconvenience.
DIY Countertops – change the color by painting them. I so want to

How to Update Your Older Granite Countertops – Kylie M Interiors

How To Paint Your Counters Kitchen remodel countertops, Painting

How to Paint Laminate Kitchen Countertops DIY
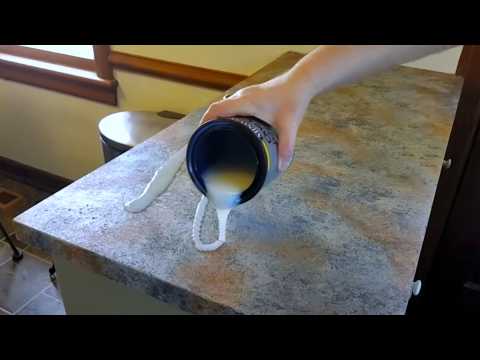
How to Paint Countertops – Looks Like Slate – $65 DIY Budget Friendly Kitchen Update
How to Paint Laminate Kitchen Countertops DIY
Related articles: