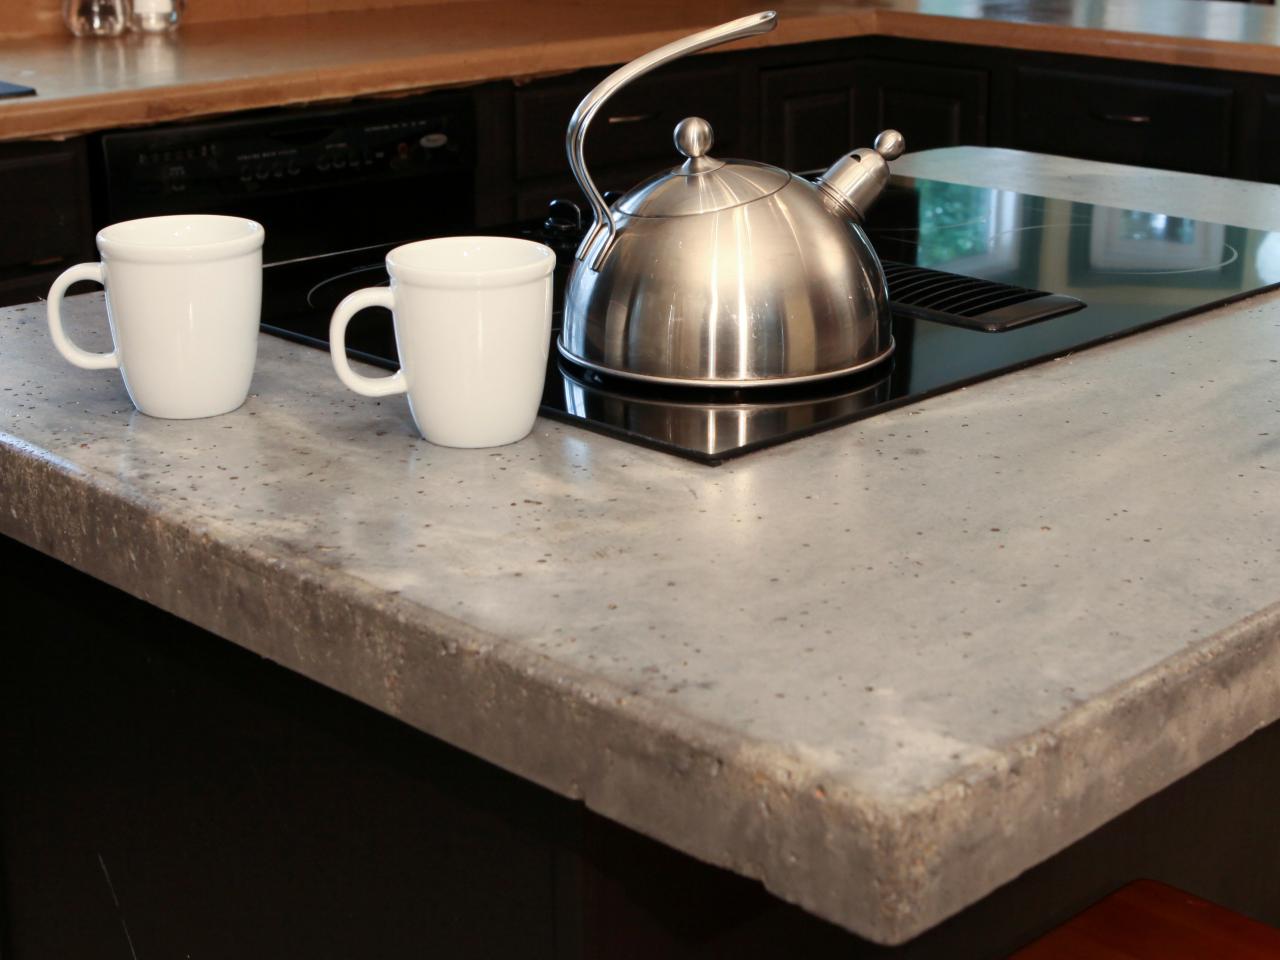
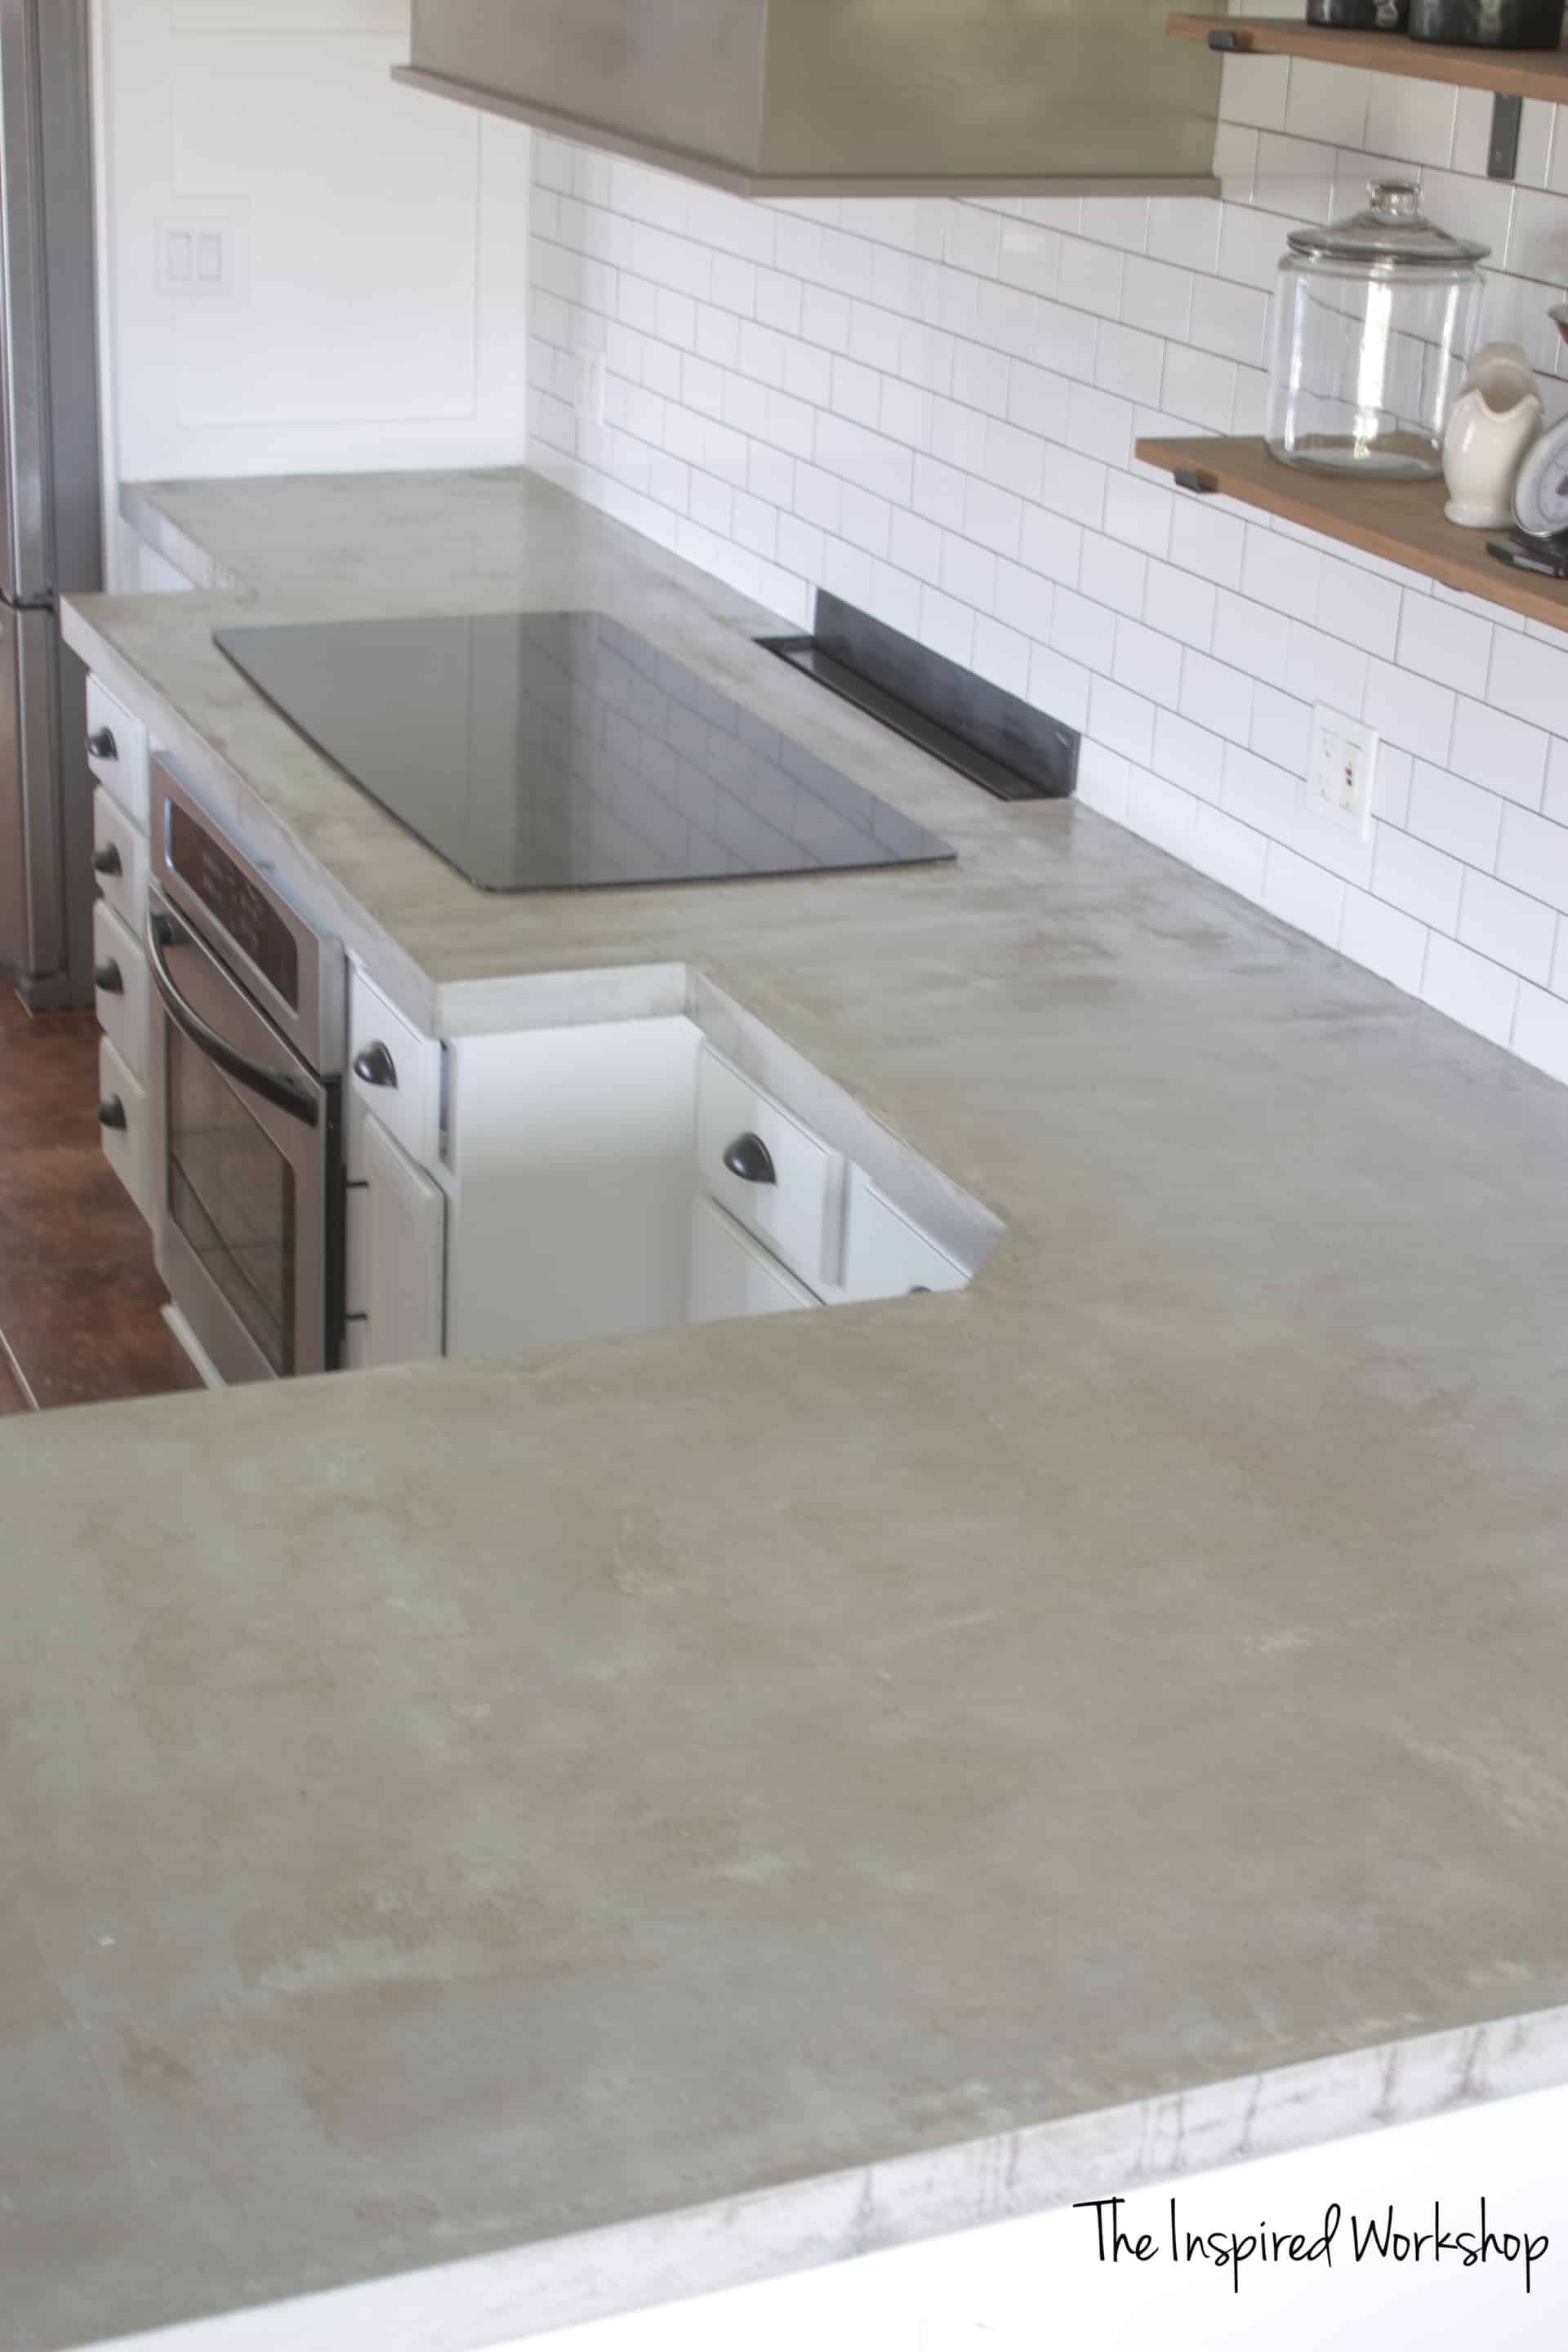
Building a concrete countertop in place is a rewarding and cost-effective way to enhance the aesthetic and functionality of your kitchen or bathroom. Concrete countertops offer a sleek, modern look that is both durable and versatile, allowing for customization in terms of color, texture, and finish. The process involves several critical steps, including preparing the workspace, building the forms, mixing and pouring the concrete, finishing the surface, and curing the countertop. Each stage requires careful attention to detail and proper technique to ensure a high-quality, long-lasting result.
The first step in building a concrete countertop in place is to prepare the workspace. This involves clearing the area of any debris, ensuring that the underlying cabinets are level and sturdy, and protecting surrounding surfaces from concrete splatter. Proper preparation is crucial for achieving a professional finish. Begin by measuring the space accurately and planning the layout of your countertop. Consider where cutouts for sinks, faucets, or cooktops will be located, and ensure these areas are accounted for in your design.
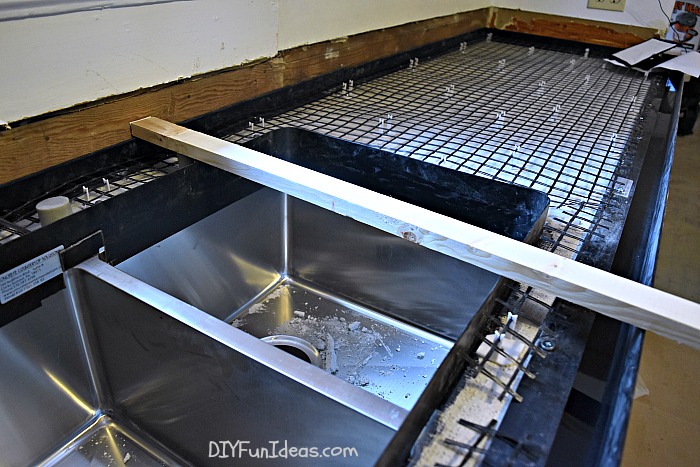
Next, you need to build the forms that will shape your concrete countertop. Forms are typically constructed from melamine-coated particleboard or other smooth, non-porous materials to prevent the concrete from sticking. Cut the forms to size, ensuring they match the dimensions of your countertop design. Secure the forms to the cabinetry using screws or clamps, and seal the edges with silicone caulk to prevent any concrete leakage. Reinforce the forms with additional supports if necessary to maintain their shape during the pouring process.
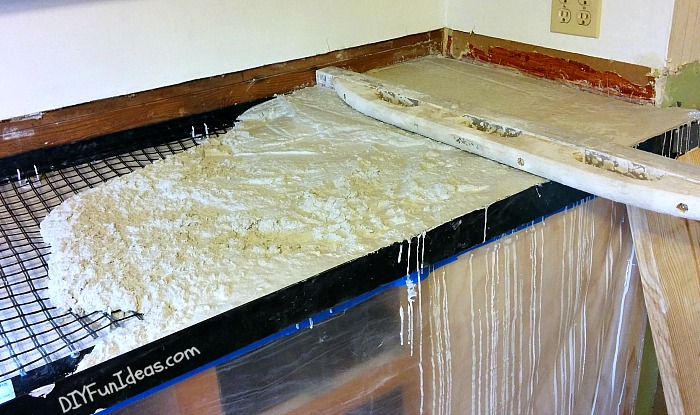
Reinforcement is an essential part of creating a durable concrete countertop. Concrete alone can be brittle, so incorporating reinforcement such as rebar or wire mesh helps to strengthen the structure. Cut the reinforcement material to fit within the form, leaving a small gap around the edges. Position the reinforcement in the center of the form to ensure it is fully embedded in the concrete. This step is crucial for preventing cracks and enhancing the overall durability of the countertop.
Mixing the concrete is a critical phase that requires precision and care. Use a high-quality countertop mix that contains the appropriate blend of sand, cement, and aggregates. Follow the manufacturer’s instructions for mixing the concrete, paying close attention to the water-to-mix ratio. Over-watering can weaken the concrete, while under-watering can make it difficult to work with. Mix the concrete thoroughly to achieve a consistent, workable texture. You can add pigments or dyes at this stage to customize the color of your countertop.
Once the concrete is mixed, it’s time to pour it into the forms. Start by filling the forms about halfway, then use a trowel or a handheld mixer to work the concrete into all corners and edges, ensuring there are no air pockets. Continue to add concrete until the forms are filled, slightly overfilling to account for settling. Use a straightedge or screed to level the surface, moving it back and forth in a sawing motion. This step is crucial for achieving a smooth, even finish.
Vibrating the concrete is an essential step to remove air bubbles and ensure a dense, solid surface. You can use a concrete vibrator or simply tap the sides of the forms with a rubber mallet to release trapped air. This step helps to eliminate voids and improve the overall integrity of the countertop. Once the concrete is vibrated and leveled, allow it to set for a short period before beginning the finishing process.

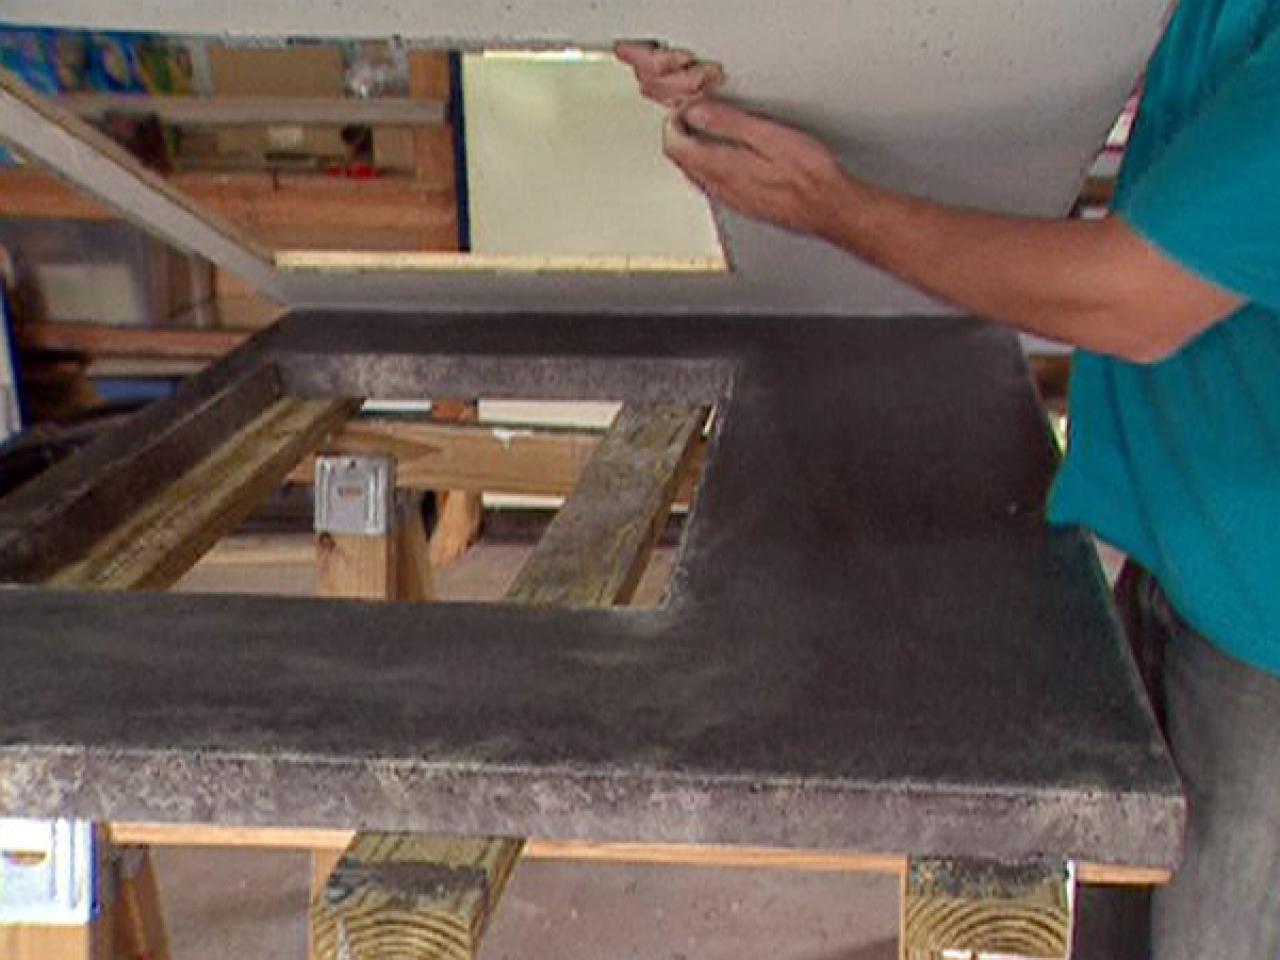
Finishing the surface of the concrete countertop involves smoothing and refining the texture. Begin by using a steel trowel to smooth the surface, working in small, overlapping circles. This process, known as troweling, helps to bring the cream (a fine layer of cement paste) to the surface, creating a smoother finish. Depending on the desired look, you can also use additional tools such as a float or a polishing pad to achieve a specific texture or sheen.
After the initial troweling, allow the concrete to set until it reaches a firm but still workable state. This can take several hours, depending on the ambient temperature and humidity. Once the concrete is firm enough to hold a shape but still malleable, use edging tools to refine the edges and corners of the countertop. This step is crucial for achieving clean, crisp lines and a professional appearance.
Curing is a critical phase that significantly impacts the strength and durability of the concrete countertop. Cover the countertop with plastic sheeting or damp curing blankets to retain moisture and prevent rapid drying. The concrete should cure for at least seven days, with optimal strength typically achieved after 28 days. During this period, avoid any heavy use or stress on the countertop to ensure it cures evenly and fully.
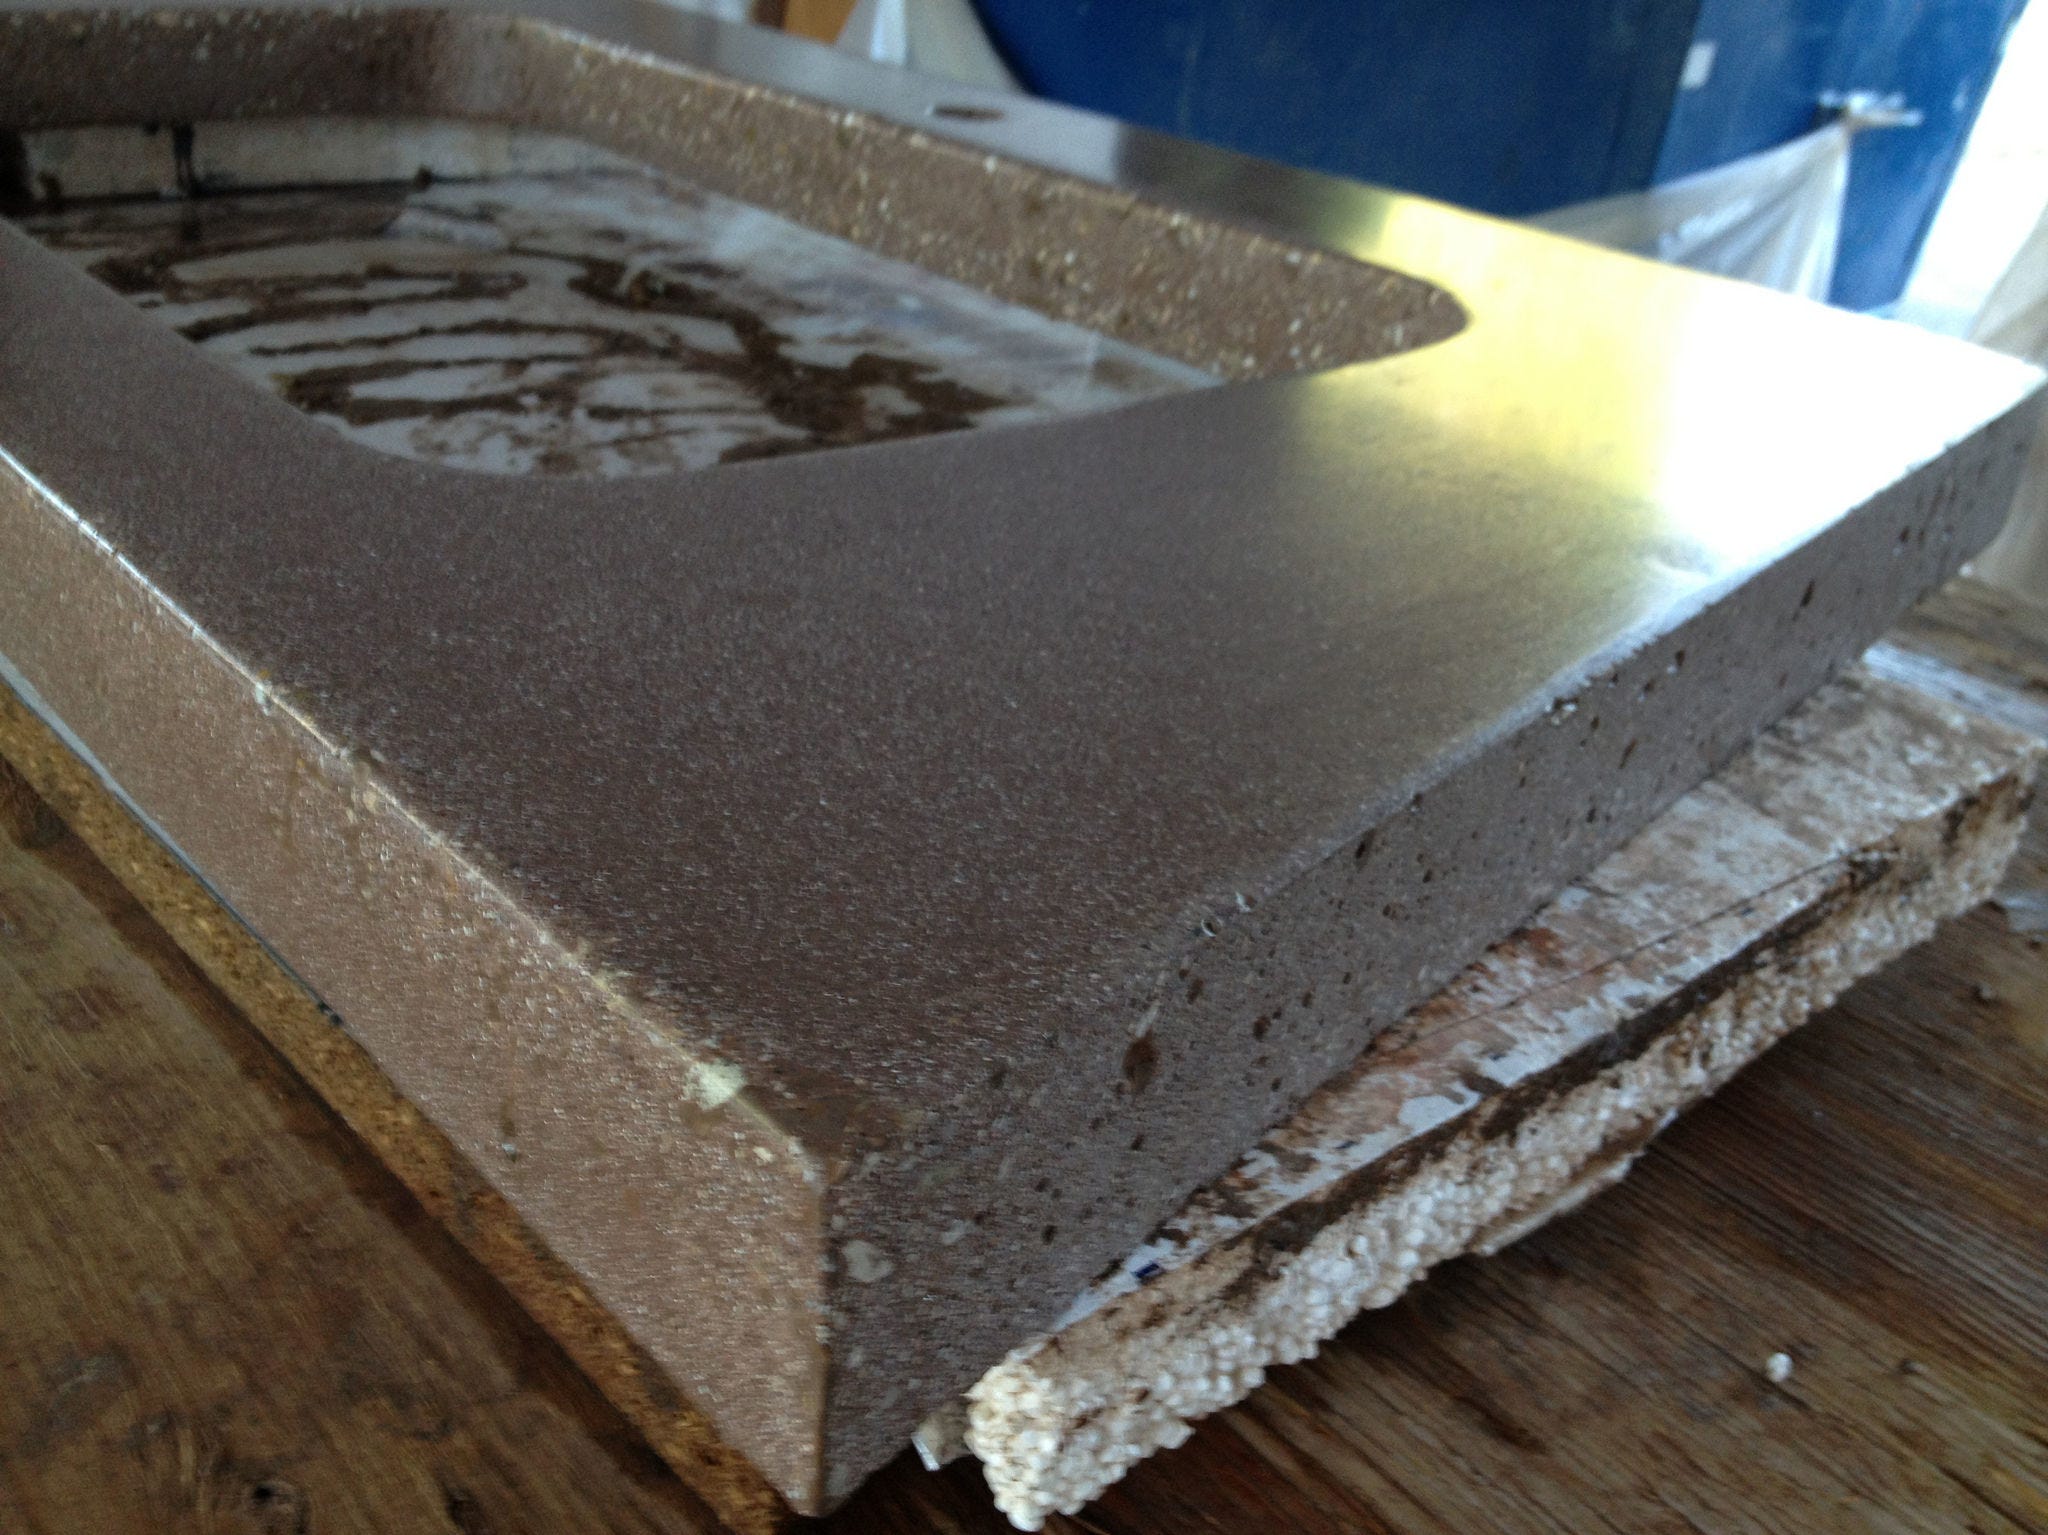
Once the concrete is fully cured, it’s time to remove the forms. Carefully unscrew or unclamp the forms, and gently pry them away from the edges of the countertop. Take care not to damage the concrete during this process. After the forms are removed, inspect the countertop for any imperfections or rough spots that may need further finishing or polishing.
Polishing the concrete can enhance its appearance and create a smooth, glossy surface. Begin with a coarse grit pad and gradually work your way to finer grits, using a wet polisher. This process not only smooths the surface but also brings out the natural beauty of the concrete. Depending on your preference, you can achieve a matte, satin, or high-gloss finish through polishing.
Sealing the concrete countertop is essential to protect it from stains, moisture, and wear. Choose a high-quality concrete sealer that is food-safe and suitable for countertops. Apply the sealer according to the manufacturer’s instructions, typically using a brush, roller, or sprayer. Multiple coats may be necessary to achieve full protection. Allow the sealer to cure fully before using the countertop.
Maintenance of a concrete countertop is relatively straightforward but requires regular attention to keep it looking its best. Clean the surface with mild soap and water, avoiding harsh chemicals that can damage the sealer. Reapply the sealer as needed to maintain its protective properties. With proper care, a concrete countertop can provide many years of beauty and functionality.
Building a concrete countertop in place is a project that requires careful planning, precise execution, and attention to detail. The result is a custom, high-quality countertop that adds value and style to your home. By following these steps and taking the time to properly prepare, pour, finish, and cure the concrete, you can achieve a professional-level result that you can be proud of.
Common Mistakes to Avoid
Incorrect Measurements: Inaccurate measurements can lead to ill-fitting forms and an uneven countertop. Always double-check your measurements and ensure the forms are cut precisely to size.
Poor Form Construction: Weak or improperly constructed forms can lead to leaks and misshapen countertops. Use sturdy materials and secure the forms well to avoid movement during pouring.
Inadequate Reinforcement: Skipping reinforcement or placing it incorrectly can result in a brittle countertop that is prone to cracking. Always incorporate appropriate reinforcement materials and position them correctly within the form.
Improper Mixing: Incorrect water-to-mix ratios can weaken the concrete or make it difficult to work with. Follow the manufacturer’s instructions precisely and mix the concrete thoroughly for a consistent texture.
Insufficient Vibration: Failing to adequately vibrate the concrete can lead to air pockets and voids, compromising the countertop’s strength and appearance. Ensure the concrete is properly vibrated to remove all air bubbles.
Rushing the Curing Process: Impatience during the curing process can result in a weak countertop. Allow the concrete to cure fully, maintaining moisture levels to achieve optimal strength.
Neglecting Sealing: Skipping the sealing step leaves the concrete vulnerable to stains and damage. Always seal the countertop with a high-quality sealer to protect it from everyday wear and tear.
How long does it take to build a concrete countertop in place?
Building a concrete countertop in place typically takes several days to a week, depending on the complexity of the design and the curing time required. The process involves multiple steps, including preparing the workspace, building forms, mixing and pouring the concrete, finishing the surface, and allowing the countertop to cure. While the initial steps may be completed relatively quickly, curing the concrete properly takes at least seven days, with optimal strength achieved after 28 days. Patience and attention to detail are essential for ensuring a high-quality, durable countertop.
What tools and materials do I need to build a concrete countertop?
To build a concrete countertop, you will need a variety of tools and materials. Essential tools include a circular saw, drill, concrete mixer, trowels, a straightedge or screed, a concrete vibrator or rubber mallet, and finishing tools such as a steel trowel and polishing pads. Materials include melamine-coated particleboard or other smooth materials for forms, silicone caulk for sealing edges, rebar or wire mesh for reinforcement, high-quality countertop concrete mix, pigments or dyes if desired, and a food-safe concrete sealer. Having all the necessary tools and materials on hand before starting the project will help ensure a smooth workflow.
Can I customize the color and finish of my concrete countertop?
Yes, concrete countertops can be customized in terms of color and finish to suit your style and complement your home’s decor. You can add pigments or dyes to the concrete mix to achieve a wide range of colors, from natural earth tones to bold, vibrant hues. Additionally, various finishing techniques can be used to create different textures and sheens, from a matte or satin finish to a high-gloss polish. Polishing the concrete with progressively finer grits enhances its appearance and creates a smooth, reflective surface. Experimenting with these options allows you to create a unique, personalized countertop.
How do I maintain and clean a concrete countertop?
Maintaining and cleaning a concrete countertop involves regular care to keep it looking its best. Clean the surface with a mild soap and water solution, avoiding harsh chemicals that can damage the sealer. Wipe up spills promptly to prevent staining, especially with acidic substances like vinegar or lemon juice. Periodically reapply the concrete sealer to maintain its protective properties and prevent moisture and stain penetration. Avoid placing hot pots and pans directly on the countertop to prevent thermal shock and potential cracks. With proper care, a concrete countertop can remain beautiful and functional for many years.
What are the benefits of building a concrete countertop in place?
Building a concrete countertop in place offers several benefits. It allows for a seamless, custom fit tailored to the exact dimensions and layout of your kitchen or bathroom. Concrete countertops are highly durable and resistant to heat, scratches, and stains when properly sealed. They offer a unique, modern aesthetic with the flexibility to customize color, texture, and finish. Additionally, building the countertop in place can be more cost-effective compared to purchasing pre-fabricated options, especially if you are willing to invest time and effort into the project. The result is a high-quality, personalized countertop that enhances the overall value and appeal of your home.
HOW TO MAKE DIY CAST IN PLACE WHITE CONCRETE COUNTERTOPS – Do-It
How to Build a Concrete Countertop
Concrete Countertops FAQ – Fine Homebuilding

Related articles:
- Outdoor Concrete Countertops
- How To Make Concrete Countertops Smooth
- Rustic Concrete Countertops
- Farmhouse Concrete Countertops
- Concrete Countertops Outdoor Kitchen
- How To Stain Concrete Countertops
- DIY Concrete Countertop Mix
- Concrete Countertops Made Easy
- Concrete Countertop Overlay
- Black Concrete Countertops