Cutting kitchen countertop laminate is a task that can significantly update and enhance the aesthetics of a kitchen without the need for a complete remodel. Laminate countertops are popular due to their affordability, durability, and wide range of colors and patterns. Cutting laminate requires precision and the right tools to ensure a clean, professional-looking edge. Whether you’re installing a new countertop or modifying an existing one, understanding the steps and techniques for cutting laminate is essential for a successful project.
The first step in cutting kitchen countertop laminate is to measure the area accurately. Use a tape measure to determine the exact dimensions of the space where the countertop will be installed. Mark these measurements on the laminate sheet, adding a slight overhang to ensure a perfect fit once installed. It’s crucial to measure twice to avoid any mistakes that could result in wasted material or a poorly fitting countertop.
Next, gather the necessary tools for the job. You’ll need a circular saw with a fine-tooth carbide blade, a jigsaw for detailed cuts, a straightedge or a level to guide your cuts, clamps to hold the laminate in place, masking tape, and safety gear such as goggles and ear protection. A router with a flush-trim bit can also be useful for achieving a smooth edge. Having the right tools on hand will make the cutting process smoother and more precise.
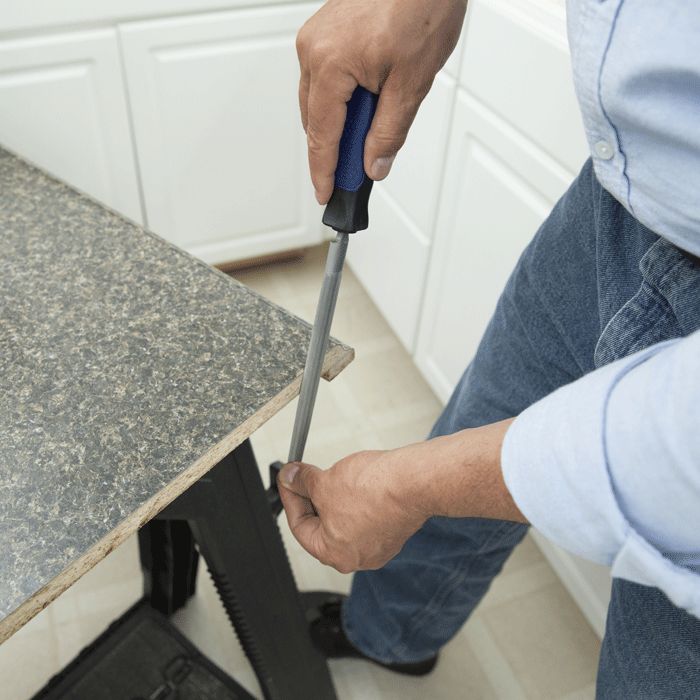
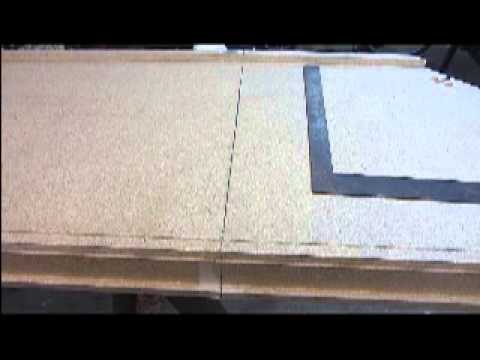
Before cutting, prepare the laminate sheet by securing it to a stable work surface. Use clamps to hold the laminate firmly in place to prevent it from shifting during the cutting process. Applying masking tape along the cutting line can help minimize chipping and splintering of the laminate surface. Draw the cut line clearly on the tape with a marker or pencil to ensure visibility during cutting.

When making straight cuts, a circular saw is the best tool for the job. Set the depth of the saw blade to just slightly deeper than the thickness of the laminate. Align the saw blade with the marked cut line, using a straightedge or level as a guide to ensure a straight cut. Begin cutting slowly and steadily, allowing the saw to do the work. Avoid forcing the saw through the laminate, as this can cause chipping or an uneven edge.
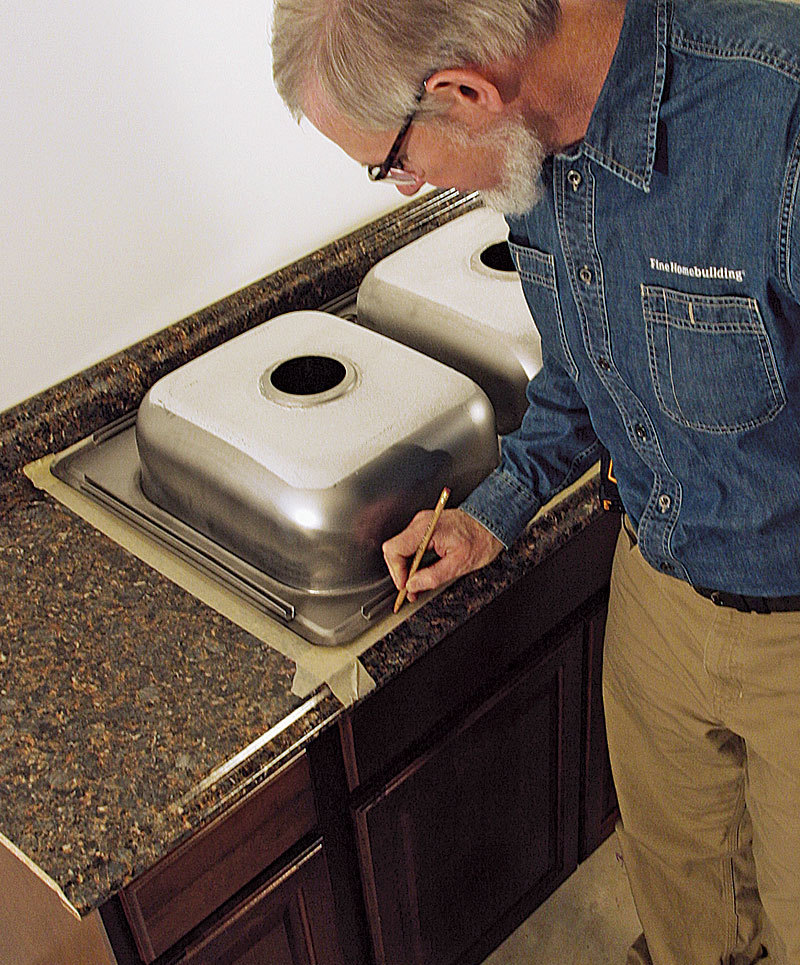
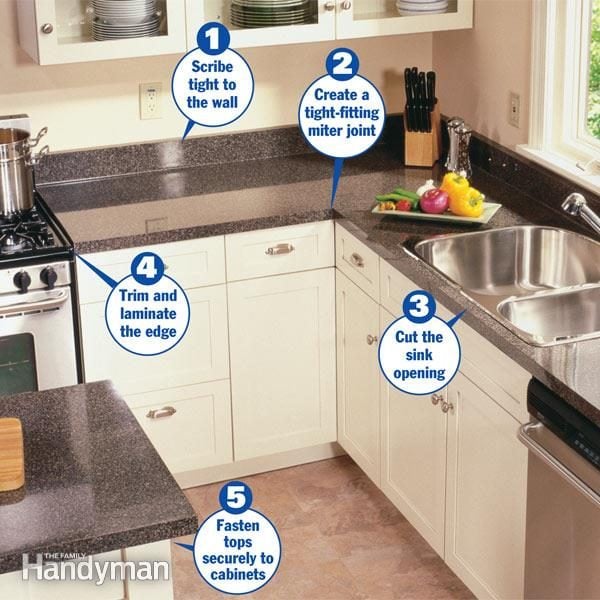
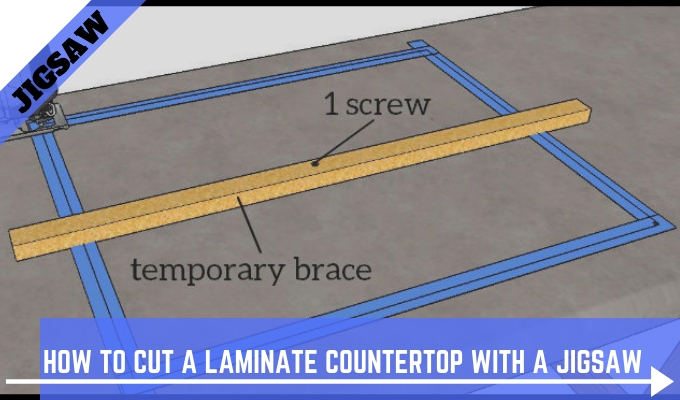
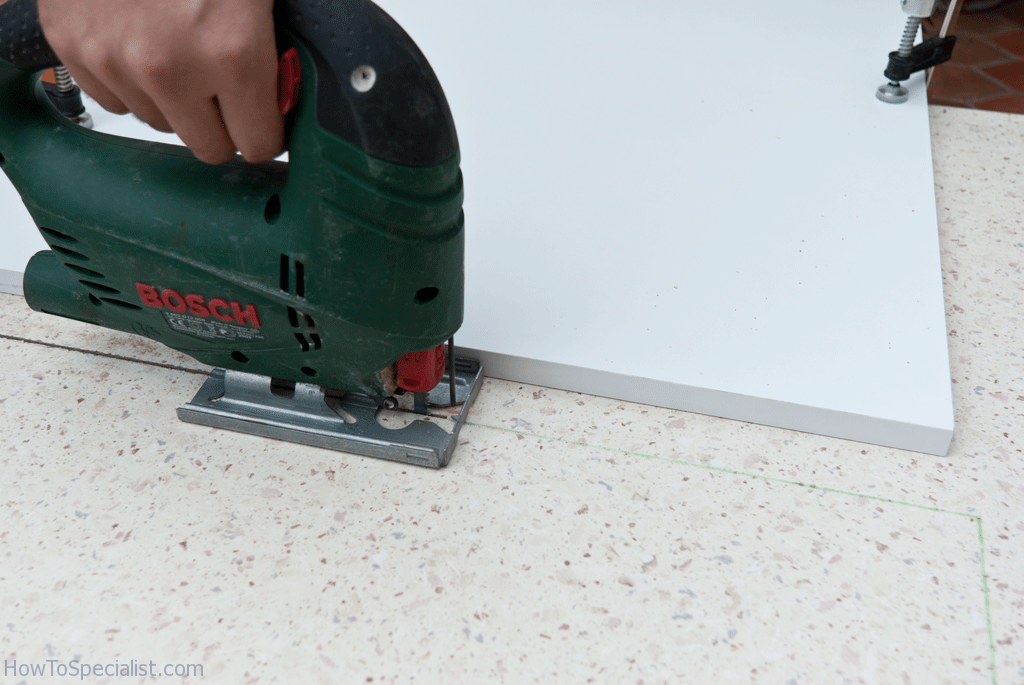
For more intricate cuts, such as those around sinks or appliances, a jigsaw is more appropriate. Fit the jigsaw with a fine-tooth blade designed for cutting laminate. Carefully follow the marked cut line, using a slow and steady motion to prevent the blade from binding or the laminate from chipping. Take your time with these detailed cuts to ensure accuracy and a clean finish.
After making the cuts, it’s important to smooth the edges to prevent any rough or jagged areas. Use a router with a flush-trim bit to clean up the edges, or sand them by hand with fine-grit sandpaper. This step is crucial for achieving a professional look and ensuring that the edges are safe to touch. If using a router, work slowly and carefully to avoid damaging the laminate.
Once the laminate has been cut and the edges smoothed, it’s time to install the countertop. Dry fit the laminate in place to check for any adjustments that may be needed. If everything fits correctly, apply a high-quality adhesive to the underside of the laminate and press it firmly onto the countertop base. Use a roller to ensure even pressure and remove any air bubbles. Allow the adhesive to cure as per the manufacturer’s instructions.
To finish the edges of the laminate countertop, use matching edge banding or trim. This can be applied using adhesive or heat-activated tape, depending on the product. Trim any excess material with a utility knife or router, and smooth the edges with fine-grit sandpaper. Edge banding not only enhances the appearance of the countertop but also provides additional protection against moisture and wear.
Maintaining the cleanliness and sharpness of your cutting tools is essential for achieving the best results. Regularly inspect the blades of your saw and jigsaw, replacing them if they become dull or damaged. Clean the tools after each use to remove any debris or adhesive residue that may affect their performance. Proper tool maintenance ensures clean cuts and prolongs the life of your equipment.
If cutting laminate seems daunting, consider practicing on a scrap piece first. This allows you to become familiar with the tools and techniques without risking damage to your final piece. Practice can help build confidence and improve your cutting skills, leading to better results on your actual project.
Safety is paramount when cutting laminate. Always wear protective goggles to shield your eyes from flying debris and ear protection to guard against loud noise. Use gloves to protect your hands from sharp edges and splinters. Ensure your work area is well-ventilated and free from distractions to maintain focus and reduce the risk of accidents.
Cutting kitchen countertop laminate can be a rewarding DIY project that enhances the look and functionality of your kitchen. With careful planning, the right tools, and attention to detail, you can achieve professional-quality results. Whether you’re installing new countertops or modifying existing ones, understanding the process and taking the necessary precautions will help ensure a successful outcome.
By following these steps and techniques, you can transform your kitchen with custom-fitted laminate countertops that meet your specific needs and preferences. The durability and versatility of laminate make it an excellent choice for busy kitchens, offering a balance of style and practicality. With a bit of effort and patience, you can create a beautiful and functional kitchen space.
Common Mistakes to Avoid
Incorrect Measurements: Failing to measure accurately can result in laminate that doesn’t fit properly. Double-check all measurements and account for any necessary overhangs to ensure a perfect fit.
Using the Wrong Tools: Using tools that are not designed for cutting laminate can cause chipping and uneven cuts. Invest in a fine-tooth carbide blade for your saw and a jigsaw with a fine-tooth blade for detailed cuts.
Rushing the Cutting Process: Cutting too quickly can lead to mistakes and a rough edge. Take your time to ensure smooth, precise cuts.
Ignoring Safety Precautions: Not wearing proper safety gear can lead to injuries. Always wear goggles, ear protection, and gloves, and ensure your work area is safe.
Skipping Edge Finishing: Neglecting to smooth and finish the edges of the laminate can result in a rough, unprofessional appearance. Use a router or sandpaper to achieve a clean edge.
Improper Clamping: Not securing the laminate firmly to the work surface can cause it to shift during cutting, resulting in inaccurate cuts. Use clamps to hold the laminate in place.
Forgetting Adhesive Application: Applying adhesive unevenly can lead to a weak bond. Use a roller to press the laminate firmly onto the base and remove any air bubbles.

How do I prevent chipping when cutting laminate?
To prevent chipping when cutting laminate, use a circular saw with a fine-tooth carbide blade for straight cuts and a jigsaw with a fine-tooth blade for detailed cuts. Apply masking tape along the cut line to help minimize chipping, and cut with the laminate face down to reduce splintering on the visible side. Moving the saw or jigsaw slowly and steadily will also help achieve a cleaner edge. Ensuring your blades are sharp and in good condition is crucial for preventing chips and achieving smooth cuts.
What tools are best for cutting laminate countertops?
The best tools for cutting laminate countertops include a circular saw with a fine-tooth carbide blade for straight cuts and a jigsaw with a fine-tooth blade for more intricate cuts. A straightedge or level can help guide your cuts for precision. Clamps are essential for securing the laminate to prevent movement, and a router with a flush-trim bit can smooth the edges for a professional finish. Additionally, using masking tape along the cut line and safety gear such as goggles, ear protection, and gloves is important for safety and accuracy.
How do I make sure my measurements are accurate?
Accurate measurements are critical for a successful laminate countertop installation. Use a reliable tape measure to measure the dimensions of the space where the countertop will be installed. Double-check your measurements to ensure accuracy, and mark the cut lines clearly on the laminate sheet. It’s a good practice to add a slight overhang to account for any adjustments needed during installation. Ensuring the underlying cabinets or surfaces are level and square before measuring can also help achieve precise measurements.
Can I use a regular saw blade to cut laminate?
Using a regular saw blade to cut laminate is not recommended, as it can cause chipping and splintering. A fine-tooth carbide blade specifically designed for cutting laminate or fine wood is ideal for achieving clean, smooth cuts. These blades have more teeth per inch, which helps to minimize chipping and produce a better edge. If you’re using a jigsaw, ensure it is fitted with a fine-tooth blade designed for laminate to achieve the best results.
How do I smooth the edges after cutting laminate?
Smoothing the edges after cutting laminate is essential for a professional finish. Use a router with a flush-trim bit to clean up and smooth the edges. If you don’t have a router, fine-grit sandpaper can be used to sand the edges by hand, working carefully to avoid damaging the laminate surface. Sanding blocks or sponges can also be effective for this purpose. Take your time to ensure the edges are smooth and even, which will improve the appearance and safety of the countertop.
Cutting a Laminate Countertop – DIY
How to Install Laminate Countertops

How to cut laminate countertop HowToSpecialist – How to Build
Related articles: