DIY bathroom countertop replacement can be a rewarding project that not only updates the look of your bathroom but also adds value to your home. Whether you’re looking to replace an old, worn-out countertop or simply want to give your bathroom a fresh new look, tackling this project yourself can save you money and provide a sense of accomplishment. In this guide, we’ll explore the steps involved in DIY bathroom countertop replacement, along with tips, tricks, and common mistakes to avoid.
Assessing the Current Countertop: Before starting your DIY bathroom countertop replacement project, assess the condition of the current countertop. Determine whether it needs to be completely replaced or if it can be refinished or resurfaced. This will help you decide whether to remove the existing countertop entirely or work with what you have.
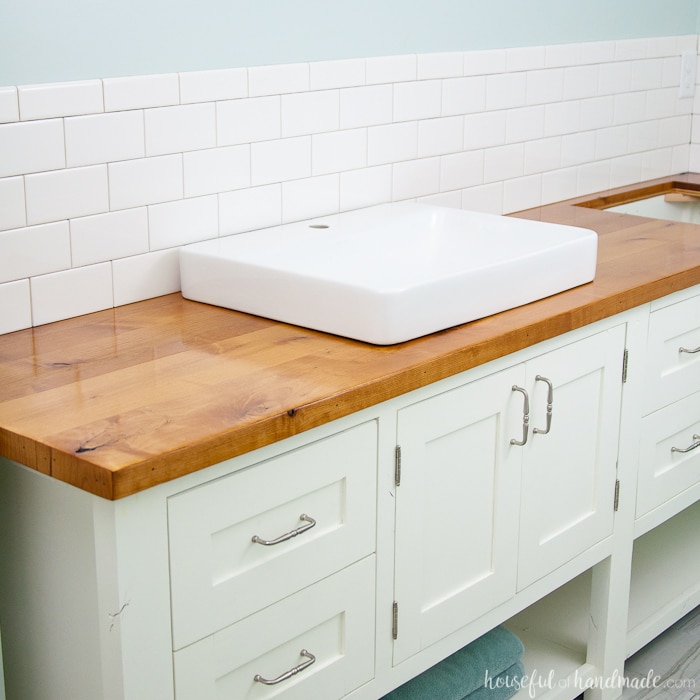
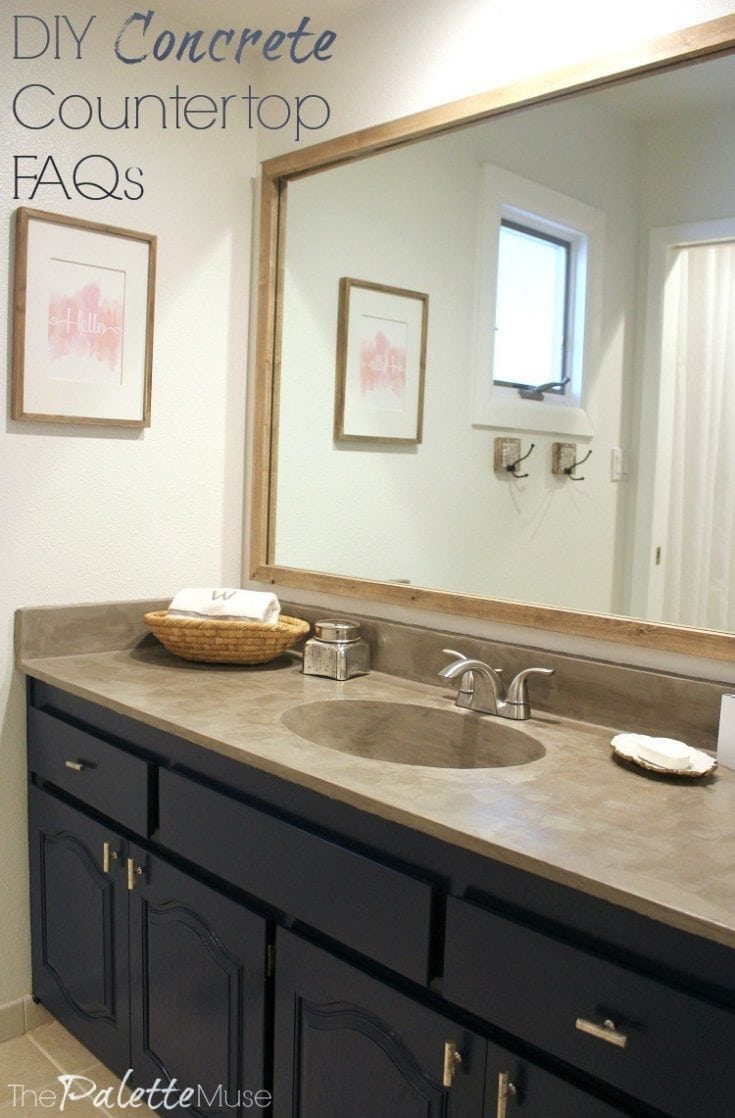
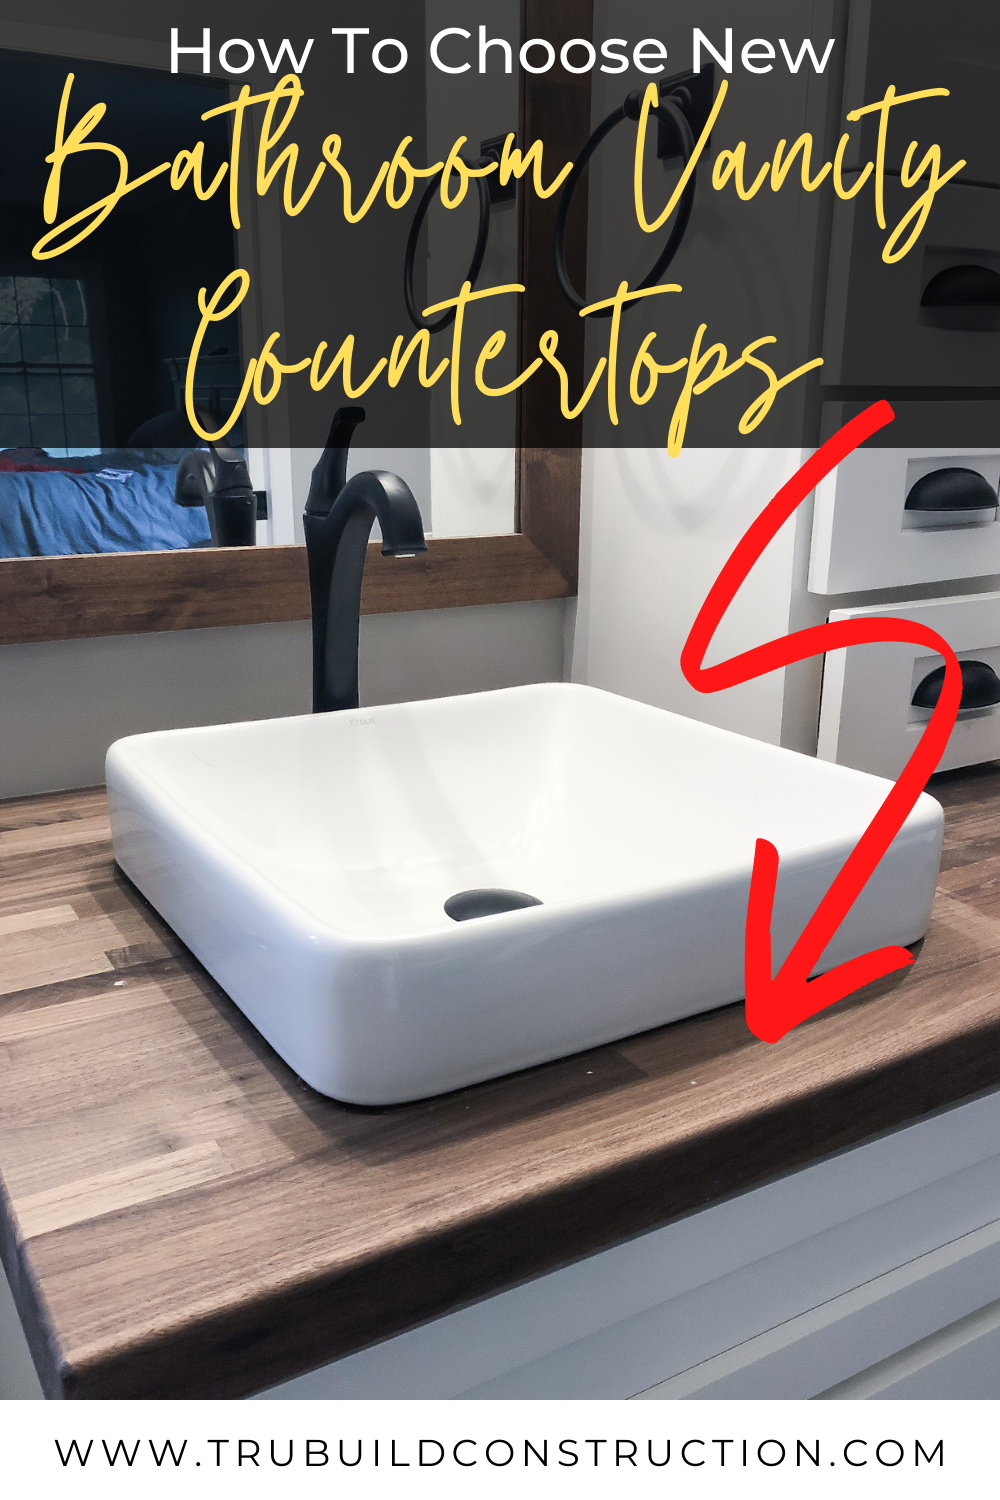
Choosing the Right Materials: Selecting the right materials for your new bathroom countertop is crucial. Consider factors such as durability, style, and budget when choosing between options like laminate, quartz, granite, marble, or butcher block. Keep in mind that some materials may require more maintenance than others, so choose accordingly based on your needs and preferences.
Measuring and Planning: Accurate measurements are essential for a successful DIY bathroom countertop replacement. Measure the dimensions of your current countertop and make note of any sinks, faucets, or other fixtures that will need to be accommodated in the new countertop. Plan the layout accordingly to ensure a precise fit.
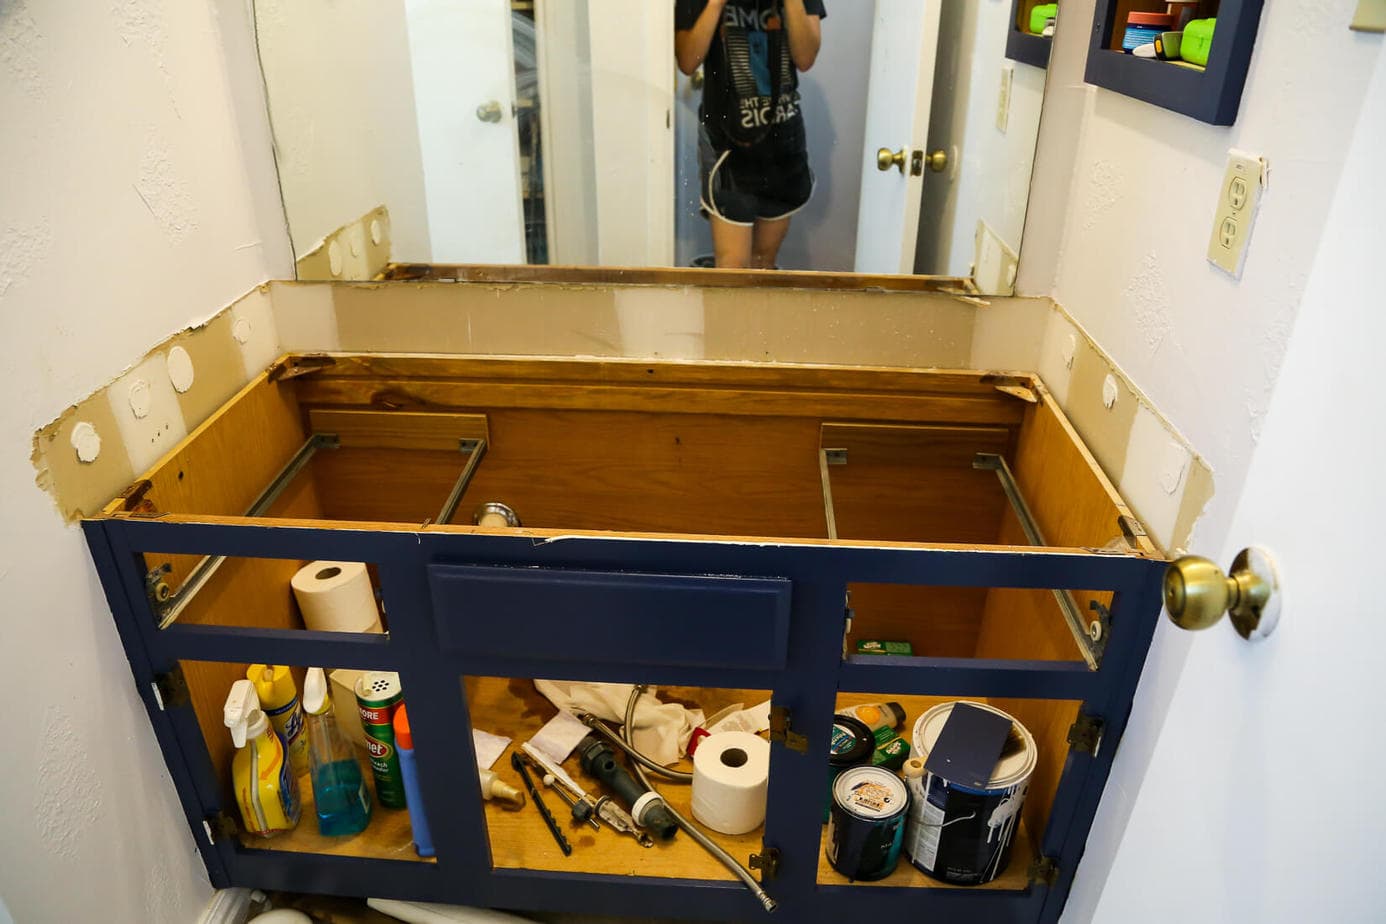
Removing the Old Countertop: Once you’ve selected your new countertop material and made the necessary measurements, it’s time to remove the old countertop. Turn off the water supply to the sink, disconnect the plumbing, and carefully remove the old countertop using a utility knife, pry bar, and other necessary tools. Be mindful of any electrical wiring or plumbing hidden beneath the countertop.
Preparing the Substrate: After removing the old countertop, inspect the substrate (typically plywood or particleboard) to ensure it’s in good condition. Repair any damage, reinforce weak areas, and clean the surface thoroughly to remove any debris or adhesive residue left behind from the old countertop.
Installing the New Countertop: With the substrate prepared, it’s time to install the new countertop. Apply adhesive or silicone caulk to the top of the cabinet base, carefully position the new countertop in place, and secure it to the substrate using screws or brackets. Make sure the countertop is level and properly aligned with the sink and other fixtures.
Cutting and Sealing: If necessary, cut holes in the countertop for the sink, faucets, and other fixtures using a jigsaw or hole saw. Once the countertop is in place, seal the seams and edges with silicone caulk to prevent water damage and ensure a seamless finish.
Reconnecting Plumbing: With the new countertop installed, reconnect the plumbing fixtures, including the sink, faucet, and drain assembly. Turn on the water supply and check for any leaks or issues before completing the installation.
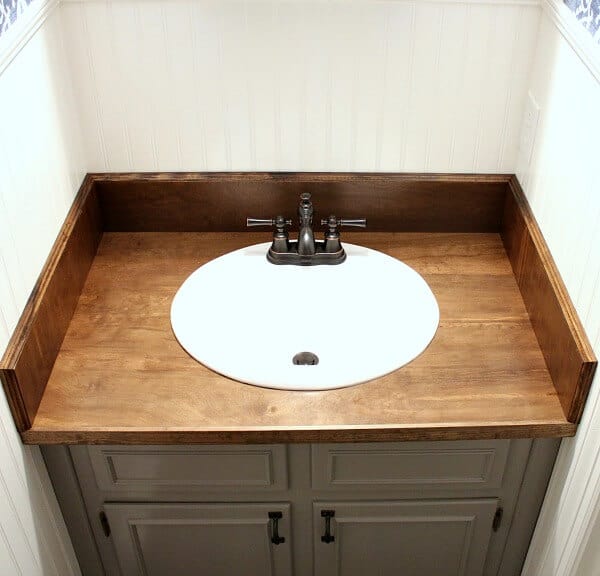
Finishing Touches: Once the plumbing is reconnected and everything is in working order, add any finishing touches to complete the DIY bathroom countertop replacement project. Install backsplashes, trim, or decorative elements as desired to enhance the overall look and functionality of the countertop.
Choosing Inappropriate Materials: One common mistake to avoid when undertaking a DIY bathroom countertop replacement is choosing inappropriate materials for the project. Consider factors such as moisture resistance, durability, and maintenance requirements when selecting countertop materials to ensure they can withstand the conditions of a bathroom environment.
Ignoring Plumbing and Electrical Considerations: Another mistake is ignoring plumbing and electrical considerations when removing the old countertop and installing the new one. Make sure to turn off the water supply, disconnect plumbing fixtures, and be mindful of any electrical wiring to avoid accidents or damage during the installation process.
Not Taking Accurate Measurements: Accurate measurements are crucial for a successful DIY bathroom countertop replacement. Failing to measure correctly can result in ill-fitting countertops, gaps, or other issues that affect the overall appearance and functionality of the countertop.
Poor Substrate Preparation: Neglecting to properly prepare the substrate before installing the new countertop can lead to problems down the line. Inspect the substrate for damage, reinforce weak areas, and clean the surface thoroughly to ensure a secure and stable foundation for the new countertop.
Improper Installation Techniques: Improper installation techniques can compromise the integrity of the new countertop and lead to issues like uneven surfaces, gaps, or instability. Follow manufacturer instructions carefully, use appropriate adhesives and fasteners, and ensure the countertop is properly aligned and leveled during installation.
Skipping Sealing and Finishing Steps: Skipping sealing and finishing steps can leave the countertop vulnerable to water damage, staining, and other issues. Seal seams and edges with silicone caulk to prevent moisture penetration, and add any finishing touches like backsplashes or trim to enhance the overall appearance and functionality of the countertop.
How long does it take to replace a bathroom countertop?
The time it takes to replace a bathroom countertop depends on various factors such as the size of the countertop, the complexity of the installation, and the materials being used. On average, a DIY bathroom countertop replacement project can take anywhere from a few hours to a couple of days to complete.
Can I install a new countertop over the existing one?
While it’s possible to install a new countertop over the existing one in some cases, it’s generally not recommended. Installing a new countertop over an old one can lead to issues with height discrepancies, stability, and adhesion. It’s best to remove the old countertop before installing the new one for a more secure and professional-looking result.
What tools and materials do I need for a DIY bathroom countertop replacement?
The tools and materials needed for a DIY bathroom countertop replacement project may vary depending on the specific countertop material and installation method. However, common tools and materials include a utility knife, pry bar, screwdriver, drill, jigsaw or hole saw, adhesive or silicone caulk, screws or brackets, and the new countertop material.
How much does it cost to replace a bathroom countertop?
The cost of replacing a bathroom countertop varies depending on factors such as the size of the countertop, the materials being used, and whether you’re hiring professionals or doing the work yourself. On average, DIY bathroom countertop replacement can cost anywhere from a few hundred to a few thousand dollars, depending on the materials chosen and any additional expenses such as plumbing or electrical work.
Can I refinish or resurface my existing bathroom countertop instead of replacing it?
Yes, it’s possible to refinish or resurface an existing bathroom countertop instead of replacing it entirely. This can be a more cost-effective option if the countertop is in relatively good condition but needs a refresh. There are various DIY refinishing kits available on the market that allow you to update the look of your countertop without the need for extensive demolition or installation.
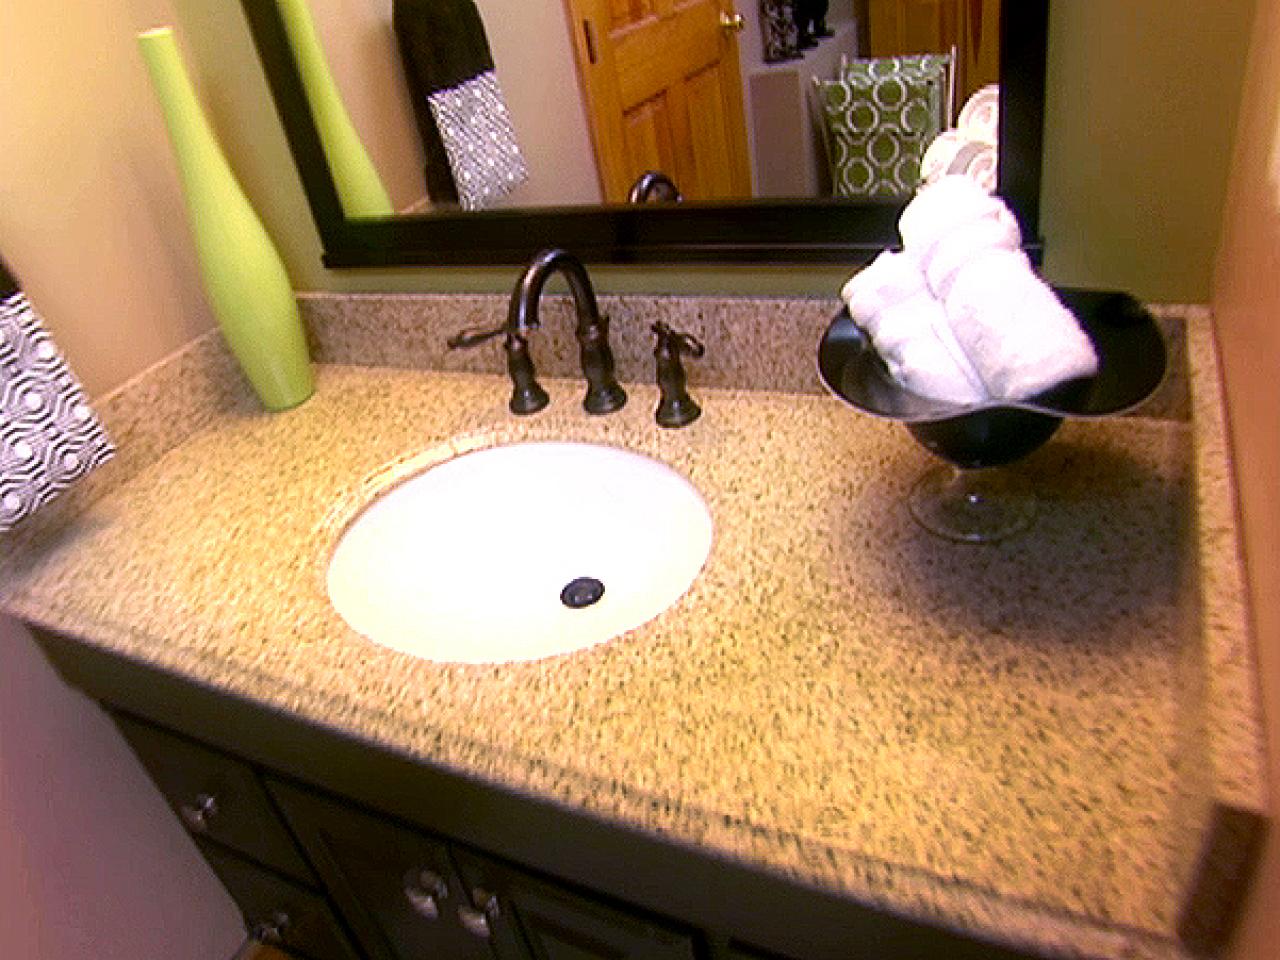
How to Refinish Bathroom Vanity Top with DIY Epoxy Resin

Replacing a Vanity Top how-tos DIY
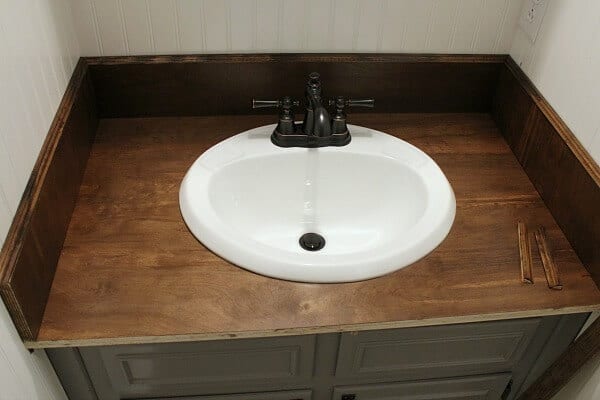
DIY Wood Bathroom Countertop: An Easy Way to Change your Vanity in
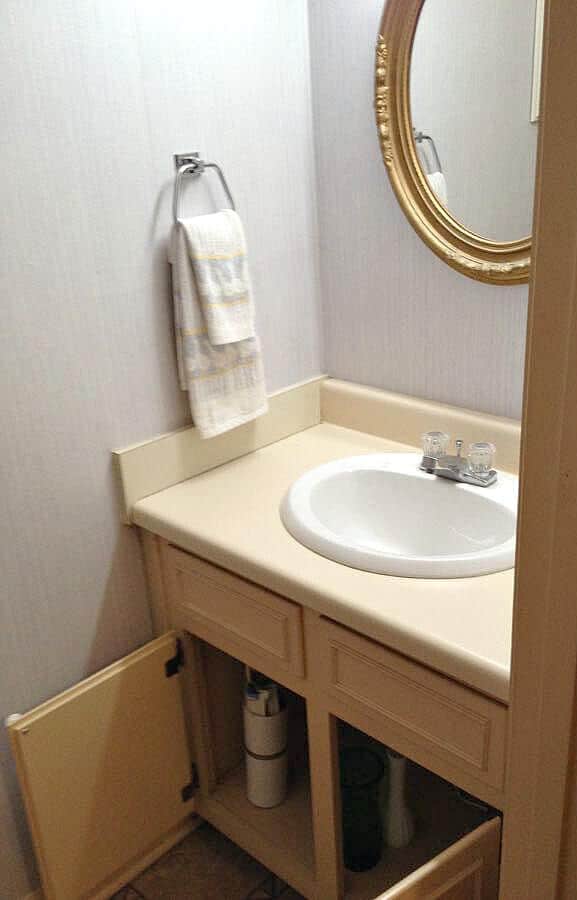
How to Replace a Vanity Top (and save $$$) Craving Some Creativity

How to Replace A Bathroom Countertop u2013 Love u0026 Renovations
Related articles: