Refinishing your bathroom countertop is an effective way to breathe new life into your space without the expense and hassle of a full replacement. With the right materials, tools, and techniques, you can transform your old, worn-out countertop into a stylish and durable surface. This comprehensive guide covers everything you need to know about DIY bathroom countertop refinishing, from preparation and materials selection to finishing touches and maintenance.
Preparing for the Refinishing Project
Before embarking on a DIY bathroom countertop refinishing project, proper preparation is essential. This stage sets the foundation for a successful transformation and helps ensure a durable and professional-looking result.
Assessing the Countertop: Begin by thoroughly inspecting your existing countertop. Identify any cracks, chips, or stains that need to be addressed. Understanding the current condition will help you decide on the best refinishing approach and materials.
Gathering Materials and Tools: Collect all necessary materials and tools before starting the project. Common materials include a countertop refinishing kit, sandpaper, masking tape, plastic sheeting, and cleaning supplies. Tools such as a sander, paintbrushes, rollers, and a utility knife will also be needed.

Cleaning the Surface: A clean surface is crucial for proper adhesion of the refinishing materials. Remove all items from the countertop and clean it thoroughly with a degreaser or a mixture of water and mild detergent. Rinse well and allow it to dry completely.
Sanding the Countertop: Sanding is an essential step that helps create a smooth and even surface for the new finish. Use medium-grit sandpaper to sand the entire countertop, paying special attention to any rough or uneven areas. Wipe away dust with a damp cloth after sanding.
Masking and Protecting Surrounding Areas: Protect the areas around the countertop, including sinks, faucets, and walls, by using masking tape and plastic sheeting. This step prevents accidental splatters and keeps the refinishing materials confined to the countertop surface.
Ventilation and Safety Precautions: Ensure the bathroom is well-ventilated by opening windows or using fans. Wear safety gear such as gloves, goggles, and a mask to protect yourself from dust and fumes. Proper ventilation and safety measures are crucial for a safe and comfortable working environment.

Choosing the Right Refinishing Materials
Selecting the appropriate refinishing materials is critical to achieving a long-lasting and attractive finish. Different products offer various benefits, and understanding their properties will help you make an informed decision.
- Epoxy Resin: Epoxy resin is a popular choice for countertop refinishing due to its durability and glossy finish. It creates a hard, water-resistant surface that can withstand daily wear and tear. Epoxy resin is available in clear or colored options, allowing for a range of design possibilities.
- Acrylic Enamel: Acrylic enamel is another excellent option for refinishing countertops. It provides a smooth, durable finish and is available in various colors. Acrylic enamel is less prone to yellowing over time compared to other finishes, making it ideal for bathrooms.
- Polyurethane: Polyurethane is known for its toughness and resistance to moisture and chemicals. It can be used as a topcoat over other finishes to enhance durability and add a glossy sheen. Polyurethane is available in water-based and oil-based formulations.
- Countertop Refinishing Kits: These kits typically include everything needed for a DIY project, including primer, base coat, decorative chips, and topcoat. They are designed to be user-friendly and provide professional-looking results. Kits are available in a variety of colors and styles, including granite and marble effects.
- Concrete Overlay: For a modern and industrial look, consider using a concrete overlay. This material is applied in thin layers and can be textured or smoothed to create different effects. Concrete overlays are durable and can be tinted to achieve various colors.
- Natural Stone Paints: These paints mimic the appearance of natural stone such as granite or marble. They are applied in layers to create a realistic stone effect. Natural stone paints are an affordable way to achieve a high-end look without the expense of real stone.
Step-by-Step Refinishing Process
Refinishing your bathroom countertop involves several key steps. Following these steps carefully will help ensure a successful and professional-looking result.
Step 1: Clean and Sand the Surface: Begin by cleaning the countertop thoroughly to remove any dirt, grease, or residue. Sand the surface with medium-grit sandpaper to create a smooth and even base for the new finish.
Step 2: Apply Primer: Apply a primer designed for use on countertops. The primer helps the new finish adhere better and improves durability. Use a brush or roller to apply an even coat, and allow it to dry according to the manufacturer’s instructions.
Step 3: Apply Base Coat: Once the primer is dry, apply the base coat. This layer provides the primary color and texture for the countertop. Use a brush or roller to apply the base coat evenly, working in small sections to ensure consistent coverage.
Step 4: Add Decorative Elements: If you are using a refinishing kit with decorative chips or other elements, apply them while the base coat is still wet. Sprinkle the chips evenly over the surface, pressing them down gently to ensure they adhere.
Step 5: Apply Topcoat: After the base coat and decorative elements have dried, apply a topcoat to seal and protect the finish. The topcoat adds durability and shine, making the countertop more resistant to moisture and wear. Apply the topcoat evenly with a brush or roller.
Step 6: Allow to Cure: Allow the countertop to cure fully according to the manufacturer’s instructions. This process can take several days, during which the countertop should be kept dry and free from heavy use. Once cured, the countertop is ready for use.
Creative Design Ideas for Bathroom Countertops
Refinishing your bathroom countertop opens up a world of design possibilities. Here are some creative ideas to inspire your project.
Faux Marble Finish: Create the luxurious look of marble without the high cost by using a faux marble painting technique. This involves applying a base coat of white or light-colored paint, then adding veins of gray or black with a small brush. Blend the veins with a feather or sponge for a realistic effect.
Bold Colors: Add a pop of color to your bathroom by choosing a bold, vibrant hue for your countertop. Bright colors like teal, coral, or mustard can create a striking focal point and breathe new life into your space.
Metallic Accents: Incorporate metallic paints or finishes for a touch of glamour and sophistication. Gold, silver, or copper accents can be added to the base coat or applied as a top layer for a reflective and eye-catching finish.
Patterned Stencils: Use stencils to create intricate patterns on your countertop. Geometric designs, floral motifs, or abstract patterns can add a unique and personalized touch. Apply the base coat first, then use the stencil to add the pattern with a contrasting color.
Concrete Look: Achieve an industrial and modern look with a concrete overlay. This technique involves applying a thin layer of concrete over the existing countertop and smoothing it out for a sleek finish. Concrete can be left in its natural gray color or tinted to achieve different shades.
Natural Stone Effect: Use natural stone paints to mimic the appearance of granite, quartz, or other stones. These paints are applied in layers to create depth and texture, resulting in a realistic stone look. This technique is perfect for achieving a high-end finish on a budget.

Maintaining Your Refinished Countertop
Proper maintenance is key to preserving the beauty and durability of your refinished bathroom countertop. Here are some tips for keeping your countertop in top condition.
Regular Cleaning: Clean the countertop regularly with a mild soap and water solution. Avoid using abrasive cleaners or scrubbers that can damage the finish. Wipe up spills promptly to prevent staining.
Avoid Harsh Chemicals: Harsh chemicals, such as bleach or ammonia, can damage the refinished surface. Use gentle, non-abrasive cleaners and avoid exposing the countertop to harsh substances.
Use Trivets and Cutting Boards: Protect the countertop from heat and scratches by using trivets for hot items and cutting boards for chopping. Avoid placing hot tools or heavy objects directly on the countertop.
Seal the Surface: Depending on the refinishing material used, the countertop may need to be resealed periodically. Follow the manufacturer’s recommendations for sealing to maintain the protective layer and prevent damage.
Address Damage Promptly: If the countertop becomes scratched or damaged, address the issue promptly to prevent further deterioration. Small scratches can often be repaired with touch-up kits, while larger areas may require refinishing.
Avoid Excessive Moisture: While refinished countertops are designed to be water-resistant, excessive moisture can still cause damage. Avoid leaving standing water on the surface and dry the countertop thoroughly after cleaning.

Common Mistakes to Avoid in Bathroom Countertop Refinishing
Avoiding common mistakes is crucial to ensuring a successful refinishing project. Here are some pitfalls to watch out for.
Insufficient Preparation: Skipping or rushing through the preparation steps can result in poor adhesion and an uneven finish. Take the time to thoroughly clean, sand, and mask the countertop before applying any refinishing materials.
Using the Wrong Materials: Choosing materials that are not designed for countertop refinishing can lead to disappointing results. Select products specifically formulated for use on countertops to ensure durability and a professional-looking finish.
Poor Ventilation: Failing to provide adequate ventilation can expose you to harmful fumes and prolong drying times. Ensure the bathroom is well-ventilated by opening windows or using fans.
Inconsistent Application: Applying the refinishing materials unevenly can result in streaks, bubbles, or an uneven texture. Work in small sections and use consistent strokes to achieve a smooth and uniform finish.
Skipping the Primer: The primer is essential for promoting adhesion and durability. Skipping this step can result in peeling or chipping of the new finish. Always apply a primer before the base coat.
Ignoring Curing Times: Rushing the curing process can compromise the integrity of the finish. Allow the countertop to cure fully according to the manufacturer’s instructions before using it.
 What materials are best for refinishing a bathroom countertop?
Several materials are suitable for refinishing a bathroom countertop, including epoxy resin, acrylic enamel, and polyurethane. Epoxy resin is highly durable and water-resistant, making it ideal for bathrooms. Acrylic enamel provides a smooth and long-lasting finish, while polyurethane offers additional protection and a glossy sheen. Countertop refinishing kits, which include all necessary materials, are also a popular choice for DIY projects.
How long does the refinishing process take?
The refinishing process typically takes several days to complete. Preparation, including cleaning, sanding, and masking, can take a few hours. Applying the primer, base coat, decorative elements, and topcoat usually requires several hours of work, with drying times in between each step. The curing process, during which the countertop hardens and reaches its full durability, can take several days. It is essential to follow the manufacturer’s instructions for drying and curing times to ensure a successful result.
Can I refinish a laminate countertop?
Yes, laminate countertops can be successfully refinished using the appropriate materials and techniques. Sanding the laminate surface is crucial to create a rough texture for better adhesion. Applying a high-quality primer specifically designed for laminate surfaces is also important. Once the primer is dry, you can apply the chosen refinishing material, such as epoxy resin or acrylic enamel, to achieve a durable and attractive finish.
How do I maintain my refinished bathroom countertop?
Maintaining a refinished bathroom countertop involves regular cleaning with mild soap and water, avoiding abrasive cleaners and scrubbers, and wiping up spills promptly. Using trivets for hot items and cutting boards for chopping helps protect the surface from heat and scratches. Depending on the material used, periodic resealing may be necessary to maintain the protective layer. Avoid excessive moisture and dry the countertop thoroughly after cleaning to prevent water damage.
Is refinishing a bathroom countertop a cost-effective option?
Refinishing a bathroom countertop is a cost-effective alternative to replacing it entirely. The cost of refinishing materials is significantly lower than purchasing and installing a new countertop. Additionally, refinishing allows you to update the look of your bathroom without the expense and disruption of a full renovation. By refinishing your countertop, you can achieve a fresh and stylish appearance while extending the lifespan of the existing surface.

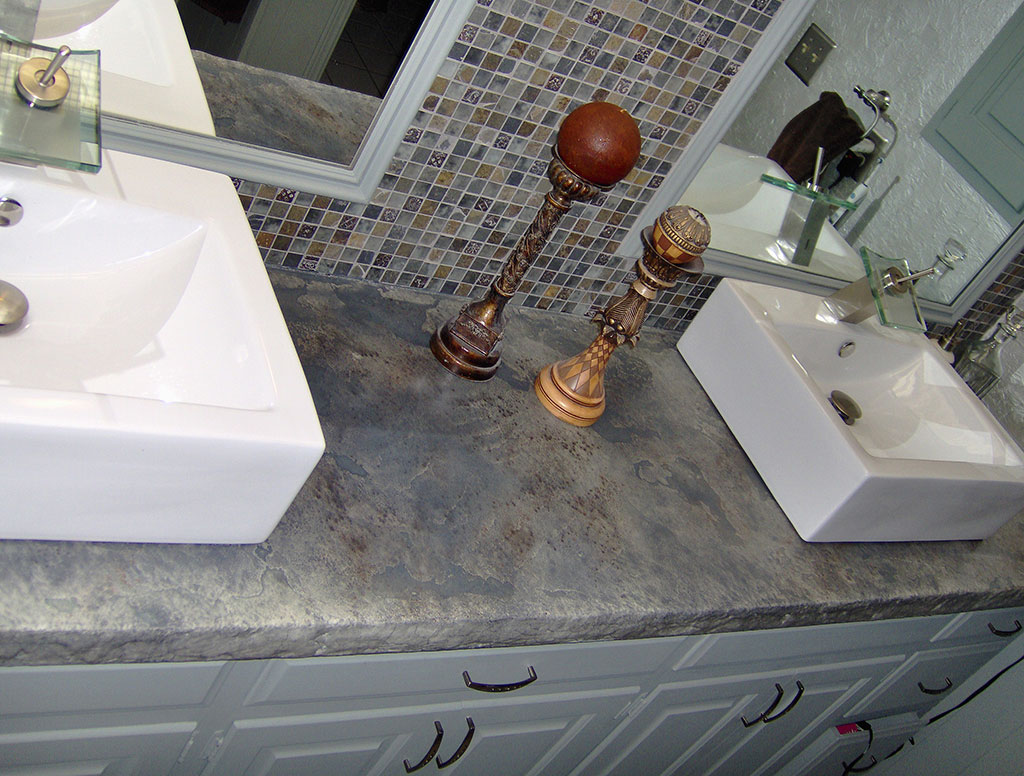
Moon Decorative Concrete DIY Concrete Countertop Resurfacing
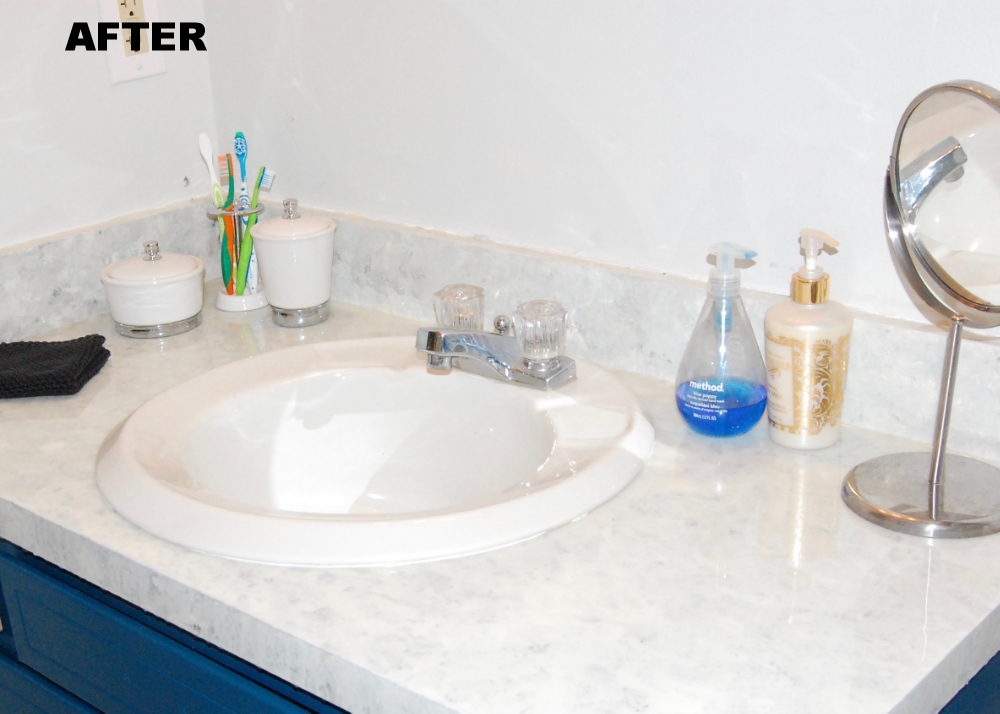
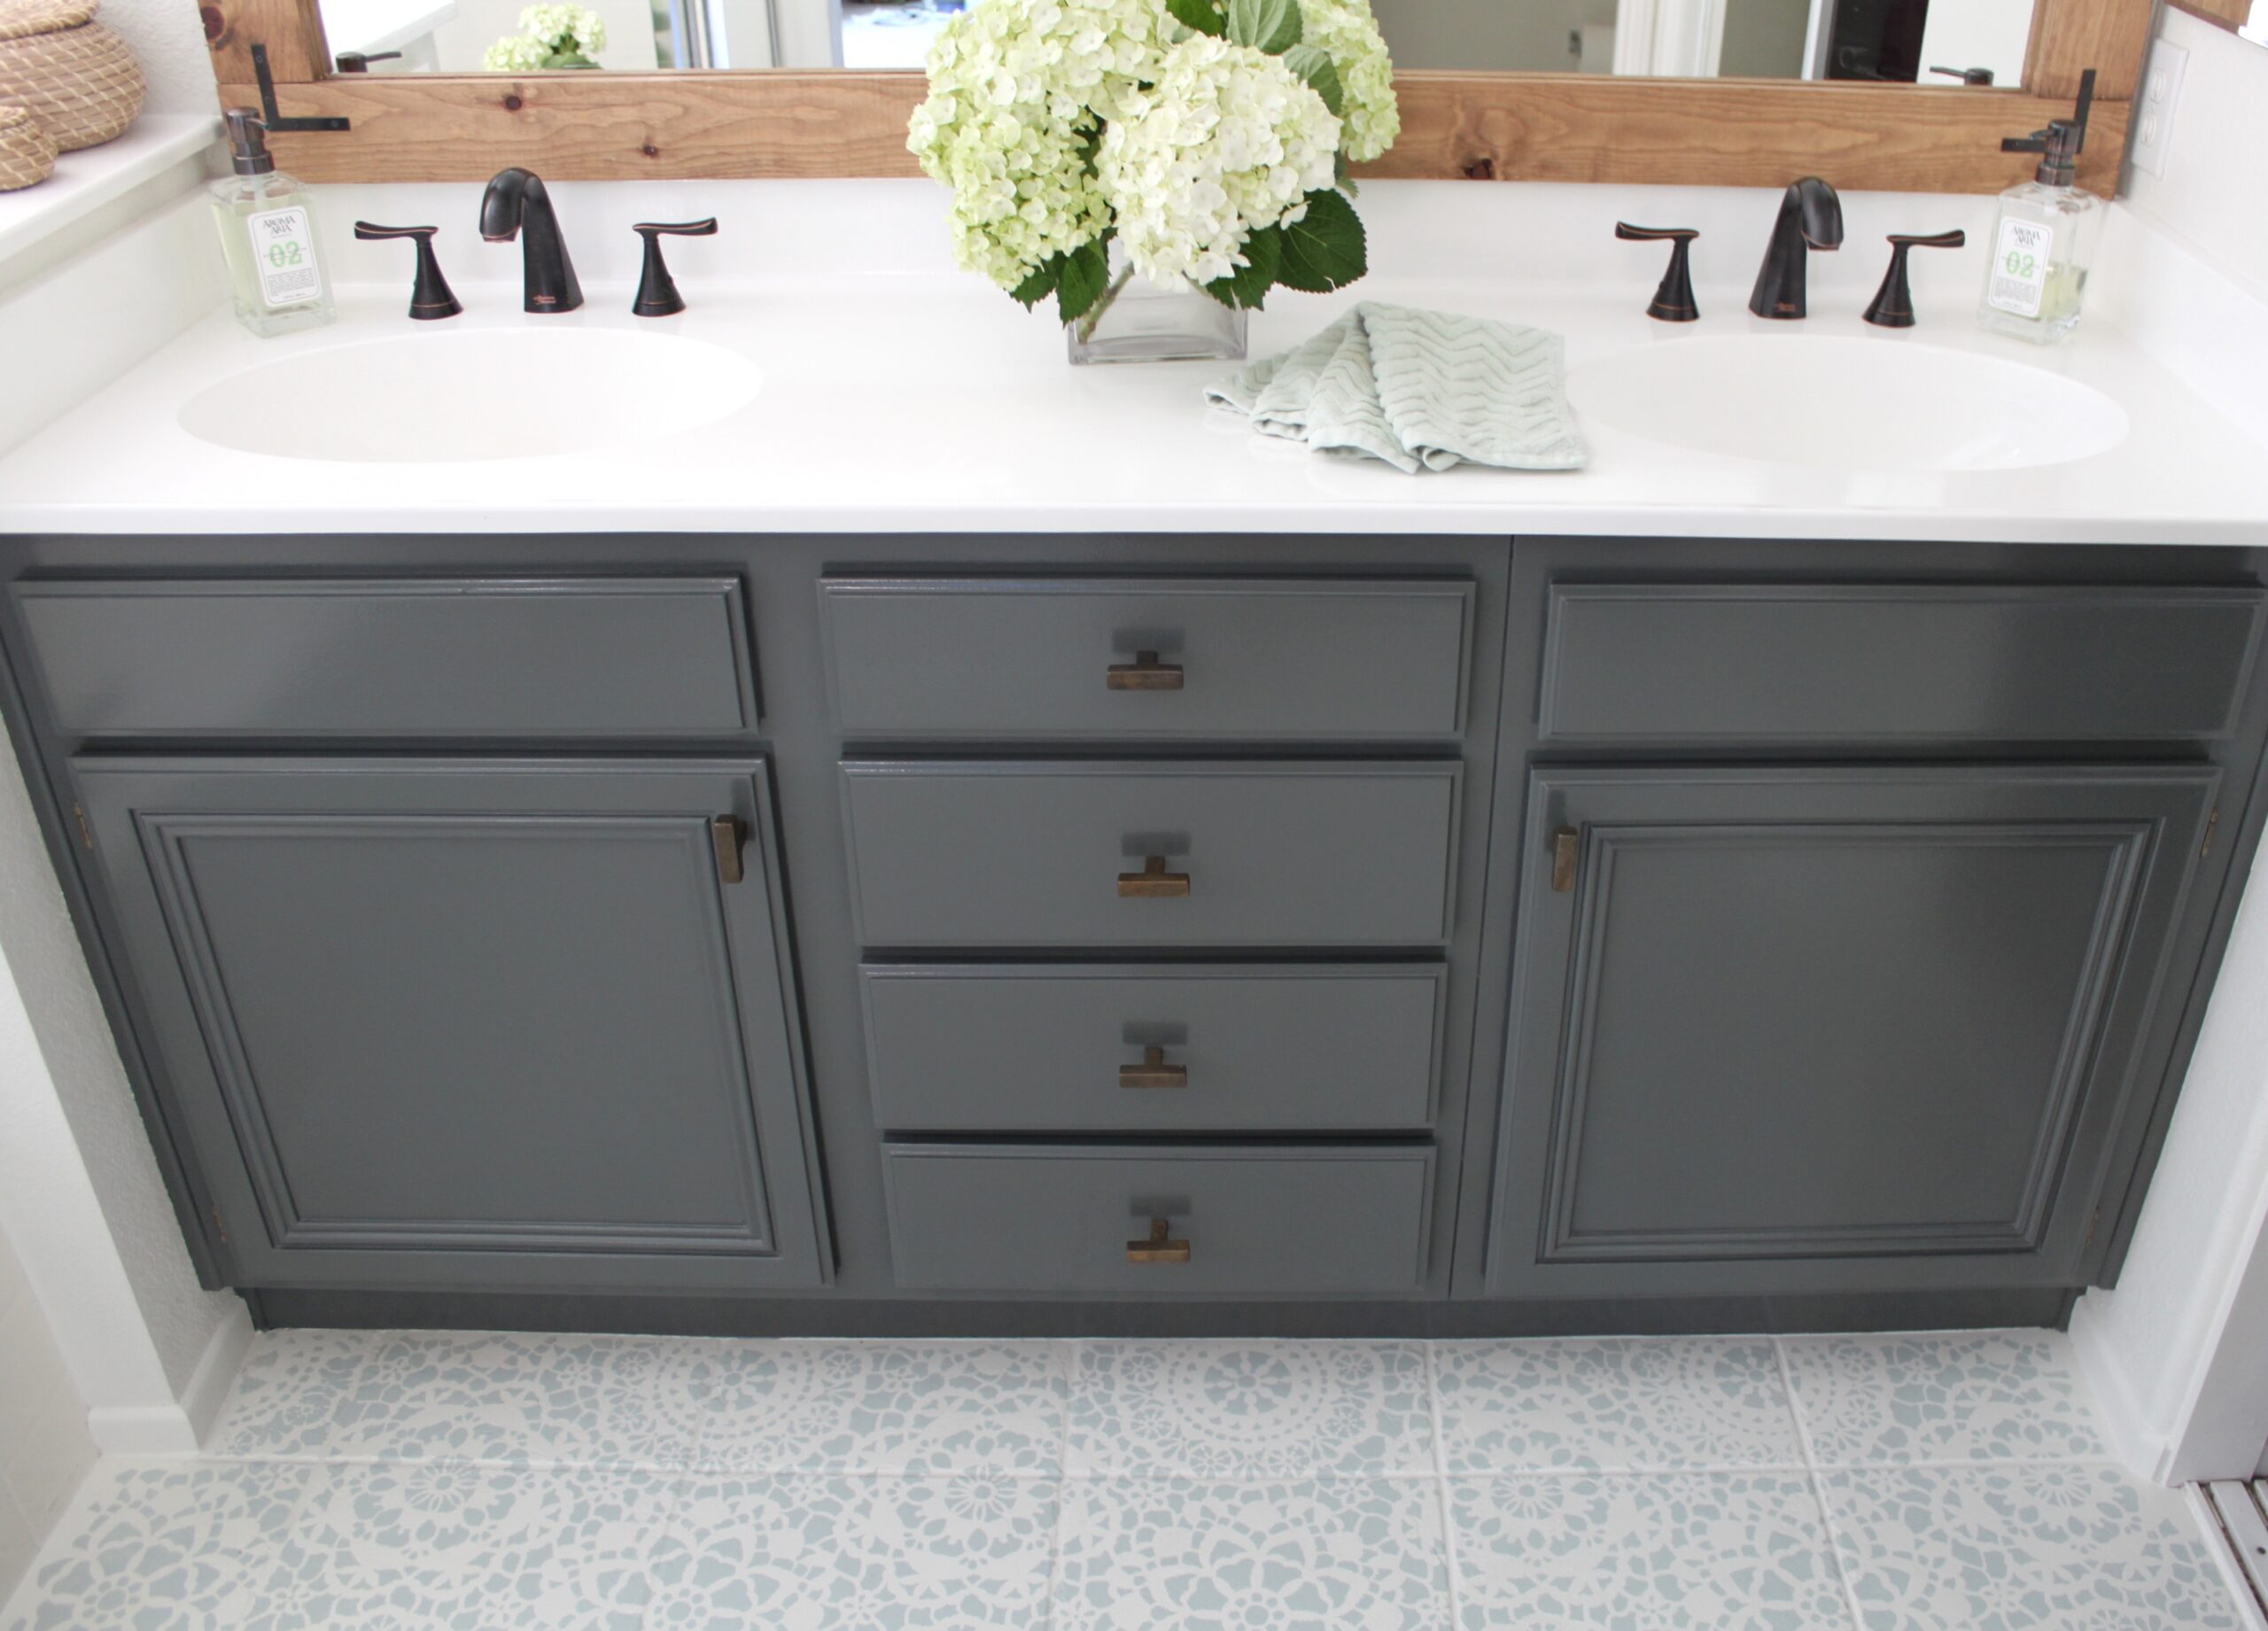
Bathroom Countertop Refinishing – A budget friendly bathroom update

Related articles: