When it comes to giving your bathroom a fresh and updated look, one of the easiest and most effective changes you can make is upgrading the countertop. The countertop is a prominent feature, and its style, color, and texture can completely transform the feel of your bathroom. Thankfully, many DIY bathroom countertop ideas don’t require a professional, allowing you to unleash your creativity while also saving money. From simple painting techniques to more complex material swaps, there are countless ways to elevate your space. Choosing the right materials is essential—some might want to stick to classic stone or granite, while others may prefer modern concrete or quirky reclaimed wood. What matters most is finding something that matches your style, budget, and skill level.
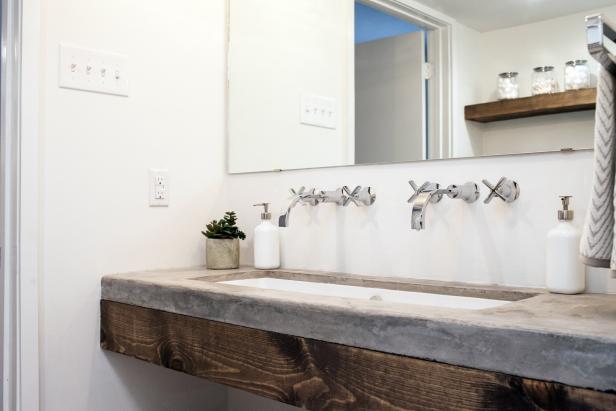
One of the most popular DIY options is using concrete. A concrete countertop can give a bathroom an industrial yet chic look. The process involves making a mold, pouring in a concrete mixture, and then letting it cure. You can also add dyes and stains to the concrete mix for a unique color or embed small objects like pebbles and shells for a personalized touch. While concrete might seem intimidating at first, it’s surprisingly manageable if you have patience and pay close attention to details. Sealing is the final and most important step for concrete, as it ensures durability and prevents moisture damage.
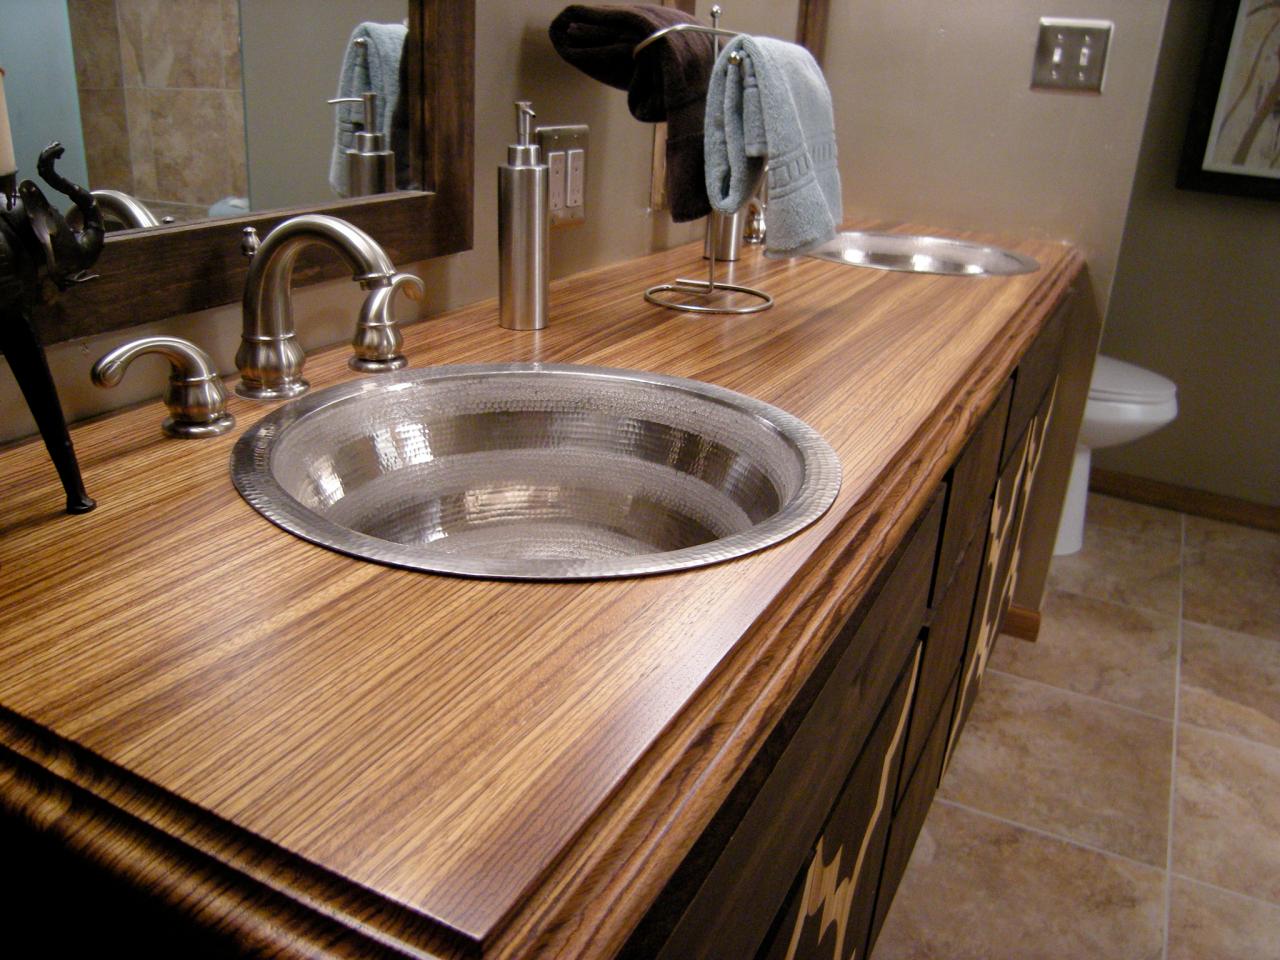
For a softer and more traditional look, consider using wood. A DIY wooden countertop brings warmth and elegance to a bathroom, and options like butcher block are particularly appealing for a cozy, rustic vibe. If you’re up for it, you can make your countertop from scratch using quality hardwood. This involves cutting, sanding, and treating the wood with a waterproof sealer. Alternatively, you can repurpose an old piece of furniture like a table or dresser top. When working with wood in a bathroom, it’s crucial to choose the right sealants to protect it from moisture and humidity, ensuring that it won’t warp or crack over time.
If you’re looking for a colorful and low-cost option, try using ceramic or glass tiles. Tiled countertops have been around for decades and offer endless design possibilities. Choose bright, bold tiles for a playful look, or go for neutral tones for something more understated. You can even create a mosaic using broken or mismatched tiles, which is perfect for adding character without spending a fortune. The tiling process involves measuring, cutting, and grouting, which requires some precision but is achievable with patience. For those wanting a modern twist, opt for large-format tiles with minimal grout lines to reduce maintenance and cleaning.

Another fun and easy DIY project is using laminate sheets. Laminate is a versatile and budget-friendly material that comes in various colors and patterns, including designs that mimic more expensive materials like marble or granite. With laminate, the process involves cutting the sheets to size and adhering them to a plywood base. It’s lightweight, easy to install, and perfect for a quick bathroom refresh. Plus, laminate is one of the easiest surfaces to clean, making it a practical choice for a high-traffic bathroom.
For a sleek, minimalist look, consider using a solid surface material like Corian. While solid surface countertops usually come with a high price tag, there are DIY-friendly options that involve buying pre-cut slabs and installing them yourself. Solid surface materials are non-porous, making them resistant to moisture and staining, which is ideal for a bathroom. They can also be seamlessly joined together, providing a smooth and unified appearance. It’s a more advanced project but worth the effort if you want a high-end look without paying for professional installation.
If you love the charm of natural stone but don’t want the cost, why not try a faux stone technique? There are many DIY kits available that let you create the look of granite, marble, or soapstone using a combination of paint and epoxy. This technique requires careful preparation, multiple coats of specialized paints, and a protective epoxy finish, but the result can be stunning. A faux stone countertop can completely transform a dated bathroom, making it look polished and sophisticated. It’s a great option if you want a custom look that feels luxurious without breaking the bank.
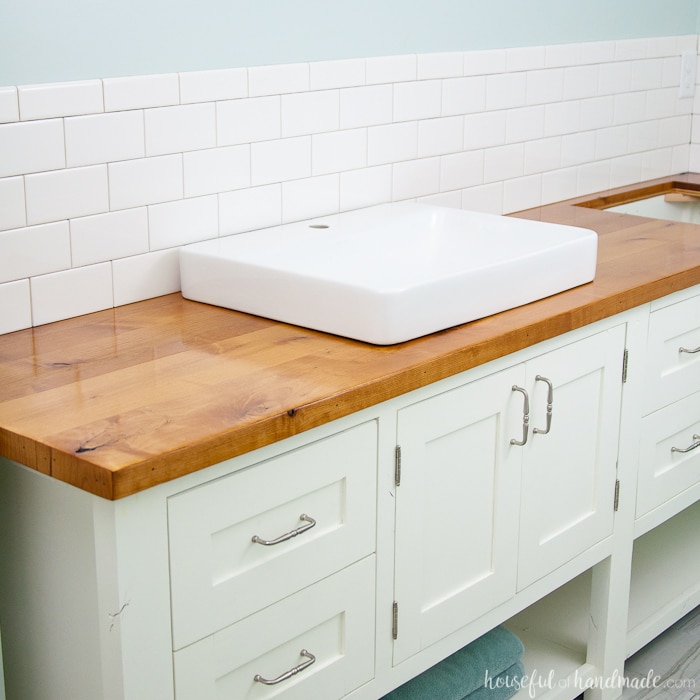
Recycled materials are another creative option. Consider using reclaimed wood, old tiles, or even a vintage door as a countertop base. Upcycling not only reduces waste but also gives your bathroom a unique and one-of-a-kind feature. For example, a countertop made from salvaged barn wood paired with a vessel sink can create a striking contrast between old and new. When using recycled materials, ensure they’re properly treated and sealed to withstand the moist environment of a bathroom. It’s a project that requires more thought and customization, but the payoff is a truly distinctive countertop.
Epoxy countertops are gaining popularity for their durability and stunning visual effects. Epoxy resin can be tinted with various pigments, giving you endless design possibilities—from a classic marble look to wild metallic swirls. Applying epoxy is a meticulous process involving multiple steps: prepping the surface, pouring the resin, spreading it evenly, and torching it to remove bubbles. While it can get a bit messy, the final result is a glass-like surface that’s both heat- and water-resistant, making it perfect for a bathroom.
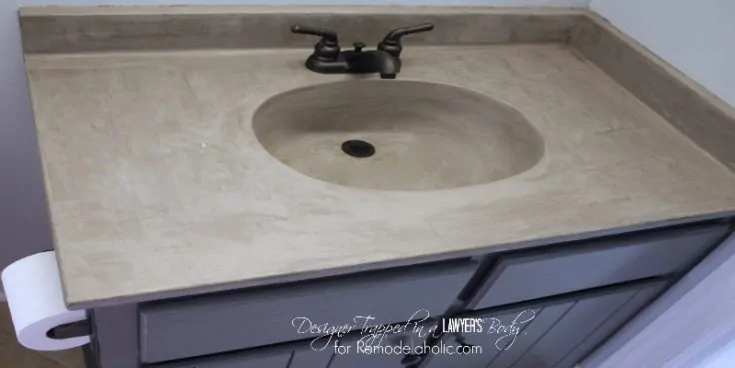
For those who want an ultra-modern look, a concrete overlay might be a perfect choice. This method involves applying a thin layer of concrete over an existing countertop, giving it a sleek and contemporary finish without the hassle of a full concrete pour. The overlay can be tinted and textured, and the process is simpler and quicker than making a solid concrete countertop. It’s ideal for anyone who wants to experiment with concrete but doesn’t want to start from scratch.
Butcher block countertops are another great DIY option, especially if you appreciate natural materials. To install a butcher block countertop, you’ll need to cut the wood to fit, sand it thoroughly, and then apply several coats of oil or varnish. Butcher block adds a classic, warm aesthetic to any bathroom and, with proper care, can last for years. You’ll want to re-oil the surface regularly to keep it looking fresh and prevent water damage.
Acrylic countertops are a fantastic alternative for anyone who wants a glossy, polished surface that’s easy to maintain. Acrylic is lightweight, relatively inexpensive, and comes in a wide range of colors and patterns. Installation typically involves securing pre-cut slabs onto a base with adhesive. It’s a forgiving material that can be sanded and polished if scratched, making it a good choice for a busy household bathroom. Acrylic is also stain-resistant, which means fewer worries about spills or cosmetic stains.
For a vintage or eclectic look, consider using an old dresser as a vanity base and countertop. This approach involves repurposing furniture, cutting it to accommodate a sink, and adding a waterproof finish. It’s a more involved DIY project but results in a truly unique bathroom feature. When choosing a piece to repurpose, make sure the wood is solid and in good condition, and be prepared to do some reinforcing if needed. The key is to balance aesthetics with functionality, ensuring that the countertop will hold up to daily use.
Another creative approach is using penny tiles. These small, circular tiles are inexpensive and create a striking effect when used on a countertop. You’ll need to use tile adhesive and grout to secure them, and then apply a sealer to protect the surface. Penny tiles are a playful way to add texture and pattern, and because they come in so many colors, you can create intricate designs or stick to a single shade for a more uniform look. It’s a detailed project that requires time and patience, but the final outcome is worth the effort.
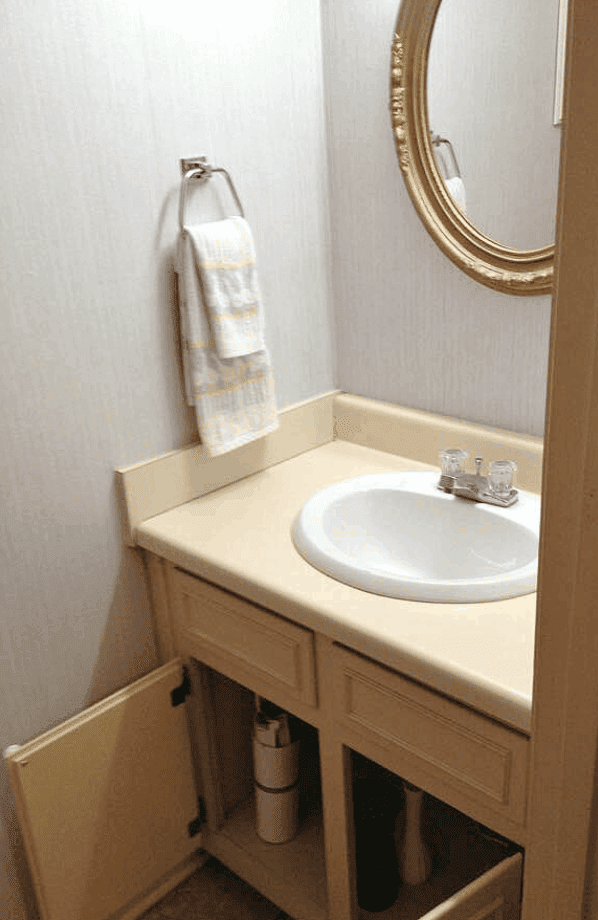
Finally, for a budget-friendly option, consider painting your existing countertop. With the right prep work, you can use specialized countertop paint to completely change its appearance. Choose a color that complements your bathroom decor, and finish with a clear sealer for durability. It’s a fast and inexpensive way to update a worn or outdated countertop, giving it a fresh new look without the need for major renovations.
Common Mistakes to Avoid
When tackling DIY bathroom countertop projects, one of the biggest mistakes is not properly measuring your space. Accurate measurements are crucial because even a small discrepancy can result in a countertop that doesn’t fit correctly. Another common error is neglecting surface preparation. Whether you’re painting, staining, or using epoxy, the surface must be clean, smooth, and free from any old finishes or residues.
Inadequate sealing is another pitfall, especially in a bathroom environment where moisture is prevalent. Skipping this step or using the wrong type of sealer can lead to warping, cracking, or even mold growth. Many DIYers also overlook the importance of selecting appropriate materials. Using untreated wood or porous materials in a bathroom can result in premature wear and damage.
Last, rushing through the curing or drying times is a frequent mistake. Whether it’s concrete, paint, or epoxy, allowing each layer to be properly set is essential for achieving a long-lasting and professional finish.

What is the best material for a DIY bathroom countertop?
The best material depends on your style preference, budget, and skill level. For beginners, laminate or tile is a good choice as they’re relatively easy to work with and budget-friendly. For a high-end look, consider solid surface materials or concrete, which require more skill but deliver a polished result. Reclaimed wood and faux stone techniques are ideal for those looking for unique, one-of-a-kind countertops.
Can I install a countertop over my existing one?
Yes, many DIY countertop ideas, such as laminate sheets, concrete overlays, or paint, can be applied directly over an existing countertop, making them perfect for a quick refresh. The key is to ensure the current surface is clean, smooth, and well-prepped to achieve a good bond.
What are the challenges of making a concrete countertop?
Creating a concrete countertop involves making a mold, mixing and pouring the concrete, and ensuring a smooth finish. It requires precision and patience, especially during curing and sealing. Improper sealing can lead to cracks or moisture damage, so this isn’t a project for a rushed weekend makeover.
How do I maintain a wooden bathroom countertop?
Wooden countertops need regular maintenance to prevent water damage. Sealing the wood with a high-quality waterproof finish is essential. Re-oiling every few months will help keep the surface protected and looking fresh. Avoid placing hot items directly on the surface and clean up spills immediately to prevent staining.
Is epoxy a good option for bathroom countertops?
Epoxy is a great option because it creates a seamless, glossy surface that is both water- and heat-resistant. It’s also highly customizable, allowing for a range of design options. However, applying epoxy requires a steady hand and careful attention to detail to avoid bubbles and uneven surfaces.
What’s the most cost-effective DIY countertop idea?
Painting an existing countertop is probably the most budget-friendly option. With specialized countertop paint and a clear sealer, you can transform a dated countertop in a matter of hours. Laminate sheets are also a cost-effective solution that can mimic more expensive materials like granite or marble.

Cheap DIY Vanity Tops For Your Bathroom
Homemade Bathroom Countertop Plans You Can DIY Easily
Related articles: