I’ll never forget the first time I considered painting butcher block countertops – I was hesitant, worried it might ruin the natural wood beauty. But after successfully transforming several dated kitchens with this technique, I’ve become a believer in painted butcher block when done right. Painting offers an affordable way to update worn countertops or match a new color scheme without replacement. The process requires specific preparation and products to ensure durability in a kitchen environment. Here’s everything I’ve learned about properly painting butcher block countertops to achieve beautiful, long-lasting results.
Preparing Butcher Block for Painting
Proper preparation is the most crucial step for a successful painted butcher block. I start by thoroughly cleaning the surface with a degreaser to remove any cooking oils or residues. A mixture of warm water and trisodium phosphate (TSP) works well for this. Any existing finish must be completely removed through sanding – I begin with 80-grit paper to strip old sealants, then progress to 120-grit for smoothing. The surface needs to feel uniformly rough to the touch for proper paint adhesion.
After sanding, I vacuum all the dust and wipe the countertop with a tack cloth. Any remaining dust particles can create bumps in the painted surface. I pay special attention to the edges and corners where debris tends to collect. If some deep stains or burns won’t sand out, I use a wood filler to level these areas before final sanding. The goal is to create a perfectly smooth, clean canvas for painting.
For end-grain butcher block, I take extra preparation steps. The porous nature of end grain requires more sanding and often a wood conditioner to prevent uneven paint absorption. I’ve found that applying a thin coat of shellac-based primer helps seal the end grain before painting. This prevents the paint from soaking in too deeply and creating an uneven finish. Proper prep might take time, but it makes all the difference in the final result.
Choosing the Right Paint Products
Not all paints are suitable for butcher block countertops. Through trial and error, I’ve learned that water-based acrylic enamel paints hold up best in kitchen environments. These provide a hard, durable finish that resists moisture and stains better than standard wall paints. My go-to products are specialty countertop paints or cabinet-grade enamels formulated for high-traffic surfaces. Oil-based options work too but have longer drying times and stronger fumes.
Primer selection is equally important. I always use a high-quality bonding primer designed for slick surfaces. Shellac-based primers like B-I-N provide excellent adhesion and block potential tannin bleed from the wood. For darker paint colors, I tint the primer to match the topcoat, which reduces the number of finish coats needed. Two thin coats of primer with light sanding between create the ideal base for paint.
The sheen level matters for both aesthetics and functionality. I prefer satin or semi-gloss finishes for countertops – they’re durable enough for frequent cleaning while hiding minor imperfections better than high-gloss. Matte finishes can look beautiful but may require more maintenance in high-use areas. Whatever sheen I choose, I make sure the paint is rated for kitchen use and food-safe once fully cured.
Applying Paint for a Professional Finish
My painting technique involves multiple thin coats rather than fewer thick ones. I use a high-quality synthetic bristle brush for edges and a small foam roller for flat surfaces. The first coat typically looks streaky and uneven, which is normal. I resist the urge to overwork the paint and simply let it dry according to the manufacturer’s instructions. Light sanding with 220-grit paper between coats removes any imperfections and helps subsequent layers adhere better.
For detailed areas around sinks or edges, I take extra care to maintain clean lines. Painter’s tape helps protect adjacent surfaces, but I remove it while the paint is still slightly wet to prevent peeling. I’ve found that applying paint in the direction of the wood grain, even though it will be covered, results in a smoother finish. Each additional coat builds up the durability and richness of color – I typically apply three to four thin coats for optimal coverage and protection.
Drying time between coats is critical. Rushing this step can lead to peeling or soft paint that doesn’t cure properly. In humid conditions, I allow extra drying time or use a dehumidifier. The final coat needs the longest cure time before the countertop can be used – usually about seven days for full hardness. During this period, I avoid placing any objects on the surface to prevent impressions in the soft paint.
Sealing and Protecting Painted Surfaces
While quality paint provides good protection, I always add a clear topcoat for extra durability on countertops. Water-based polyurethane is my preferred choice because it yellows less than oil-based versions over time. I apply two to three thin coats with a foam brush, sanding lightly between layers. This creates a protective barrier against scratches, heat marks, and moisture penetration.
The type of polyurethane affects the final look. Matte polyurethane maintains the original paint color best, while gloss versions add depth but show imperfections more. For kitchen countertops, I often choose satin polyurethane as a compromise between durability and aesthetics. Each coat needs thorough drying – I usually wait 24 hours between applications and 72 hours after the final coat before light use.
Maintenance of sealed painted countertops is straightforward. I recommend using trivets for hot items and cutting boards for food prep to minimize wear. Daily cleaning with a soft cloth and mild soap preserves the finish. When the topcoat eventually shows wear, I lightly sand and apply fresh polyurethane rather than repainting the entire surface. With proper care, my painted butcher block countertops have remained beautiful for years.
Design Ideas for Painted Butcher Block
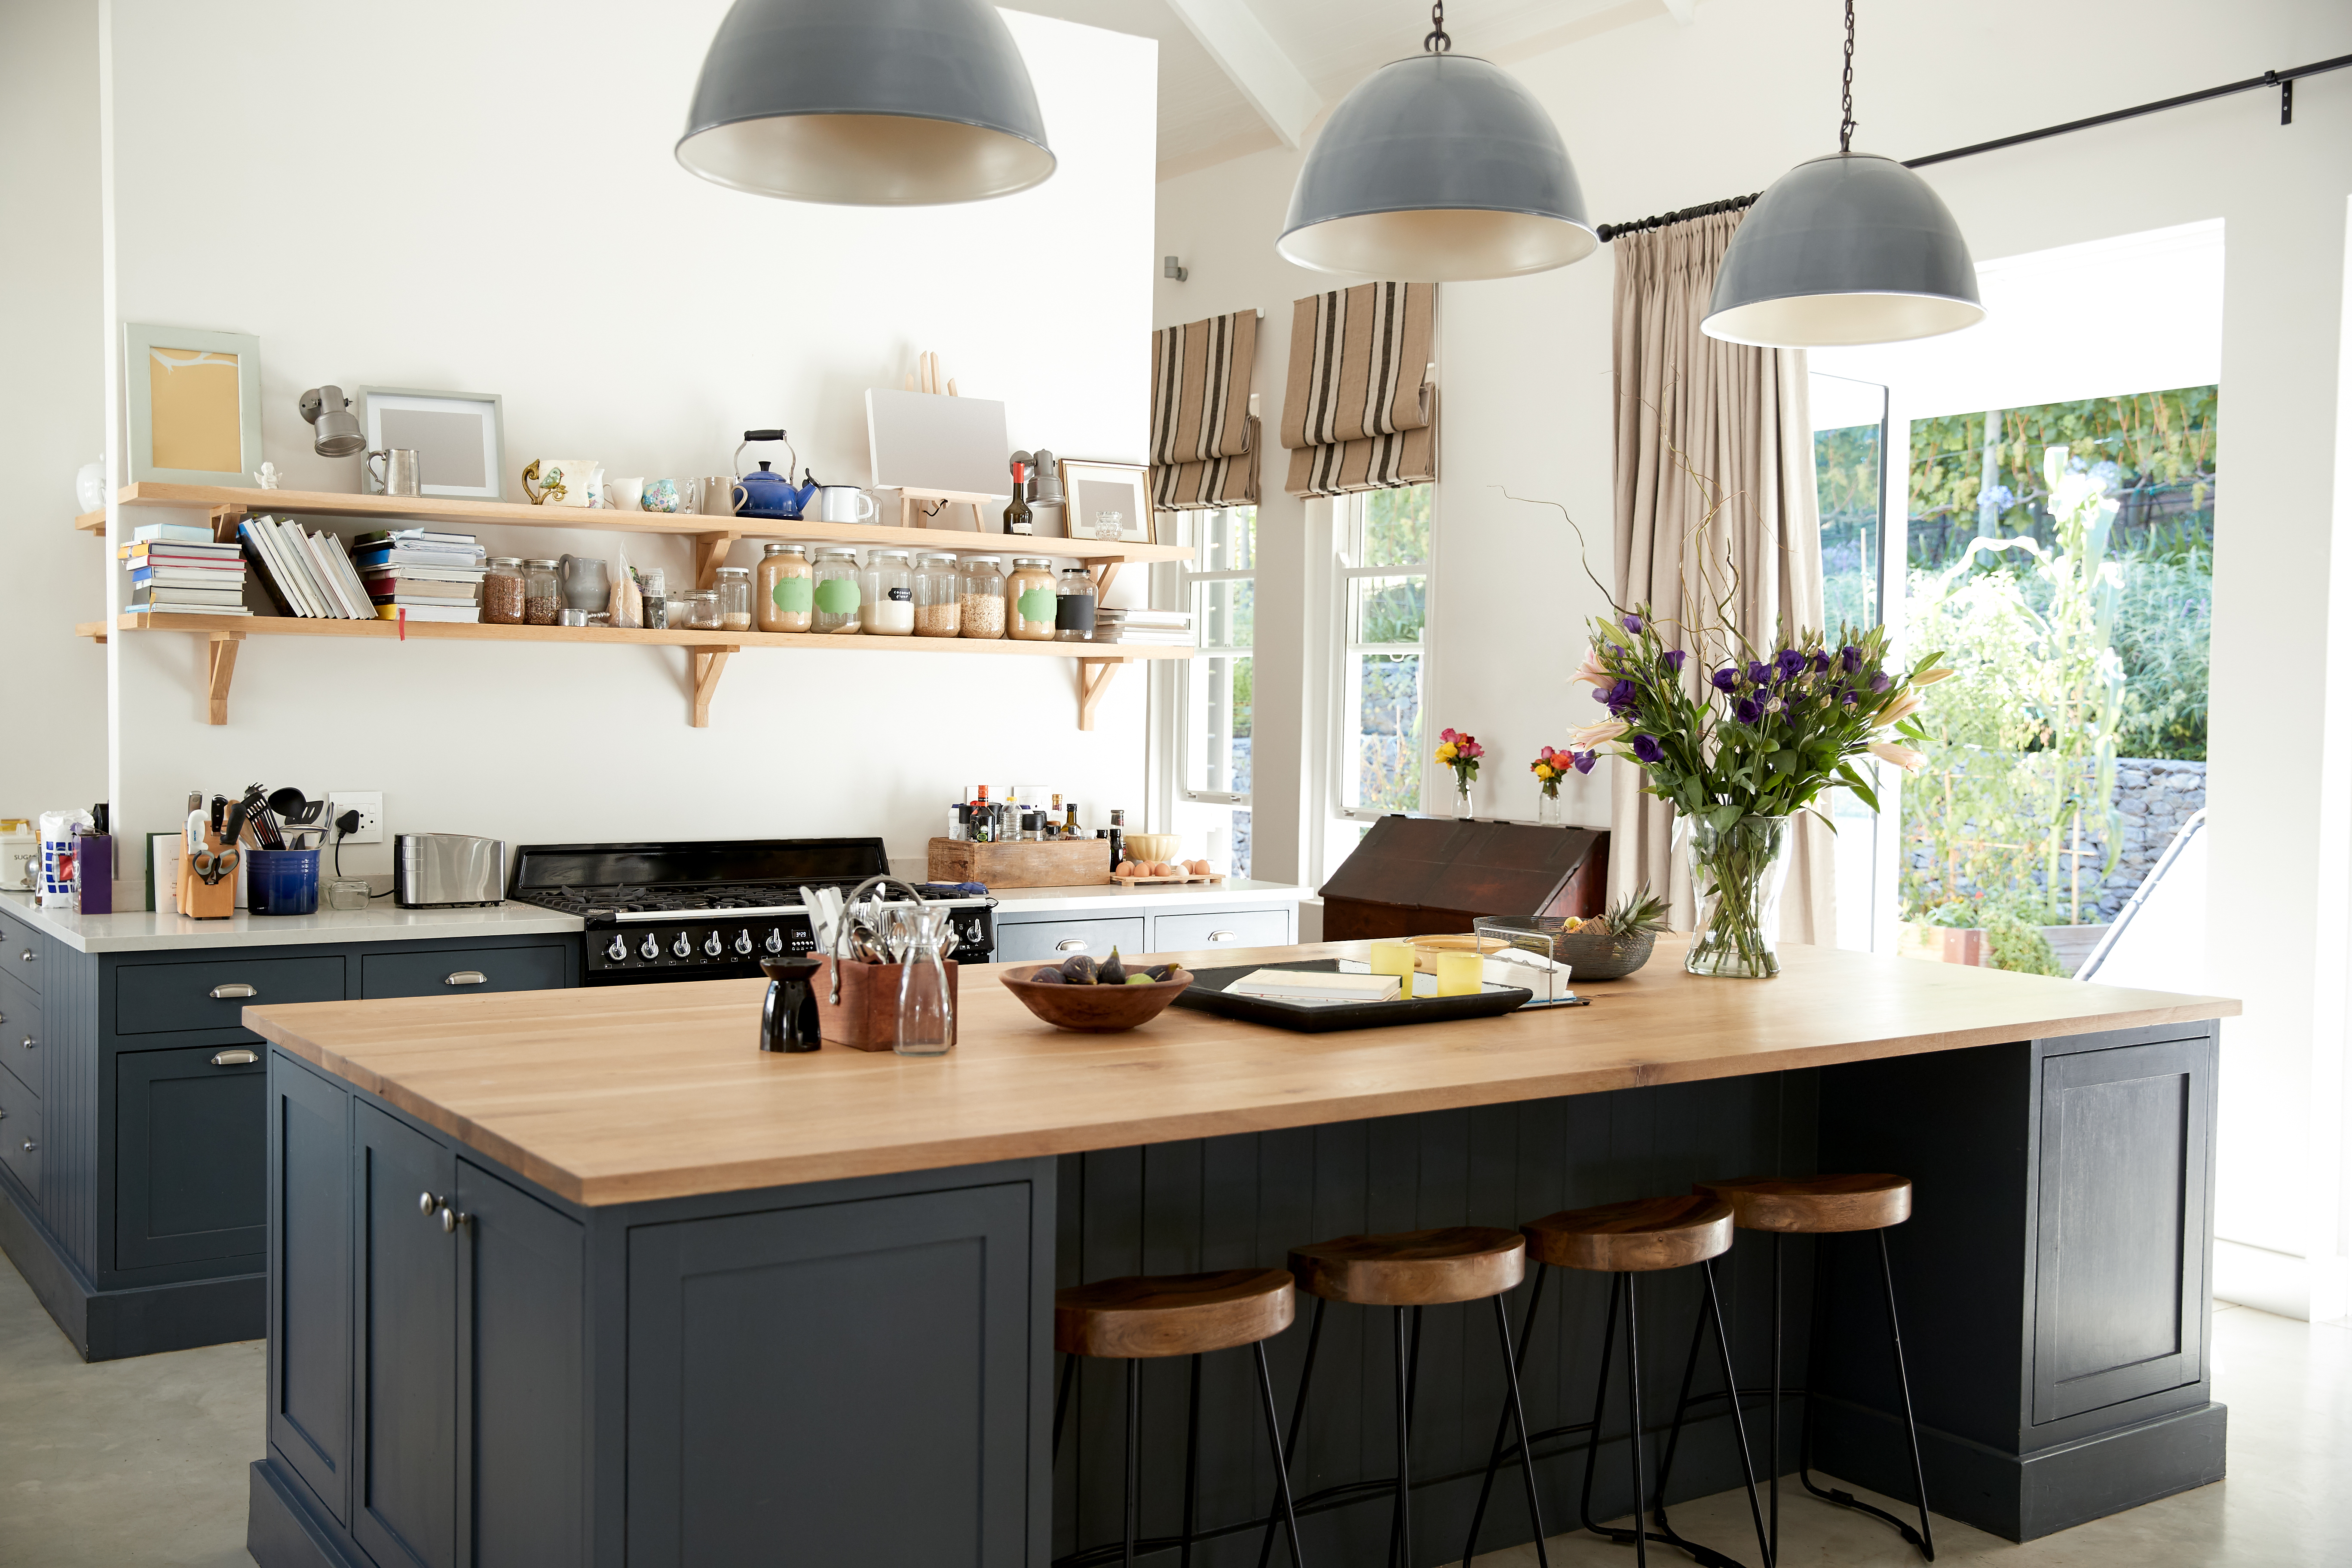
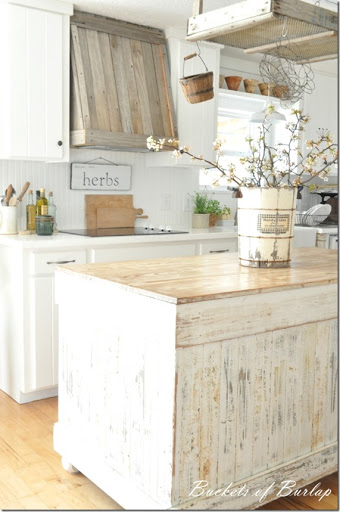
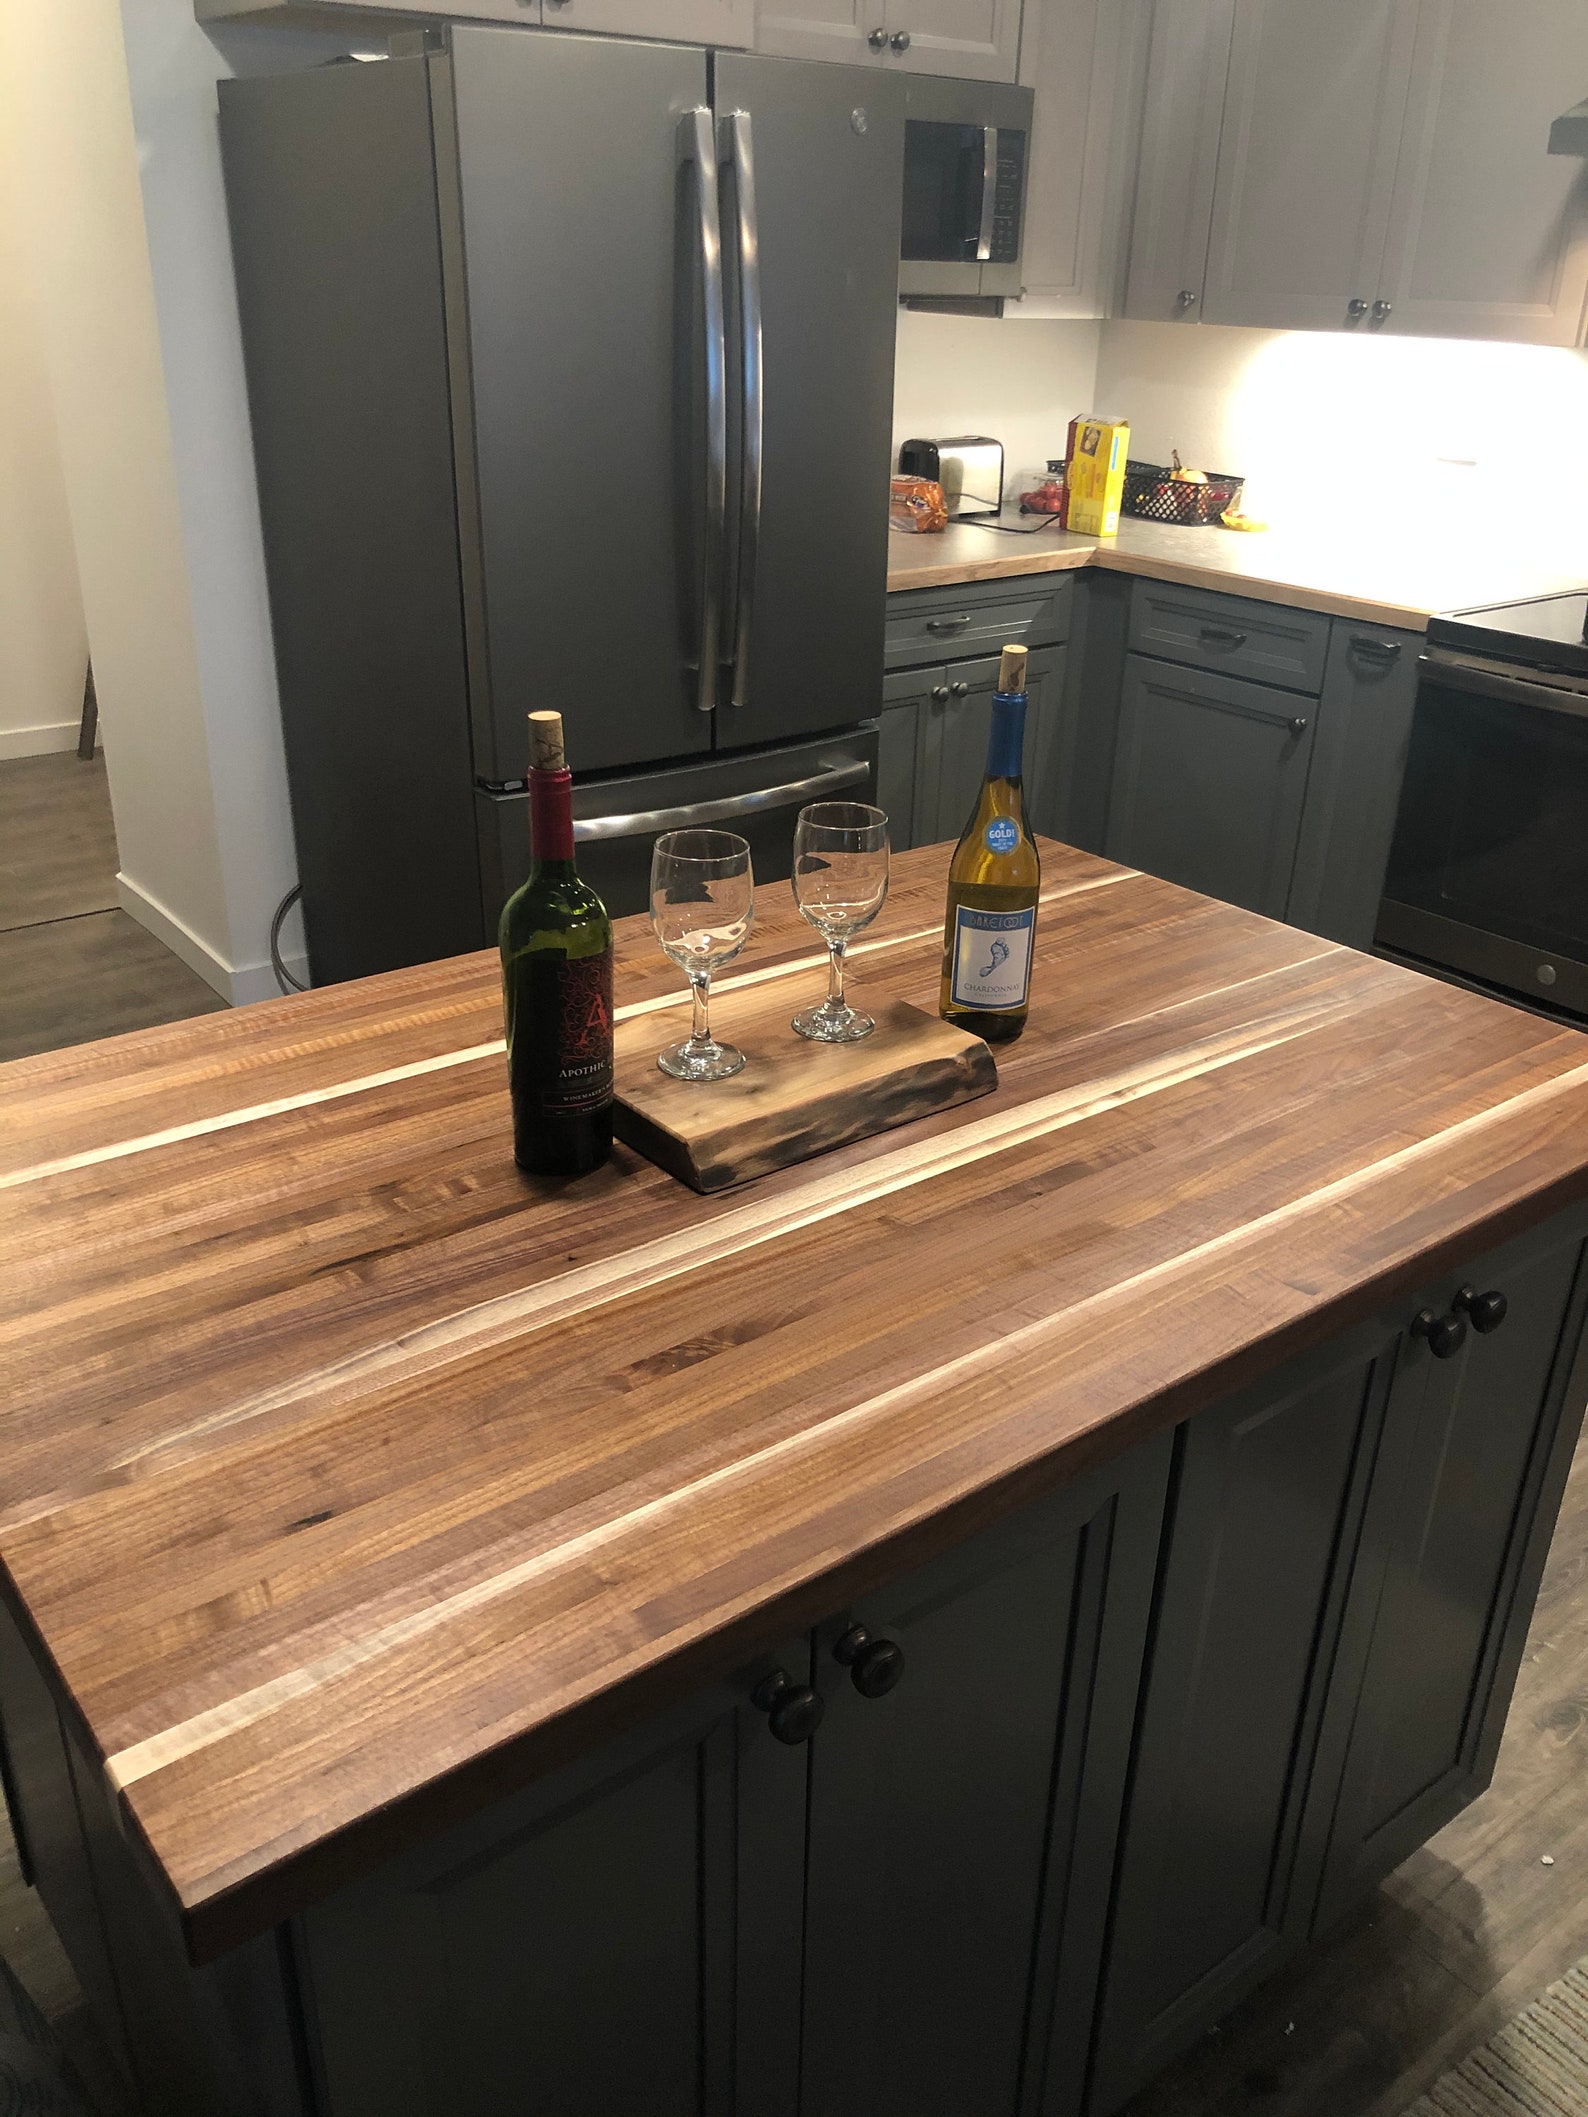
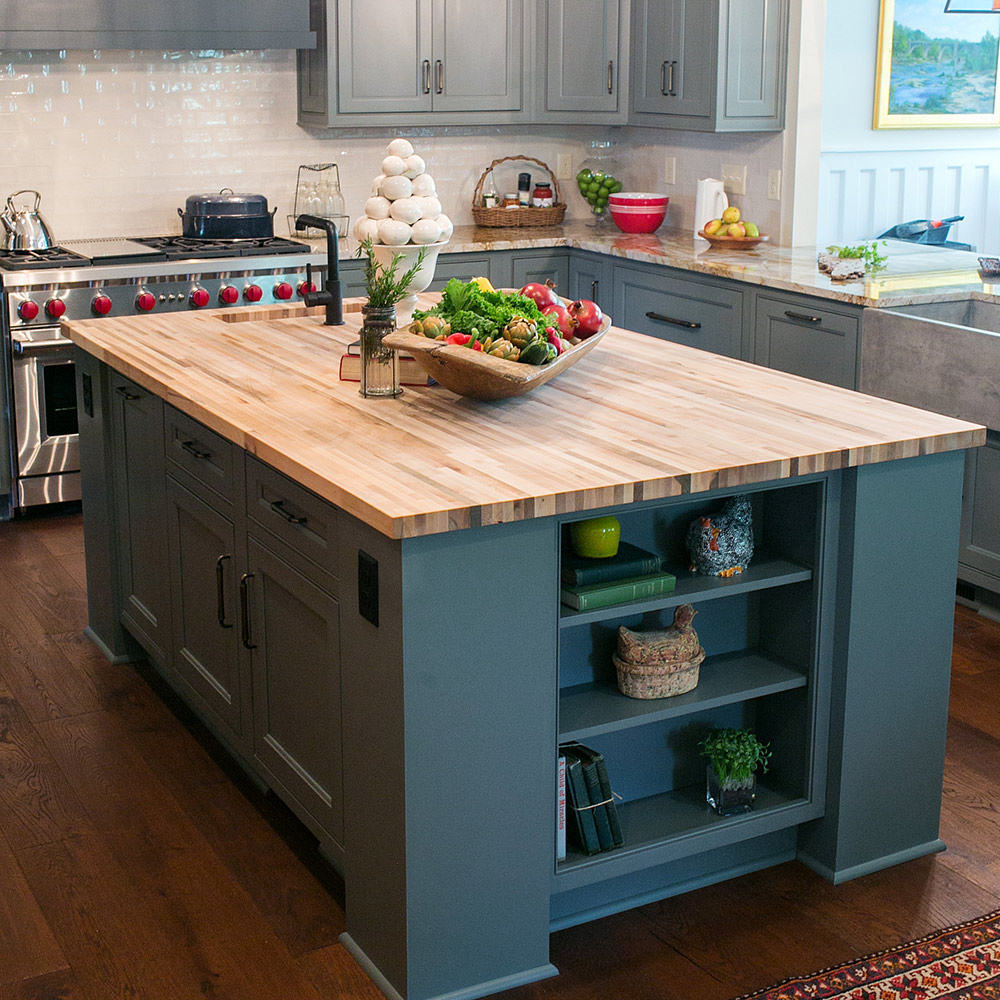
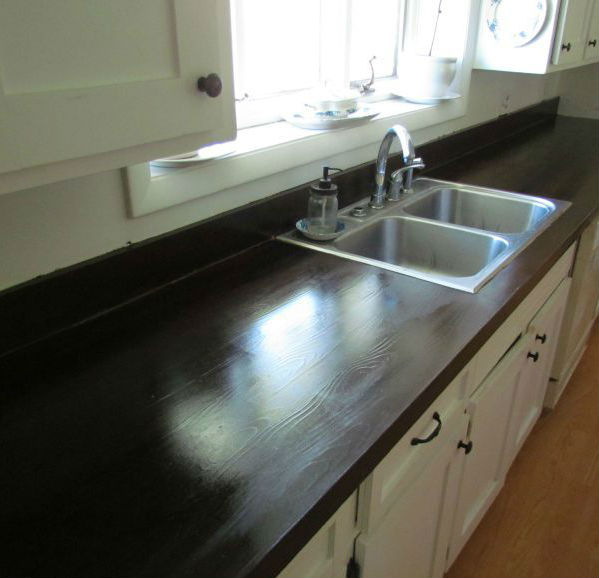
Painting opens up creative possibilities beyond wood tones. In my cottage-style kitchen, I used a soft white that brightened the space while letting the wood grain subtly show through. For a more dramatic look, I’ve seen deep navy or charcoal butcher block countertops that create stunning contrast with light cabinets. The paint color can unify mixed materials in a kitchen or highlight the butcher block as a focal point.
Two-tone designs offer interesting visual effects. I once painted the perimeter countertops a pale gray while keeping the island in natural butcher block. Another option is painting just the edges or creating patterns with tape-resistant designs. For traditional kitchens, I’ve used faux finish techniques to mimic the look of marble or stone while preserving the warmth of wood underneath.
Consider how the painted color interacts with other elements. I test large paint samples on the actual countertop before committing, observing how they look at different times of day. Cool-toned paints can modernize a space, while warm creams maintain coziness. The beauty of painted butcher block is the ability to change the look later – when my client tired of her red countertops, we simply sanded and repainted them a neutral taupe.
Long-Term Care and Maintenance
Painted butcher block requires different care than unfinished wood. I immediately wipe up spills to prevent moisture from seeping through the finish. For daily cleaning, I use pH-neutral cleaners and avoid abrasive pads that could scratch the surface. Over time, the polyurethane topcoat may develop a patina that actually adds character, but when wear becomes noticeable, a light sanding and fresh topcoat renewal restores protection.
High-use areas like near the sink or stove may need touch-ups eventually. I keep leftover paint for small repairs, feathering the edges to blend with the existing finish. Heat and sharp objects are the biggest threats – I always remind clients to use trivets and cutting boards religiously. With reasonable care, my painted countertops have lasted 5-7 years before needing significant refurbishment.
One advantage of painted butcher block is the ability to refresh the look without complete replacement. When styles change or the paint shows wear, I can sand lightly and repaint rather than install new countertops. This makes painted butcher block an economical and sustainable choice. The wood underneath remains structurally sound, ready for its next transformation.

How long does painted butcher block last before needing repainting?
With proper preparation and quality products, painted butcher block can last 5-10 years before needing significant repainting. In my experience, the polyurethane topcoat typically shows wear first, especially in high-traffic areas near sinks or cooking surfaces. I’ve found that applying a fresh topcoat every 2-3 years extends the life of the paint underneath. The actual paint job remains intact much longer if protected by these maintenance coats.
Heavily used kitchens may need complete repainting sooner, while lightly used spaces can go longer between refreshes. The original wood quality affects longevity too – higher density butcher block holds paint better than softer woods. When wear does occur, spot repairs can often postpone a full repaint. The key is addressing small issues before they compromise the entire surface.
Can you use regular wall paint on butcher block countertops?
I don’t recommend standard wall paint for countertops because it lacks the durability needed for kitchen surfaces. Through testing various products, I’ve found that wall paint chips and stains too easily, even with protective topcoats. Specialty paints formulated for cabinets, furniture, or countertops provide better adhesion and hardness. These contain resins that create a more durable finish capable of withstanding daily kitchen use.
That said, if you’re determined to use wall paint, proper preparation and multiple protective topcoats can improve performance. I once experimented with high-quality wall paint under three coats of polyurethane, and while it held up better than expected, it still showed wear faster than proper countertop paint. For a long-lasting result, investing in the right paint products from the start saves time and frustration later.

Is painted butcher block safe for food preparation?
Once fully cured (usually about 30 days), properly painted and sealed butcher block is safe for incidental food contact. However, I always recommend using cutting boards rather than cutting directly on the painted surface. The paint and topcoat can develop micro-scratches over time where bacteria might accumulate. For areas where food will frequently contact the surface, consider leaving a section unpainted or using a food-safe paint specifically rated for food contact surfaces.
The safety also depends on product selection. I choose paints and topcoats labeled as non-toxic when fully cured. Water-based products generally have lower VOCs and safer formulations than oil-based alternatives. Even with safe products, maintaining the finish’s integrity is important – any cracks or chips in the paint should be repaired promptly to prevent potential contamination.
What’s the best way to fix chips in painted butcher block?
For small chips, I clean the area thoroughly and lightly sand the edges to create a smooth transition. I then apply a small amount of primer to the bare wood, let it dry, and carefully build up thin layers of matching paint with a fine brush. Once the paint is level with the surrounding area, I feather the edges and apply a new topcoat over the repair. This method makes small chips virtually unnoticeable.
Larger damaged areas may require more extensive repair. I sometimes use wood filler to rebuild missing material before repainting. For widespread damage, sanding the entire surface and repainting may be more efficient than spot repairs. Keeping leftover paint from the original project makes color matching much easier. Regular maintenance helps prevent chips by addressing small issues before they worsen.
Can you paint over already sealed or oiled butcher block?
You can paint over sealed butcher block, but it requires thorough preparation. I start by sanding through the existing finish until the wood feels uniformly rough – this often means removing all visible finish. Oil-soaked wood may need special treatment; I’ve had success using a shellac-based primer to block oils from bleeding through the new paint. Without proper preparation, paint won’t adhere well and will peel over time.
Testing the surface after sanding helps determine if more prep is needed. I rub a damp cloth on the sanded area – if water beads up, there’s still sealant preventing proper paint adhesion. In stubborn cases, I use a chemical deglosser or liquid sandpaper before final sanding. While it’s extra work, proper preparation ensures the new paint job lasts rather than failing prematurely.
How does painted butcher block compare to laminate or solid surface countertops?
Painted butcher block offers unique advantages and disadvantages compared to other materials. It’s warmer underfoot and more forgiving with dishes than stone or solid surface options. The ability to sand and repaint makes it more renewable than laminate when damaged. However, it requires more maintenance than virtually indestructible materials like quartz. In terms of cost, painting existing butcher block is much cheaper than replacing with new countertops.
For homes with original butcher block in good structural condition, painting provides an affordable update. The painted surface won’t be as heat-resistant as stone or as low-maintenance as laminate, but it offers a custom look you can’t achieve with prefabricated materials. I often recommend painted butcher block for rental properties or budget-conscious remodels where replacing countertops isn’t feasible. With proper expectations about care requirements, it’s an excellent middle-ground option.

How to Make Laminate Countertops Look Like Wood For Less Than
Related articles:
- Mahogany Butcher Block Countertops
- Butcher Block Countertop For Kitchen Island
- Can You Paint Butcher Block Countertops
- Butcher Block Countertops With White Cabinets
- Pine Butcher Block Countertops
- Butcher Block Countertops Walnut
- Maple Butcher Block Countertops
- Care Of Butcher Block Countertop
- Butcher Block Countertops Maintenance
- Antique Butcher Block Countertops