Creating DIY concrete bathroom countertops is an appealing option for homeowners looking to add a personalized, industrial-chic touch to their spaces. Concrete offers a versatile, durable, and customizable solution that can be tailored to match virtually any bathroom style, from modern minimalism to rustic charm. The process of making concrete countertops may seem daunting at first, but with careful planning, attention to detail, and the right materials, it can be a rewarding DIY project that enhances the functionality and aesthetic appeal of your bathroom. Concrete’s adaptability allows for various finishes, textures, and colors, enabling you to craft a countertop that perfectly fits your design vision.
One of the main advantages of concrete countertops is their customizability. Unlike pre-fabricated materials, concrete can be molded into any shape or size, making it ideal for bathrooms with unique dimensions or design elements. This flexibility allows for creative design choices, such as integrated sinks, custom edges, or even embedded features like stone or glass. When planning your DIY concrete countertop, it’s essential to consider the layout and dimensions carefully. Taking accurate measurements and building a sturdy mold are crucial steps that will determine the outcome. A well-constructed mold ensures that the countertop will fit seamlessly into your bathroom space and that the edges and corners will be clean and precise.
The choice of concrete mix is another important aspect of the project. While you can use a standard concrete mix, many DIY enthusiasts and professionals recommend using a specially formulated countertop mix that includes additives to improve the strength, workability, and finish of the concrete. These mixes often contain ingredients like glass fibers or plasticizers, which help to reduce cracking and allow for a smoother finish. Additionally, they may include pigments or stains to add color to the concrete, offering endless possibilities for customization. Whether you prefer the natural gray of concrete or want to experiment with other colors, selecting the right mix is key to achieving a professional-looking result.
Once the mold is built and the concrete mix is prepared, the pouring process begins. This step requires precision and patience, as the concrete must be poured evenly into the mold to avoid air bubbles and voids. It’s important to vibrate the mold gently after pouring to release trapped air, which can create unsightly holes in the finished countertop. Some DIYers use a rubber mallet to tap the sides of the mold, while others employ a concrete vibrator for larger projects. Proper vibration ensures that the concrete fills the mold and results in a dense, durable countertop. After pouring, the surface should be smoothed with a trowel, paying close attention to the edges and corners.

Curing is a critical phase in the creation of a concrete countertop. Concrete doesn’t dry; it cures through a chemical reaction called hydration, which takes place over several days. During this time, the concrete gains strength and hardens into its final form. It’s essential to keep the concrete moist during the curing process to prevent it from drying out too quickly, which can lead to cracking. Covering the countertop with plastic sheeting or using a curing compound can help retain moisture and ensure even curing. Depending on the type of concrete mix used and the environmental conditions, curing can take anywhere from a few days to a week.
Once the concrete has cured, the countertop can be removed from the mold and prepared for finishing. This step often involves grinding or sanding the surface to achieve the desired texture and smoothness. The level of finishing depends on personal preference and the intended look of the countertop. For a polished, glossy finish, progressively finer grits of sandpaper or diamond pads are used to bring out the concrete’s natural shine. Alternatively, a honed finish, which is smoother but less reflective, can be achieved with less aggressive sanding. This stage also provides an opportunity to address any imperfections, such as small air pockets or surface irregularities, that may have appeared during the curing process.
Sealing is an essential step in the process of creating a DIY concrete bathroom countertop. Concrete is naturally porous, which means it can absorb water, stains, and bacteria if left unsealed. A high-quality sealer protects the surface from moisture and staining, ensuring that the countertop remains durable and easy to clean. There are various types of sealers available, including penetrating sealers that soak into the concrete and form a protective barrier, and topical sealers that sit on the surface and provide a glossy or matte finish. The choice of sealer depends on the desired look and level of protection needed. Applying the sealer properly, with even coats and adequate drying time between layers, is crucial for achieving long-lasting results.

In addition to sealing, it’s important to consider the maintenance requirements of a concrete countertop. Regular cleaning with a pH-neutral cleaner and prompt attention to spills will help maintain the appearance and integrity of the surface. Depending on the type of sealer used, resealing may be necessary every few years to ensure continued protection against moisture and stains. While concrete is a durable material, it can develop small hairline cracks over time due to shrinkage or stress. These cracks are usually not structurally significant and can add to the character of the countertop. However, they can be filled with a matching epoxy or concrete patch if desired.
The aesthetic possibilities with DIY concrete countertops are virtually limitless. Beyond the basic gray, concrete can be tinted with integral colorants, stained, or even painted to match your bathroom’s color scheme. Acid staining is a popular technique that creates a marbled, variegated appearance by reacting with the minerals in the concrete. Dyes and pigments can also be added to the mix for a more consistent color throughout the countertop. Additionally, concrete’s surface can be textured with stamps or imprints to mimic the look of natural stone, wood, or other materials. These decorative options allow you to create a truly unique countertop that reflects your personal style.
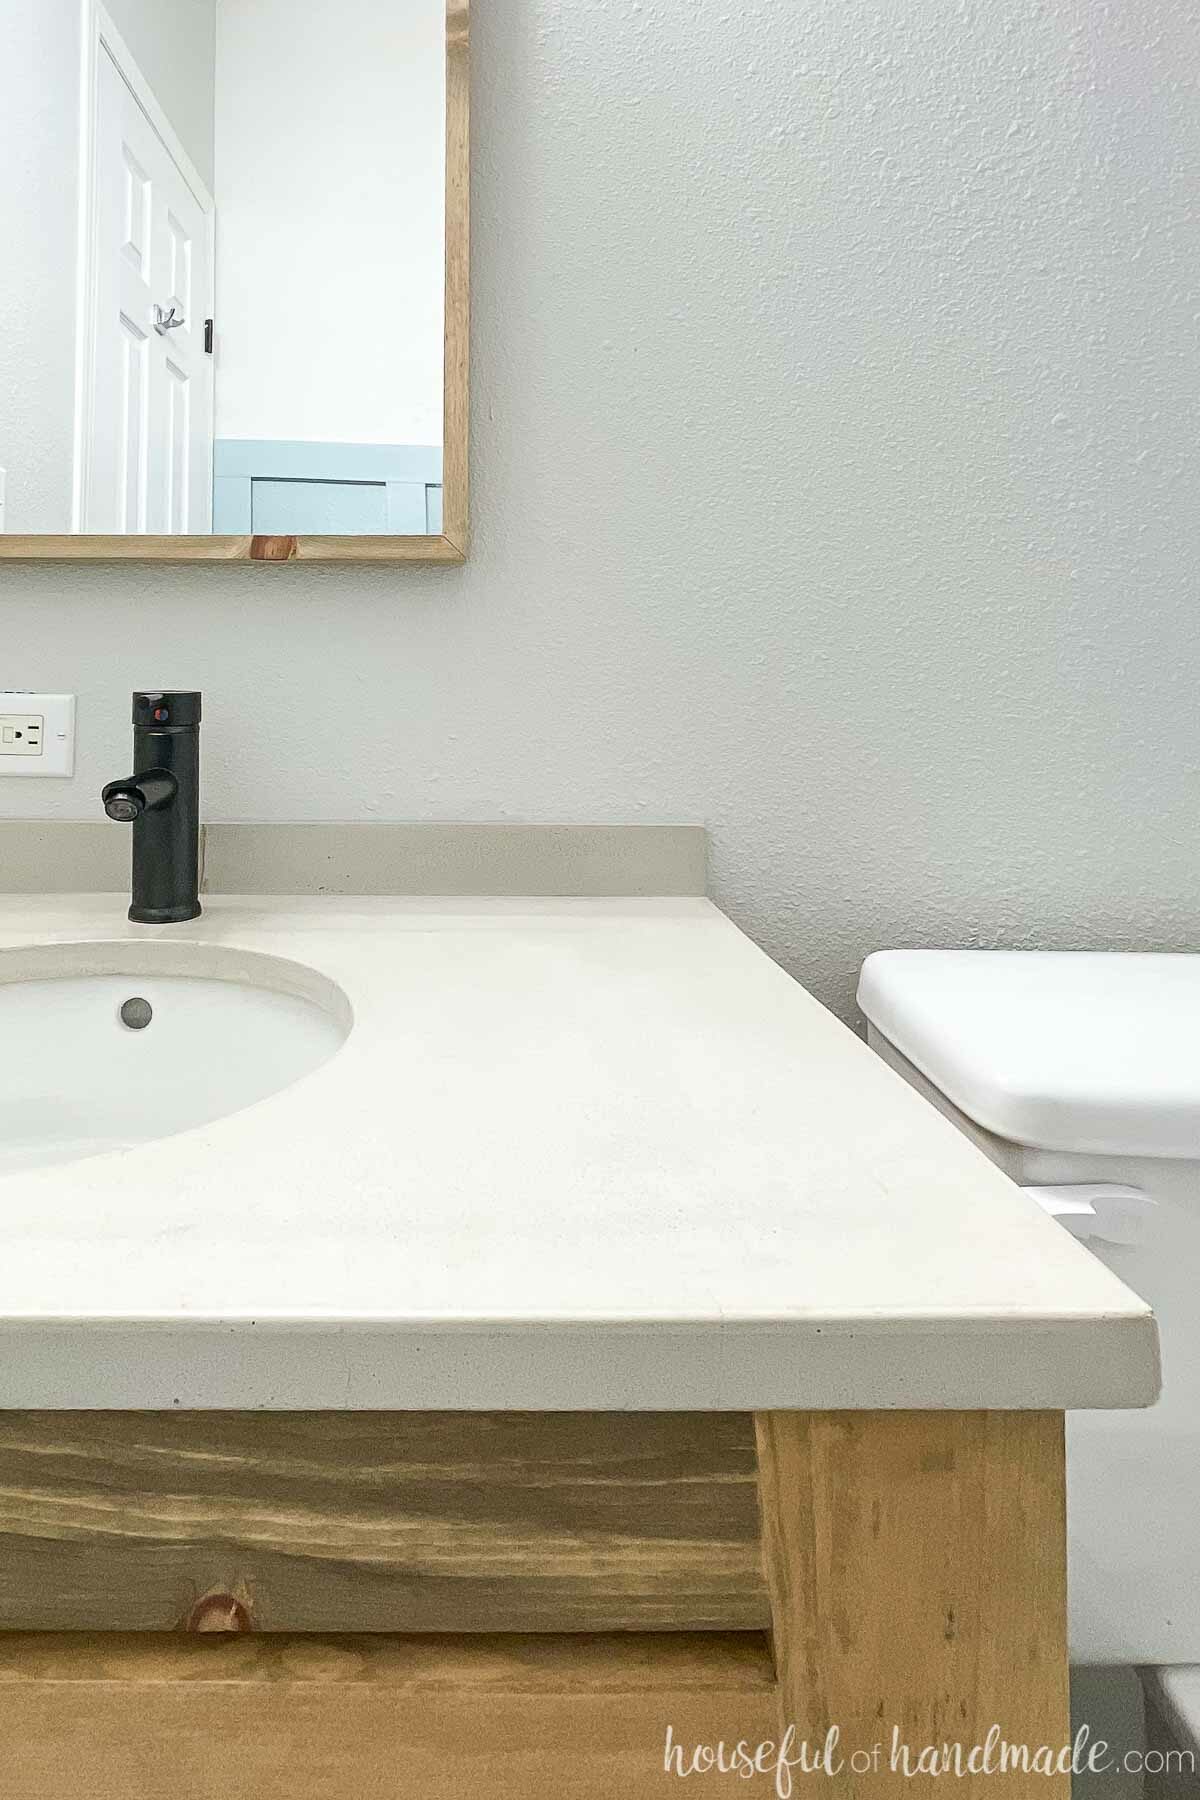
Edge details are another way to customize your DIY concrete countertop. The edges can be straight and simple for a clean, modern look, or more intricate profiles can be created using custom molds or edge forms. Popular edge profiles include beveled, bullnose, and ogee, each offering a different visual effect. The choice of edge detail can complement other elements in your bathroom, such as the cabinetry, tile, or fixtures, creating a cohesive design. Additionally, integrated features like sinks or backsplashes can be cast directly into the countertop, further enhancing its functionality and seamless appearance.

The cost-effectiveness of DIY concrete countertops is one of the major benefits that attract homeowners to this project. While professional concrete countertops can be expensive due to the labor-intensive process and customization options, doing it yourself can significantly reduce costs. The materials required, such as concrete mix, mold supplies, and sealers, are relatively affordable, and with some basic tools and patience, the project can be completed without the need for specialized skills. This makes DIY concrete countertops an accessible option for those looking to upgrade their bathroom on a budget while still achieving a high-end, custom look.
In terms of durability, concrete countertops are comparable to natural stone surfaces like granite or marble. When properly sealed and maintained, concrete can withstand the daily wear and tear of a busy bathroom environment, including exposure to water, soap, and cosmetics. Its heat resistance is also a plus, making it safe to place hot hair styling tools directly on the surface. However, like any material, concrete has its limitations. It can chip or crack under heavy impact, and while these issues can often be repaired, it’s important to handle the countertop with care during installation and use. The durability of a concrete countertop also depends on the quality of the mix and the craftsmanship involved in its creation.
Another factor to consider when planning a DIY concrete bathroom countertop is the weight. Concrete is a heavy material, and the finished countertop will require adequate support from the underlying cabinets or vanity. It’s important to ensure that the base is sturdy and level before installing the countertop to prevent sagging or shifting over time. In some cases, additional reinforcement may be needed, such as adding steel rebar or wire mesh within the concrete to increase its strength. Proper planning and preparation will help avoid potential issues related to the weight of the countertop and ensure a secure, long-lasting installation.
Finally, DIY concrete countertops offer a unique opportunity for personalization. From the design of the mold to the choice of finishes and colors, every aspect of the project can be tailored to your specific tastes and needs. This level of customization is difficult to achieve with pre-fabricated materials, making concrete a popular choice for those who want to create a one-of-a-kind bathroom feature. Whether you’re aiming for a sleek, modern look or a more rustic, handcrafted aesthetic, a DIY concrete countertop allows you to express your creativity and achieve a result that is both functional and visually striking.

Common Mistakes to Avoid
When embarking on a DIY concrete bathroom countertop project, there are several common mistakes to avoid to ensure a successful outcome. One major mistake is not properly planning and measuring the space before building the mold, which can result in a countertop that doesn’t fit or align correctly.
Another common error is using the wrong type of concrete mix or not mixing the concrete thoroughly, leading to a weaker or uneven surface. Inadequate vibration during the pouring process can result in air pockets and voids, which compromise the strength and appearance of the countertop. Additionally, rushing the curing process or failing to keep the concrete moist during curing can lead to cracks and other issues.
Finally, neglecting to properly seal the countertop can result in stains and water damage, diminishing the durability and longevity of the surface. By being mindful of these pitfalls, you can achieve a high-quality, durable, and aesthetically pleasing concrete countertop.

How long does it take to make a DIY concrete bathroom countertop?
The time required to make a DIY concrete bathroom countertop varies depending on the complexity of the design and the curing time for the concrete. Generally, the process involves several steps: building the mold, mixing and pouring the concrete, allowing it to cure, and then finishing and sealing the surface. The entire process can take anywhere from a few days to a week or more. Curing is the longest part of the process, typically taking 3 to 7 days for the concrete to reach sufficient strength. It’s important not to rush this phase, as proper curing is essential for the durability of the countertop.
What type of concrete mix should I use for a bathroom countertop?
For a bathroom countertop, it’s recommended to use a specially formulated countertop concrete mix rather than standard concrete. Countertop mixes are designed to be stronger and more workable, with added ingredients like glass fibers or plasticizers to enhance the durability and finish of the concrete. These mixes also allow for smoother surfaces and are easier to mold, reducing the likelihood of imperfections. Additionally, they can be mixed with pigments or stains if you want to add color to your countertop. Using the right mix is crucial for achieving a high-quality finish and ensuring the countertop can withstand the demands of a bathroom environment.
How do I prevent my concrete countertop from cracking?
Preventing cracks in a concrete countertop starts with using the right mix and ensuring it’s properly reinforced. Adding reinforcement like wire mesh or rebar within the concrete can help distribute weight and reduce the risk of cracking. During the pouring process, it’s important to vibrate the mold to eliminate air bubbles, which can create weak spots in the concrete. Proper curing is also essential; keeping the concrete moist during the curing phase helps prevent shrinkage cracks. Finally, sealing the countertop regularly will protect it from moisture and temperature changes that can lead to cracks over time.

Can I add a sink to my DIY concrete countertop?
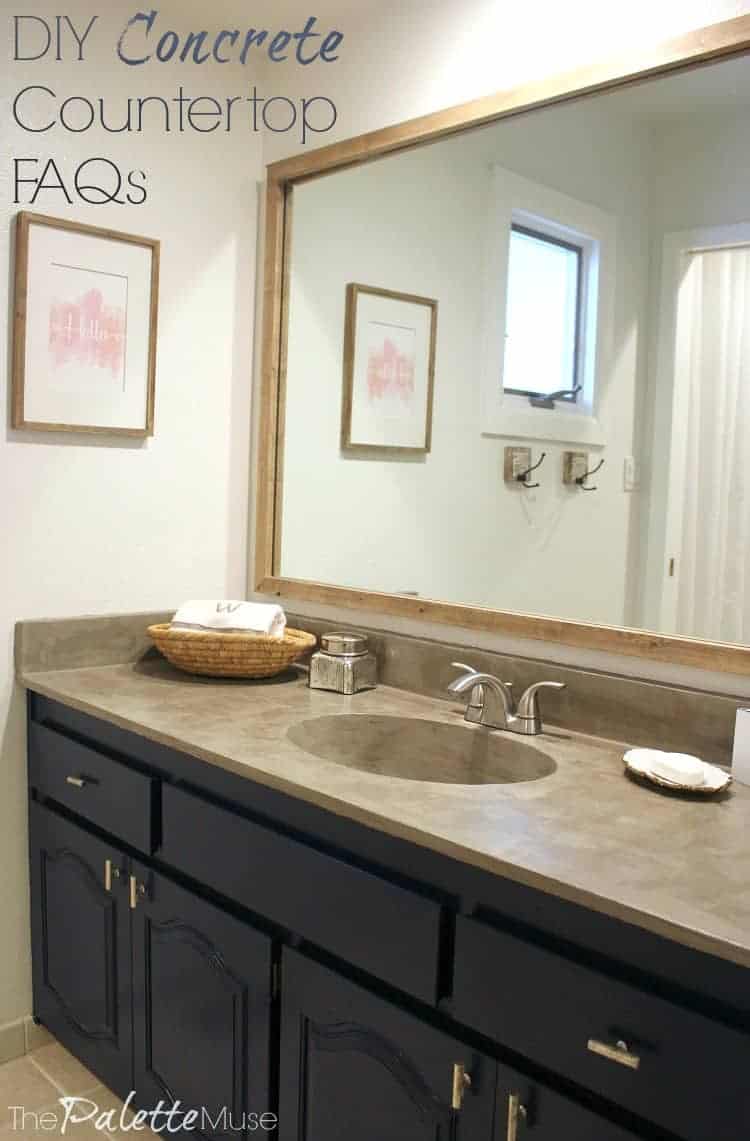
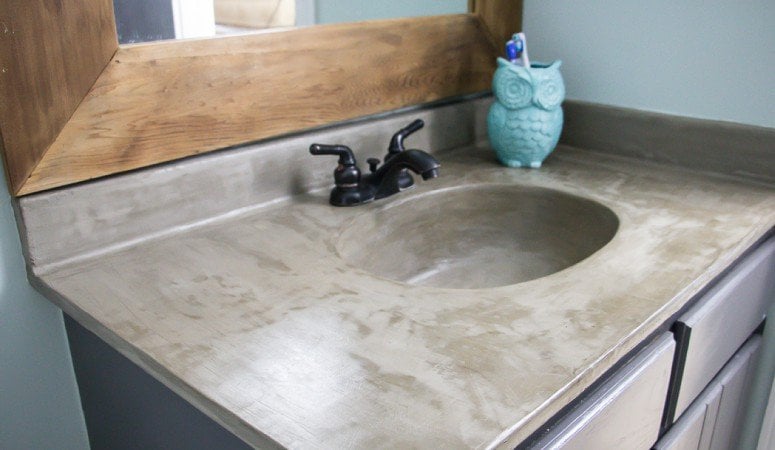
Yes, you can integrate a sink directly into your DIY concrete countertop. This can be done by including a sink mold within the larger countertop mold. The sink can be cast as part of the countertop or as a separate piece that is later joined to the countertop. Integrated sinks offer a seamless look and eliminate the need for caulk lines, which can trap dirt and moisture. It’s important to ensure the mold for the sink is properly supported and that the concrete is poured evenly to avoid thin, weak areas. Adding an integrated sink requires careful planning and precise execution, but it can enhance the functionality and aesthetics of your countertop.
How do I choose a sealer for my concrete bathroom countertop?
Choosing the right sealer for your concrete bathroom countertop depends on the desired finish and level of protection needed. Penetrating sealers are absorbed into the concrete and offer a natural, matte finish, while topical sealers sit on the surface and can provide a glossy or satin finish. For bathrooms, where water resistance is crucial, a high-quality topical sealer is often recommended, as it creates a protective layer that prevents water and stains from penetrating the concrete. It’s also important to choose a sealer that is resistant to bathroom chemicals, such as soaps and cleaning products, to ensure the countertop remains protected and easy to maintain.
Is a DIY concrete countertop a good choice for a small bathroom?
A DIY concrete countertop can be an excellent choice for a small bathroom, as it offers a high degree of customizability. Concrete can be molded to fit the exact dimensions of your space, making it ideal for bathrooms with unique or tight layouts. Additionally, the ability to integrate features like sinks or backsplashes into the countertop allows for a seamless design that can maximize the available space. The weight of the countertop should be considered, especially in small bathrooms where cabinetry may need reinforcement to support the concrete. With careful planning and execution, a concrete countertop can add both style and functionality to a small bathroom.

How’s It Holding Up? DIY Concrete Vanity Update

Cheap DIY Concrete Vanity Top – Houseful of Handmade

Remodelaholic DIY Concrete Countertops in a Beautiful Master

Related articles: