Painting a bathroom countertop is a budget-friendly and creative way to refresh the look of your bathroom without the expense of a complete renovation. Before starting the painting process, it’s crucial to choose the right type of paint. Acrylic or epoxy-based paints are often recommended for bathroom countertops as they offer good adhesion and durability in humid environments.
The first step in painting a bathroom countertop is thorough preparation. Remove any items from the countertop and clean it thoroughly to ensure the paint adheres properly. Sanding the surface lightly with fine-grit sandpaper can help create a rough texture for better paint adhesion. After sanding, wipe away any dust or debris.
Priming the countertop is a crucial step in the painting process. Choose a high-quality primer suitable for the type of countertop material you have. Applying a primer ensures that the paint adheres well and provides a smooth and long-lasting finish. Use a high-quality brush or roller to apply the primer evenly, and allow it to dry completely according to the product instructions.
Once the primer is dry, it’s time to apply the paint. Select a high-quality, durable paint specifically designed for countertops or high-traffic areas. The color choice is entirely up to your personal preference and the overall bathroom design. Apply the paint evenly with a brush or roller, and consider applying multiple thin coats rather than one thick coat for a smoother finish.
Allow each coat of paint to dry completely before applying the next. Depending on the type of paint used, this may take a few hours to overnight. Be patient during the drying process to achieve a professional-looking result. If desired, you can lightly sand between coats for an even smoother finish.
To enhance the durability of the painted bathroom countertop, it’s recommended to apply a clear protective topcoat. This topcoat acts as a shield against daily wear and tear, providing additional protection for the painted surface. Choose a topcoat that is specifically designed for use on countertops and follow the application instructions carefully.
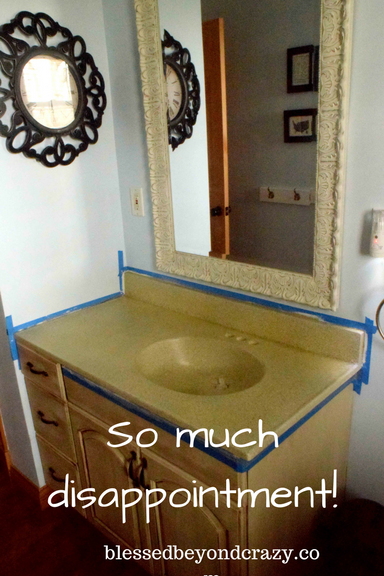
Incorporating decorative techniques or patterns can add a unique touch to the painted bathroom countertop. Consider using stencils or painter’s tape to create patterns, stripes, or designs. This allows for personalization and creativity, transforming a plain countertop into a focal point in the bathroom.

Proper ventilation is essential during the painting process. Ensure that the bathroom is well-ventilated to allow fumes from the paint and primer to dissipate. Open windows or use a fan to facilitate air circulation and help the drying process. If possible, consider painting on a day when the bathroom can remain well-ventilated for an extended period.
It’s crucial to wait for the paint to cure fully before placing items back on the countertop or using it regularly. Curing times can vary depending on the type of paint and topcoat used, so refer to the product instructions for specific guidance. Being patient during the curing process ensures a durable and long-lasting finish.
Regular maintenance is essential to preserve the appearance of a painted bathroom countertop. While the paint and topcoat provide protection, it’s important to avoid abrasive cleaners or harsh chemicals that could damage the surface. Instead, clean the countertop with a mild soap and water solution to maintain its beauty over time.
In some cases, homeowners may opt to seal the painted bathroom countertop for added protection. Sealing helps resist stains and moisture, enhancing the longevity of the painted surface. Choose a clear, water-based sealant designed for use on painted countertops and follow the application instructions.
If you ever decide to change the color or update the look of your bathroom countertop, painting offers a reversible solution. Sand the existing paint lightly to create a suitable surface for the new paint, then follow the same preparation and painting steps outlined earlier. This flexibility allows you to adapt the bathroom’s style without a major renovation.
While painting a bathroom countertop is a cost-effective option, it may not be suitable for all materials. For instance, natural stone countertops like granite or marble may not hold paint well, and the results may be less satisfactory. In such cases, it’s advisable to consult with a professional or consider alternative solutions, such as refinishing or replacing the countertop.
Before starting the painting process, it’s a good idea to test a small, inconspicuous area to ensure that the paint adheres well and achieves the desired finish. This test helps identify any potential issues before committing to painting the entire countertop.
Painting a bathroom countertop is a DIY project that can transform the look of your bathroom on a budget. Proper preparation, the right choice of paint and primer, attention to detail, and patience during the drying and curing process are essential for achieving a professional and long-lasting result. Whether opting for a solid color or incorporating decorative elements, painting allows for creativity and personalization in enhancing the overall aesthetic of the bathroom.
How to Paint Bathroom Countertops Better Homes & Gardens
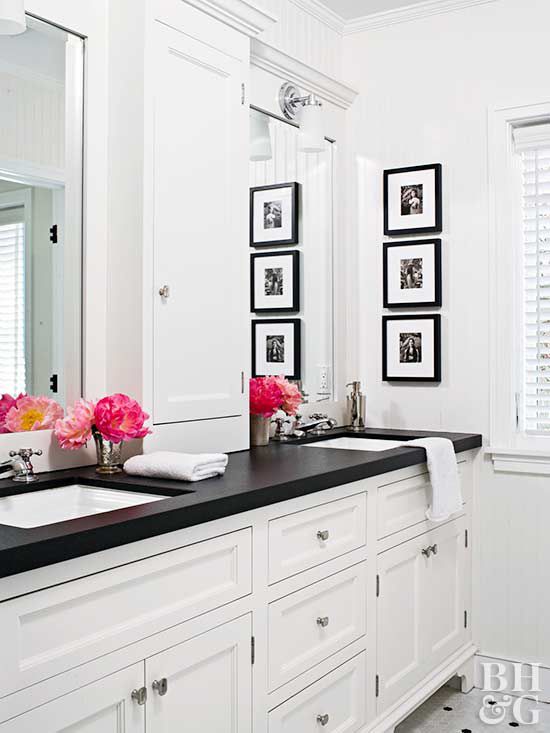
DIY Painted Bathroom Sink Countertop – Blessu0027er House

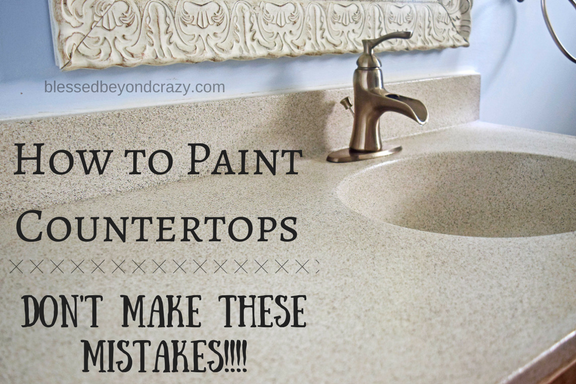
How to Paint a Countertop – Donu0027t Make these Mistakes!!! – Blessed
Renter-friendly DIY to Disguise an Ugly Bathroom Countertop – DIY

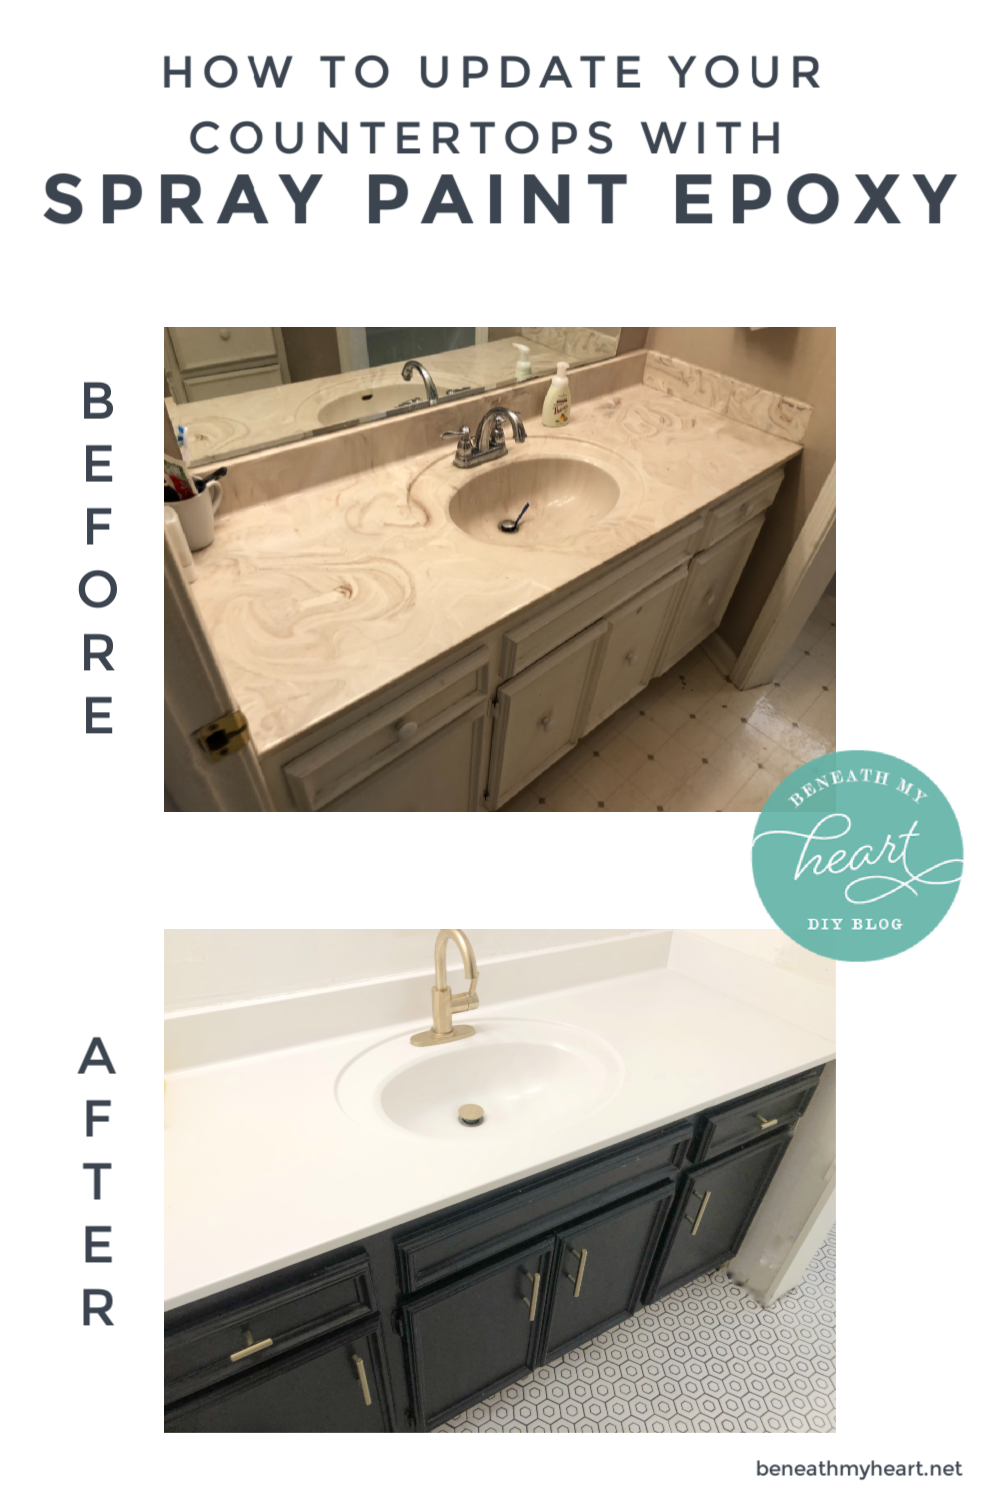
How to Update Your Countertops with Appliance Epoxy – Beneath My Heart
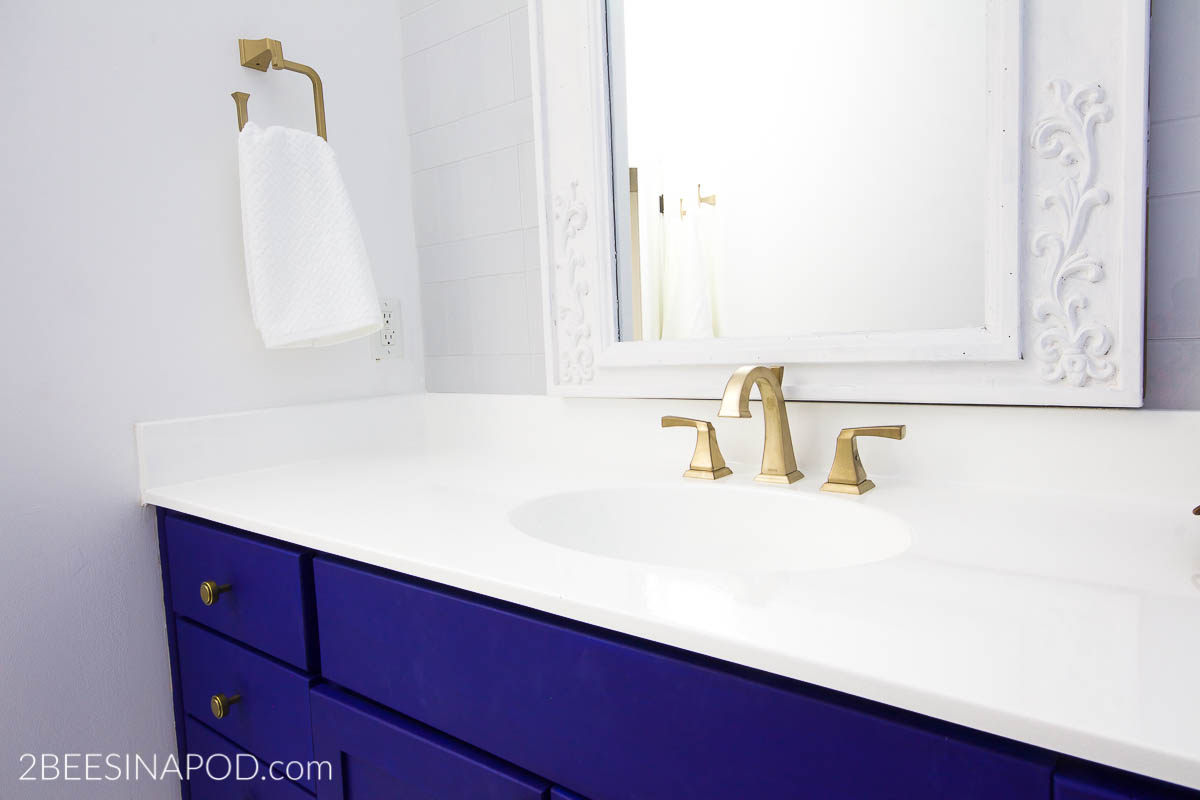
DIY Painted Bathroom Countertop and Sink – 2 Bees in a Pod
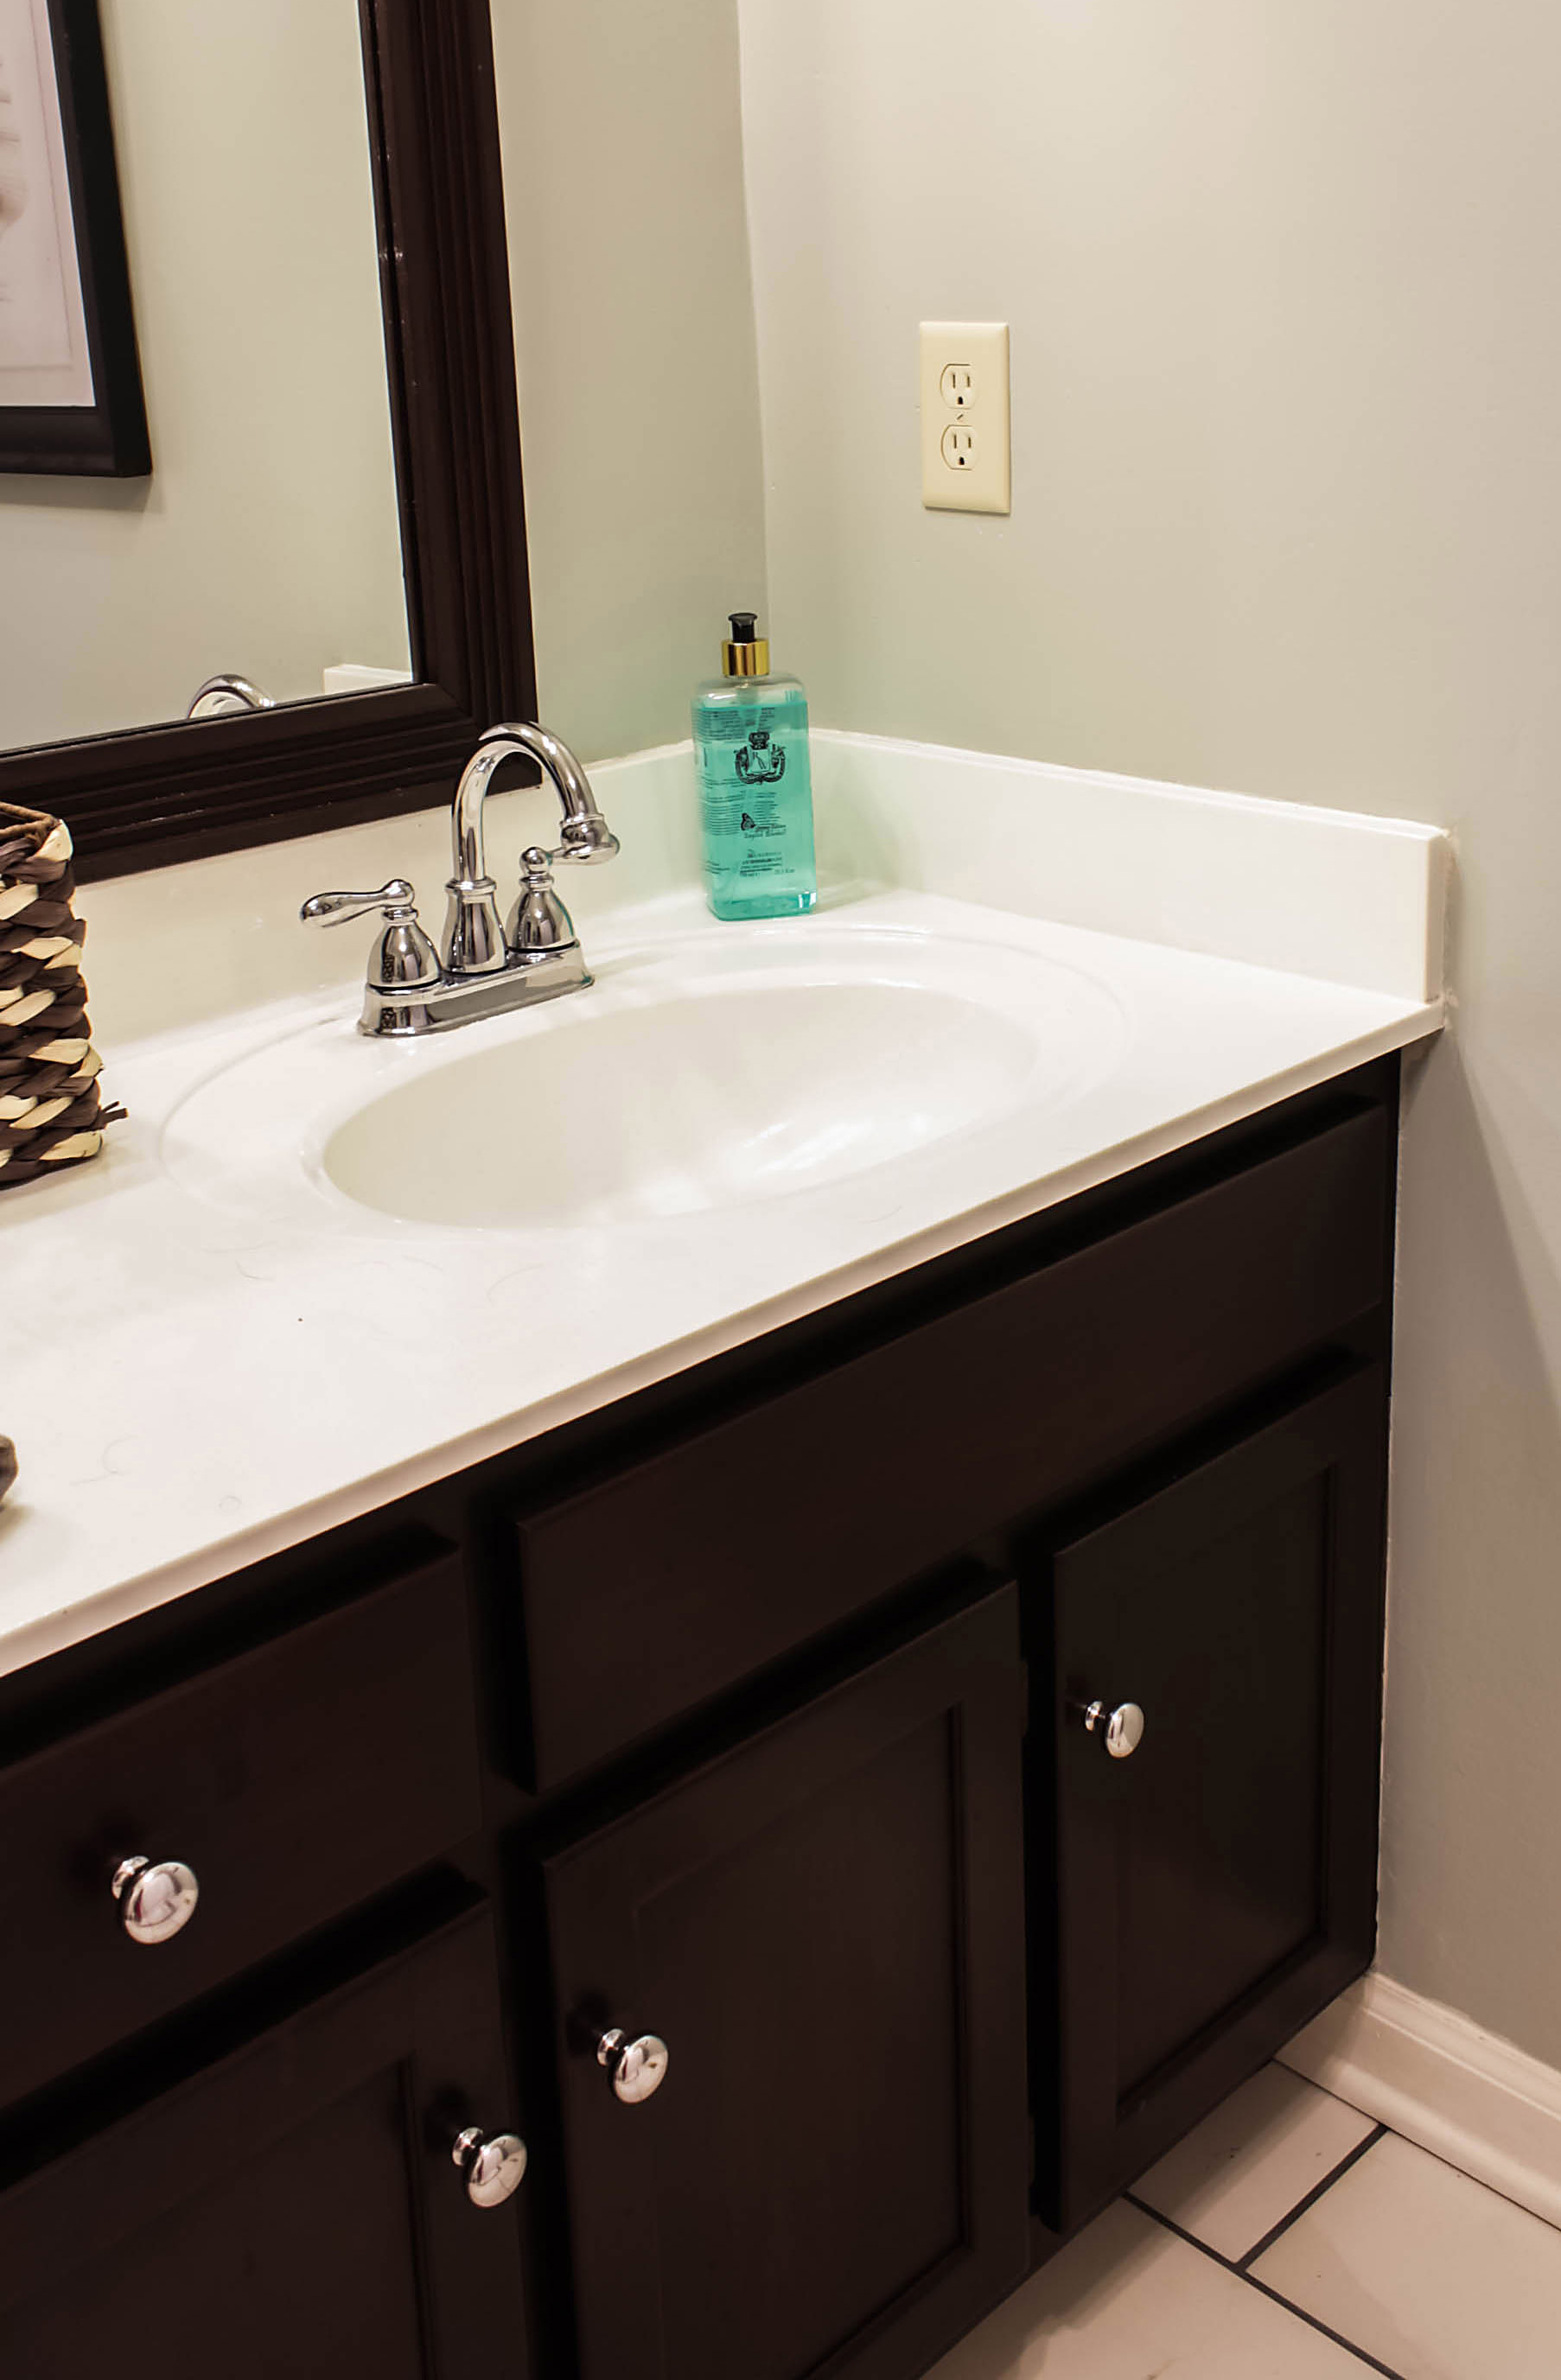
How to Paint Cultured Marble Countertops – DIY Tutorial
Related articles:
- Bathroom Countertop Remodel
- Inexpensive Bathroom Countertops
- Resin Bathroom Countertops
- Walnut Bathroom Countertop
- Green Granite Bathroom Countertops
- Cheap Bathroom Countertops
- Resurface Bathroom Countertops
- Ideas For Bathroom Countertops
- Travertine Bathroom Countertops
- Affordable Bathroom Countertops