Creating a wood bathroom countertop is a fantastic DIY project that combines functionality and style, adding a warm, natural element to your bathroom. The first thing to consider when embarking on a wood countertop project is choosing the right type of wood. Not all wood types are suitable for bathroom use, where moisture is a constant concern. Hardwoods like teak, oak, and maple are popular choices due to their durability and resistance to moisture. Teak, in particular, is naturally oily and highly resistant to water, making it an excellent choice for bathrooms. The wood should be properly sealed to protect against water damage, but the right choice of wood will give you a solid foundation for your countertop.
Once you’ve selected your wood, the next step is to measure your bathroom vanity or the area where you plan to install the countertop. Accurate measurements are crucial to ensure that the wood fits perfectly and functions well in the space. Remember to account for any sink cutouts and to leave a bit of extra room for adjustments during installation. It’s also wise to plan out the placement of your sink and any fixtures to ensure that everything aligns correctly. If you’re replacing an old countertop, use it as a template for your new one. This step can save you time and help avoid mistakes during the cutting process.
Cutting the wood to the correct size is a critical step in the DIY process. A circular saw is typically used for this task, as it provides a clean, straight cut. However, if you’re not comfortable using power tools, consider getting the wood cut to size at a local hardware store. It’s essential to sand the edges and surfaces of the wood after cutting to remove any splinters and create a smooth finish. Begin with a rougher grit sandpaper to shape the wood, then gradually move to finer grits for a polished surface. This step not only ensures safety but also prepares the wood for staining and sealing, allowing these products to adhere better and last longer.
After sanding, you’ll need to treat the wood to protect it from moisture. Applying a wood conditioner is the first step, especially if you’re working with a porous type of wood like pine or oak. The conditioner helps the wood absorb the stain evenly, preventing blotchiness and enhancing the overall appearance. Once the conditioner has dried, you can apply a stain if you want to enhance the wood’s natural color or match it to other elements in your bathroom. Staining adds depth to the wood grain and can either darken or lighten the wood, depending on your preference. Make sure to apply the stain in even coats and wipe off any excess to prevent streaks.
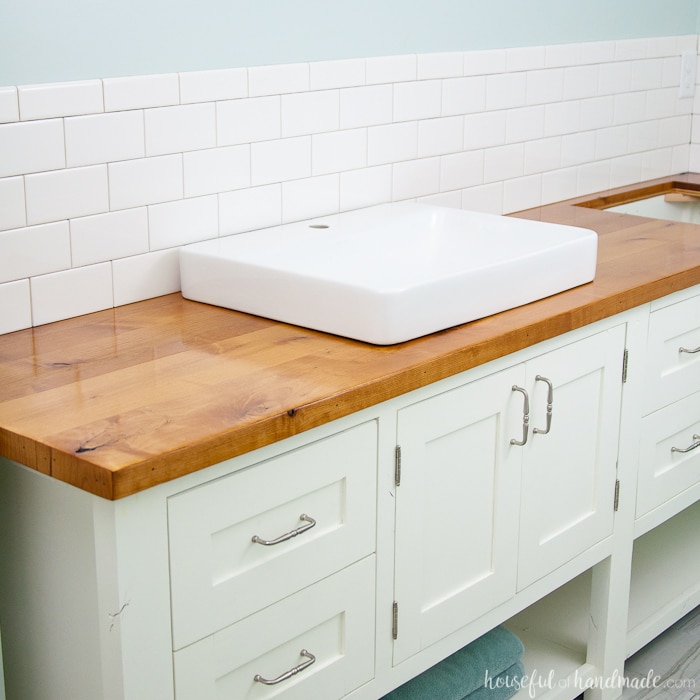
Sealing the wood is perhaps the most crucial step in creating a durable bathroom countertop. Given the bathroom’s humid environment, a strong, water-resistant sealant is necessary to protect the wood from moisture, which can cause warping, cracking, or mildew. Polyurethane is a common choice for sealing wood countertops, offering a tough, clear finish that can withstand daily use. You might also consider using a marine-grade varnish, which is designed to withstand constant exposure to water, making it ideal for bathrooms. Apply several coats of sealant, allowing each layer to dry fully before applying the next. This process may take a few days, but it’s essential for ensuring the longevity of your wood countertop.
Once your countertop is sealed and fully dried, the next step is to install it in your bathroom. If you’re working with a vanity, you’ll need to secure the countertop with screws or brackets to ensure it stays in place. For a floating countertop, heavy-duty brackets attached to the wall will be necessary to support the weight of the wood and any items placed on it. Make sure the countertop is level and stable before securing it. If you’ve included a sink cutout, carefully place the sink into the opening and seal it around the edges with a waterproof caulk to prevent leaks. This installation process might require a helping hand to ensure everything is aligned and secure.
Finishing touches are what make a DIY wood bathroom countertop truly shine. Consider adding a backsplash using the same wood for a cohesive look, or choose a complementary tile or stone material to create contrast. A backsplash not only enhances the design but also protects the wall from water splashes, which is particularly important in a bathroom. You might also add decorative elements like trim or molding to the edges of the countertop for a more polished appearance. These details can elevate the overall aesthetic and make your DIY project look professional.
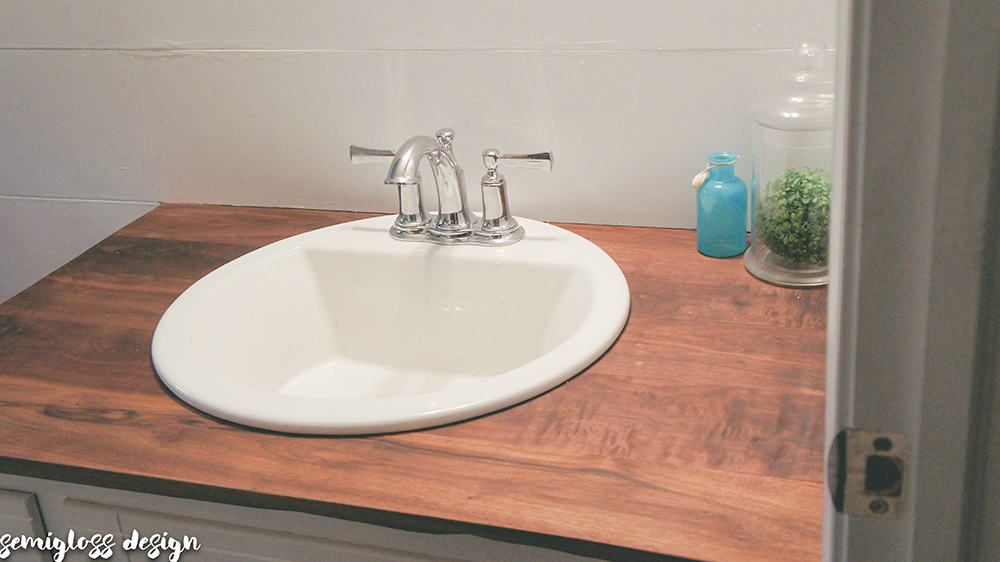
Maintaining your wood bathroom countertop is key to keeping it looking beautiful for years to come. Regular cleaning with a damp cloth and mild soap will keep the surface clean without damaging the sealant. Avoid using harsh chemicals or abrasive cleaners, as these can strip the finish and expose the wood to moisture. It’s also a good idea to periodically reseal the countertop, especially if you notice the finish starting to wear down or the water not beading up as it should. This maintenance will help protect the wood from the daily rigors of bathroom use and keep it in top condition.
For those looking to add a personal touch, consider customizing your wood countertop with decorative inlays or engravings. These could be simple designs like a monogram or more intricate patterns that reflect your style. Wood-burning tools can be used to create these designs directly on the wood before staining and sealing. Alternatively, you could add inlays of other materials, such as metal or stone, to create a unique look. These customizations not only make your countertop one-of-a-kind but also add a level of craftsmanship that turns a simple project into a work of art.
One of the benefits of a DIY wood bathroom countertop is the flexibility it offers in terms of design and customization. You can choose from various edge profiles, such as straight, beveled, or rounded, to match your bathroom’s style. These edges can be created using a router or by hand, depending on your skill level and the tools available. You can also experiment with different stains and finishes to create a look that’s uniquely yours. Whether you prefer a rustic, weathered appearance or a sleek, modern finish, the possibilities are endless with wood.
Incorporating storage solutions into your wood countertop design is another way to enhance both the functionality and aesthetics of your bathroom. Consider adding built-in shelving underneath the countertop for towels, toiletries, or decorative items. If you’re working with a smaller bathroom, these added storage spaces can be a lifesaver, helping to keep the area organized and clutter-free. Open shelving can also add to the visual appeal of your bathroom, allowing you to display items that complement your overall design scheme.
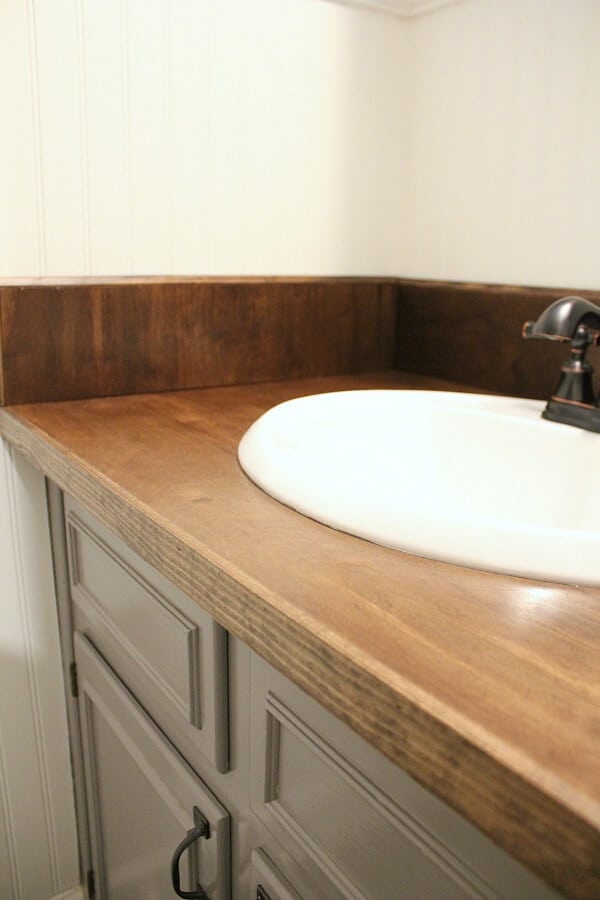
It’s also worth considering how your wood countertop will integrate with the other materials and fixtures in your bathroom. For instance, pairing wood with metals like brushed nickel or matte black creates a striking contrast that can elevate the entire room’s look. Similarly, using natural stone or tile in combination with wood can create a harmonious blend of textures that feels both luxurious and earthy. When planning your project, think about how the wood countertop will interact with the bathroom’s color scheme, tile work, and fixtures to create a cohesive and visually pleasing design.
The satisfaction of completing a DIY wood bathroom countertop extends beyond the finished product. There’s something incredibly rewarding about creating something with your own hands, especially when it’s a focal point in a room as frequently used as the bathroom. The skills you develop during this project, such as woodworking, staining, and sealing, can also be applied to future DIY projects around your home. Whether you’re a seasoned DIY enthusiast or a beginner looking to tackle your first big project, building a wood countertop is an accessible and rewarding endeavor.
If you’re concerned about the environmental impact of using wood, consider sourcing your materials sustainably. Reclaimed wood is an excellent option that not only gives your countertop a unique character but also contributes to environmental conservation by reusing materials that might otherwise go to waste. Many suppliers offer sustainably sourced wood that’s harvested in ways that minimize environmental damage. Choosing these options allows you to create a beautiful, eco-friendly countertop that aligns with your values.
Finally, don’t forget the power of accessories in enhancing your wood bathroom countertop. Small touches like a stylish soap dispenser, a set of matching towels, or a few well-placed plants can bring out the beauty of the wood and tie the entire room together. These accessories can be easily changed over time, allowing you to refresh the look of your bathroom without needing to make major changes to the countertop itself. The warmth and versatility of wood provide a perfect backdrop for a wide range of decorative styles, making it easy to personalize your space.
Common Mistakes to Avoid
One common mistake in DIY wood bathroom countertop projects is neglecting to properly seal the wood. Without adequate sealing, the wood can absorb moisture, leading to warping, cracking, or even mold growth.
Another mistake is not allowing enough drying time between coats of stain or sealant, which can result in a sticky or uneven finish. It’s also easy to overlook the importance of sanding, both before and between coats of finish. Skipping this step can leave you with a rough or uneven surface that’s difficult to clean and maintain.
Additionally, some DIYers may choose the wrong type of wood for their countertop, opting for softer, less durable options that aren’t suited to a bathroom environment. Lastly, inaccurate measurements can lead to a countertop that doesn’t fit properly, resulting in gaps or the need for extensive adjustments during installation.
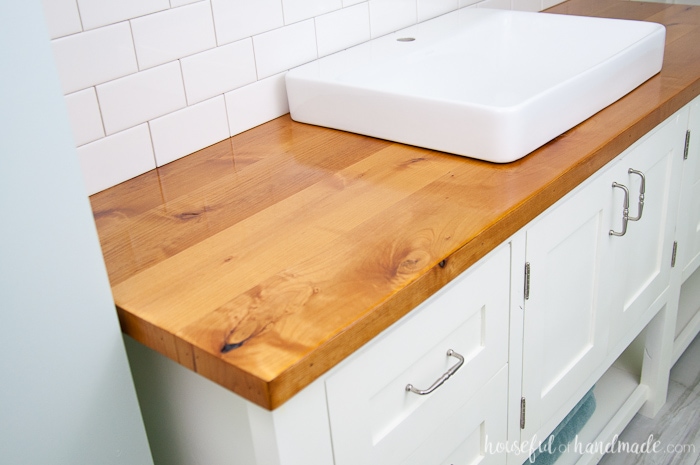

How can I make my wood countertop more water-resistant?
Making your wood countertop more water-resistant starts with choosing the right wood and applying a high-quality sealant. Products like polyurethane or marine-grade varnish are excellent for protecting the wood from moisture. Applying multiple coats and allowing each one to dry thoroughly is key to building a strong, durable barrier. Additionally, using a wood conditioner before staining can help the wood absorb the finish more evenly, enhancing its water resistance.
What should I do if my wood countertop gets scratched?
If your wood countertop gets scratched, minor scratches can often be sanded out and resealed. For deeper scratches, you might need to fill them with a wood filler before sanding and resealing. Always sand in the direction of the grain to avoid further damage. After sanding, reapply your stain and sealant to blend the repair with the rest of the countertop. Regular maintenance and gentle use can help prevent scratches from occurring.
Can I install a wood countertop around an existing sink?
Yes, you can install a wood countertop around an existing sink, but it requires precise measurements and careful cutting. You’ll need to create a template of the sink’s shape to cut the wood accurately. It’s also important to seal the edges around the sink well to prevent water from seeping into the wood. Using a waterproof caulk around the sink’s edges can provide additional protection against moisture.
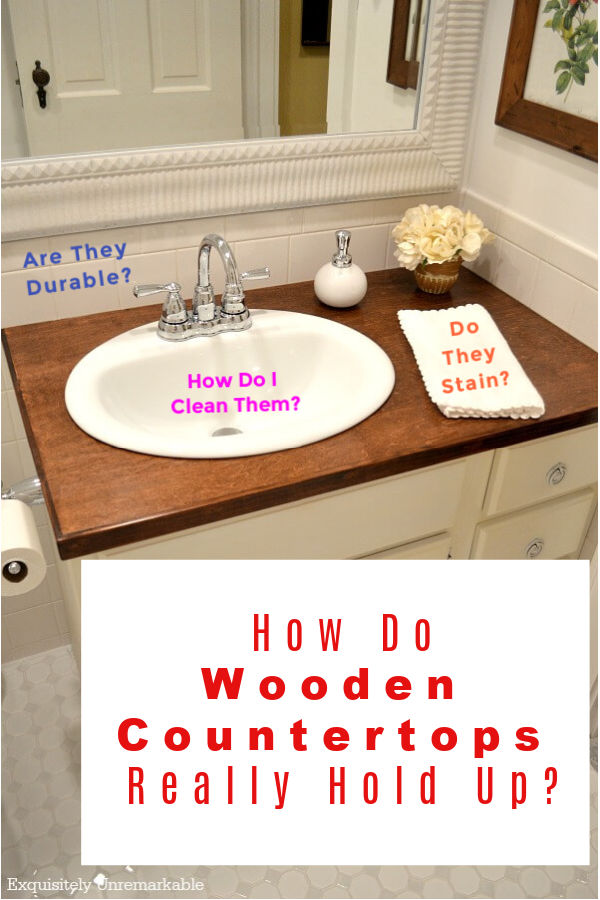
How To Build Beautiful DIY Wood Countertops In A Day
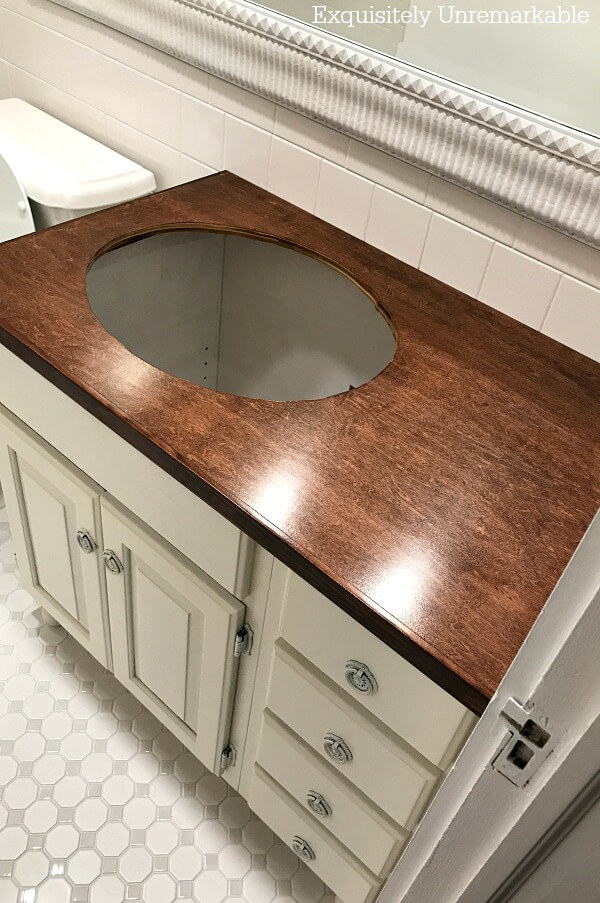
DIY Wood Bathroom Countertop: An Easy Way to Change your Vanity
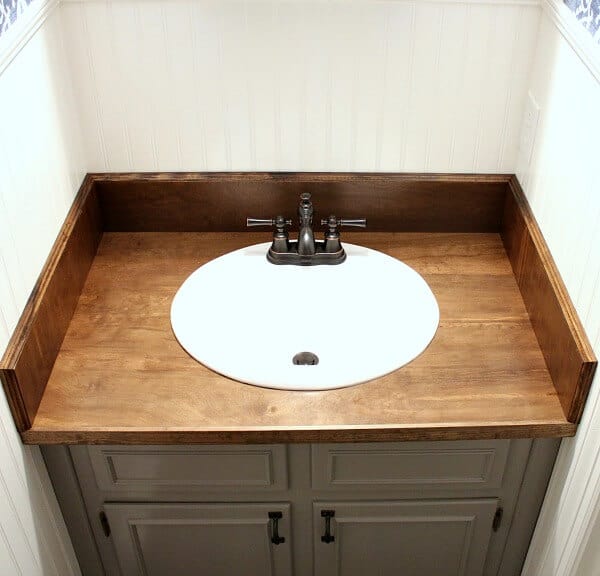
Related articles: