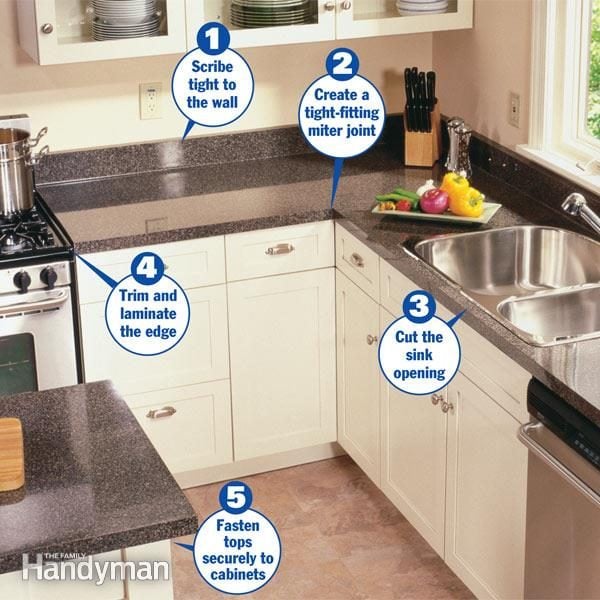
Laminate countertops, known for their affordability and versatility, have become a popular choice for homeowners looking to enhance the aesthetic appeal of their kitchens without breaking the bank. The installation process for laminate countertops is relatively straightforward, making it an accessible option for both DIY enthusiasts and those who prefer professional installation. Before embarking on the installation journey, it’s crucial to measure the kitchen space accurately. Precise measurements ensure that the laminate sheets fit seamlessly, providing a polished and cohesive look once installed.
Preparing the existing countertop surface is a crucial step in the installation process. The surface should be clean, smooth, and free of any debris. Any imperfections or irregularities in the existing countertop should be addressed to ensure a level and stable foundation for the laminate. In some cases, homeowners may choose to install a new substrate or underlayment to create an optimal base for the laminate sheets.
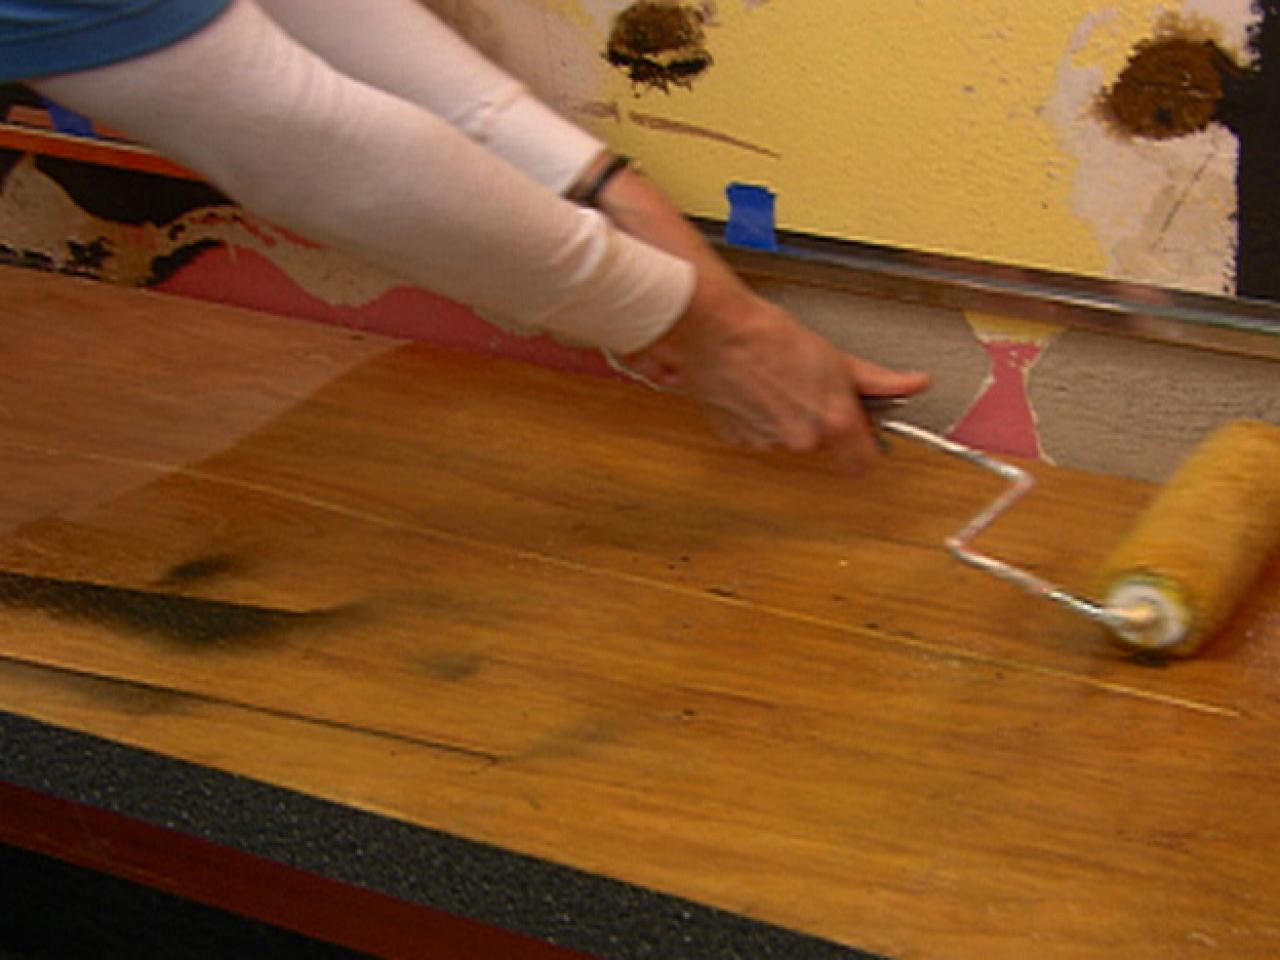
Once the surface is prepared, the next step involves applying contact cement to both the substrate and the back of the laminate sheets. Contact cement is a crucial adhesive in the laminate installation process, providing a strong and durable bond between the laminate and the substrate. It’s important to follow the manufacturer’s instructions regarding the application of contact cement, ensuring an even and thorough coverage on both surfaces.
After allowing the contact cement to dry to a tacky consistency, carefully positioning the laminate sheets onto the substrate is the next phase. This requires precision to achieve a proper fit and avoid any bubbles or imperfections. Using dowels or other temporary spacers during the positioning process helps ensure an even distribution of pressure, allowing the laminate to adhere uniformly to the substrate.

The actual bonding of the laminate to the substrate involves using a J-roller or a similar tool to apply consistent pressure across the entire surface. This step is critical in achieving a strong and long-lasting bond. Taking the time to go over the entire surface with the roller ensures that the laminate is securely attached, and any air bubbles or pockets of adhesive are eliminated.
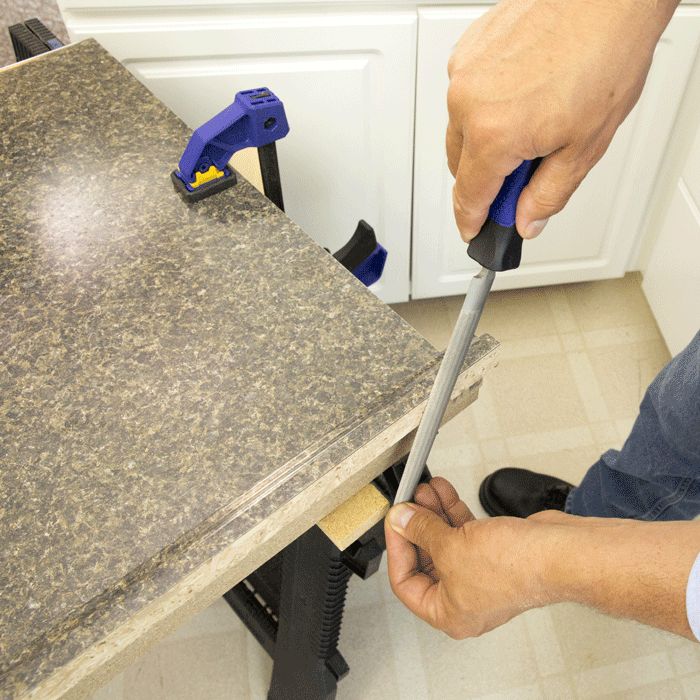
Once the laminate is securely bonded to the substrate, the excess material is trimmed using a router with a flush trim bit. This step requires precision and a steady hand to achieve clean and straight edges. The router is guided along the edges of the countertop, removing the excess laminate and leaving a smooth and polished finish. Careful attention during this trimming process contributes to the overall professional appearance of the installed laminate countertop.
For a finished and polished look, edge banding is applied to the exposed edges of the laminate countertop. Edge banding, often made of the same material as the laminate or a complementary one, serves both a functional and aesthetic purpose. It provides a protective barrier for the edges, preventing moisture infiltration, and enhances the overall visual appeal of the countertop.

Sealing the seams of the laminate sheets is a crucial step to prevent any water or moisture from reaching the substrate. Silicone caulk is commonly used for this purpose, creating a watertight seal along the seams. Properly sealed seams not only contribute to the countertop’s longevity but also enhance its resistance to water damage, particularly in areas prone to spills or high humidity.
While laminate countertops are generally durable, they are not impervious to damage. Using cutting boards or trivets for hot items is advisable to prevent scratches and burns. Additionally, avoiding abrasive cleaners and harsh chemicals helps maintain the laminate’s finish over time. Educating homeowners on these best practices during the installation process ensures that they can enjoy the longevity and beauty of their laminate countertops.
The versatility of laminate countertops extends beyond their ease of installation. They are available in a wide range of colors, patterns, and finishes, allowing homeowners to choose a design that suits their taste and complements their kitchen decor. Whether replicating the look of natural stone, wood, or a modern solid color, laminate countertops provide an affordable and customizable option for achieving the desired aesthetic in the kitchen.
Laminate countertop installation is a manageable process that, when executed with precision and attention to detail, can result in a durable and attractive kitchen surface. From accurate measurements to proper substrate preparation and the careful application of adhesive, each step contributes to the overall success of the installation. Educating homeowners on maintenance practices further ensures that their laminate countertops remain a functional and aesthetically pleasing element in their kitchens for years to come.
Images Related to Laminate Countertop Installation Video
How To Install Sheet Laminate On A Countertop

The next task is to key the countertop surface area with a bonding primer, which is going to make sure the color will follow a non porous covering. Setting a boiling warm pot on the countertop can generate- Positive Many Meanings – a dark mark, as well as be the source of the laminate to bubble up, although you shouldn’t be setting hot items on the countertops of yours anyway, even in case they are quartz or granite.
How to Install a Countertop (DIY) Family Handyman

DIY Laminate Countertop and Bevel Edge Trim

How to Install Laminate Countertops Loweu0027s

How to Install Laminate on Countertops how-tos DIY

How To MAKE and Install a Countertop End Cap

Making a Laminate Countertop

How to Remove Laminate Kitchen Countertops HGTV

Related articles:
- Painting Kitchen Laminate Countertops
- Quartz Laminate Countertops
- Laminate Countertops Installation
- Laminate Countertop For Kitchen Island
- Kitchen Island Laminate Countertops
- Cheap Laminate Countertops
- Laminate Countertops That Look Like Stone
- Plastic Laminate Countertops
- Laminate Countertop Ideas For Kitchen
- Dark Green Laminate Countertops