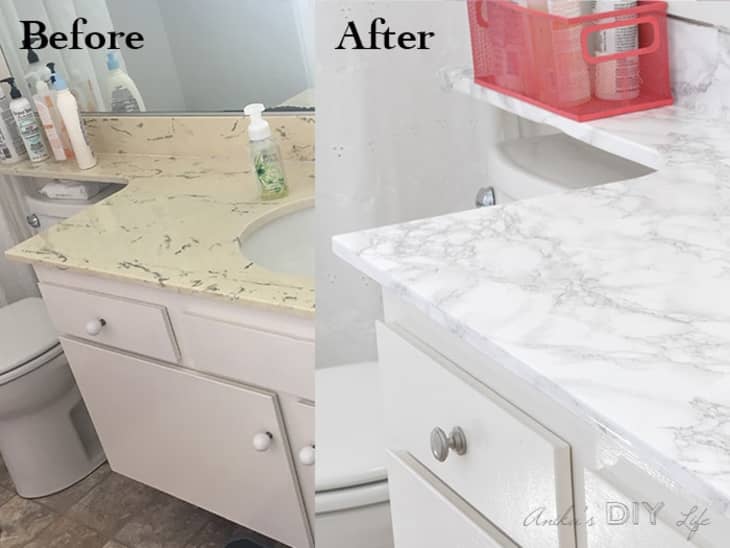
Are you tired of the outdated appearance of your laminate countertops? Are you looking for a cost-effective way to revitalize your kitchen without breaking the bank? Well, you’re in luck! In this comprehensive guide, I will walk you through the process of refinishing your laminate countertops, giving them a fresh and modern look. With a little effort and the right materials, you can transform your kitchen into a space you’ll love spending time in. So, let’s get started on this exciting DIY project!
Gather the Necessary Tools and Materials
To begin your laminate countertop refinishing journey, you must gather a few essential tools and materials. Here’s a list of what you’ll need:
- Protective gear: Safety goggles, gloves, and a dust mask.
- Sandpaper: Start with 150-grit sandpaper for initial sanding, followed by 220-grit for a smoother finish.
- Primer: Choose a high-quality bonding primer specifically designed for laminate surfaces.
- Paint: Opt for durable and water-resistant paint that is suitable for use on countertops.
- Paintbrushes and rollers: Different sizes of brushes and foam rollers will help you achieve a smooth and even coat.
- Painter’s tape: Use this to protect the surrounding areas and achieve clean lines.
- Topcoat: Apply a clear topcoat to protect the newly painted surface.
Prepare the Countertops
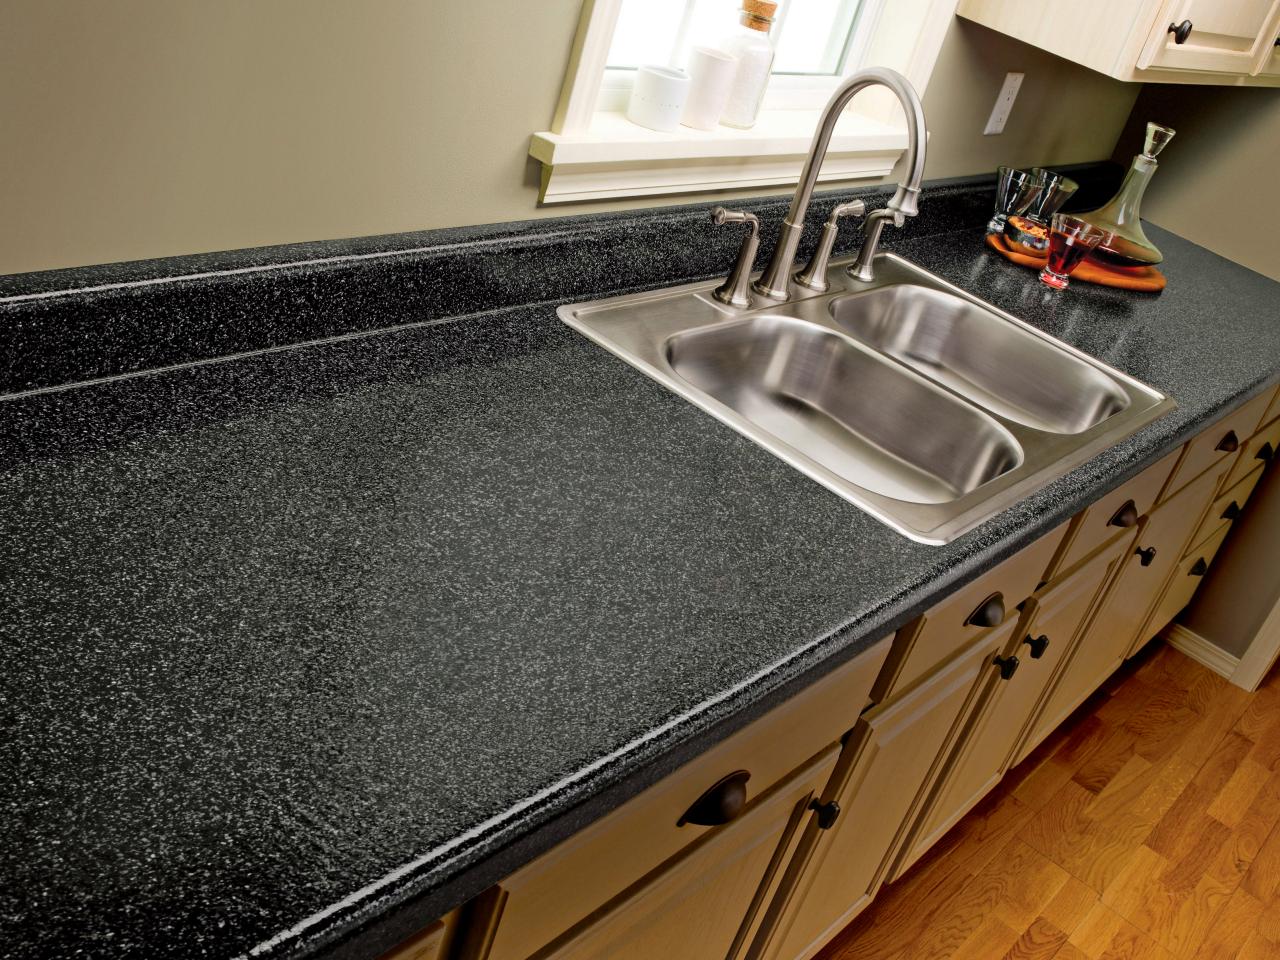
Before diving into the refinishing process, properly preparing your laminate countertops is crucial. Follow these steps for effective preparation:
- Clean the surface: Thoroughly clean the countertops with mild detergent and warm water. Remove any grease, dirt, or residue. Rinse and allow them to dry completely.
- Remove caulk and sealant: Carefully scrape off any old caulk or sealant around the edges of the countertops using a putty knife. Ensure that the surface is smooth and free from any adhesive residues.
- Sand the surface: Using 150-grit sandpaper, gently sand the entire surface of the countertop. This step helps the primer adhere better to the laminate. Wipe away the dust with a damp cloth and let it dry.
- Apply painter’s tape: Protect the surrounding areas, such as the walls and cabinets, by applying painter’s tape along the edges of the countertops. This will prevent any accidental paint spills or smudges.
Apply Primer and Paint
Now that your countertops are ready, it’s time to apply the primer and paint. Follow these instructions for a flawless finish:
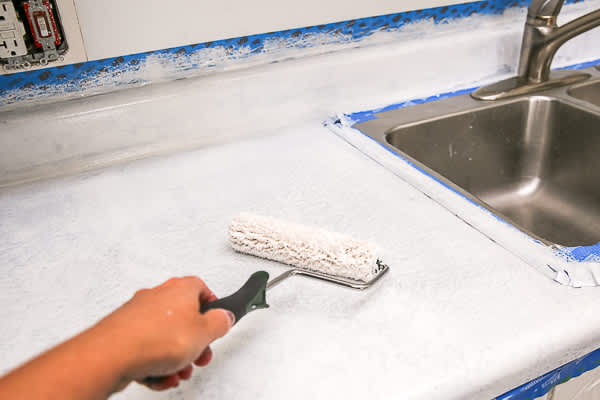
- Prime the surface: Apply an even coat of bonding primer to the countertops using a brush or foam roller. Make sure to cover the entire surface, including the edges. Allow the primer to dry as per the manufacturer’s instructions.
- Sand and clean: Once the primer has dried, lightly sand the surface with 220-grit sandpaper to achieve a smooth finish. Clean away any dust with a damp cloth and let it dry completely.
- Apply the base coat: Using a foam roller or brush, apply the base coat of your chosen paint color to the countertops. Work in smooth, even strokes, and ensure complete coverage. Allow the paint to dry according to the manufacturer’s instructions.
- Add additional coats: If necessary, apply additional coats of paint to achieve the desired color and finish. Remember to let each coat dry completely before applying the next.
Apply the Topcoat and Finishing Touches
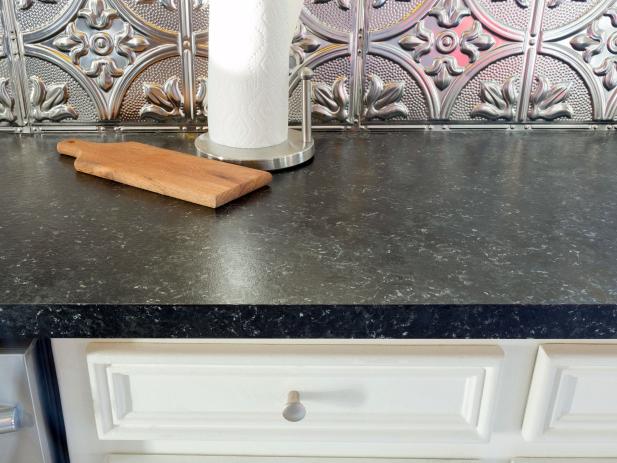
Applying a topcoat and adding finishing touches is essential to protect your newly painted laminate countertops and give them a polished look. Here’s what you need to do:
- Apply the topcoat: Once the paint is completely dry, apply a clear, water-resistant topcoat to the countertops. Follow the manufacturer’s instructions for proper application and drying time.
- Remove painter’s tape: Carefully remove the painter’s tape while the topcoat is still wet to achieve clean, crisp lines.
- Reinstall fixtures and caulk: After allowing the topcoat to dry, reinstall any removed fixtures, such as faucets and handles. Apply a fresh caulk bead along the edges of the countertops to ensure a watertight seal.
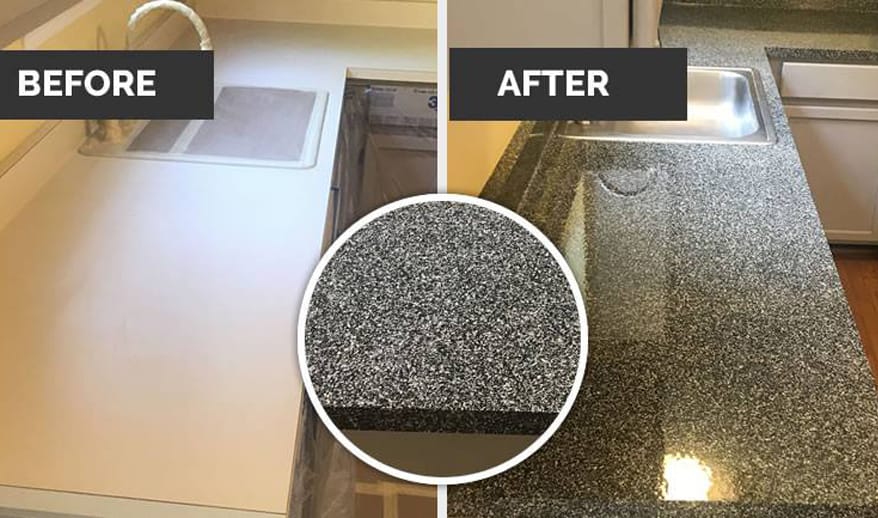
- Enjoy your refreshed kitchen: Step back and admire the stunning transformation of your laminate countertops. They will now have a beautiful, updated appearance that enhances the overall look of your kitchen.
Refinishing Laminate Countertops to Look Like Stone
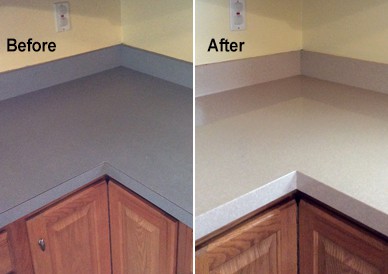
Laminate Counter Refinishing Ideas – Cool DIY Hacks for Laminate
How to Paint Laminate Countertops HGTV
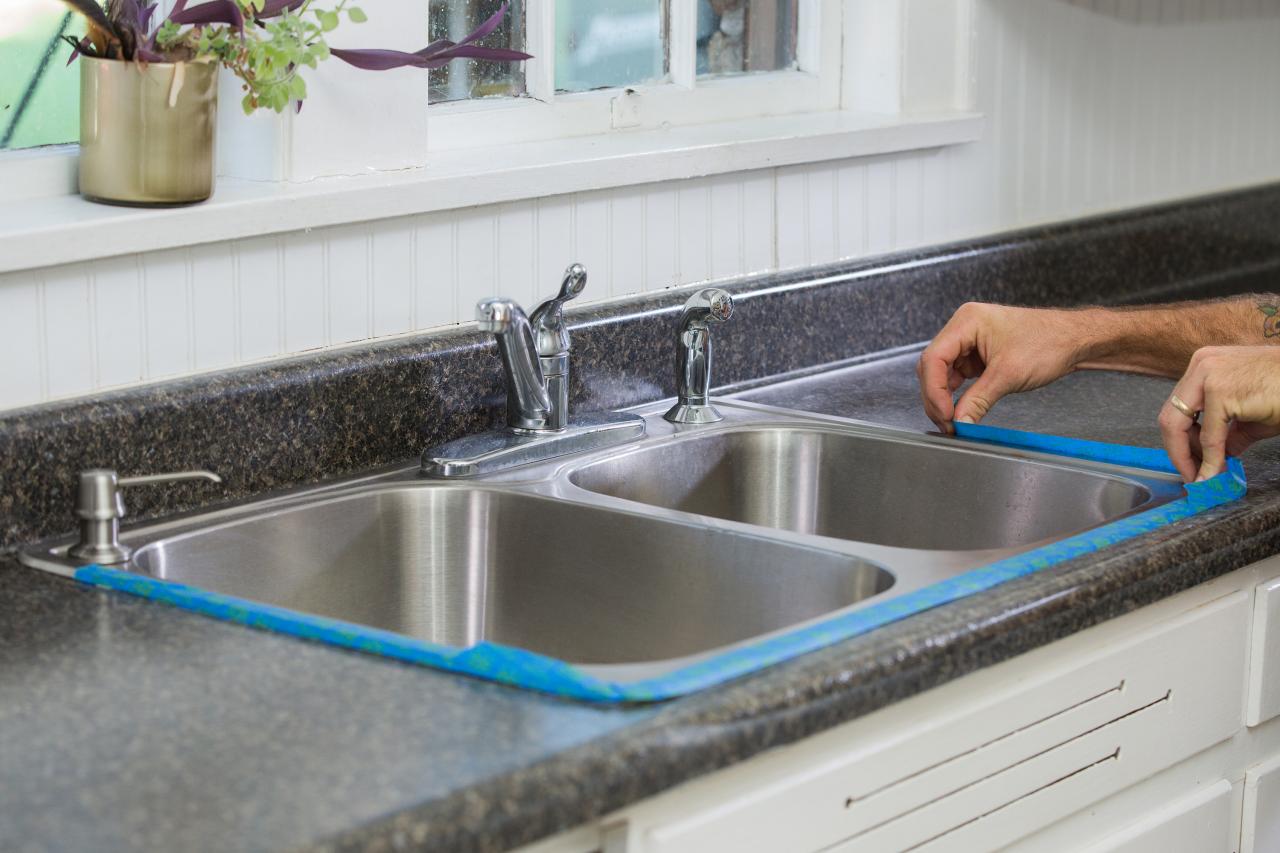
How to Paint Laminate Countertops to Look Like Stone DIY
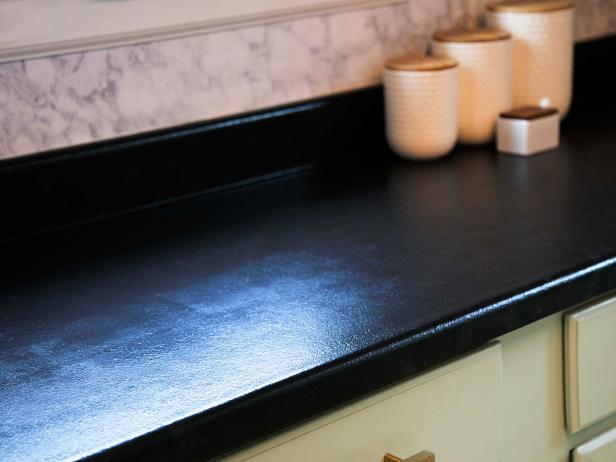
How my Painted Countertops Look After 3 Years of Use – Lovely Etc.
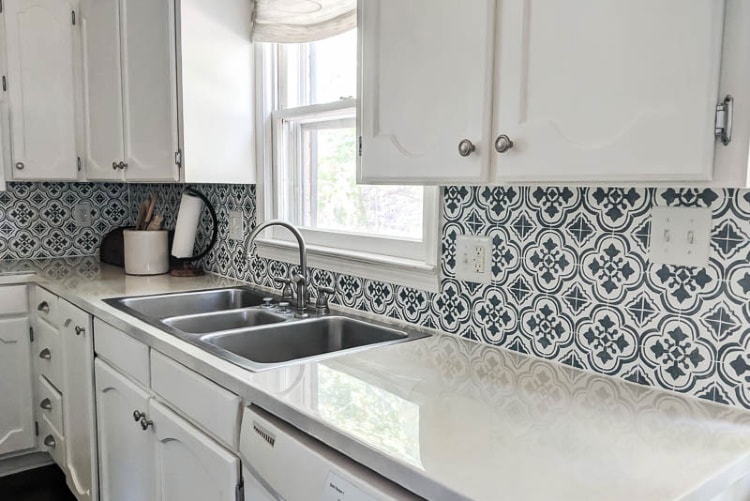
How to Paint Laminate Kitchen Countertops Diy kitchen

Change the Color of Laminate Countertops without Replacing Them
Related articles:
- Painting Kitchen Laminate Countertops
- Quartz Laminate Countertops
- Laminate Countertops Installation
- Laminate Countertop For Kitchen Island
- Kitchen Island Laminate Countertops
- Cheap Laminate Countertops
- Laminate Countertops That Look Like Stone
- Plastic Laminate Countertops
- Laminate Countertop Ideas For Kitchen
- Dark Green Laminate Countertops
