Kitchen Countertops DIY Installation
Installing kitchen countertops can be a rewarding DIY project that enhances the aesthetic appeal and functionality of your kitchen. This comprehensive guide covers the essential steps and considerations involved in installing kitchen countertops, ensuring a successful and professional finish.
Planning and Preparation
Before embarking on the installation process, careful planning and preparation are crucial. The first step is to choose the right material for your countertops. Options include granite, quartz, marble, laminate, and solid surface materials, each with its own benefits and drawbacks. Consider factors such as durability, maintenance, cost, and the overall design of your kitchen when making your selection.
Once you’ve chosen your countertop material, measure your existing countertops to determine the amount of material needed. Accurate measurements are vital to avoid mistakes during installation. Use a measuring tape to measure the length and width of your countertops, and account for any cutouts required for sinks, cooktops, or other appliances.
After gathering your measurements, purchase the necessary materials and tools. Depending on the type of countertop you’re installing, you may need items such as adhesive, caulk, a level, clamps, a jigsaw, and a circular saw. Ensure you have all the tools and materials on hand before starting the project to avoid delays.
Last, prepare the work area by clearing off your existing countertops and removing any old countertops if necessary. Disconnect any plumbing or electrical connections that might be in the way. Clean the surface thoroughly to ensure proper adhesion of the new countertops. It’s also a good idea to cover your cabinets and flooring with protective sheets to prevent damage during the installation process.

Installing the Countertops
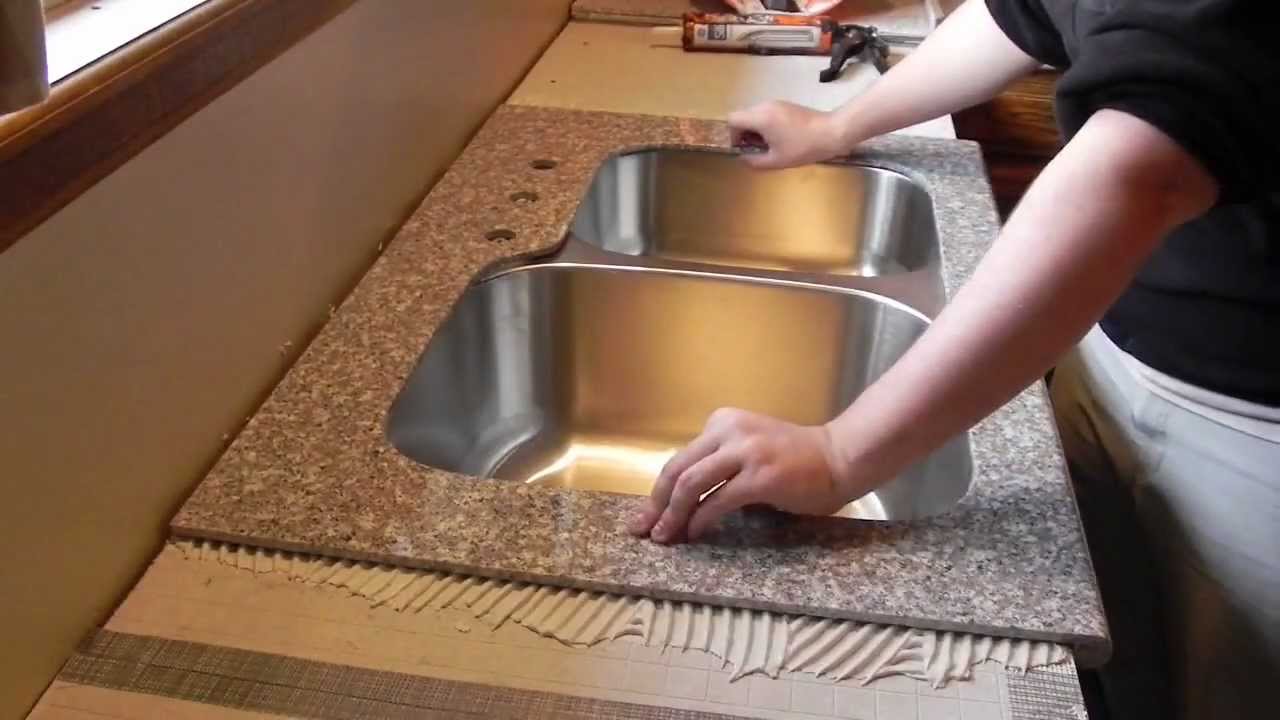
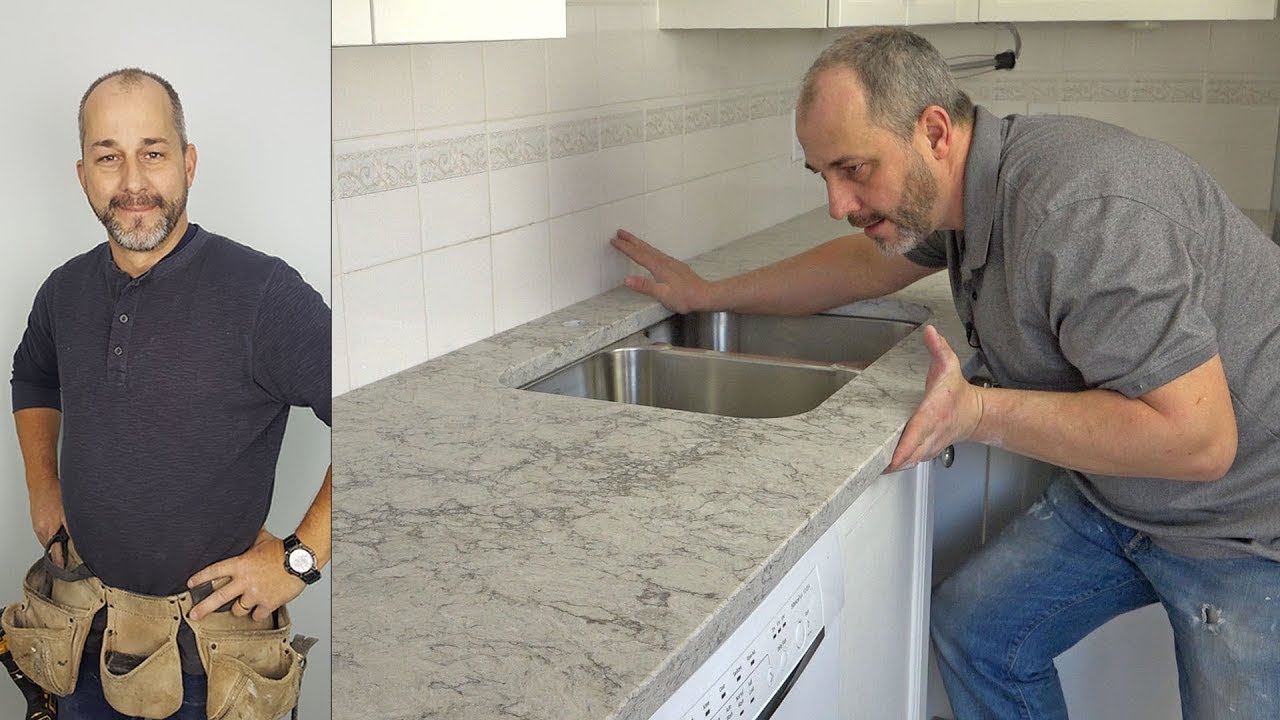
With the preparation complete, it’s time to install your new countertops. Start by laying out the pieces of your countertop on the base cabinets to ensure a proper fit. If you’re working with a natural stone like granite or marble, handle the pieces carefully as they can be heavy and fragile.
Once you’ve confirmed the fit, apply adhesive to the top of the base cabinets. Use a caulk gun to apply a thin, even layer of adhesive along the edges of the cabinets. Carefully place the countertop pieces on top of the adhesive, ensuring they are aligned properly. Press down firmly to ensure good contact between the countertop and the adhesive.
For laminate or solid surface countertops, you may need to secure the countertops with screws or clamps. Check the manufacturer’s instructions for specific installation requirements. If your countertops have seams, apply seam filler or adhesive as needed and use clamps to hold the pieces together while the adhesive sets.
After securing the countertops, it’s time to make any necessary cutouts for sinks or cooktops. Use a jigsaw or circular saw to cut out the openings, following the measurements you took earlier. Be sure to wear protective gear and work slowly to avoid damaging the countertop material.
Finishing Touches
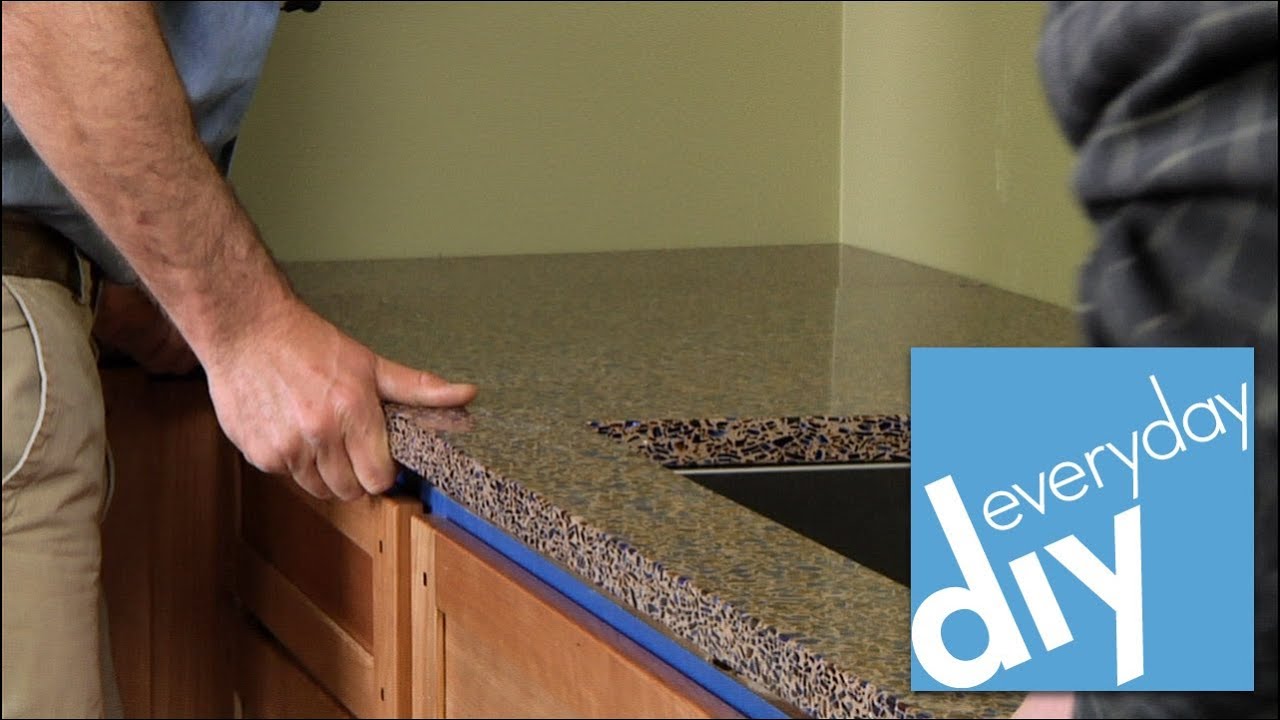
Once the countertops are securely in place, focus on the finishing touches to complete the installation. Begin by sealing the seams and edges. If you’re working with natural stone, apply a stone sealer to protect the surface from stains and moisture. For laminate or solid surface countertops, use caulk to seal the edges and prevent water from seeping underneath.
Next, reattach any plumbing or electrical connections that were disconnected during the preparation phase. Install the sink and any appliances that fit into the countertop cutouts, making sure to seal around the edges with caulk to prevent leaks. Test the connections to ensure everything is functioning properly.
To give your countertops a polished look, consider installing a backsplash. A backsplash not only adds to the aesthetic appeal but also protects the wall behind the countertops from splashes and spills. Choose a backsplash material that complements your countertops and follows the same installation principles: measure, cut, apply adhesive, and secure in place.
Finally, clean the entire countertop surface to remove any dust, debris, or adhesive residue. Use a gentle cleaner appropriate for your countertop material to avoid damage. With the installation complete, take a moment to admire your new kitchen countertops and enjoy the enhanced look and functionality they bring to your space.

Common Mistakes to Avoid
Installing kitchen countertops can be a complex task, and there are several common mistakes to watch out for. Avoiding these errors will help ensure a smooth installation process and a high-quality finish.
One common mistake is inaccurate measurements. Failing to measure accurately can lead to countertops that don’t fit properly, resulting in gaps or the need for additional adjustments. Double-check your measurements and account for any irregularities in the walls or cabinets to ensure a precise fit.
Another frequent error is using the wrong adhesive or not applying enough adhesive. Different countertop materials require specific types of adhesives for proper bonding. Using the wrong adhesive can result in poor adhesion and potential lifting or shifting of the countertops over time. Always follow the manufacturer’s recommendations for the type and amount of adhesive to use.
Improper handling of countertop materials, especially heavy or fragile ones like granite and marble, can lead to cracks or breakage. Use appropriate lifting techniques and, if necessary, enlist help to safely move and position the countertops. Protect the edges and corners to prevent chipping during installation.
Finally, neglecting to seal seams and edges can cause long-term damage to your countertops. Unsealed seams can allow water to penetrate, leading to swelling, mold, or damage to the underlying cabinets. Ensure all seams and edges are properly sealed with the appropriate materials to maintain the integrity and longevity of your countertops.
What tools do I need to install kitchen countertops?
To install kitchen countertops, you will need several essential tools, including a measuring tape, level, jigsaw, circular saw, clamps, caulk gun, and adhesive. Depending on the material of your countertops, you may also need specialized tools for cutting and finishing. For example, natural stone countertops may require a diamond blade saw for precise cuts. Additionally, protective gear such as gloves and safety glasses are important to ensure your safety during the installation process.
How do I choose the right countertop material for my kitchen?
Choosing the right countertop material depends on several factors, including your budget, lifestyle, and design preferences. Granite and quartz are popular choices for their durability and aesthetic appeal, but they can be expensive. Laminate and solid surface materials are more affordable and come in a wide variety of colors and patterns. Consider the level of maintenance required for each material, as some, like marble, may need regular sealing to maintain their appearance. Think about how you use your kitchen and select a material that will meet your needs in terms of durability, maintenance, and style.
Can I install kitchen countertops myself, or should I hire a professional?
While installing kitchen countertops can be a DIY project, it requires a certain level of skill and experience. If you have experience with home improvement projects and feel confident in your ability to measure, cut, and install the countertops accurately, you can tackle the project yourself. However, if you are unsure about any aspect of the installation process, it may be wise to hire a professional. Professionals have the tools and expertise to ensure a precise and high-quality installation, which can save you time and prevent costly mistakes.
How long does it take to install kitchen countertops?
The time it takes to install kitchen countertops varies depending on the size of your kitchen, the complexity of the installation, and the type of countertop material. On average, a straightforward installation of laminate or solid surface countertops can be completed in a day or two. More complex installations, such as those involving natural stone, custom cutouts, or intricate designs, may take several days to complete. Additionally, any preparation work, such as removing old countertops or making adjustments to cabinets, can add to the overall timeline.
How do I maintain and care for my new kitchen countertops?
Proper maintenance and care will extend the life of your kitchen countertops and keep them looking their best. For natural stone countertops, regularly apply a stone sealer to protect against stains and moisture. Use a gentle, pH-balanced cleaner to avoid damaging the surface. Avoid placing hot pots or pans directly on the countertop to prevent heat damage. For laminate countertops, clean with mild soap and water, and avoid using abrasive cleaners that can scratch the surface. Solid surface countertops can be cleaned with a non-abrasive cleaner and a soft cloth. Always follow the manufacturer’s care instructions specific to your countertop material to ensure its longevity.

How To Install Kitchen Counter Tops

Transform your kitchen for $20 – DIY White Marble Countertop
Amazing Techniques – Granite Kitchen Countertop Installation Video

How to Update Your Old Counter tops to Quartz
How to Remove Laminate Kitchen Countertops

Related articles: