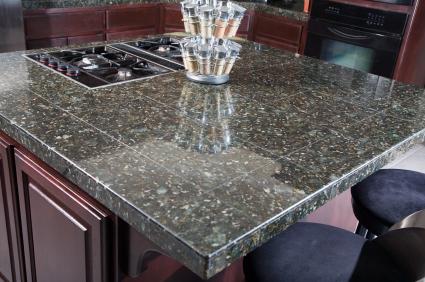
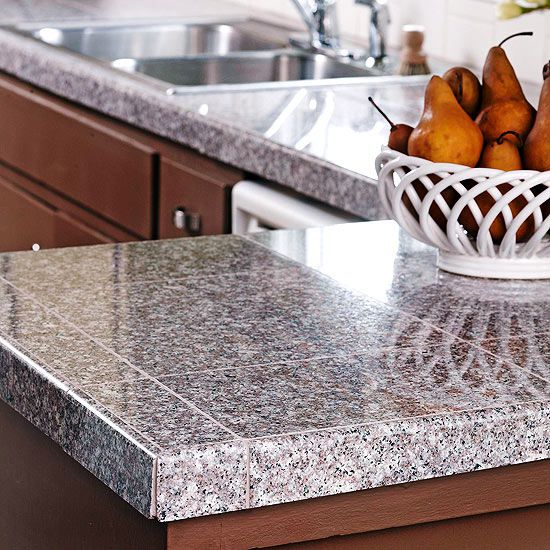
Installing granite tile kitchen countertops can be a great way to enhance the appearance and functionality of your kitchen. Here’s a step-by-step guide on how to install granite tile kitchen countertops:
Measure and plan: Start by measuring the dimensions of your countertop area. Take accurate measurements of length, width, and additional sections or corners. Plan the layout of the tiles, keeping in mind any seams or patterns you want to achieve.
Prepare the surface: Ensure the existing countertop surface is clean, level, and structurally sound. Remove any old countertops, appliances, or debris from the area. Repair or reinforce any weak or damaged sections of the sub-surface.
Apply the backerboard: Use a cementitious backerboard, such as HardieBacker or WonderBoard, to create a stable and moisture-resistant base for the granite tiles. Cut the backerboard to fit the countertop area and secure it using screws or nails. Leave a small gap between the backer board sheets for expansion.
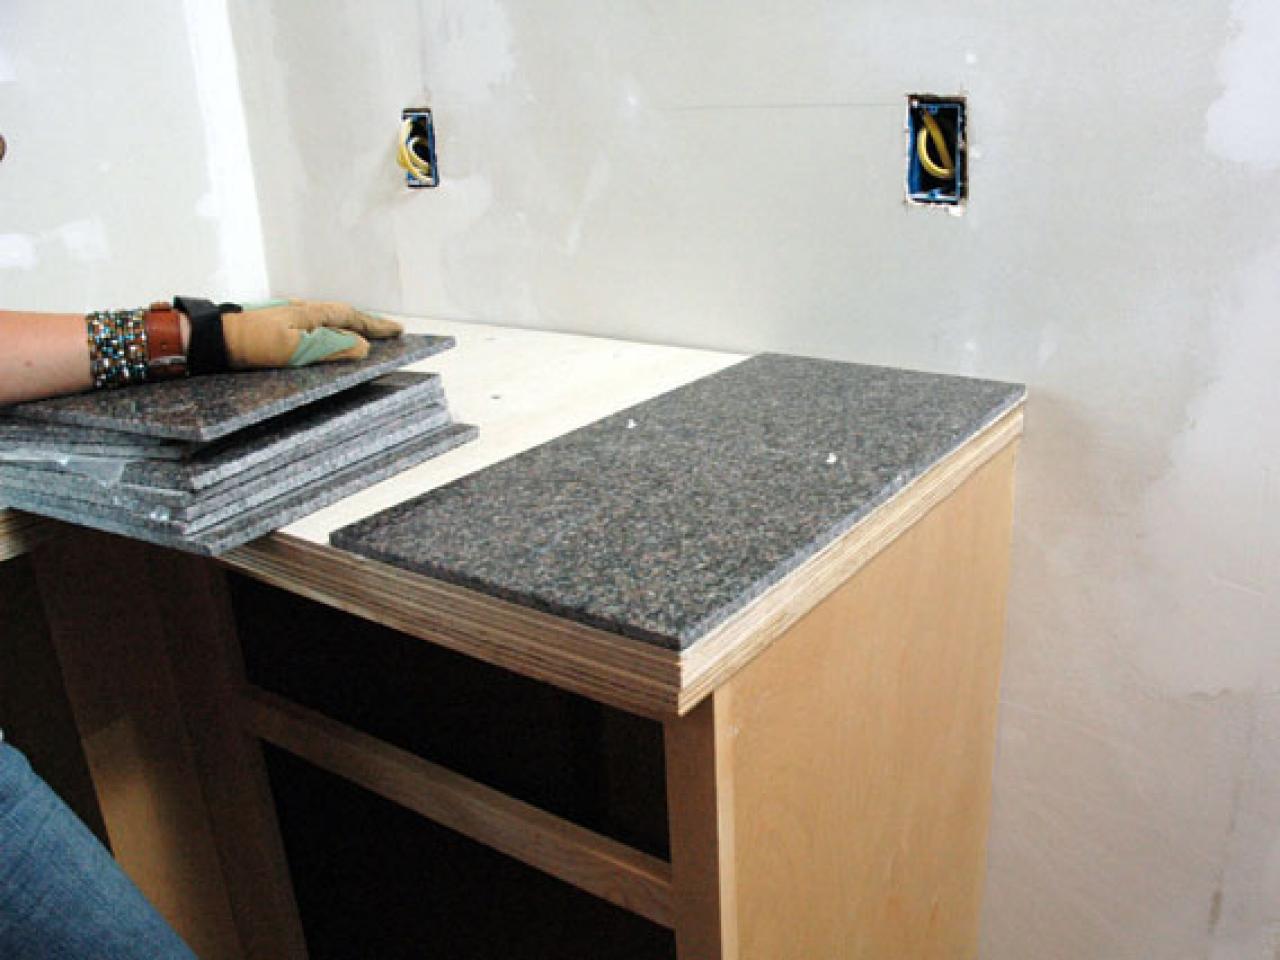
Plan the tile layout: Dry-fit the granite tiles on the backerboard to determine the best layout and placement. Start from the center and work outward to maintain symmetry. Make any necessary cuts to ensure a proper fit around edges, corners, and appliances.
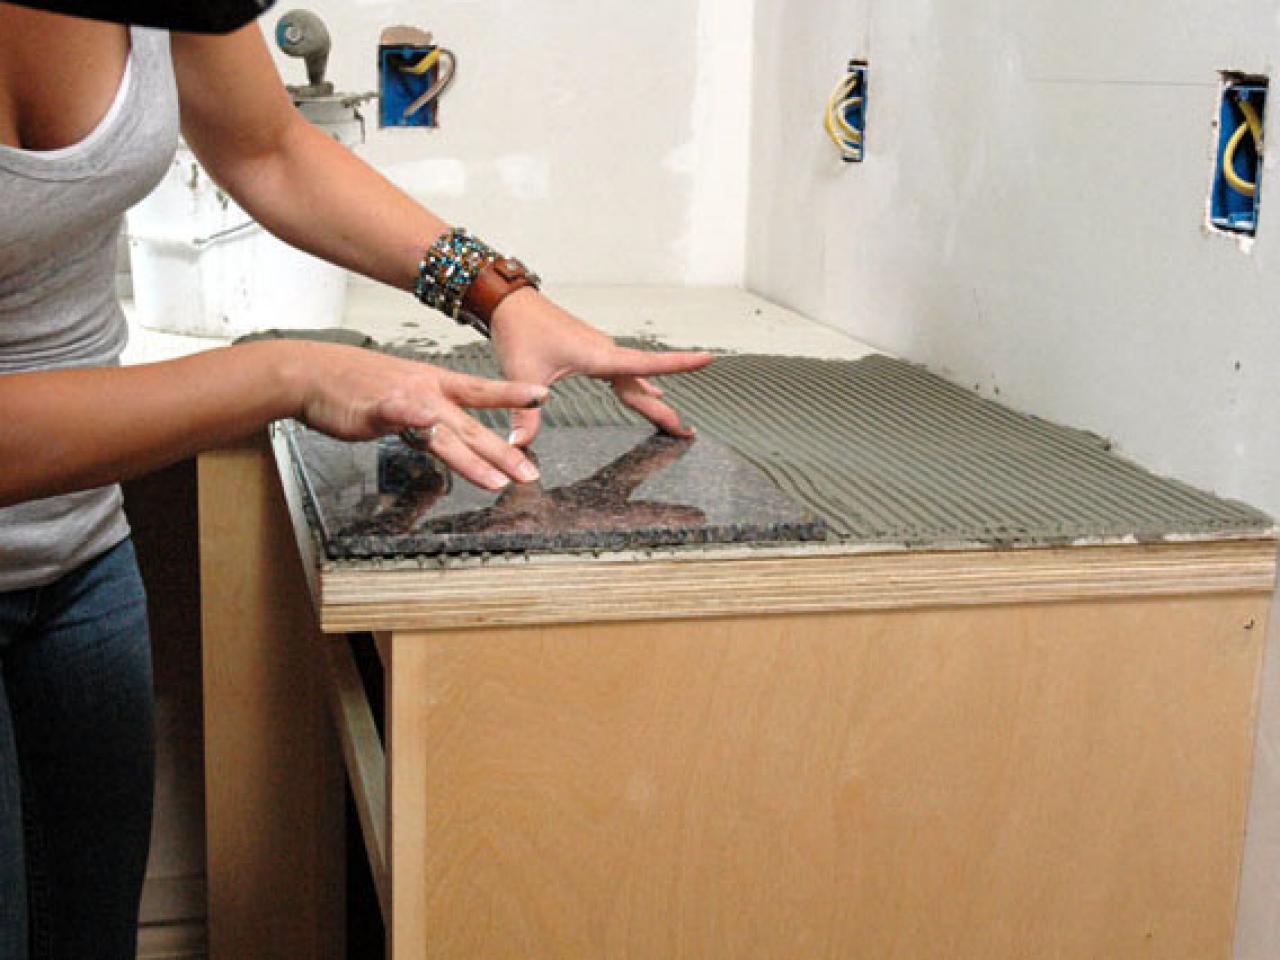
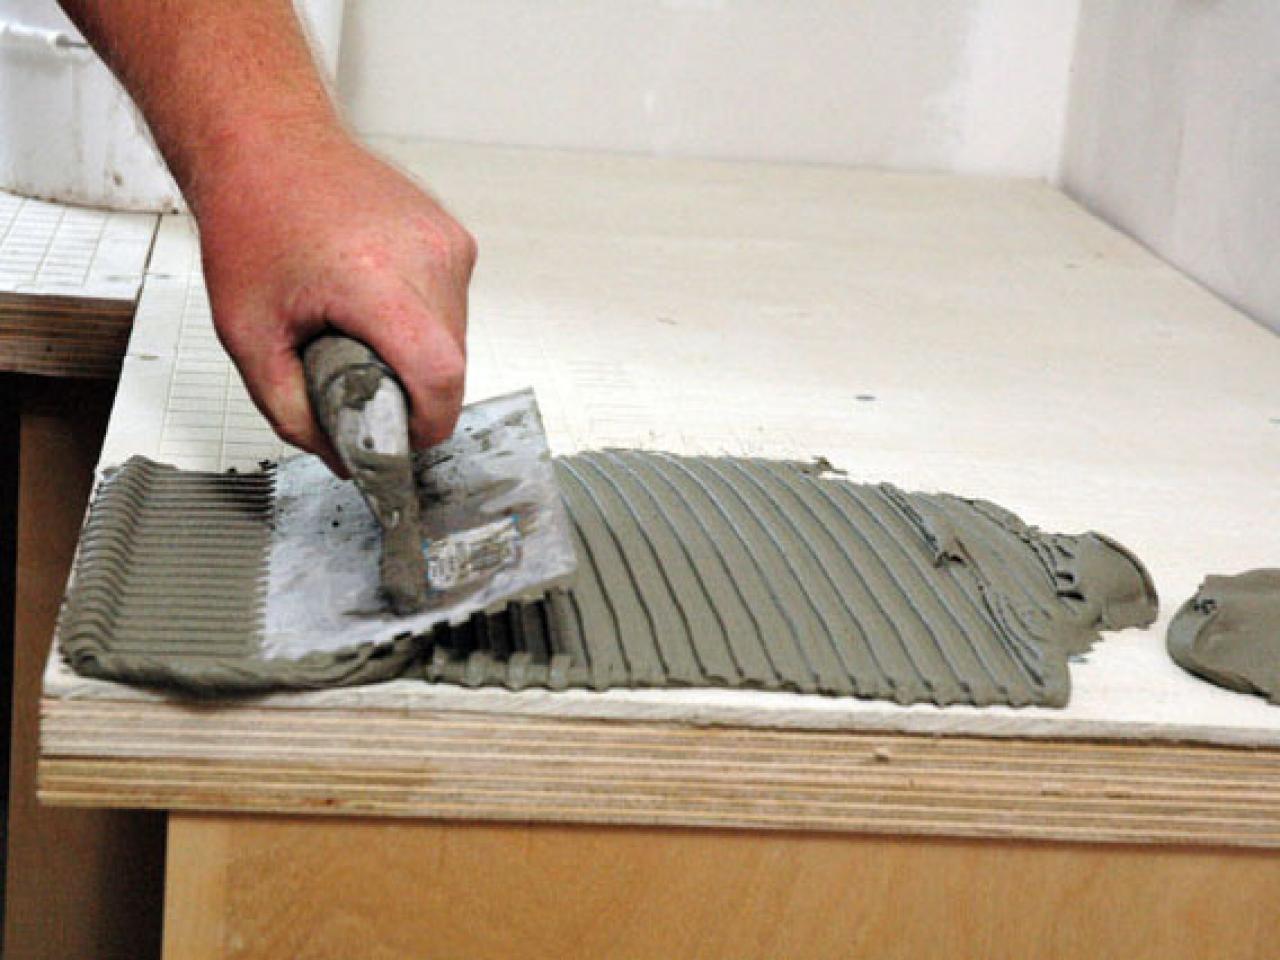
Apply adhesive: Apply a thin layer of granite tile adhesive or thin-set mortar on the backerboard using a notched trowel. Only spread enough adhesive that you can comfortably work with before it dries.
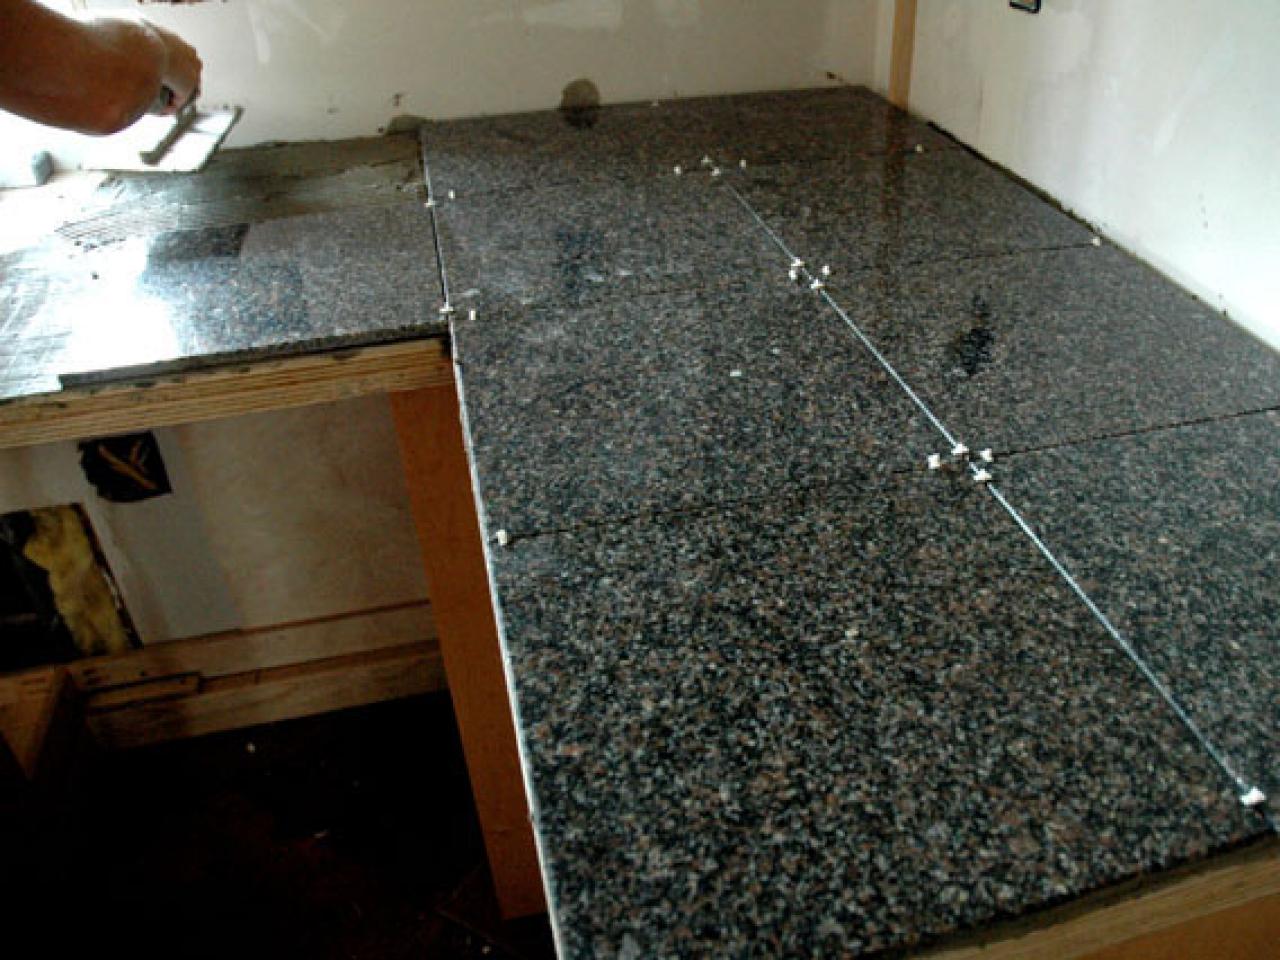
Install the tiles: Carefully press the granite tiles onto the adhesive, following the planned layout. Use tile spacers to maintain consistent grout lines between the tiles. Check for levelness and adjust as necessary.
Cut and shape tiles: Use a wet saw or tile cutter to make precise cuts for tiles that need to fit around edges, corners, or appliances. Wear safety goggles and follow the manufacturer’s instructions when using cutting tools.
Allow the adhesive to cure: Leave the tiles undisturbed for the recommended curing time specified by the adhesive manufacturer. This ensures a strong bond between the tiles and the backer board.
Grout the tiles: After the adhesive has cured, remove the tile spacers and prepare the grout according to the manufacturer’s instructions. Apply the grout with a grout float, filling all the gaps between the tiles. Wipe away any excess grout with a damp sponge, and let it cure as directed.
Seal the grout and tiles: Once the grout has fully cured, apply a penetrating sealer to protect the grout and granite tiles. Follow the sealer manufacturer’s instructions and reapply it periodically for ongoing protection.
By following these steps, you can successfully install granite tile kitchen countertops and enjoy a beautiful and durable surface in your kitchen. If you’re uncertain or uncomfortable with any aspect of the installation process, it’s always advisable to consult a professional for assistance.
Granite Countertops: How to Install Granite Tile (DIY) Family

How to Install A Granite Tile Kitchen Countertop how-tos DIY
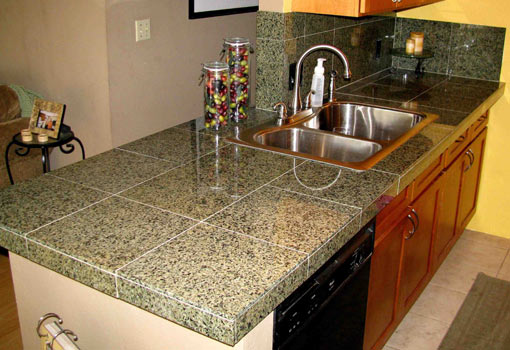
Granite Tile Countertops LoveToKnow
How to Install A Granite Tile Kitchen Countertop how-tos DIY
Granite Tile Better Homes u0026 Gardens
How to Install a Granite Tile Countertop – Todayu0027s Homeowner

Modular Granite Countertops: What You Should Know
/GettyImages-519515995-5ab3308fa474be00195043cb.jpg)
Related articles:
- Kitchen Countertop Design
- Durable Kitchen Countertops
- Cheap Kitchen Countertop Ideas
- Kitchen Countertop Ideas
- Unique Kitchen Countertop Ideas
- Budget Kitchen Countertops
- Wood Kitchen Countertops
- Formica Kitchen Countertop Ideas
- White Granite Kitchen Countertops
- DIY Kitchen Countertops