Installing cultured marble countertops can be a rewarding DIY project that adds elegance and functionality to your kitchen or bathroom. Cultured marble, a blend of crushed marble and resin, offers the luxurious look of natural stone with added durability and versatility. Whether you’re replacing old countertops or upgrading your space, here’s a comprehensive guide to installing cultured marble countertops:
Preparation and Planning: Begin by measuring your countertop space accurately to determine the dimensions of the cultured marble slab needed. Take into account any sink or appliance cutouts and allowances for overhangs. Plan the layout to minimize seams and maximize the aesthetic appeal of the finished installation.
Selecting Cultured Marble Slabs: Choose high-quality cultured marble slabs that suit your design preferences and budget. Consider factors such as color, veining, and finish options to complement your existing decor and achieve the desired aesthetic.
Gathering Materials and Tools: Before starting the installation process, gather all necessary materials and tools, including the cultured marble slab, adhesive, caulking, measuring tape, level, jigsaw, router, drill, and safety equipment such as gloves and goggles.
Preparing the Substrate: Ensure that the existing countertop surface is clean, level, and structurally sound. Remove any old countertops, sinks, or fixtures, and repair any damage or unevenness in the substrate. Use a level to verify that the surface is flat and properly supported.
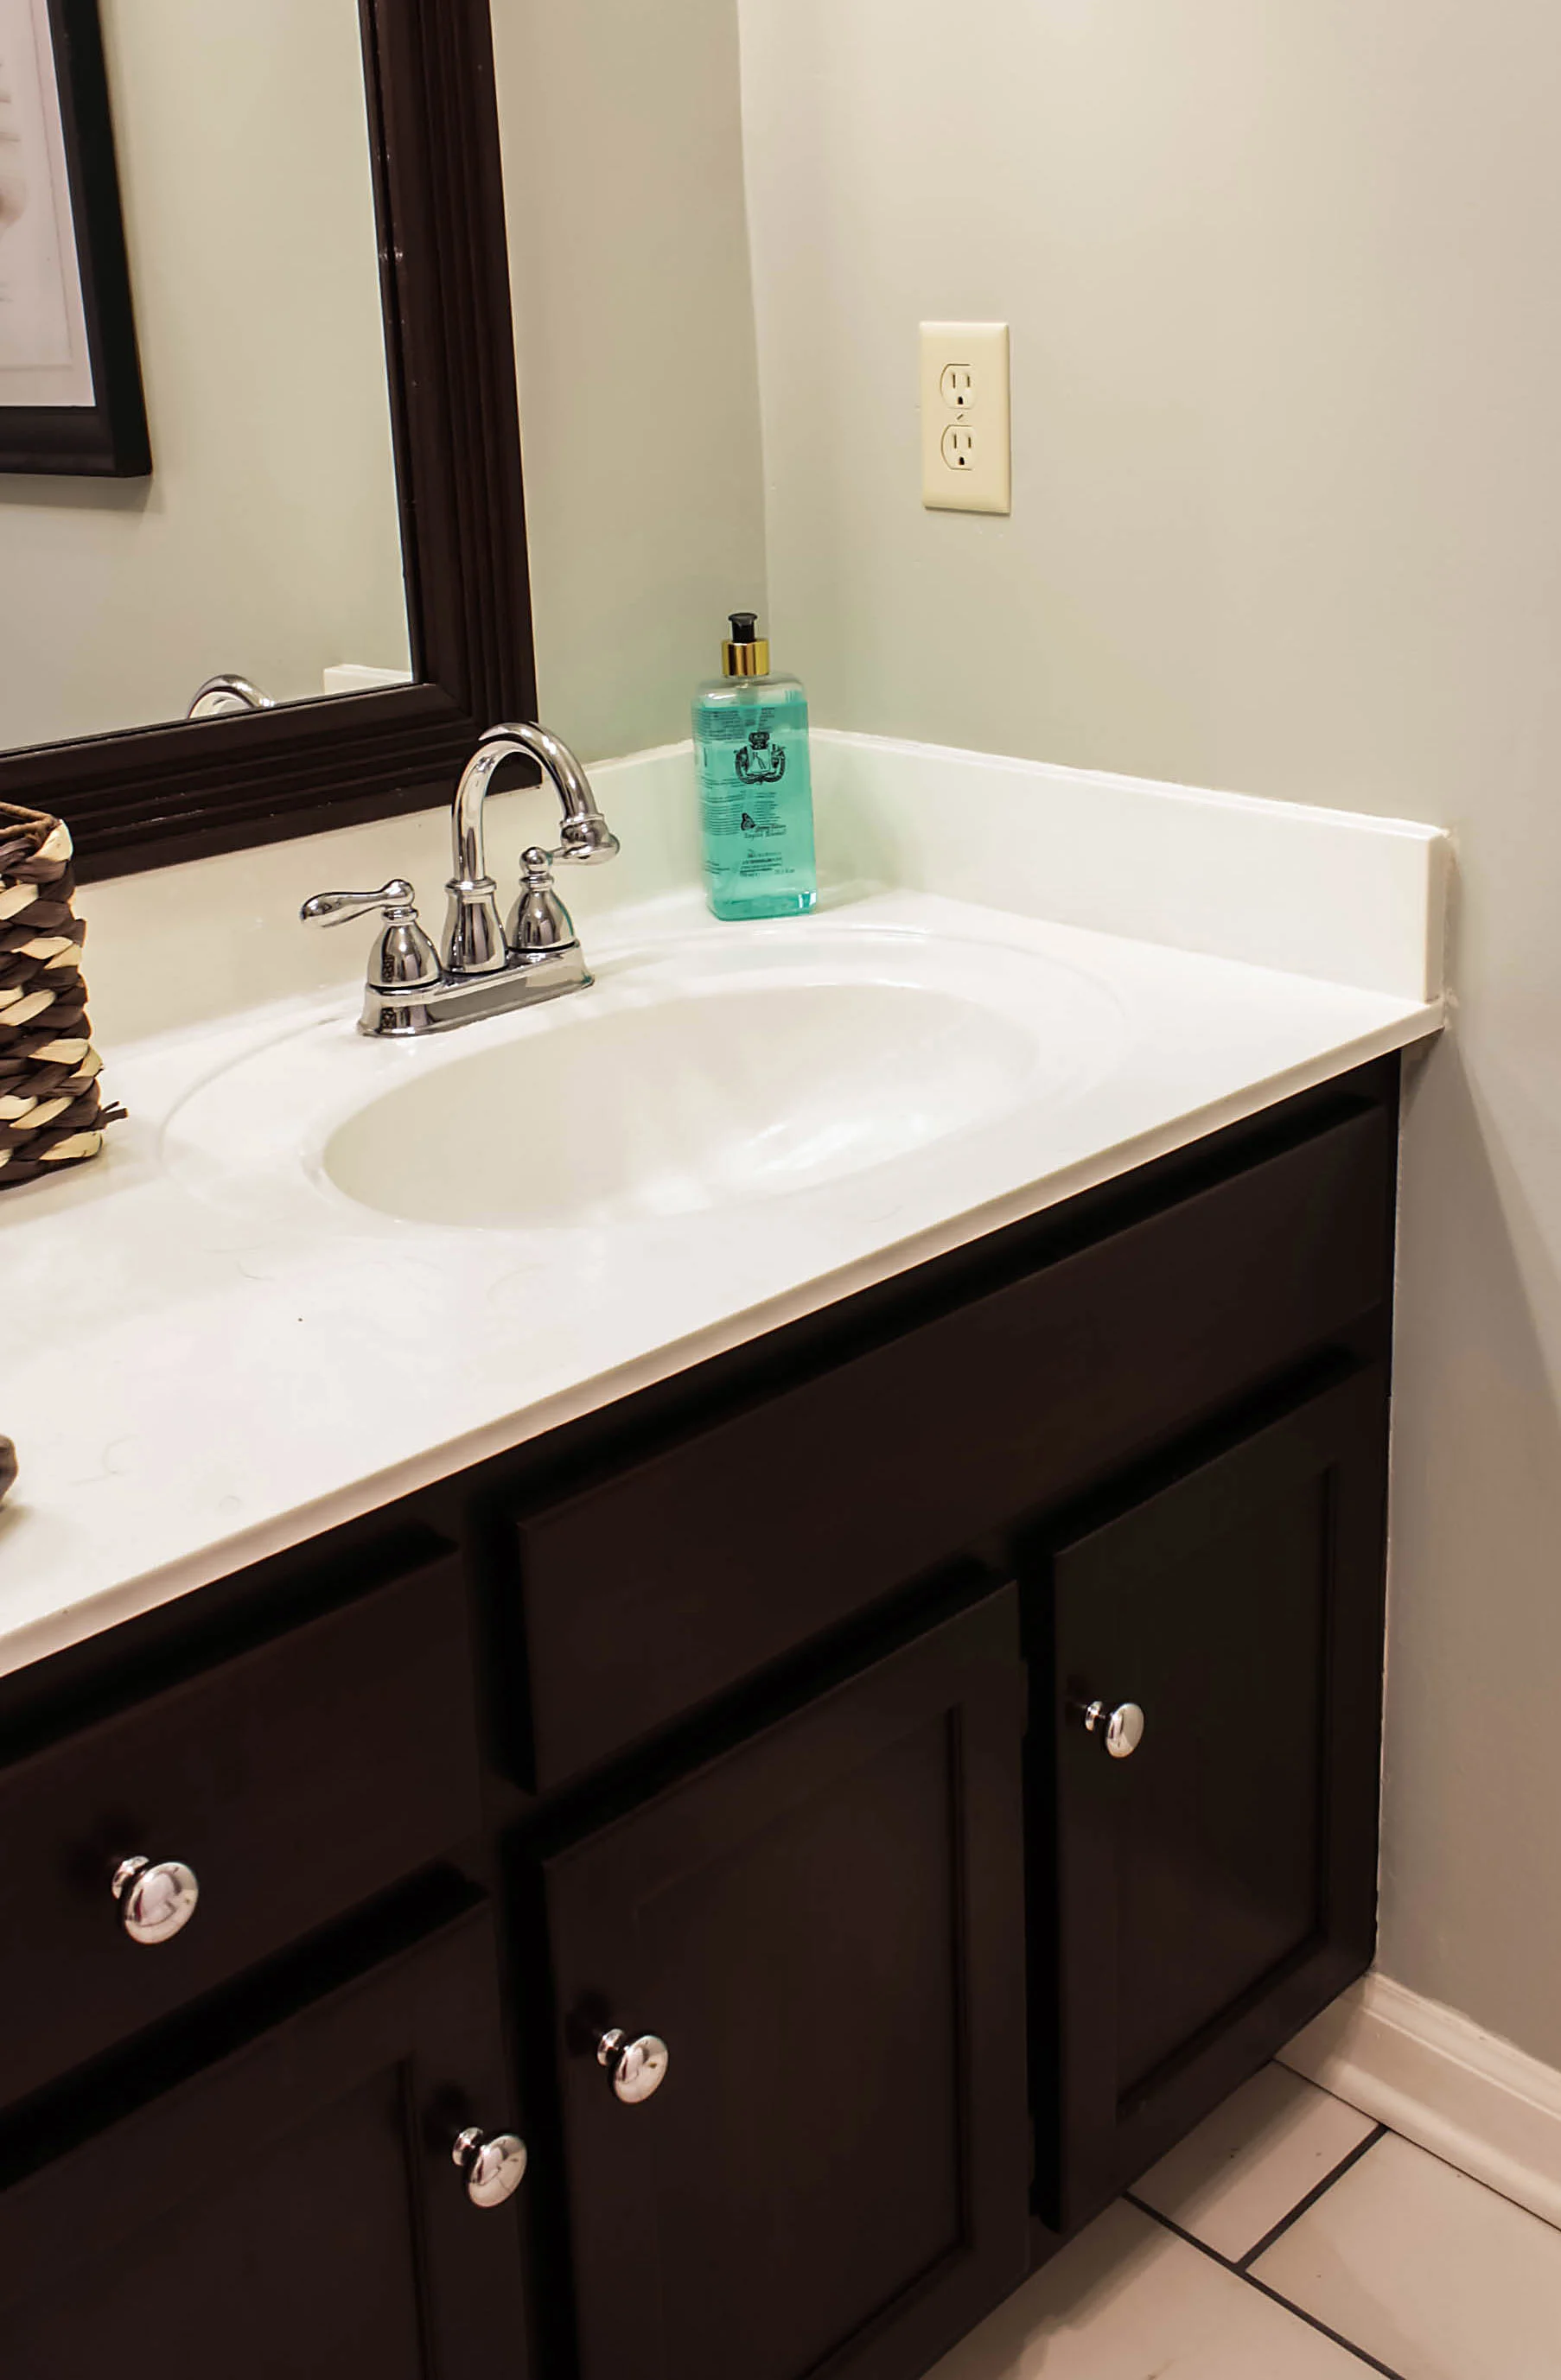
Cutting and Trimming: Measure and mark the cultured marble slab according to the dimensions of your countertop space, considering any cutouts for sinks, faucets, or appliances. Use a jigsaw or circular saw with a fine-toothed blade to cut the slab to size, following the marked lines carefully.
Dry Fitting: Before applying adhesive, conduct a dry fit to ensure that the cultured marble slab fits accurately and aligns properly with the countertop edges and cutouts. Make any necessary adjustments or trimmings to achieve a precise fit.
Applying Adhesive: Apply a generous amount of adhesive to the substrate surface using a notched trowel, ensuring full coverage and even distribution. Work in small sections to prevent the adhesive from drying out before placing the cultured marble slab.
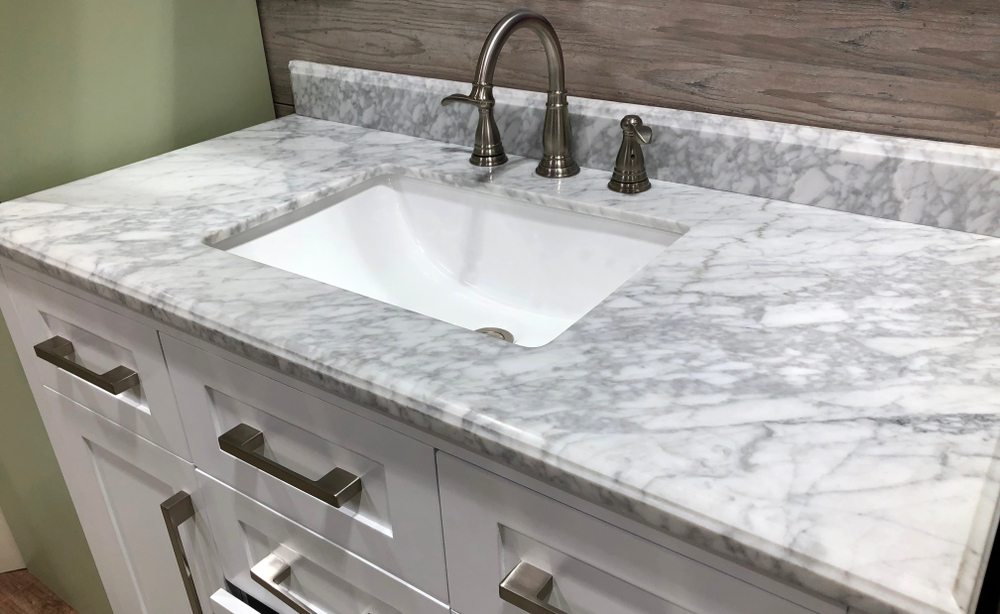
Setting the Slab: Carefully place the cultured marble slab onto the adhesive-covered substrate, starting from one end and working your way across the countertop surface. Use shims or spacers to maintain consistent spacing and alignment along the edges.
Securing and Leveling: Once the slab is in position, use a level to ensure that it is perfectly horizontal and level with the surrounding surfaces. Make any necessary adjustments by tapping gently with a rubber mallet or adding shims as needed to achieve a uniform height.
Sealing Joints and Edges: Seal the seams and edges of the cultured marble slab with silicone caulk to prevent moisture penetration and ensure a watertight seal. Use a caulking gun to apply a bead of caulk along the perimeter of the countertop and around any cutouts or seams.
Installing Sink and Fixtures: If installing an undermount sink or other fixtures, follow the manufacturer’s instructions for proper installation. Use a suitable adhesive or mounting hardware to secure the sink in place and ensure a secure and stable attachment.
Finishing Touches: Clean any excess adhesive or caulk from the countertop surface and wipe down the cultured marble slab with a damp cloth to remove any dust or debris. Allow sufficient time for the adhesive and caulk to cure fully before using the countertop.
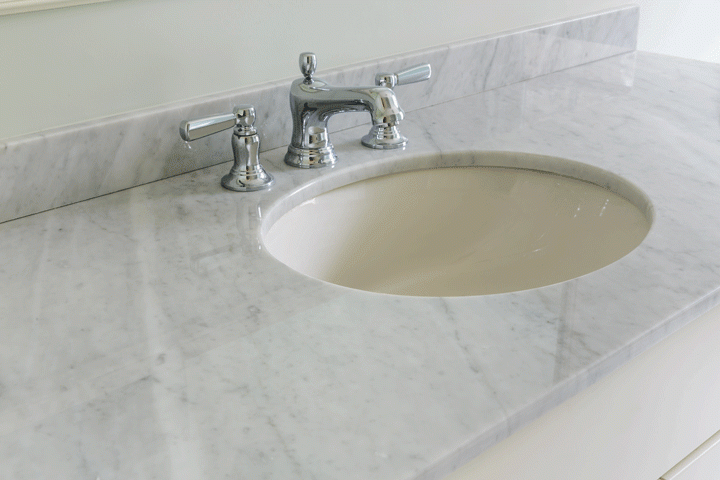
Final Inspection: Once the installation is complete, inspect the cultured marble countertop for any imperfections, such as chips, scratches, or uneven seams. Make any necessary touch-ups or adjustments to ensure a flawless finish.
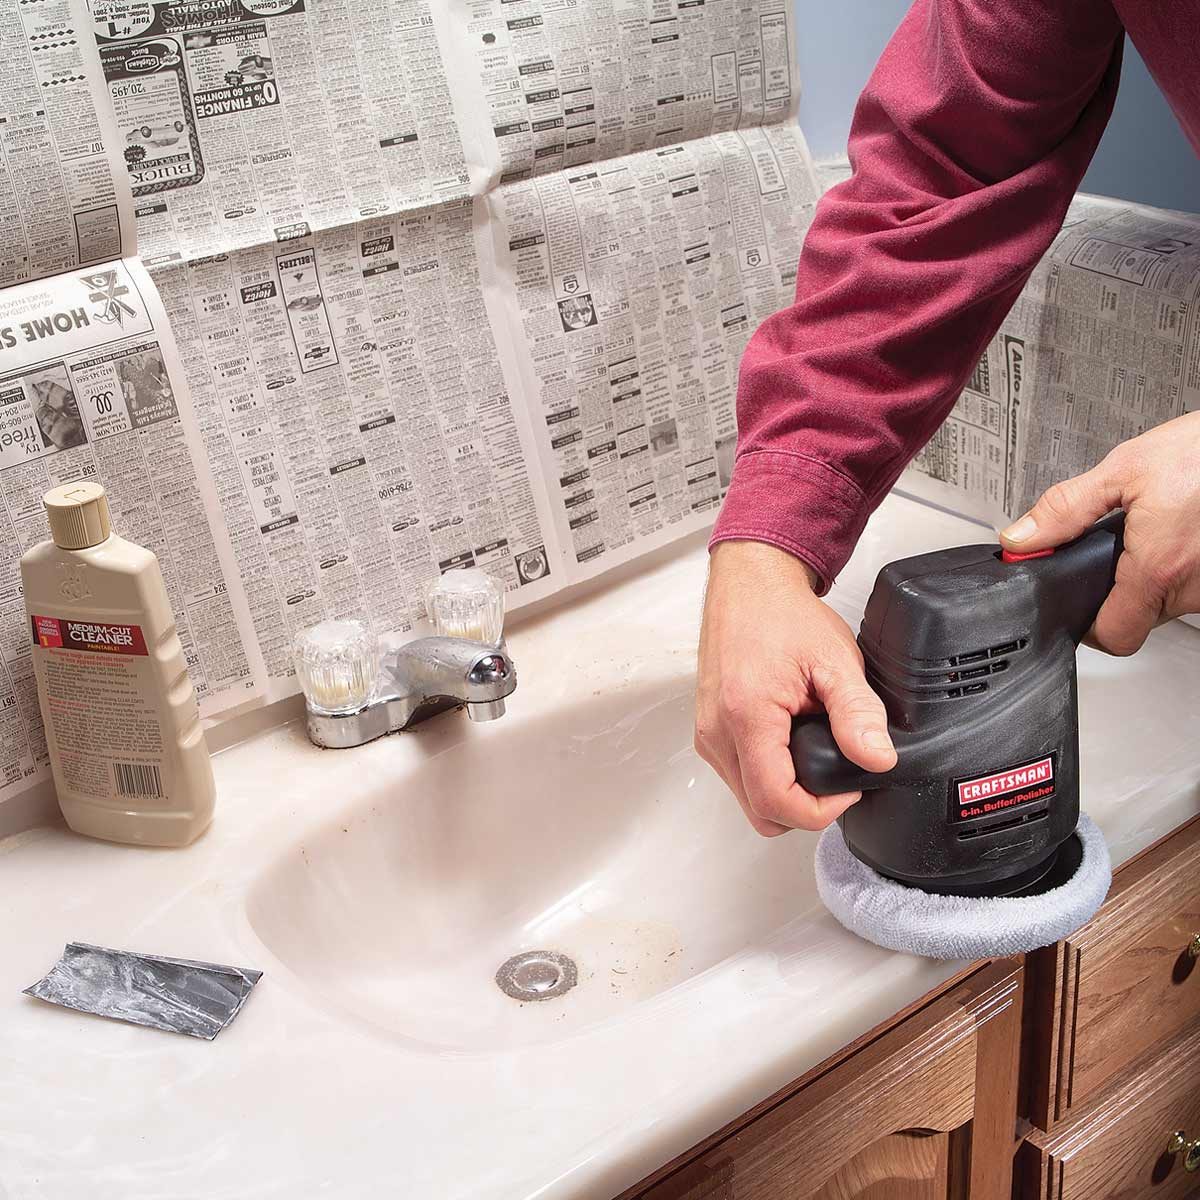
Maintenance and Care: To maintain the beauty and longevity of your cultured marble countertops, clean them regularly with a mild soap and water solution, avoiding abrasive cleaners or harsh chemicals that may damage the surface. Sealants or polishes specifically designed for cultured marble can help enhance shine and protect against stains.
Enjoying Your New Countertops: With proper installation and care, your cultured marble countertops will provide years of beauty and functionality, enhancing the aesthetic appeal and value of your home.
Common Mistakes to Avoid:
Improper Substrate Preparation: Failing to properly prepare the substrate surface can result in unevenness or instability, compromising the integrity of the countertop installation. Take the time to repair any damage and ensure that the substrate is clean, level, and adequately supported before installing cultured marble countertops.
Inaccurate Measurements and Cutting: Incorrect measurements or cutting of the cultured marble slab can lead to ill-fitting countertops and unsightly gaps or overhangs. Double-check all measurements and take precise cuts to achieve a seamless and professional-looking installation.
Insufficient Adhesive Coverage: Inadequate coverage or uneven application of adhesive can cause the cultured marble slab to detach or shift over time. Be generous with adhesive application and ensure full coverage across the entire substrate surface to create a strong and secure bond.
Neglecting Proper Sealing and Caulking: Skipping the sealing and caulking process leaves the countertop vulnerable to water damage, mold growth, and discoloration. Seal all seams, edges, and cutouts with silicone caulk to create a watertight barrier and prevent moisture infiltration.
Rushing the Installation Process: Attempting to rush through the installation process can result in sloppy workmanship and compromised quality. Take your time to carefully plan, measure, and execute each step of the installation to achieve professional-grade results that will stand the test of time.
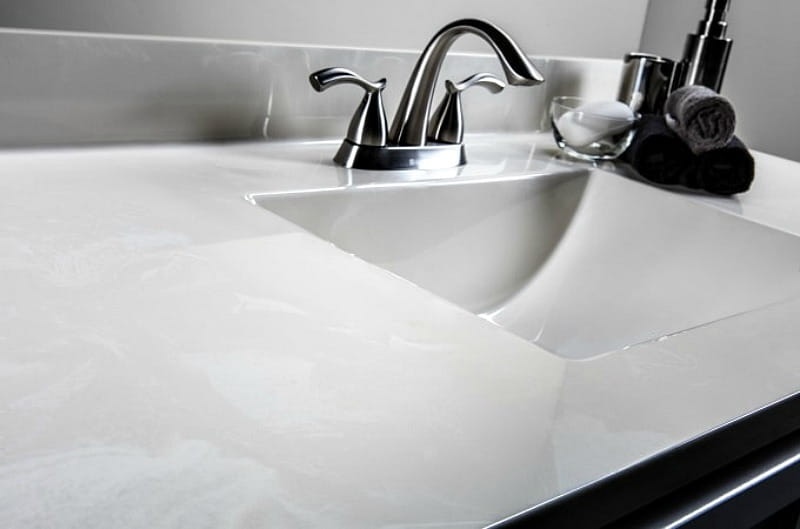
Can cultured marble countertops be repaired if damaged?
Yes, minor scratches or chips in cultured marble countertops can often be repaired using specialized repair kits or professional restoration techniques.
Are cultured marble countertops heat resistant?
While cultured marble is generally resistant to heat, it’s advisable to use trivets or hot pads to protect the surface from direct contact with hot cookware or appliances.
How do I clean and maintain cultured marble countertops?
Clean cultured marble countertops regularly with a mild soap and water solution, avoiding abrasive cleaners or harsh chemicals. Sealants or polishes specifically formulated for cultured marble can help maintain shine and protect against stains.
Can cultured marble countertops be refinished or resurfaced?
Yes, cultured marble countertops can be refinished or resurfaced to restore their original appearance and address any surface imperfections or damage. Professional refinishing services can provide a cost-effective solution to rejuvenate worn or outdated countertops.
What is the average lifespan of cultured marble countertops?
With proper care and maintenance, cultured marble countertops can last for many years, providing durable and aesthetically pleasing surfaces for your kitchen or bathroom.
Difference Between Real and Cultured Marble?

Cultured Marble Countertops u0026 Showers: Buyeru0027s Guide 2021
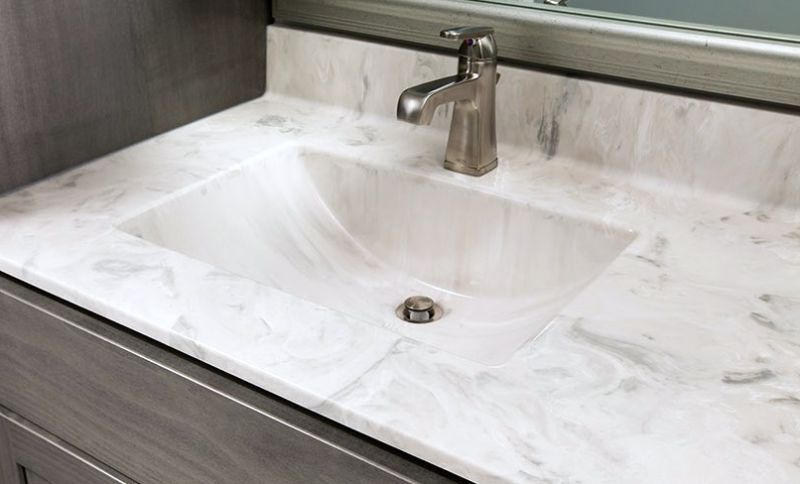
Marlin Marble Cultured Marble Marlin Marble
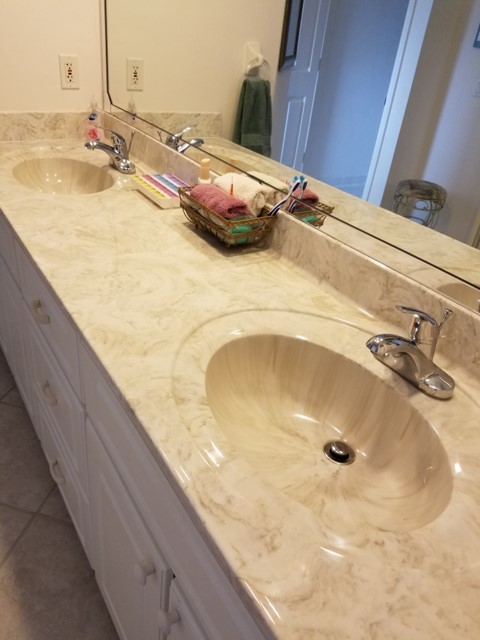
Cultured Marble Vanity Tops Vs. Solid Surface
Related articles:
- DIY Refinishing Cultured Marble Countertops
- Marble Countertops In Bathrooms
- Cultured Marble Countertops
- Gray Kitchen Cabinets Marble Countertops
- Modern Kitchen Marble Countertops
- Refinish Cultured Marble Countertop
- Carrara Marble Countertops Bathroom
- Marble Countertops Types
- How To Refinish Marble Countertops
- White Gray Marble Countertops