Tackling a DIY kitchen countertop project can seem like a big task, but with the right approach, it’s surprisingly manageable. One of the first steps I like to consider is choosing the right material. If you’re a beginner, I’d recommend starting with something like laminate or butcher block. These materials are not only affordable but also easy to work with, making them perfect for a DIY enthusiast. Laminate countertops, for instance, can be cut with basic tools and come in a wide variety of colors and patterns, giving you plenty of design options without the need for professional installation. Butcher block countertops, on the other hand, offer a warm, natural look, and while they require some maintenance, installing them is straightforward if you have basic carpentry skills.
Once you’ve chosen the material, planning the layout and measuring your space accurately is crucial. I can’t emphasize enough how important it is to measure twice before cutting anything. It’s all too easy to make small mistakes that can add up to big problems later. After ensuring the right measurements, I like to make a template of the countertop using cardboard or plywood, which serves as a trial run for the actual installation. This step helps to visualize how everything will fit, and any adjustments can be made without risking damage to your chosen material.
Cutting the countertop material can be the most intimidating part of the process. But if you’ve prepared well, it doesn’t have to be. For materials like laminate or wood, a circular saw with a fine-tooth blade is usually all you need. When cutting, it’s important to go slowly and steadily to ensure a smooth edge. If you’re working with laminate, I always suggest using masking tape along the cut lines to prevent chipping. When I tackled my first DIY countertop, I took my time with each cut, which helped ensure precision, especially around sink cutouts, which are typically the trickiest part.
Installing the countertop is another crucial stage, and depending on the material, the process can vary. For laminate, adhesive is typically applied to both the surface of the cabinets and the underside of the countertop. Then, it’s positioned carefully, making sure everything aligns. The butcher block is often screwed in place from underneath, ensuring a secure fit. The key here is patience—rushing this step can lead to gaps or misalignment, which can be frustrating to fix later on.

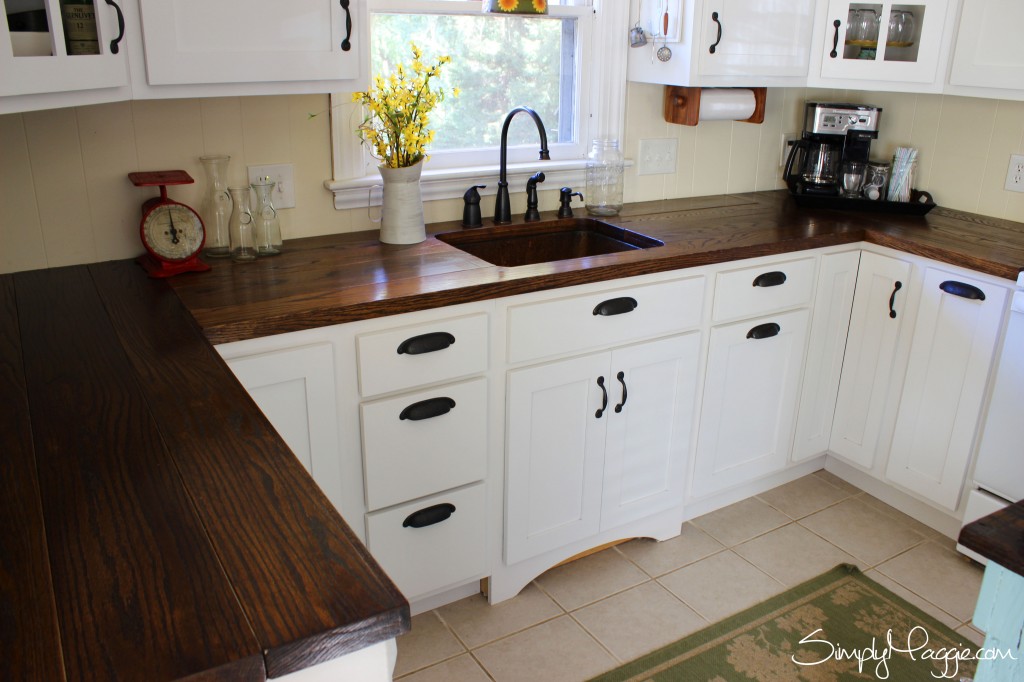
Sealing the countertop is especially important, particularly if you’re working with porous materials like wood. I’ve found that using a food-safe finish for butcher blocks not only protects the wood but also brings out its natural beauty. For laminate countertops, while sealing isn’t usually necessary, it’s important to ensure the edges and seams are well-sealed to prevent water damage. A good-quality caulk can make all the difference, especially around sinks where water exposure is constant.
One of the best parts of DIY kitchen countertops is the ability to customize them to your taste. With some creativity, you can add personal touches that make your countertop unique. For instance, I’ve seen people create stunning concrete countertops by mixing pigments into the concrete for a custom color. Another option is adding a decorative edge to a laminate countertop, which can elevate its look without significantly increasing the cost or complexity of the project.
I also believe in reusing and upcycling materials when possible. For my last kitchen update, I found a beautiful slab of reclaimed wood that I turned into a countertop. It added character and warmth to the space while also being eco-friendly. There’s something satisfying about giving materials a second life, and DIY countertops offer the perfect opportunity to get creative and sustainable.
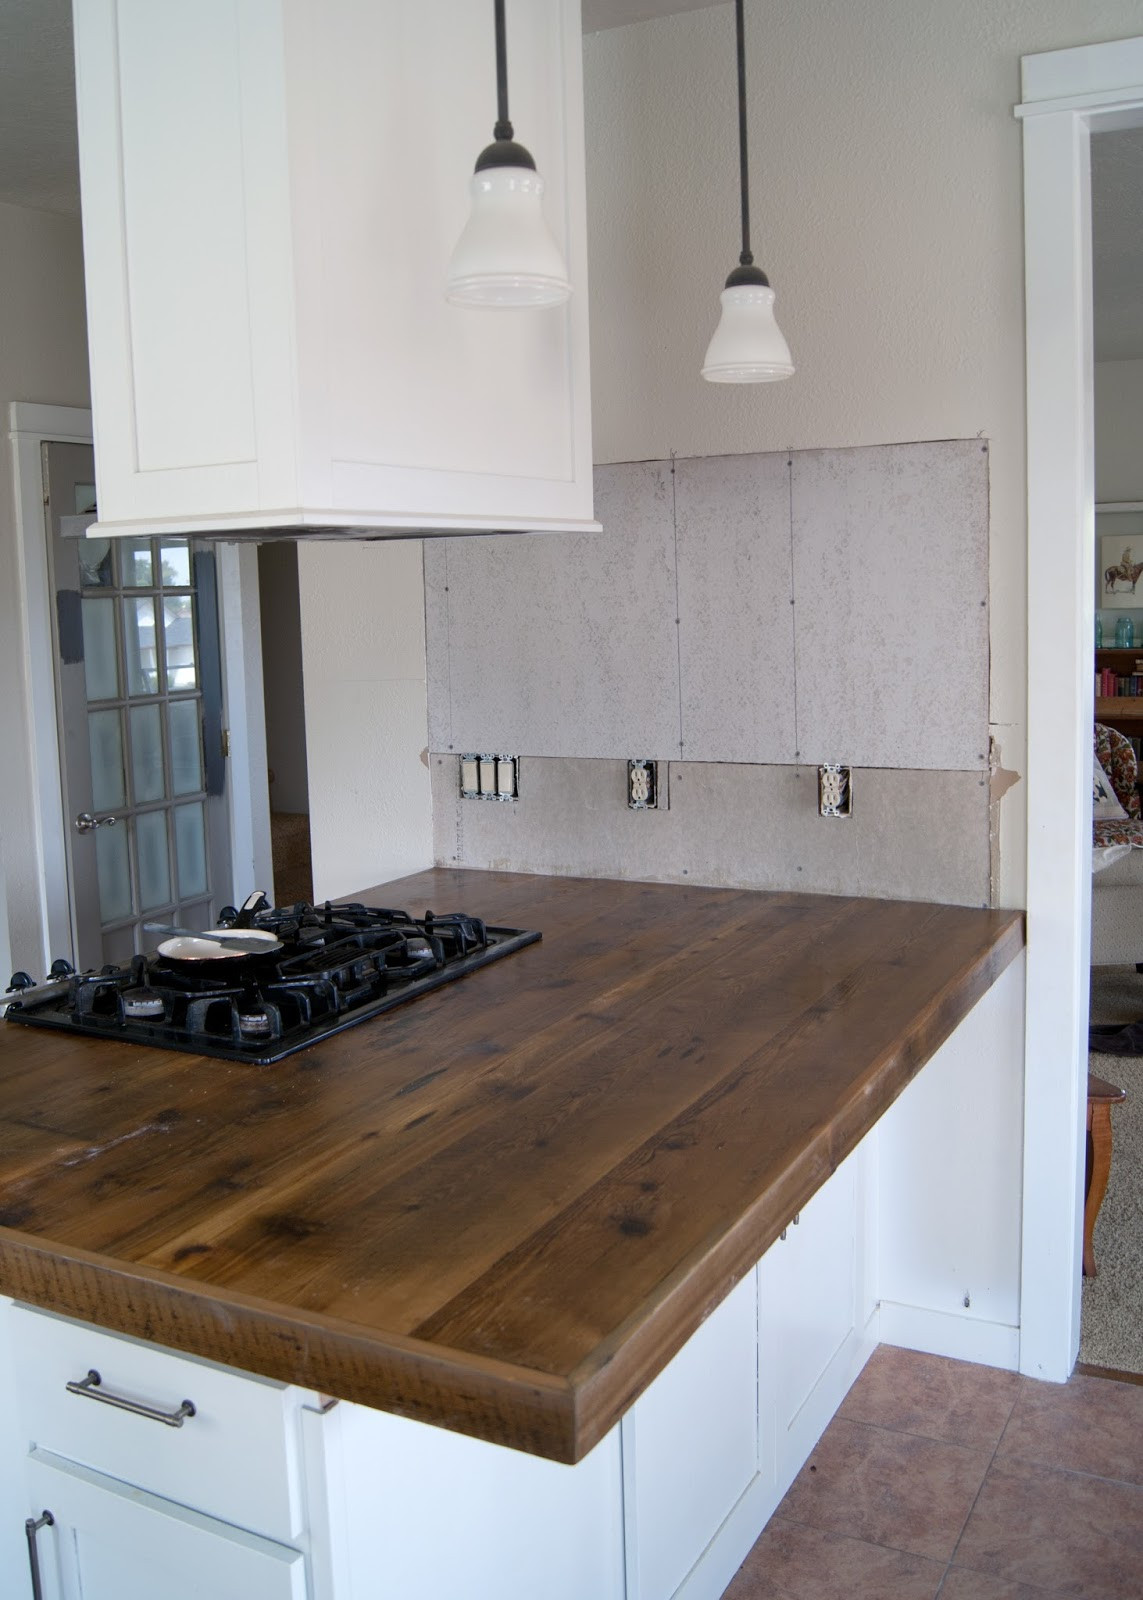
When considering a DIY countertop project, it’s important to think about maintenance, too. Some materials, like butcher block, need regular oiling to prevent cracking and keep them looking their best. Others, like laminate, are much lower maintenance but can scratch more easily. Weighing these factors will help you choose a countertop that suits not just your aesthetic preferences but also your lifestyle. If you’re someone who loves to cook, you might want to prioritize durability and ease of maintenance over style alone.
One of the more recent trends I’ve noticed is the use of peel-and-stick countertop covers. These are essentially large adhesive sheets designed to mimic materials like granite or marble. I think these are a fantastic option for renters or anyone who wants a quick and temporary countertop update without the hassle of installation. While they’re not a permanent solution, they can refresh the look of your kitchen in just a few hours.
Another trend in DIY countertops that I’ve tried myself is concrete countertops. This might seem like a complex project, but with pre-made concrete countertop kits, it’s quite doable. The key here is preparation—making sure you build a strong, level base, and using proper forms to shape the concrete. Once it’s poured, you’ll need to wait for it to cure and then seal it. The result can be a modern, industrial look that’s both durable and budget-friendly.
If you’re hesitant about taking on the entire project yourself, another option is to install a ready-made countertop. Many home improvement stores offer pre-cut countertops that can be easily installed in a day. I’ve helped friends with these kinds of projects, and they’re a great middle ground between DIY and hiring a professional. The key is ensuring that the pre-cut countertops match the exact measurements of your kitchen, especially around tricky areas like corners and sinks.

No matter which material or approach you choose, DIY kitchen countertops are one of the most satisfying home improvement projects you can undertake. They have a huge impact on the look and feel of your kitchen, and doing the work yourself not only saves money but also gives you the pride of knowing you built something with your own hands. Plus, with the right tools and preparation, it’s entirely possible to create a high-quality, professional-looking countertop without hiring a contractor.
For anyone just starting out, my advice would be to start small. Maybe try replacing a bathroom vanity countertop first before tackling the kitchen. This way, you’ll get a feel for the process, learn how to work with different materials, and build your confidence for larger projects. With a little patience, you’ll be surprised at what you can accomplish.
The final result of your DIY kitchen countertop will not only be a new surface to work on but also a lasting piece of craftsmanship that you’ll enjoy every day. Whether it’s preparing meals, entertaining guests, or simply enjoying a cup of coffee, your countertop will serve as a reminder of your hard work and creativity.
Common Mistakes to Avoid
Inaccurate Measurements: Failing to measure accurately is a common mistake that can lead to poor fits and wasted materials. Double-check your dimensions to ensure everything aligns properly before cutting.
Rushing the Cutting Process: Being too quick with cutting can lead to uneven edges or damage the material. Take your time, especially around tricky areas like sink cutouts.
Improper Sealing: Especially for wood or porous materials, forgetting to seal the countertop properly can result in water damage and reduce its lifespan. Use appropriate sealants or oils to protect your countertop.
Skipping the Template Step: Not making a template before cutting the actual material can lead to significant errors. A template helps you visualize the project and make adjustments before committing to cuts.
Using the Wrong Tools: Each material requires specific tools for the best results. Make sure you have the right blades, adhesives, and fasteners for your chosen countertop material.
Neglecting Edge Finishing: Leaving the edges rough or unsealed can detract from the countertop’s overall appearance and longevity. Always finish and seal the edges properly to ensure a polished, durable look.
What’s the easiest material to work with for DIY countertops?
In my experience, laminate and butcher block are two of the easiest materials for DIY countertops. Laminate is lightweight, easy to cut, and affordable. Butcher block, while requiring some maintenance, is also relatively easy to install if you have basic carpentry skills. Both materials allow for flexibility and creativity without requiring specialized tools or advanced techniques.
Do I need special tools to install a DIY countertop?
For most DIY countertop projects, you don’t need overly specialized tools. A circular saw with a fine-tooth blade works for cutting laminate or wood. You’ll also need a jigsaw for more intricate cuts, especially around sinks or corners. Standard hand tools like clamps, a measuring tape, and a level are also essential. Some materials may require specific adhesives or fasteners, but these are usually available at most hardware stores.
How do I handle sink cutouts in a DIY countertop?
Sink cutouts can be tricky, but they’re manageable with the right approach. First, measure and mark the cutout carefully. Using a jigsaw, start cutting from the center and work your way outwards, following the marked line. Always take your time and make sure to clamp down the material so it doesn’t shift during cutting. Once the cutout is done, sealing the edges is crucial to prevent water damage.

Can I DIY a concrete countertop, or should I hire a professional?
Concrete countertops are a bit more challenging, but with the right preparation, they can be a DIY project. Using a pre-made concrete countertop kit simplifies the process. The most important part is ensuring the base is level and using proper forms for the concrete. Once poured, it needs time to cure and should be sealed for durability. If you’re up for a challenge, DIY concrete countertops can create a modern, unique look at a fraction of the cost.
How do I maintain a butcher block countertop?
Maintaining a butcher block countertop is straightforward but does require regular care. I recommend oiling the surface every few months to keep the wood hydrated and prevent cracking. Also, always use a cutting board to avoid knife marks, and clean up spills quickly to prevent staining. If the countertop starts to show wear, you can sand it down and re-oil it to restore its original look.
Are peel-and-stick countertop covers a good idea for a DIY project?
Peel-and-stick countertop covers are a fantastic option for anyone looking for a quick, affordable, and non-permanent update. They’re especially useful in rental properties where you can’t make permanent changes. While they’re not as durable as traditional countertops, they can last for a few years with proper care and are easy to install on your own. Just make sure to clean the surface thoroughly before applying to ensure proper adhesion.
DIY Stainless Steel Kitchen Counter Tops On A Budget
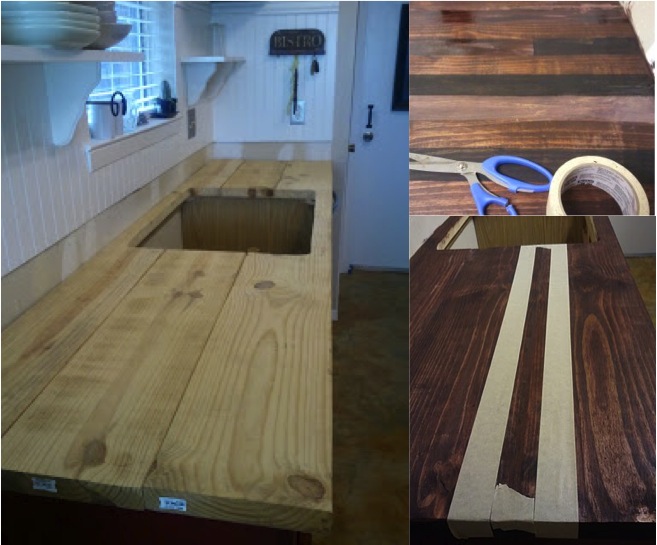
DIY Countertops That Will Blow Your Mind
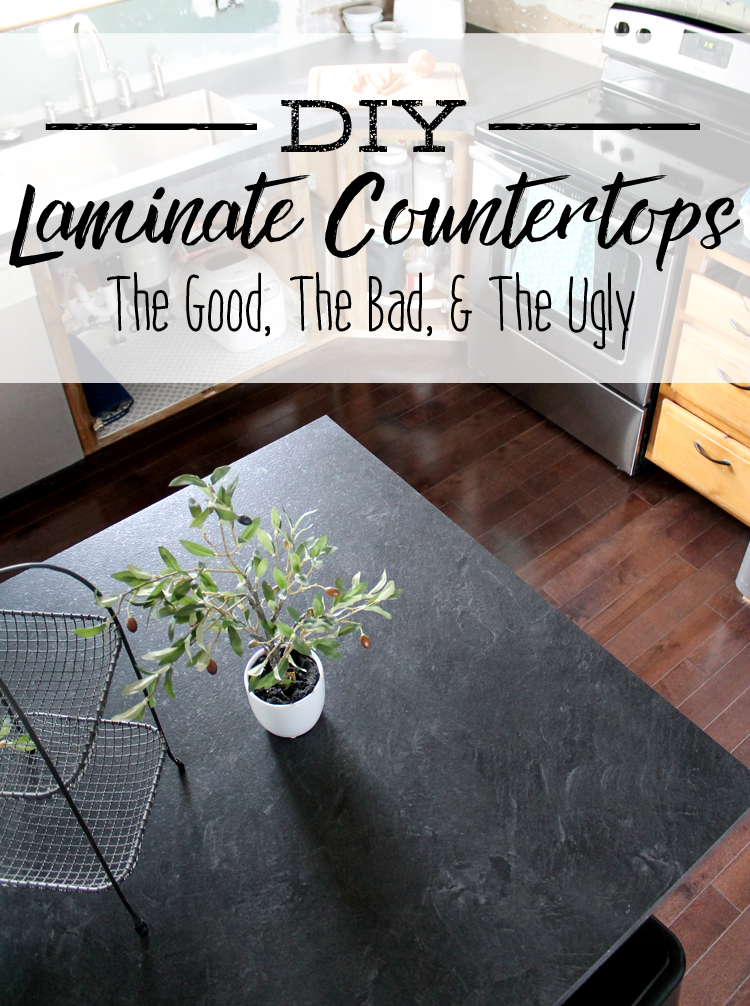
How to DIY Laminate Countertops (It Will Save You SO Much Money)
Related articles: