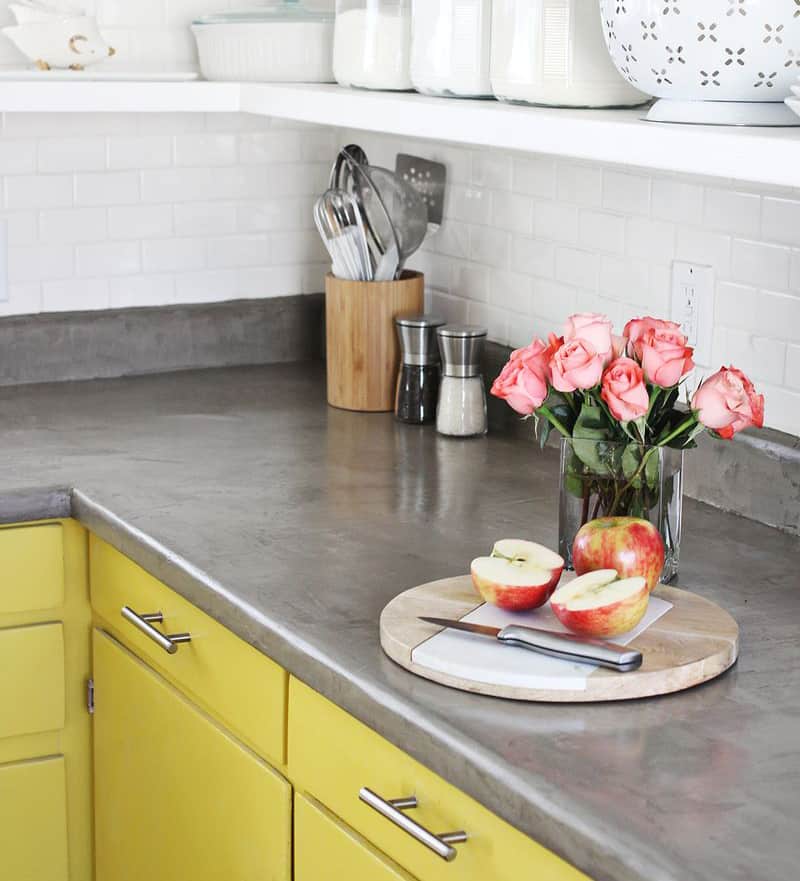
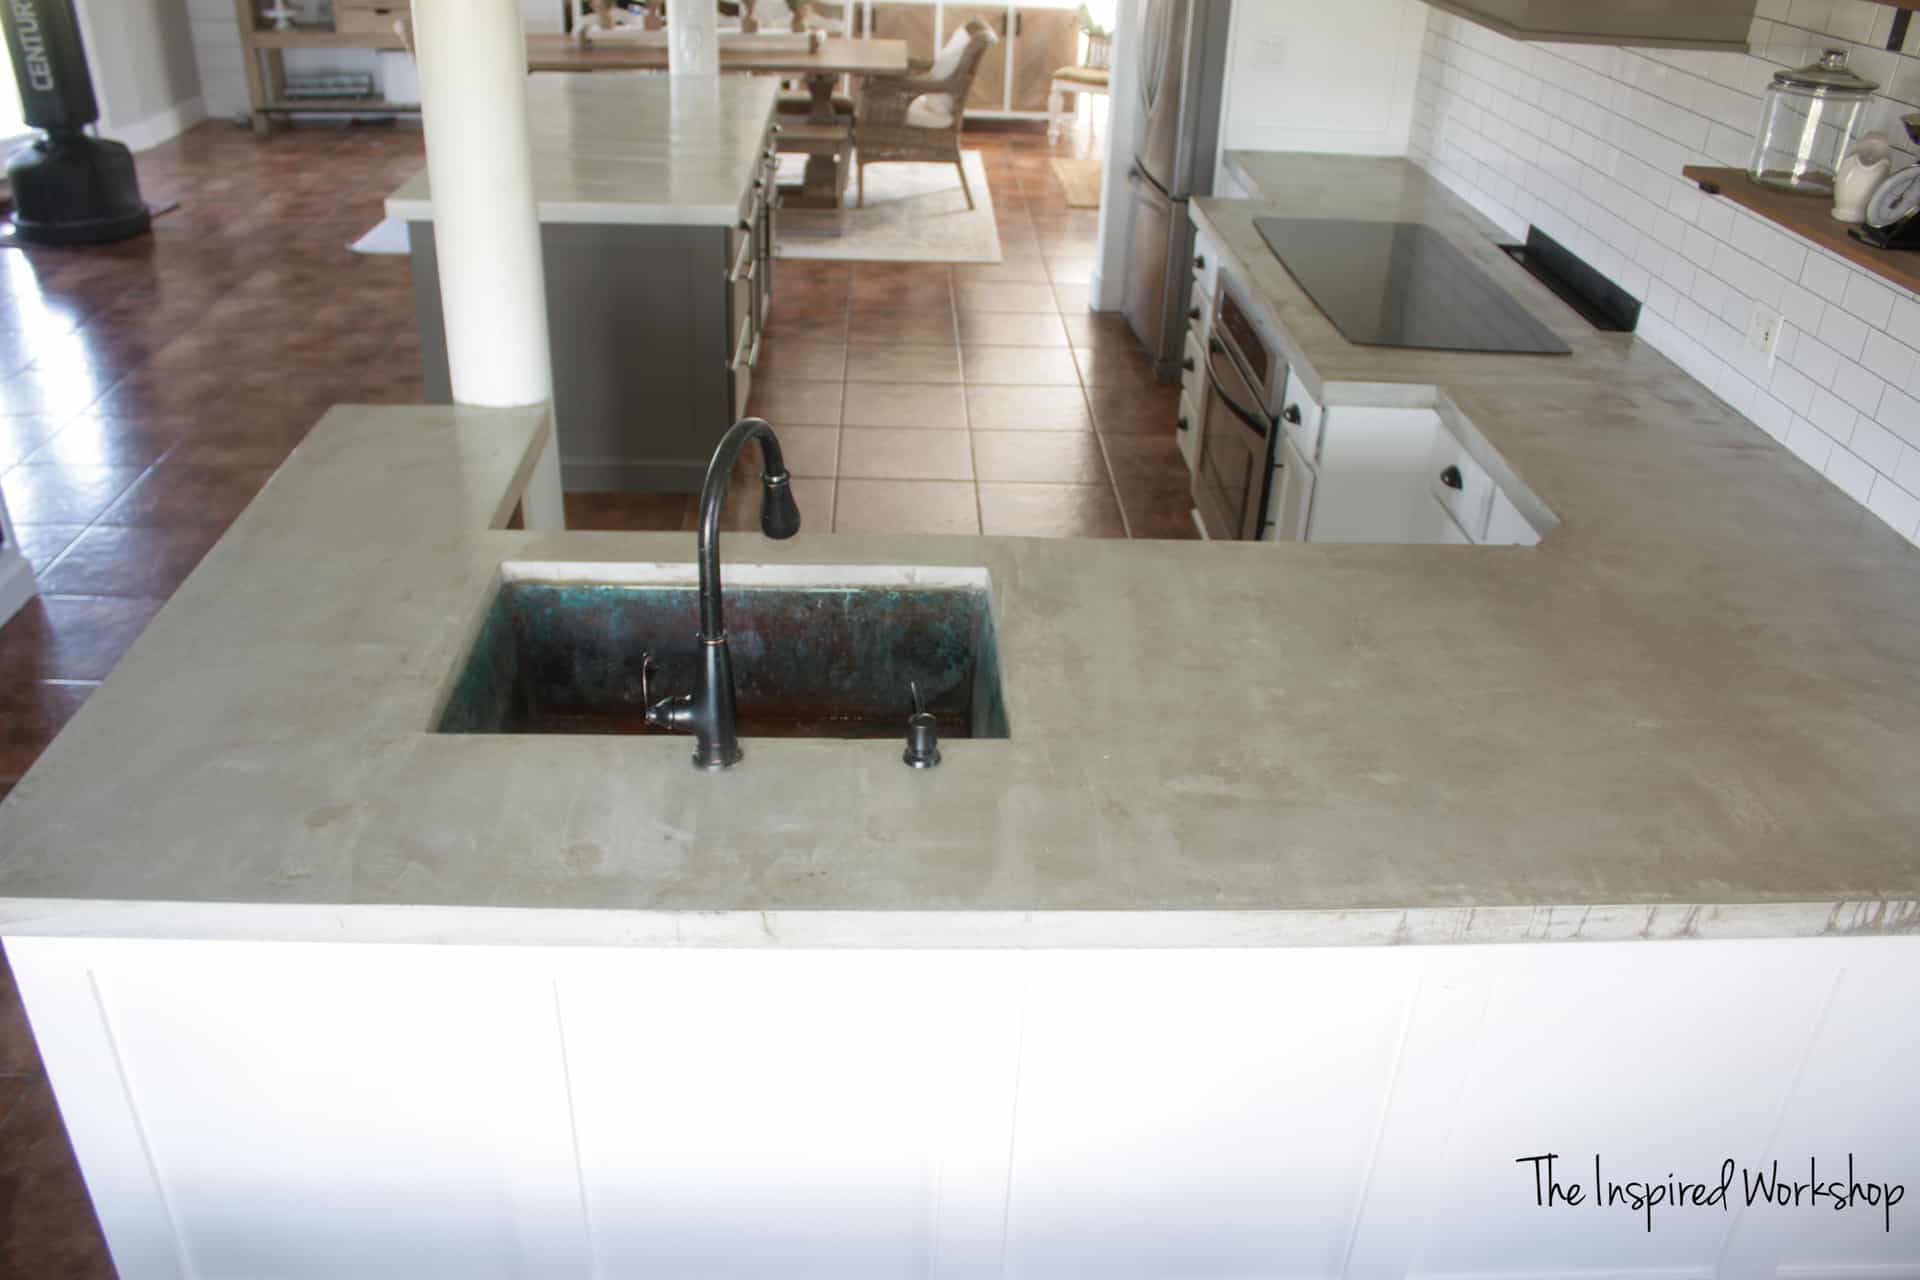
Creating your concrete countertops is a rewarding DIY project that can transform your kitchen or bathroom with a modern, industrial look. The process may seem daunting at first, but with the right tools, materials, and some patience, you can achieve stunning results. Concrete is a versatile material that allows for customization in color, texture, and finish, making it a popular choice for DIY enthusiasts. I’ve found that the key to a successful concrete countertop project is careful planning and preparation. Before you start, it’s essential to measure your space accurately and design a mold that fits your countertops perfectly. The mold will shape your concrete, so precision here will ensure that your countertops are the right size and have clean edges.
Once you’ve measured your space and designed your mold, the next step is gathering materials. You’ll need a concrete mix, water, reinforcing mesh, and mold materials, which are typically melamine or plywood. The concrete mix can be either a pre-mixed bag or a custom blend of cement, sand, and aggregate. If you’re new to working with concrete, I recommend starting with a pre-mixed bag specifically designed for countertops. These mixes are formulated for smoothness and durability, making them easier to work with. Reinforcing mesh is critical for strengthening your countertop and preventing cracks. It’s typically made of steel or fiberglass and is embedded in the concrete during the pouring process.
The mold is one of the most crucial aspects of the project, as it determines the shape and size of your countertops. I’ve learned that melamine is an excellent material for molds because it’s smooth, water-resistant, and easy to work with. You’ll need to cut the melamine panels to fit your countertop dimensions and assemble them into a box-like structure. Be sure to secure the corners tightly with screws and seal any gaps with silicone caulk to prevent the concrete from leaking. It’s also important to create a lip on the inside of the mold that matches the thickness of your countertops. This will help guide the concrete and ensure an even pour.
Mixing the concrete is where the magic begins. You’ll want to follow the instructions on your concrete mix carefully, typically adding water gradually until you achieve a smooth, peanut butter-like consistency. Overwatering can weaken the concrete, so take your time to get it right. I’ve found that using a paddle mixer attached to a power drill makes the mixing process much easier and ensures a consistent blend. Once mixed, let the concrete sit for a few minutes to allow air bubbles to rise to the surface, which can be popped to prevent imperfections in the final product.

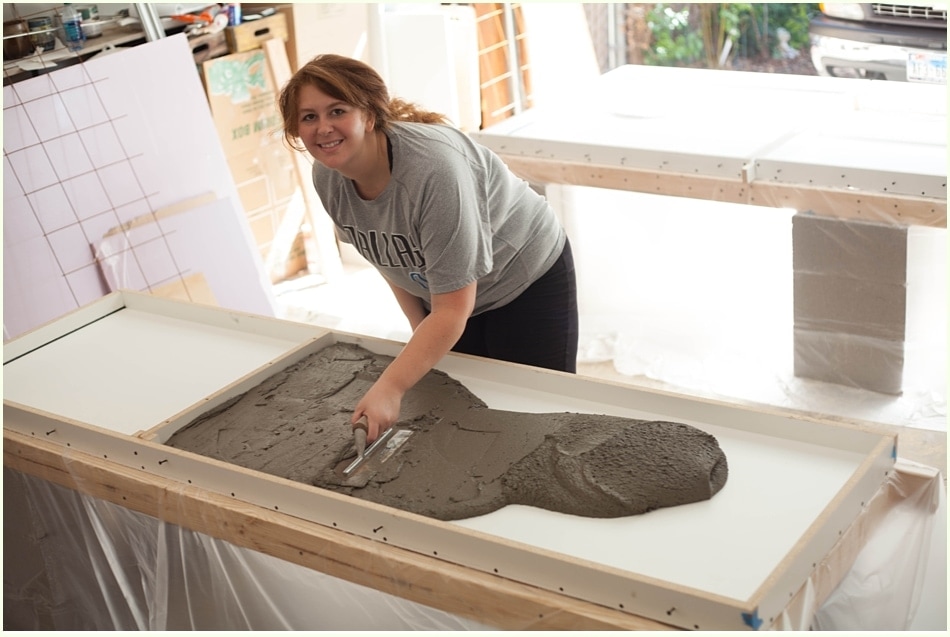
Pouring the concrete into the mold is both exciting and nerve-wracking. Start by pouring the concrete into the mold in layers, using a trowel to spread it evenly. As you pour, gently tap the sides of the mold with a rubber mallet to help settle the concrete and release any trapped air bubbles. This step is crucial for achieving a smooth, even surface. After filling the mold, use a straight edge or screed to level the top of the concrete, removing any excess. The goal is to create a flat, even surface that will become the top of your countertop.
As the concrete begins to set, you can add reinforcing mesh to strengthen the countertop. Lay the mesh into the concrete, making sure it’s fully embedded and not touching the mold’s sides. If needed, pour additional concrete to cover the mesh completely. Reinforcement is vital for preventing cracks and ensuring your countertop is durable enough to withstand daily use. Once the mesh is in place and the concrete is leveled, let the countertop cure for at least 24-48 hours. Curing is a crucial phase in which the concrete hardens and gains strength, so avoid disturbing it during this time.
After the concrete has cured, it’s time to remove the mold. Carefully unscrew the panels and gently pry them away from the concrete. You may need to use a rubber mallet to tap the panels loose, but be careful not to damage the edges of your countertop. Once the mold is removed, you’ll see the rough edges and surface of the countertop. These imperfections are normal and can be smoothed out with sanding. I recommend using a wet-dry sandpaper or a diamond polishing pad to sand the surface, starting with a coarse grit and gradually moving to finer grits for a smooth finish.
Sanding is an important step in achieving a professional look for your concrete countertop. It allows you to remove any rough spots, smooth out the surface, and expose the aggregate if desired. Depending on the finish you want, you can sand the surface to a matte, semi-gloss, or high-gloss finish. Wet sanding with water helps keep the dust down and gives you more control over the process. Take your time with sanding to ensure a smooth, even surface. After sanding, thoroughly clean the countertop to remove any dust or debris before sealing.
Sealing the countertop is essential to protect the concrete from stains, moisture, and daily wear and tear. There are many types of sealers available, including penetrating sealers, topical sealers, and waxes. I’ve found that a penetrating sealer followed by a wax finish provides excellent protection and a beautiful, natural look. Apply the sealer according to the manufacturer’s instructions, usually with a brush or roller, and allow it to dry completely. Once the sealer is dry, apply a layer of wax for added protection and a smooth, polished finish.
Installing your concrete countertop is the final step in the process. You’ll need to carefully lift the countertop into place, making sure it fits snugly on your cabinets. If necessary, you can use shims to level the countertop. Once in position, secure it with construction adhesive or silicone caulk along the edges. It’s important to handle the countertop carefully during installation to avoid cracking or chipping the edges. Once installed, your DIY concrete countertop is ready for use, adding a modern, durable surface to your kitchen or bathroom.
Maintaining your concrete countertop is relatively simple but important for keeping it looking its best. I recommend cleaning it regularly with a mild soap and water solution. Avoid using harsh chemicals or abrasive cleaners, as these can damage the sealer and the concrete itself. Reapply wax periodically to maintain the countertop’s shine and protect the surface. With proper care, your concrete countertop will age beautifully, developing a unique patina over time.

Customizing your concrete countertop is where you can really let your creativity shine. You can add color to the concrete mix using pigments, dyes, or stains to achieve your desired shade. I’ve also seen people embed decorative items like glass, shells, or stones into the surface for a unique, personalized look. The possibilities are endless, and experimenting with different techniques can yield truly one-of-a-kind results.
For those concerned about the weight of concrete countertops, it’s important to ensure your cabinets and flooring can support the load. Concrete is a heavy material, and a large countertop can weigh several hundred pounds. If you’re unsure about your cabinets’ ability to support the weight, consider reinforcing them or consulting a professional. Additionally, if weight is a concern, you can create a thinner countertop or use a lightweight concrete mix.
Working with concrete can be messy, so it’s essential to protect your workspace and wear appropriate safety gear. Cover your floors and nearby surfaces with plastic or drop cloths, and wear gloves, safety glasses, and a mask to protect yourself from dust and debris. Cleaning up as you go will make the process more manageable and ensure a smooth, efficient workflow. By taking these precautions, you can focus on the creative aspects of your project without worrying about making a mess.
Finally, patience is key when creating DIY concrete countertops. Each step in the process requires careful attention to detail, from mixing the concrete to sealing the finished product. Rushing through the process can lead to mistakes or imperfections that are difficult to fix later. By taking your time and following each step meticulously, you’ll end up with a beautiful, durable countertop that you can be proud of.

Common Mistakes to Avoid
Improper Mixing: One of the most common mistakes is not mixing the concrete properly. Adding too much water can weaken the concrete, while too little can make it difficult to work with. Follow the instructions on your concrete mix carefully to achieve the right consistency.
Skipping Reinforcement: Reinforcing your countertop with mesh or rebar is crucial for preventing cracks. Skipping this step can result in a countertop that is prone to damage over time. Always embed reinforcement in the concrete during the pouring process.
Rushing the Curing Process: Concrete needs time to cure and gain strength. Rushing this process by removing the mold too early or not allowing enough curing time can result in a weak, brittle countertop. Be patient and let the concrete cure fully.
Neglecting to Seal: Sealing is essential to protect your concrete countertop from stains, moisture, and daily wear. Skipping this step can lead to a countertop that absorbs stains easily and deteriorates quickly. Always apply a high-quality sealer after sanding.
Inadequate Sanding: Proper sanding is key to achieving a smooth, professional finish. Skipping grits or not sanding thoroughly can leave rough spots and imperfections on the surface. Take your time with sanding, and gradually work your way to finer grits.
Improper Handling During Installation: Concrete countertops are heavy and can crack or chip if not handled properly during installation. Make sure to lift and position the countertop carefully, using proper support and securing it firmly in place.

How thick should a concrete countertop be?
The thickness of a concrete countertop typically ranges from 1.5 to 2 inches. I’ve found that this thickness provides a balance between durability and weight. Thinner countertops are lighter and easier to install, but they may require additional reinforcement to prevent cracking. Thicker countertops are more durable but also heavier, so it’s important to ensure that your cabinets can support the weight.
Can I add color to my concrete countertop?
Yes, you can add color to your concrete countertop using pigments, dyes, or stains. Pigments can be mixed into the concrete before pouring, while stains can be applied after the countertop has cured. Dyes offer a wide range of color options and can be used to create custom shades. I recommend experimenting with small test batches to achieve your desired color before committing to the full countertop.
How do I fix cracks in my concrete countertop?
Small cracks in a concrete countertop can be repaired using a concrete patching compound or epoxy. I suggest cleaning the crack thoroughly and applying the patching material according to the manufacturer’s instructions. For larger cracks, you may need to grind out the crack slightly before filling it with epoxy. After the repair, sand the area smooth and reseal the countertop to protect it.

Is a concrete countertop heat-resistant?
Concrete countertops are heat-resistant to a degree, but it’s still important to use trivets or hot pads to protect the surface from extreme temperatures. Placing hot pots or pans directly on the countertop can cause thermal shock, leading to cracks or discoloration. I’ve found that with proper care, a sealed concrete countertop can handle everyday kitchen heat without issues.
Can I use concrete countertops outdoors?
Yes, concrete countertops can be used outdoors, but they require special considerations. Outdoor countertops should be sealed with a high-quality, weather-resistant sealer to protect against moisture, UV rays, and temperature fluctuations. I also recommend using a mix designed for outdoor use, as it’s more durable and less prone to cracking. With proper care and maintenance, concrete countertops can be a beautiful and durable addition to your outdoor kitchen or patio.
How long does it take to make a concrete countertop?
The timeline for making a concrete countertop depends on the complexity of the project, but it typically takes about 3-5 days. This includes time for designing and building the mold, mixing and pouring the concrete, curing, and finishing the countertop. I’ve found that patience is key to a successful project. Rushing any step, especially curing, can compromise the final product. It’s important to follow each step carefully and allow ample time for the concrete to set and cure properly.
How to make a Concrete Counter Top in 1 hour!

How to DIY Budget Friendly Concrete Countertops

DIY Concrete Countertops – Easy Step by Step Guide! – Run To Radiance

Related articles:
- Concrete Countertop Overlay
- Black Concrete Countertops
- Marble Look Concrete Countertops
- Light Grey Concrete Countertops
- Concrete Countertop Design Ideas
- Light Colored Concrete Countertops
- Epoxy On Concrete Countertop
- Concrete Countertops Designs
- Concrete Countertops That Look Like Wood
- White Concrete Countertops