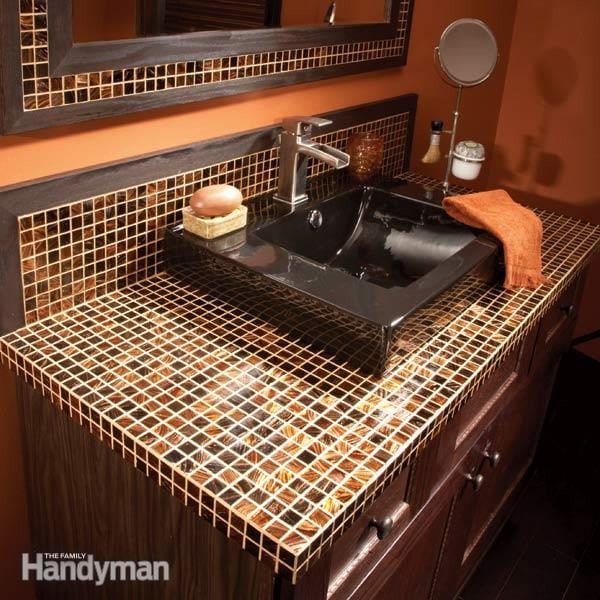
DIY tile bathroom countertops offer an excellent opportunity to personalize and beautify your bathroom space while also providing a durable and functional surface for everyday use. Whether you’re looking to refresh the look of your bathroom or tackle a complete renovation project, installing a tile countertop can add style and elegance to the room. With proper planning, preparation, and execution, you can achieve professional-looking results that enhance the overall aesthetic of your bathroom.
To begin the DIY tile bathroom countertop installation process, it’s essential to gather all the necessary materials and tools. You’ll need tiles of your choice, adhesive or thinset mortar, grout, a trowel, tile spacers, a tile cutter or wet saw, a level, a sponge, and a grout sealer. Additionally, you may need plywood or cement backer board to create a sturdy and level substrate for the tiles.
Before starting the installation, measure the dimensions of your bathroom countertop and plan the layout of the tiles accordingly. Consider factors such as the size and shape of the tiles, the placement of any fixtures or appliances, and the desired pattern or design for the countertop surface.
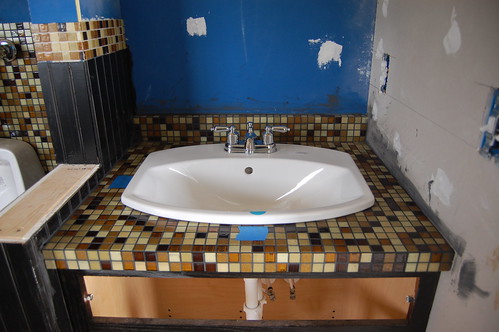
Once you’ve planned the layout, prepare the substrate by ensuring it is clean, dry, and level. If necessary, install plywood or cement backer board over the existing countertop surface to create a smooth and stable base for the tiles.
Next, apply adhesive or thinset mortar to the substrate using a trowel, and then carefully place the tiles in the desired pattern or design, using tile spacers to ensure even spacing between the tiles. Use a level to ensure that the tiles are installed evenly and that the countertop surface is level.
After all the tiles are in place, allow the adhesive or mortar to dry completely according to the manufacturer’s instructions before proceeding with grouting. Mix the grout according to the manufacturer’s instructions, and then use a grout float to apply the grout to the spaces between the tiles, ensuring that the grout lines are filled completely.
Once the grout has been applied, use a damp sponge to wipe away any excess grout from the surface of the tiles, being careful not to remove too much grout from the grout lines. Allow the grout to dry for the recommended time before applying grout sealer to protect the grout from stains and moisture.
After the grout sealer has dried, your DIY tile bathroom countertop is ready for use. Enjoy the beauty and functionality of your newly installed countertop, and take pride in knowing that you achieved professional-looking results with your own hands.

Now, let’s discuss some common mistakes to avoid when installing a DIY tile bathroom countertop.
One common mistake is failing to properly prepare the substrate before installing the tiles. It’s essential to ensure that the substrate is clean, dry, and level to provide a stable base for the tiles and prevent issues such as unevenness or cracking.
Another mistake is not using the correct adhesive or thinset mortar for the type of tiles being installed. Different types of tiles require different adhesives or mortars, so be sure to choose the appropriate product for your specific tiles to ensure a strong and durable bond.
It’s also important to avoid rushing the installation process and not allowing the adhesive, mortar, grout, or grout sealer to dry completely before using the countertop. Failing to wait for proper drying times can lead to issues such as uneven tiles, loose tiles, or grout cracking and crumbling.
Additionally, neglecting to properly seal the grout after installation can leave it vulnerable to stains and moisture penetration, leading to discoloration and deterioration over time. Be sure to apply grout sealer according to the manufacturer’s instructions to protect the grout and prolong its lifespan.
Finally, not taking the time to plan the layout and design of the tiles before starting the installation can result in a haphazard or unbalanced appearance. Take the time to plan the layout carefully, considering factors such as tile size, shape, and pattern, as well as the placement of fixtures and appliances, to achieve a cohesive and visually pleasing result.
Can I install tiles directly over my existing bathroom countertop?
In some cases, tiles can be installed directly over an existing bathroom countertop surface. However, it’s essential to ensure that the existing surface is clean, dry, and level before proceeding with the installation to prevent issues such as unevenness or cracking. Depending on the condition of the existing surface, you may need to install plywood or cement backer board to create a stable base for the tiles.
Do I need to seal the tiles after installation?
While it’s not necessary to seal the tiles themselves, it is essential to seal the grout lines after installation to protect the grout from stains and moisture penetration. Grout sealer helps to prolong the lifespan of the grout and maintain its appearance over time.
Can I use any type of tile for my DIY tile bathroom countertop?
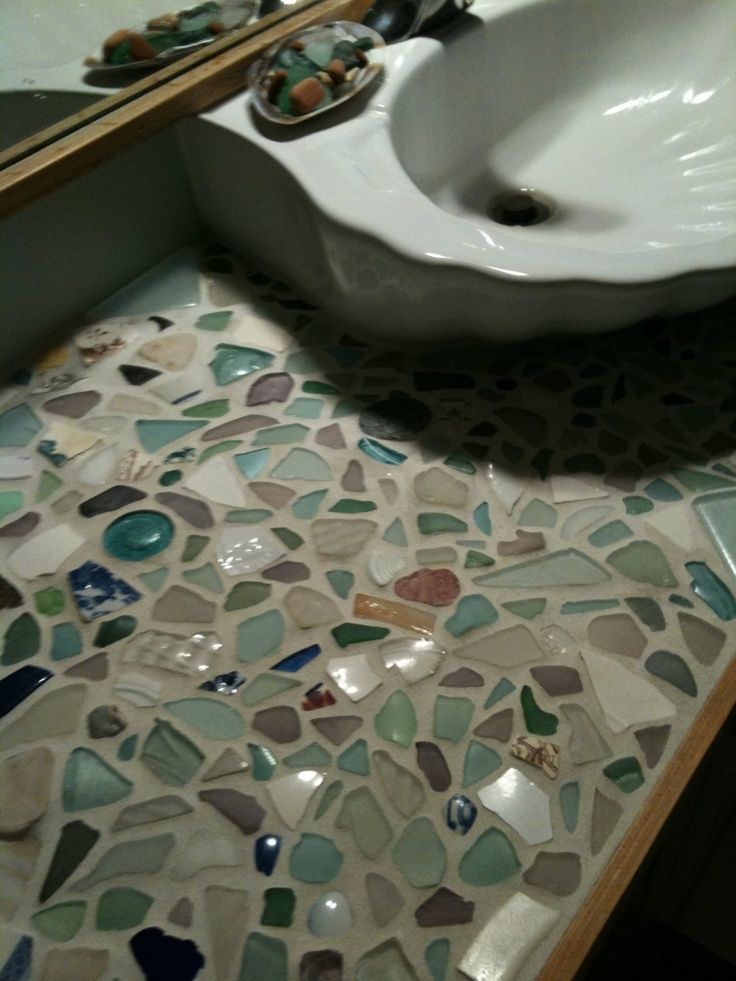
You can use a wide variety of tiles for your DIY tile bathroom countertop, including ceramic, porcelain, glass, and natural stone tiles. However, it’s important to choose tiles that are suitable for use in wet environments such as bathrooms and to ensure that they are properly sealed to protect against stains and moisture.
How long does it take to install a DIY tile bathroom countertop?
The time it takes to install a DIY tile bathroom countertop depends on several factors, including the size and complexity of the countertop, the type of tiles being used, and your level of experience with tile installation. Generally, the installation process can take anywhere from a few hours to a few days to complete.
Can I cut tiles myself, or do I need to hire a professional?
With the right tools and techniques, you can cut tiles yourself for your DIY tile bathroom countertop installation. However, if you’re not comfortable or experienced with tile cutting, or if you’re working with particularly challenging materials such as natural stone or glass tiles, it may be best to hire a professional tile cutter to ensure precise and accurate cuts.
How to Paint Tile Countertops and our Modern Bathroom Reveal

Best images about BATH Countertop Ideas on Pinterest Mosaic

How to Paint Tile Countertops and Our Modern Bathroom Reveal

DIY Countertops – 8 Ideas to Steal

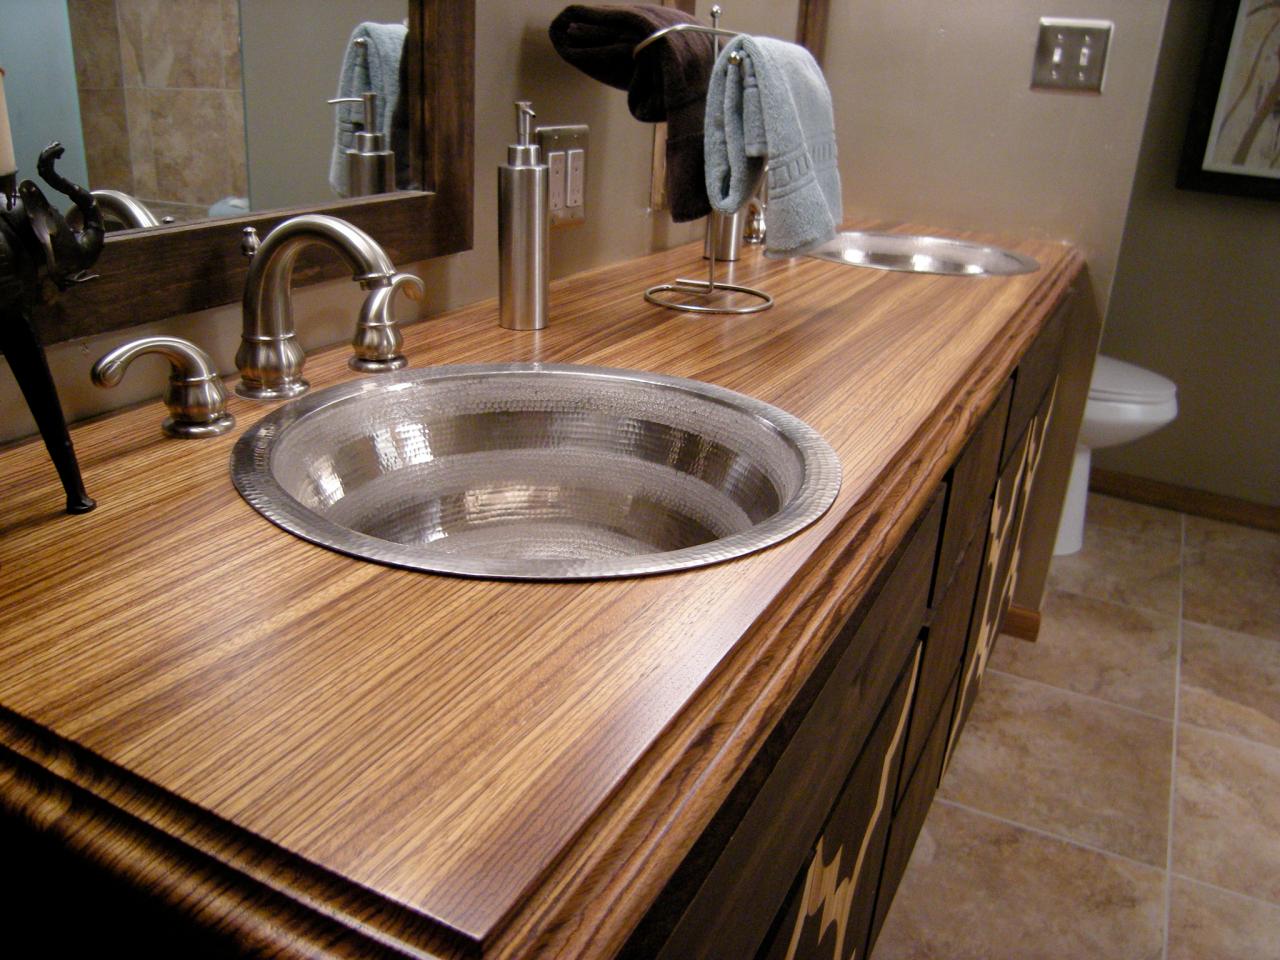
Bathroom Countertop Material Options
How to Build Tile Countertops
Related articles: