When it comes to giving your bathroom a fresh new look without spending a lot of money, painting the countertop can be a game-changer. DIY painting projects are not only budget-friendly but also allow you to customize your space according to your style. Bathroom countertops, often exposed to moisture, daily use, and various toiletries, can start to look worn or outdated over time. Rather than replacing the entire countertop, which can be costly, painting it offers an affordable and creative solution.
The first step in painting a bathroom countertop is choosing the right type of paint. Not all paints are created equal, especially for surfaces that will be exposed to water and frequent cleaning. Epoxy paint is often recommended for bathroom countertops because it creates a hard, durable finish that can withstand moisture, heat, and chemicals. Epoxy paint adheres well to surfaces like laminate, tile, and even solid surface countertops. You can also use acrylic latex paint combined with a strong bonding primer, although it might not be as durable as epoxy.
Before you start painting, thorough preparation is essential. Begin by cleaning the countertop surface with a degreaser or a mixture of water and mild detergent to remove any dirt, oils, or soap residue. This step is crucial because any remaining grime can prevent the paint from adhering properly. Once the surface is clean, lightly sand the countertop with a fine-grit sandpaper. Sanding helps to create a rough texture, allowing the paint to bond better. After sanding, wipe the surface with a damp cloth to remove any dust particles.
After cleaning and sanding, it’s time to apply a primer. Priming is a critical step because it helps the paint adhere better and ensures a smooth, even finish. Use a high-quality bonding primer designed for the type of surface you’re painting. Apply the primer in thin, even coats using a foam roller or a brush, and allow it to dry completely between coats. Depending on the condition of the countertop and the type of primer, you may need to apply two coats to achieve full coverage.
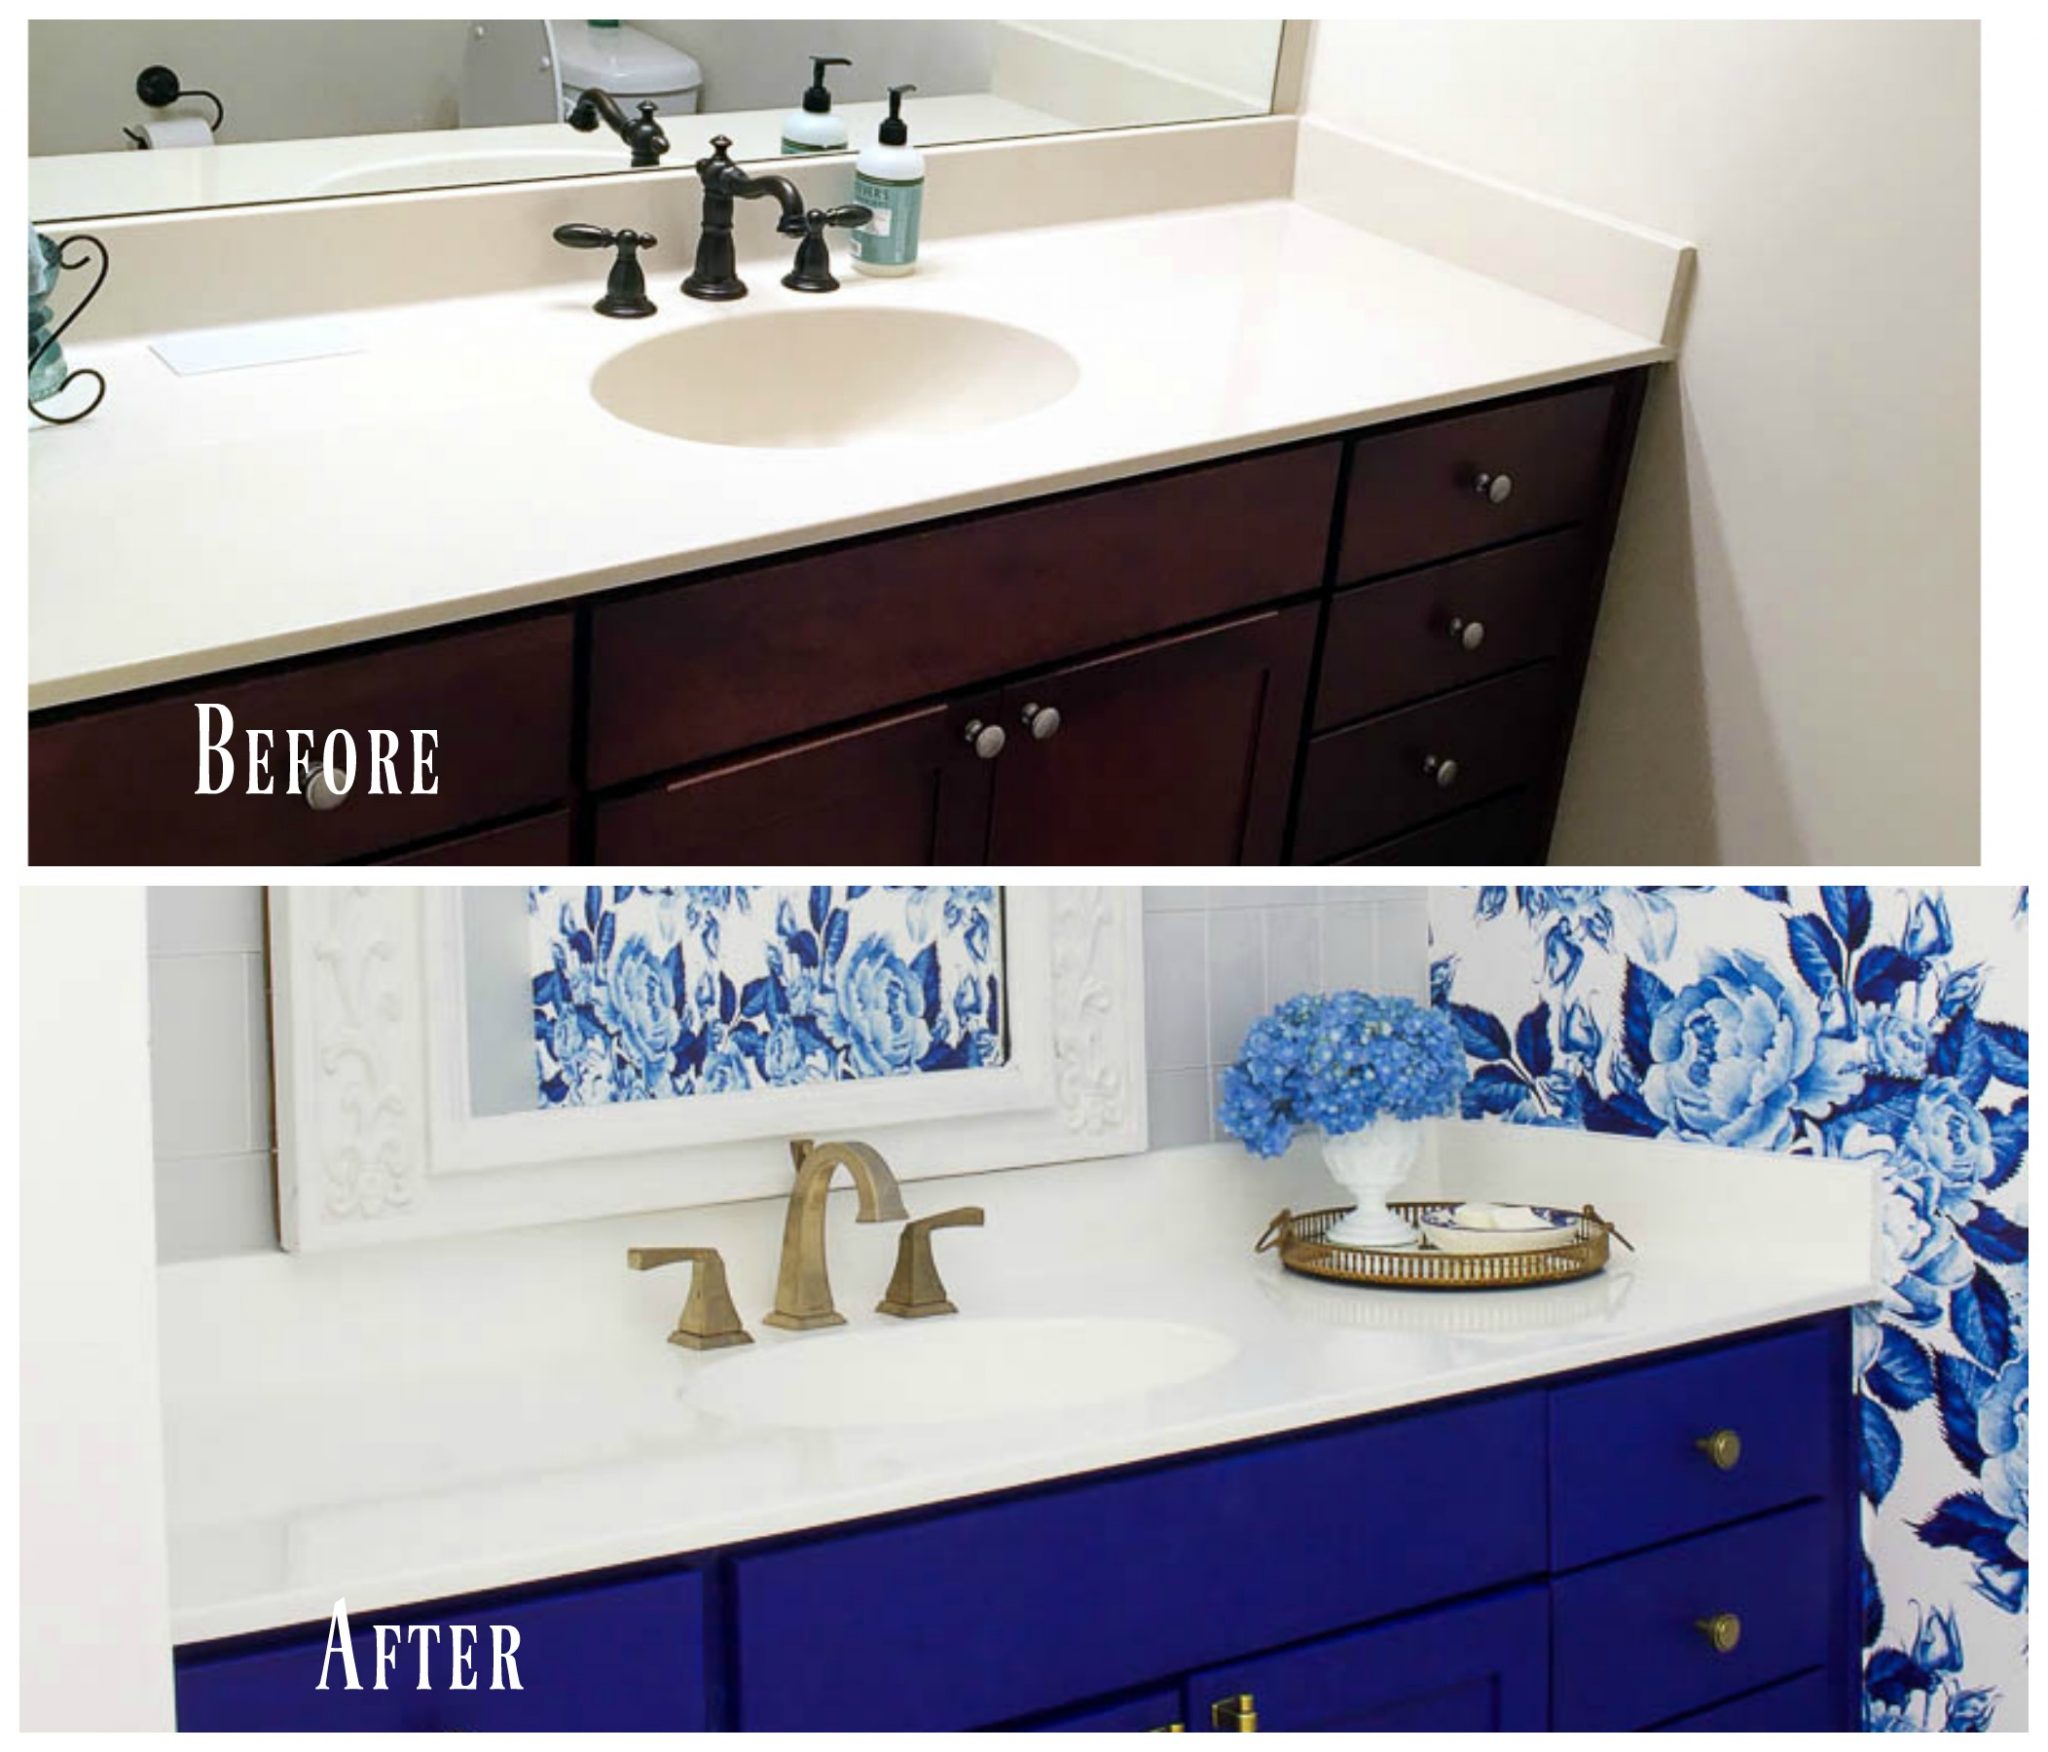
Once the primer is dry, you can start painting the countertop. If you’re using epoxy paint, follow the manufacturer’s instructions carefully, as epoxy often comes in two parts that need to be mixed together before application. Apply the paint in thin, even layers, using a foam roller or a high-quality brush to avoid brush strokes or roller marks. It’s important to work quickly but carefully, as epoxy paint can start to set up within minutes. Depending on the color and type of paint, you may need to apply two to three coats for full coverage.
For those looking to add a bit of flair to their painted countertop, consider using a faux finish technique. Faux finishes can mimic the look of natural stone, marble, or granite, giving your bathroom a high-end appearance without the high-end price tag. To create a faux marble effect, for example, you can use a combination of lighter and darker paint colors, along with a small artist’s brush or a feather to create veining patterns. This technique takes a bit of practice, but the results can be stunning.
After the final coat of paint has dried, it’s essential to seal the countertop to protect the finish. A clear epoxy or polyurethane sealer works well to create a waterproof, scratch-resistant surface. Apply the sealer in thin, even coats, allowing each coat to dry completely before applying the next. Some sealers may require multiple coats for optimal protection. Make sure to follow the manufacturer’s instructions for curing time, as the countertop may need several days to fully cure before it can be used.

While waiting for the countertop to cure, it’s a good idea to avoid placing any objects on the surface or exposing it to water. Rushing the curing process can lead to a less durable finish, which could chip or peel over time. Once fully cured, your painted countertop will be ready to handle daily use, adding a fresh new look to your bathroom that’s both stylish and functional.
One of the biggest advantages of painting a bathroom countertop is the ability to customize the color and design to match your bathroom décor. Whether you prefer a classic white, a bold black, or a trendy gray, paint allows you to achieve the exact look you want. Additionally, paint can be easily updated or changed in the future if you decide to switch up your bathroom’s color scheme.
Cost is another significant benefit of painting your bathroom countertop. Compared to replacing the countertop, which can range from hundreds to thousands of dollars depending on the material, painting is an affordable option. Most DIY countertop painting projects can be completed for under $100, depending on the type of paint and supplies you choose.
While painting a bathroom countertop is a relatively simple DIY project, it’s important to set realistic expectations. Painted countertops are durable, but they may not last as long as new ones, especially in a high-traffic bathroom. Regular cleaning and maintenance, such as wiping up spills promptly and avoiding abrasive cleaners, will help prolong the life of your painted countertop.
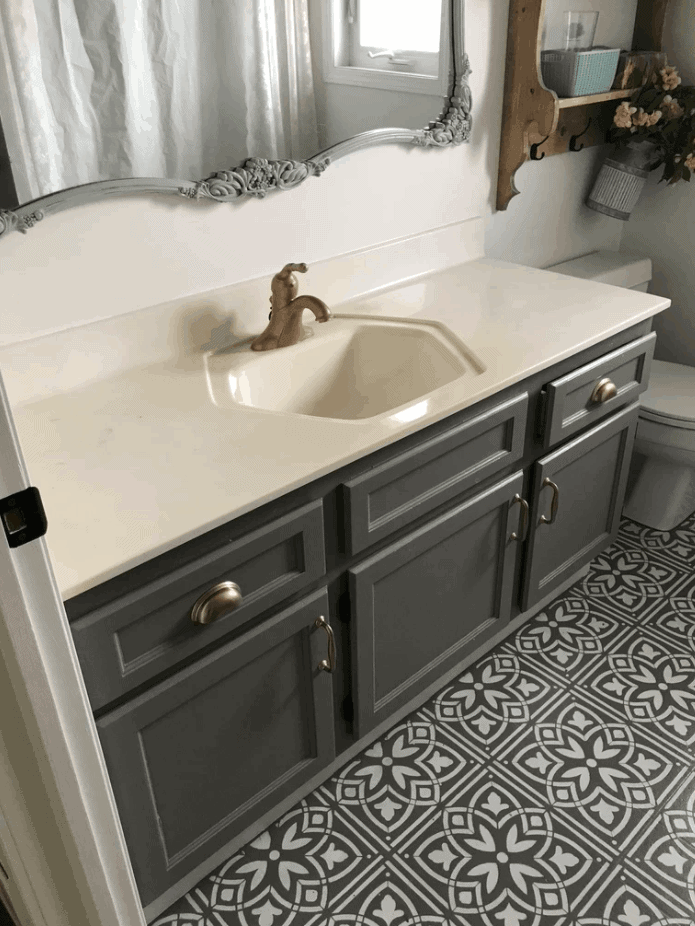
If you’re considering painting a bathroom countertop as a temporary solution, it can be a great way to buy time while you save up for a more permanent renovation. Even if the paint starts to wear over time, touch-ups are relatively easy and inexpensive. In the meantime, you can enjoy a fresh, updated look without the need for a major investment.
When selecting a color for your painted countertop, consider the overall design of your bathroom. Light colors can make a small bathroom feel larger and more open, while darker colors can add drama and sophistication. Neutral tones are versatile and timeless, but don’t be afraid to experiment with bold colors or patterns if you want to make a statement.
Finally, painting your bathroom countertop is a project that can be completed in a weekend, making it an ideal option for busy homeowners. With careful planning, preparation, and attention to detail, you can transform your bathroom with minimal effort and expense. The sense of satisfaction that comes from completing a DIY project, combined with the visual impact of a freshly painted countertop, makes this a rewarding home improvement project.
Common Mistakes to Avoid:
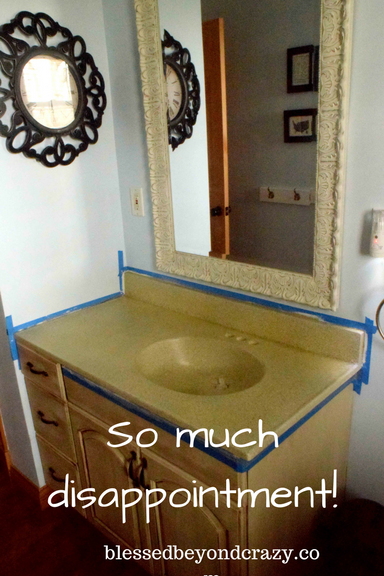
One common mistake when painting a bathroom countertop is skipping the sanding step. Sanding the surface helps the paint adhere better, and without it, the paint may peel or chip over time. Another mistake is not allowing enough drying or curing time between coats or after the final sealer is applied. Rushing this process can lead to a less durable finish that may not hold up to daily use.
Additionally, using the wrong type of paint or primer can result in poor adhesion and a finish that doesn’t last. It’s crucial to use products specifically designed for countertops or high-moisture environments to ensure the best results. Finally, failing to seal the painted countertop can leave it vulnerable to water damage, stains, and scratches. A high-quality sealer is necessary to protect the painted surface and extend its lifespan.
What type of paint is best for bathroom countertops?
Epoxy paint is generally considered the best option for bathroom countertops due to its durability, water resistance, and ability to withstand heat and chemicals. It creates a hard, protective finish that can handle daily use in a bathroom environment. Acrylic latex paint with a strong bonding primer can also be used but may not be as long-lasting as epoxy.
How long does it take to paint a bathroom countertop?
The process of painting a bathroom countertop typically takes a weekend, including cleaning, sanding, priming, painting, and sealing. However, you need to account for drying and curing times, which can extend the total time to several days. It’s important not to rush these steps to ensure a durable and long-lasting finish.
Can I create a faux marble effect with paint?
Yes, you can create a faux marble effect on your bathroom countertop using paint. This involves using a combination of lighter and darker paint colors to create veining patterns that mimic the look of natural marble. While this technique requires some practice and attention to detail, the results can be very convincing and add a touch of luxury to your bathroom.
Do I need to seal the painted countertop?
Yes, sealing the painted countertop is essential to protect the finish from water, stains, and scratches. A clear epoxy or polyurethane sealer creates a waterproof and durable surface that can handle daily use in a bathroom. Applying multiple coats of sealer, with proper drying time in between, will ensure the best protection for your painted countertop.
How long will a painted bathroom countertop last?
A painted bathroom countertop can last several years with proper care and maintenance. The longevity of the finish depends on factors such as the type of paint and sealer used, the quality of the application, and how well the countertop is maintained. Regular cleaning, avoiding abrasive cleaners, and promptly wiping up spills will help extend the life of your painted countertop.
Is painting a bathroom countertop a good DIY project for beginners?
Painting a bathroom countertop is a relatively simple DIY project that can be done by beginners, as long as they follow the steps carefully and use the right materials. The key to success is thorough preparation, including cleaning, sanding, and priming, as well as taking your time with the painting and sealing process. With patience and attention to detail, even a novice DIYer can achieve great results.

Remodelaholic Painted Bathroom Sink and Countertop Makeover

How to Paint Bathroom Countertops
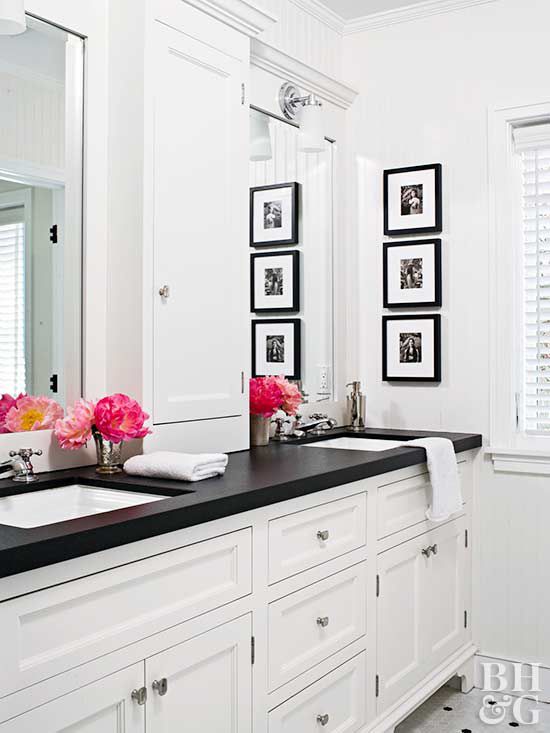
DIY Painted Bathroom Sink Countertops

Update Your Outdated Countertops for LESS than $4

Related articles: