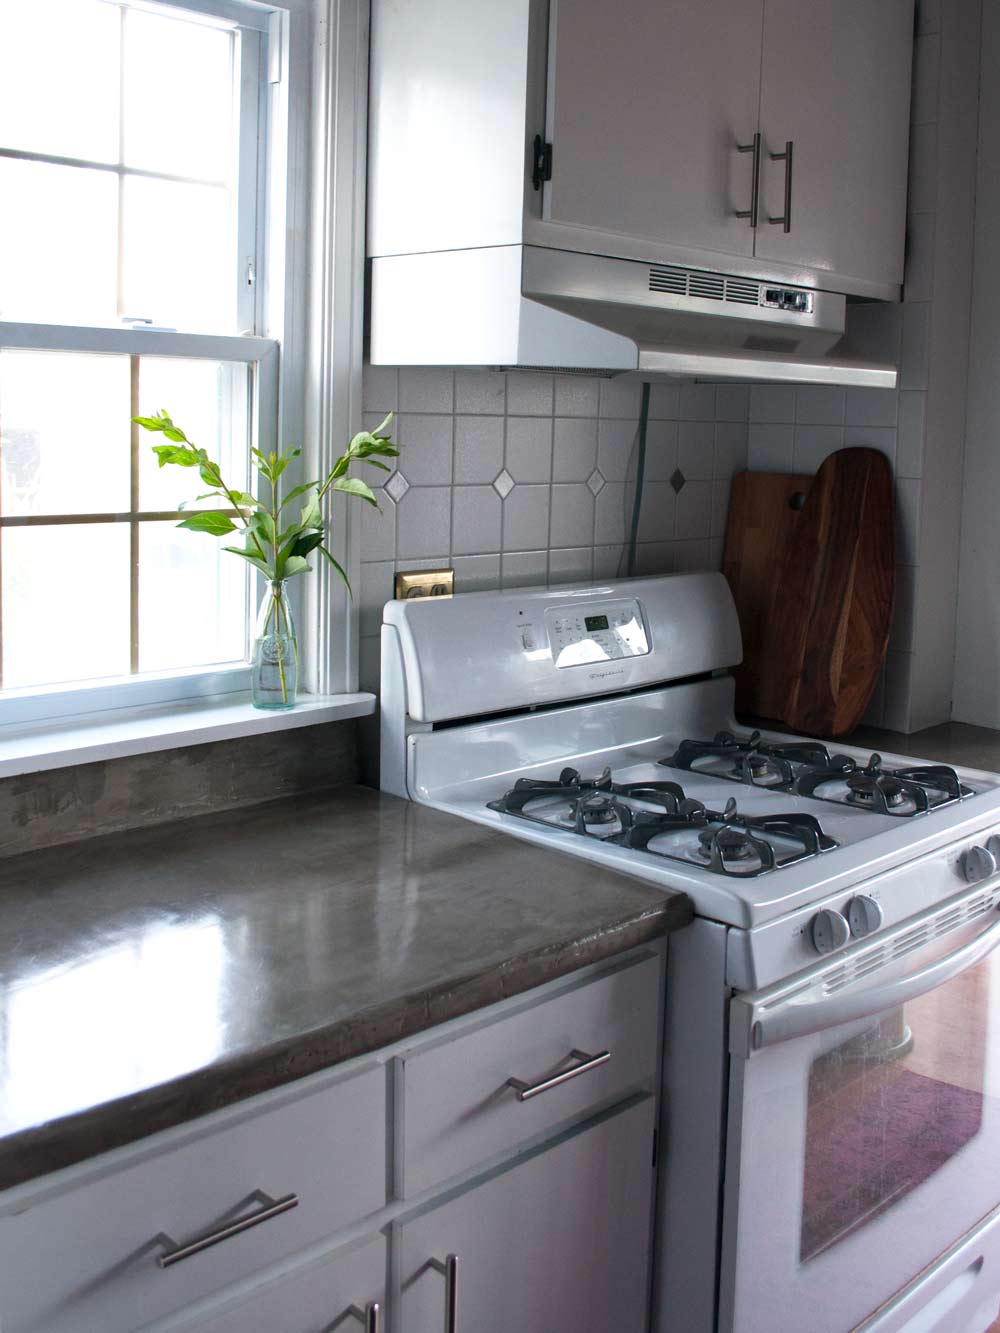
Concrete countertops are becoming increasingly popular due to their modern aesthetic, durability, and versatility. If you have old, outdated tile countertops, a DIY concrete overlay can be a cost-effective and stylish solution. We will walk you through the process of creating your concrete countertops over tile, ensuring a professional and durable finish.
Preparation and Planning
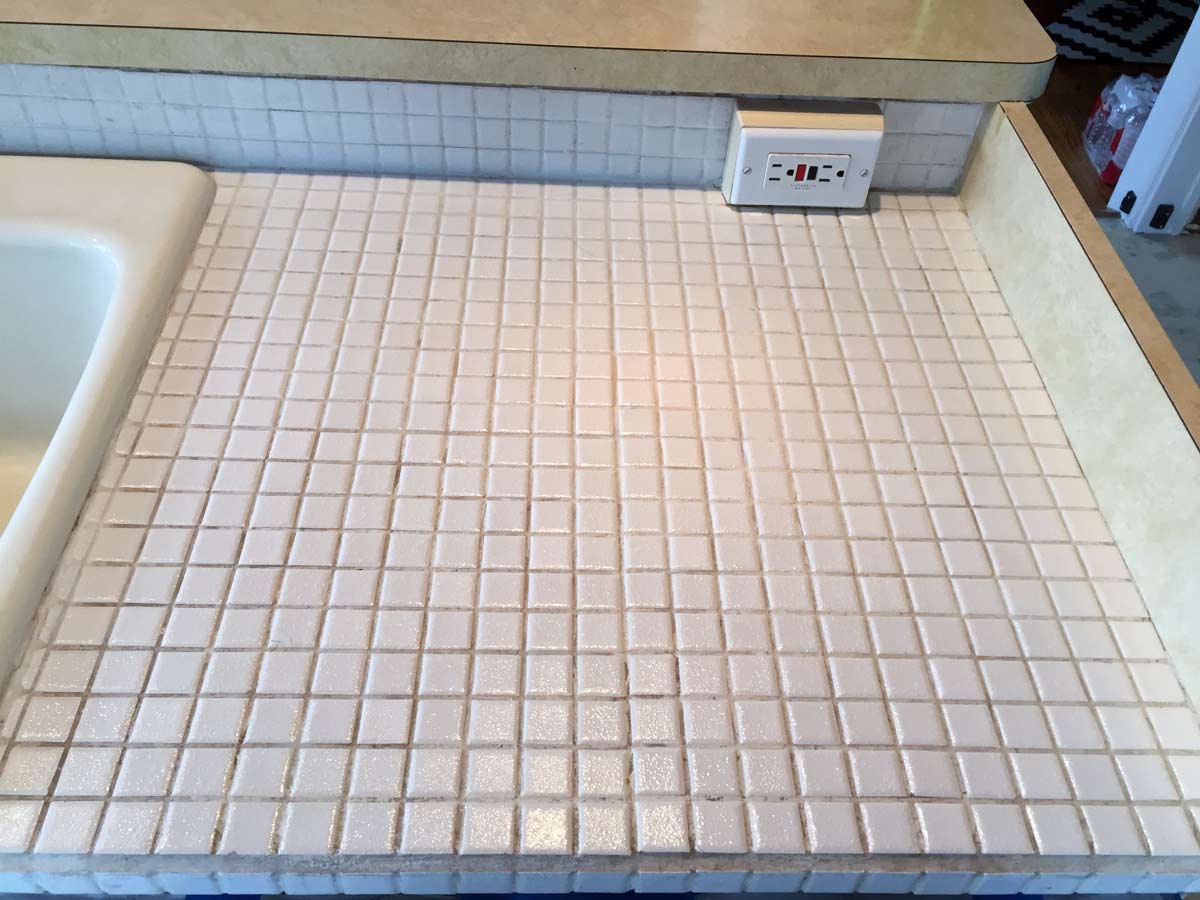
Assessing Your Existing Tile Countertop
Before you begin the process of overlaying your tile countertops with concrete, it’s essential to assess the current condition of your tiles. Check for any loose or damaged tiles and ensure that the surface is stable and secure. Any tiles that are cracked or loose should be repaired or replaced to create a solid base for the concrete overlay. Additionally, ensure that the countertop is thoroughly cleaned to remove any grease, grime, or other residues that could interfere with the adhesion of the concrete.
Gathering Materials and Tools
For this DIY project, you will need a variety of materials and tools. The primary materials include a concrete overlay mix, bonding agent, painter’s tape, plastic sheeting, and a sealer. Tools required include a trowel, mixing bucket, drill with a mixing paddle, sander, level, and safety gear such as gloves and goggles. It’s also beneficial to have a wet polisher for a smoother finish. Ensure that all materials are of high quality to guarantee the durability and appearance of your concrete countertops.
Preparing the Work Area
Proper preparation of the work area is crucial for a successful concrete overlay project. Start by removing any items from the countertops and covering surrounding areas with plastic sheeting to protect them from concrete splatters. Use painter’s tape to mask off edges and areas that should not be covered with concrete. Ensure that the work area is well-ventilated and that you have sufficient space to mix and apply the concrete. Adequate lighting is also important to see the fine details during the application process.
Mixing the Concrete
The consistency and quality of the concrete mix are vital for a smooth and durable countertop finish. Follow the manufacturer’s instructions for mixing the concrete overlay. Typically, this involves adding the concrete mix to water in a bucket and mixing thoroughly with a drill and mixing paddle. The mixture should have a consistency similar to peanut butter, not too thick or too runny. Mixing should be done in small batches to ensure the concrete does not dry out before application.
Application Process
Applying the Bonding Agent
A bonding agent is essential to ensure that the concrete adheres properly to the tile surface. Apply the bonding agent to the clean, dry tile surface using a paint roller or brush. Make sure to cover the entire area where the concrete will be applied. Allow the bonding agent to dry according to the manufacturer’s instructions, which usually takes about 15-30 minutes. This step creates a strong bond between the old tile and the new concrete overlay, preventing delamination.
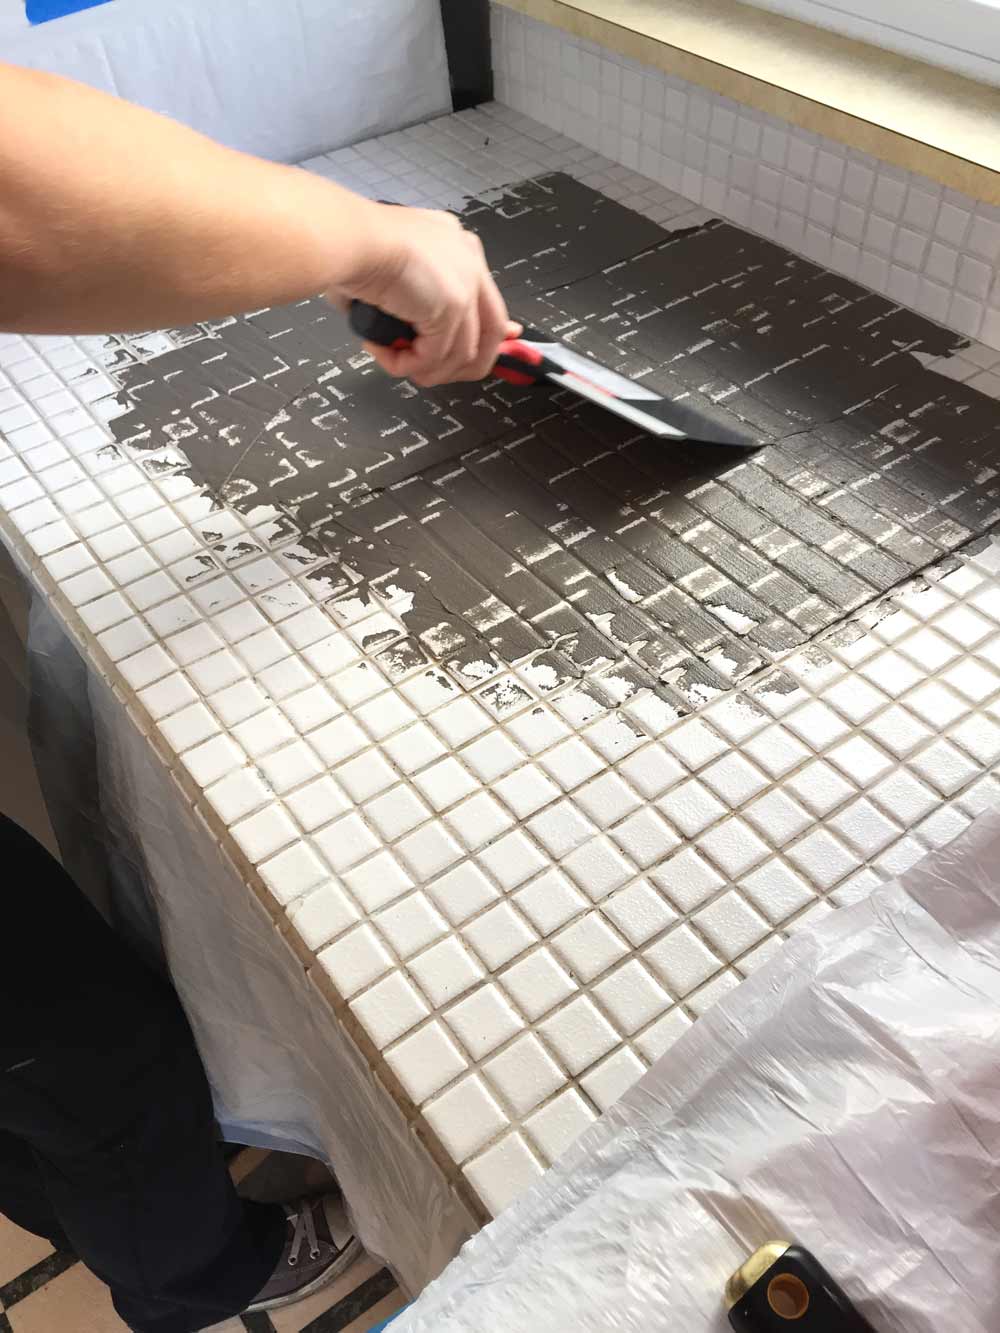
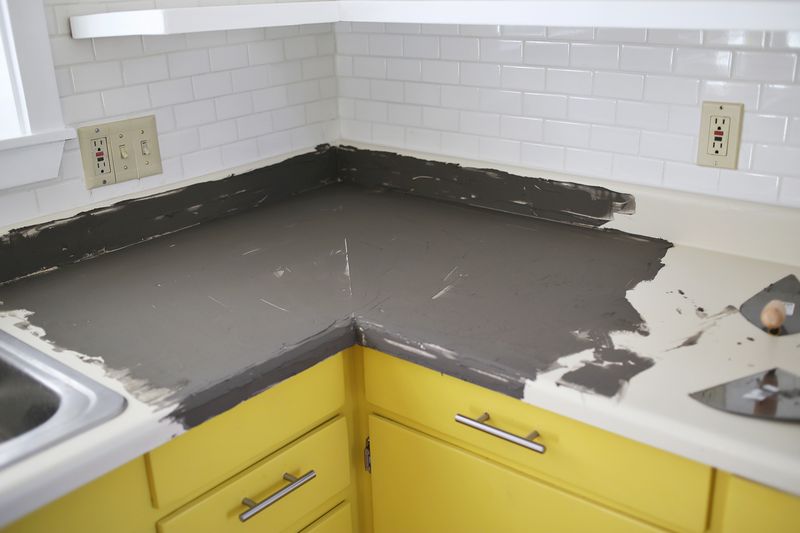
Spreading the Concrete
Once the bonding agent is dry, you can begin applying the concrete. Use a trowel to spread the concrete mix evenly over the tile surface, starting from the back and working your way forward. Apply a thin, even layer and ensure that all grout lines and tile edges are covered. Smooth out the surface as much as possible to reduce sanding later. Work in small sections to ensure the concrete does not dry out before you have a chance to smooth it. After the first layer is applied, allow it to dry for 24 hours before applying additional layers if necessary.
Smoothing and Sanding
After the concrete has dried, the surface will likely be rough and uneven. Use a sander with medium-grit sandpaper to smooth out the surface. Sanding not only smooths the concrete but also helps to remove any imperfections or high spots. If you have access to a wet polisher, use it for an even smoother finish. Once the surface is smooth, clean off the dust with a damp cloth. If needed, apply a second layer of concrete, following the same steps as before, to achieve the desired thickness and smoothness.
Sealing the Concrete
Sealing the concrete is a critical step in protecting your new countertops from stains, scratches, and water damage. Choose a high-quality sealer designed for concrete countertops. Apply the sealer with a brush or roller in thin, even coats. Allow each coat to dry completely before applying the next one. Depending on the sealer, you may need to apply multiple coats to achieve the desired level of protection. Once the final coat is applied, let it cure for at least 24-48 hours before using the countertop.
Finishing Touches
Edging and Details
To achieve a professional look, pay attention to the edges and details of your countertop. Use a small trowel or edging tool to create clean, straight edges. For rounded edges, use a bullnose or similar edging tool. This step should be done while the concrete is still wet for the best results. Once the concrete has dried, you can sand the edges to smooth out any rough spots and ensure they are consistent with the surface.
Customizing with Stains or Dyes
If you want to add some color or artistic flair to your concrete countertops, consider using concrete stains or dyes. These products can be applied after the concrete has dried and before sealing. Concrete stains come in a variety of colors and can create a marbled or variegated effect. Dyes can be used for more vibrant colors. Apply the stain or dye according to the manufacturer’s instructions, and allow it to dry completely before sealing.
Final Cleaning and Inspection
After all the layers have been applied and the sealer has cured, give your new concrete countertop a thorough cleaning. Use a mild cleaner and a soft cloth to remove any remaining dust or residue. Inspect the surface for any imperfections or areas that may need touch-up. If necessary, apply additional sealer or polish the surface to achieve the desired finish. A final inspection ensures that your countertop is not only beautiful but also functional and durable.
Maintenance Tips
Concrete countertops require regular maintenance to keep them looking their best. Clean the surface regularly with a mild cleaner and avoid using harsh chemicals that can damage the sealer. Reapply the sealer every 1-3 years, depending on the level of use and wear. Use cutting boards and trivets to protect the surface from scratches and heat. With proper care, your DIY concrete countertop can last for many years and continue to enhance the beauty of your kitchen.
Common Mistakes to Avoid
Skipping Surface Preparation: Failing to properly clean and prepare the tile surface can result in poor adhesion of the concrete, leading to peeling and cracking. Ensure the tiles are clean, dry, and free from any damage before applying the bonding agent.
Inconsistent Concrete Mixing: Inconsistent mixing can lead to a weak or lumpy concrete surface. Always follow the manufacturer’s instructions for mixing and ensure a uniform consistency to achieve a smooth, durable finish.
Neglecting to Apply a Bonding Agent: The bonding agent is crucial for ensuring the concrete adheres to the tile surface. Skipping this step can cause the overlay to delaminate over time, leading to costly repairs.
Rushing the Drying Process: Allow each layer of concrete to dry thoroughly before applying additional layers or sanding. Rushing this process can result in an uneven finish and reduce the overall strength of the countertop.
Forgetting to Seal the Surface: Sealing is essential to protect your concrete countertop from stains, water damage, and wear. Neglecting to seal or using an inappropriate sealer can lead to a porous, vulnerable surface.

Can I apply concrete over any type of tile?
While concrete can be applied over most types of tile, it’s essential to ensure the tile surface is stable, clean, and free from damage. Porous tiles may require additional bonding agents or primers to ensure proper adhesion. Smooth, non-porous tiles can be challenging, so roughening the surface with sandpaper or a grinder can help improve adhesion.
How thick should the concrete overlay be?
The thickness of the concrete overlay typically ranges from 1/8 inch to 1/4 inch. A thinner layer may not provide adequate coverage and durability, while a thicker layer could be prone to cracking. It’s essential to apply multiple thin layers rather than one thick layer to achieve the best results.
How long does the entire process take?
The timeline for a DIY concrete countertop project can vary depending on factors like the size of the countertop, drying times, and the number of layers applied. Generally, the entire process can take anywhere from a few days to a week. This includes time for surface preparation, concrete application, drying, sanding, and sealing.
What kind of sealer should I use?
For concrete countertops, it’s best to use a high-quality, food-safe sealer that protects against stains, scratches, and moisture. Water-based sealers are popular because they are easy to apply and environmentally friendly. Epoxy and urethane sealers offer superior durability and resistance to heat and chemicals but can be more challenging to apply.
How do I maintain my concrete countertop?
Maintaining a concrete countertop involves regular cleaning with a mild cleaner and avoiding harsh chemicals. Reapply the sealer every 1-3 years to maintain protection. Use cutting boards to prevent scratches and trivets to protect against heat damage. Address any spills immediately to prevent staining. With proper care, your concrete countertop can remain beautiful and functional for many years.
Remodelaholic Quick Install of Concrete Countertops! Kitchen

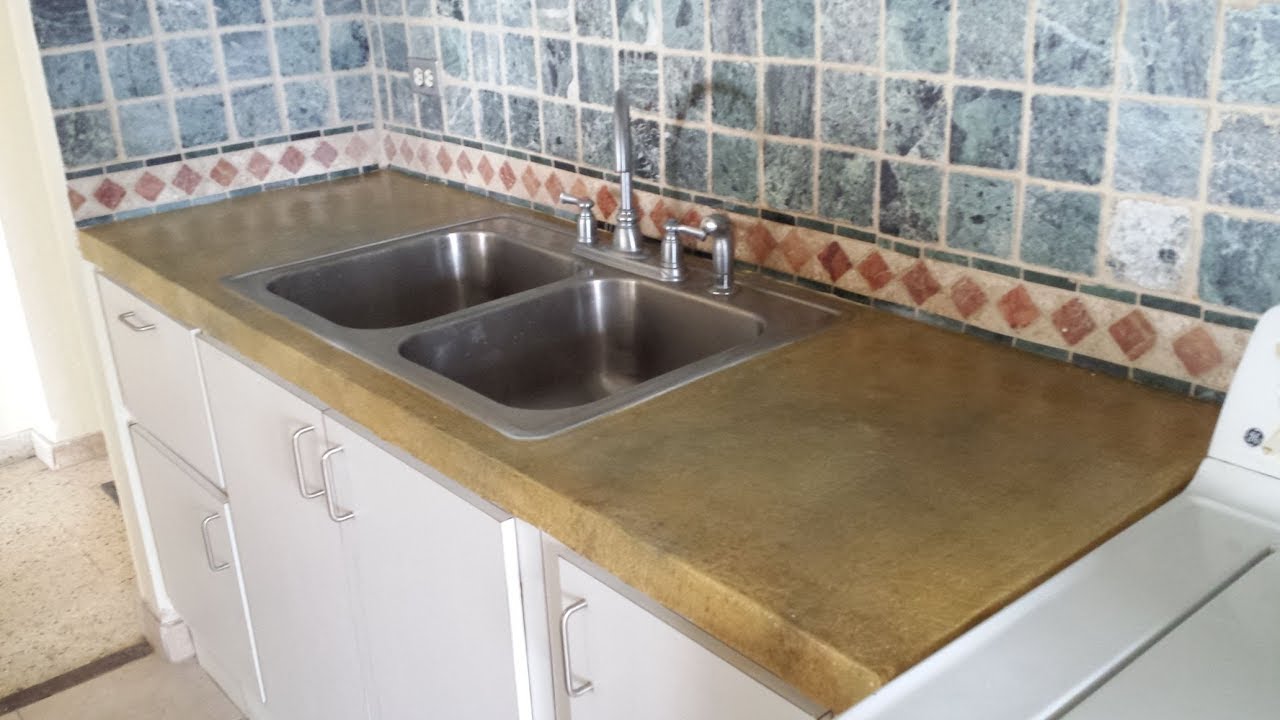
Concrete over Tile Countertop
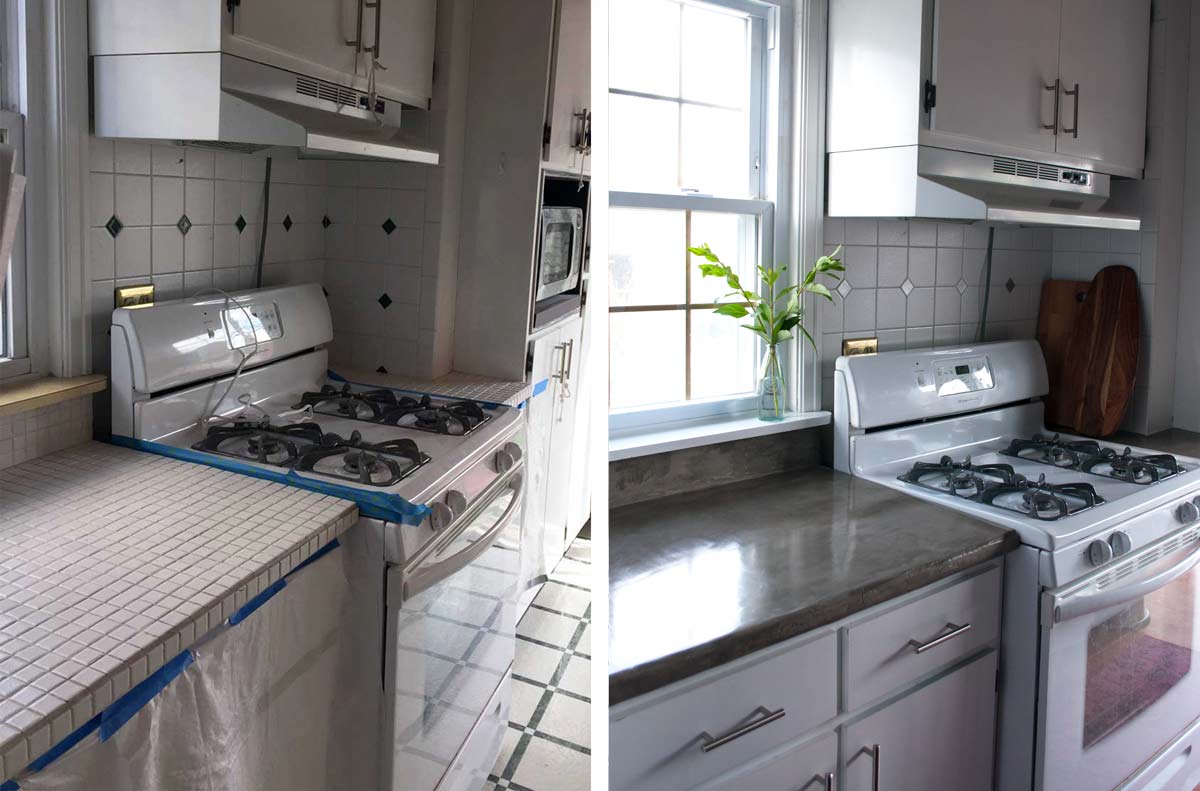
Feather Finish Concrete Over Tile Counters And Then We Tried
Remodelaholic Quick Install of Concrete Countertops!

Remodelaholic Quick Install of Concrete Countertops! Kitchen

Feather Finish Concrete Over Tile Counters And Then We Tried
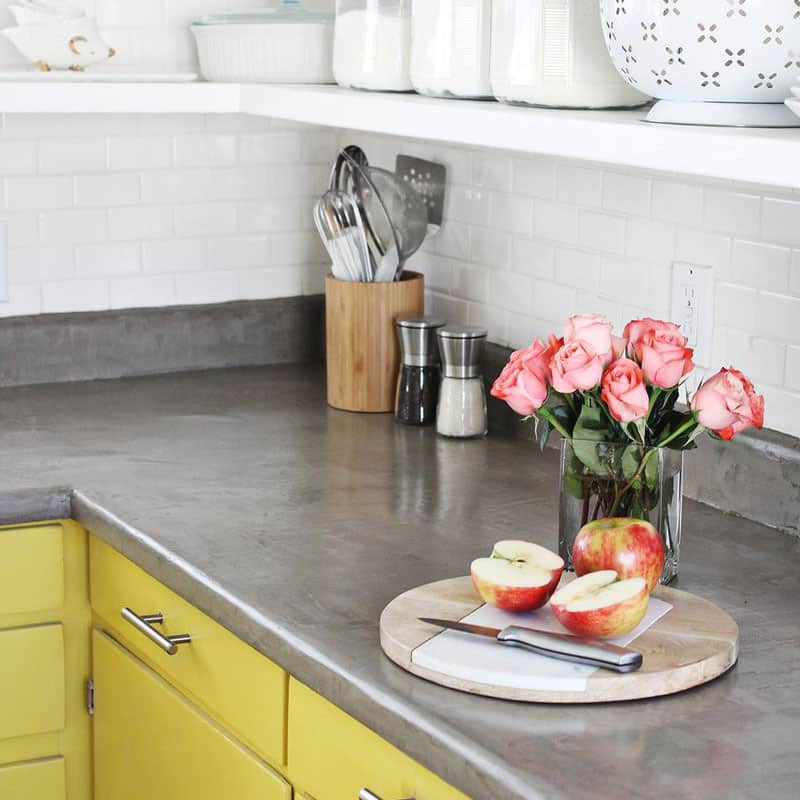
Concrete Countertop DIY – A Beautiful Mess
Related articles:
- Outdoor Concrete Countertops
- How To Make Concrete Countertops Smooth
- Rustic Concrete Countertops
- Farmhouse Concrete Countertops
- Concrete Countertops Outdoor Kitchen
- How To Stain Concrete Countertops
- DIY Concrete Countertop Mix
- Concrete Countertops Made Easy
- Concrete Countertop Overlay
- Black Concrete Countertops