Creating DIY concrete countertops for your bathroom can be a rewarding and cost-effective way to enhance the aesthetics and functionality of your space. Concrete offers a unique blend of durability, versatility, and modern appeal, making it a popular choice for homeowners undertaking a DIY project. The process involves several steps: planning, material selection, mold preparation, mixing, pouring, finishing, and sealing. Each step requires careful attention to detail to ensure a professional-looking result.
Before starting, it’s crucial to plan the design and dimensions of your countertop. Measure the space accurately and decide on the shape, thickness, and style. Sketching a detailed blueprint can help visualize the final product and determine the materials needed. Consider incorporating features like integrated sinks or decorative edges to enhance the countertop’s functionality and aesthetic appeal.
Selecting the right materials is essential for a successful project. Use high-quality concrete mix specifically designed for countertops, which usually contains additives to improve strength and workability. You’ll also need reinforcement materials like wire mesh or rebar to prevent cracking and enhance durability. Additionally, gather tools such as a mixing bucket, trowels, sandpaper, and a concrete mixer if possible.
Creating the mold is a critical step that defines the shape and size of your countertop. Use melamine-coated particleboard or similar materials to construct a sturdy and smooth mold. Ensure the mold is watertight to prevent concrete leakage and apply a release agent to facilitate easy removal after curing. Reinforce the mold with clamps or screws to maintain its shape during the pouring process.
Mixing the concrete correctly is vital for achieving the desired consistency and strength. Follow the manufacturer’s instructions and combine the concrete mix with water in a clean bucket or mixer. Add color pigments if you want to customize the countertop’s appearance. The consistency should be similar to thick pancake batter, ensuring it’s not too runny or dry.

Pouring the concrete into the mold requires precision and patience. Start by filling the mold halfway and then place the reinforcement material, ensuring it’s properly embedded. Continue pouring the remaining concrete, using a trowel to spread it evenly and eliminate air pockets. Tap the sides of the mold gently to release trapped air bubbles, which can weaken the final product.
After pouring, the concrete needs to be leveled and smoothed. Use a straightedge or a piece of wood to screed the surface, moving it back and forth to level the concrete. Follow up with a trowel to smooth the surface, addressing any low spots or imperfections. Depending on the mix and environmental conditions, allow the concrete to cure for at least 24 to 48 hours.
Once the concrete has cured, carefully remove the mold. Sand the edges and surface to achieve a smooth finish. Start with coarse-grit sandpaper and gradually move to finer grits for a polished look. If desired, you can add decorative elements like embedded stones, glass, or tiles to further personalize your countertop.
Sealing the countertop is crucial to protect it from stains, moisture, and daily wear and tear. Choose a high-quality concrete sealer that suits your countertop’s intended use. Apply the sealer in thin, even coats, allowing sufficient drying time between applications. Sealing enhances durability and brings out the concrete’s natural beauty.
Maintaining your concrete countertop involves regular cleaning and resealing as needed. Use mild soap and water for daily cleaning, avoiding harsh chemicals that can damage the sealant. Reapply the sealer periodically, especially in high-use areas, to ensure long-lasting protection.
Common mistakes to avoid during this project include improper mold construction, incorrect concrete mixing ratios, and inadequate curing time. Ensuring the mold is secure and watertight is essential to achieving a smooth finish. Mixing the concrete correctly according to the manufacturer’s guidelines prevents issues like cracking and weak spots. Allowing sufficient curing time before removing the mold or applying the sealer is critical to prevent damage to the countertop.
Avoiding these mistakes requires careful planning and attention to detail. Double-check measurements, follow instructions closely, and take your time during each step. Rushing the process can lead to costly errors and a subpar final product. Investing in quality materials and tools also contributes to a successful outcome.
Concrete countertops can crack if not properly reinforced or if subjected to extreme temperature changes. To prevent cracking, use appropriate reinforcement materials and allow the concrete to cure fully. Avoid placing hot objects directly on the surface, as the rapid temperature change can cause cracks.
Staining is another potential issue with concrete countertops. Even with sealing, substances like oil, wine, and acidic foods can penetrate the surface if left uncleaned for too long. Promptly wipe up spills and use cutting boards or trivets to protect the countertop. Regular resealing helps maintain the protective barrier.
Uneven surfaces and air bubbles are common problems during the pouring process. Ensure thorough mixing to minimize air bubbles and use tapping and vibrating techniques to release trapped air. Level the concrete carefully and use a trowel to smooth the surface. Practicing on a smaller project or test piece can help perfect your technique.
Choosing the wrong sealer can compromise the countertop’s appearance and durability. Research and select a sealer designed for concrete countertops, considering sheen level, durability, and resistance to stains and moisture. Test the sealer on a small area first to ensure it meets your expectations.
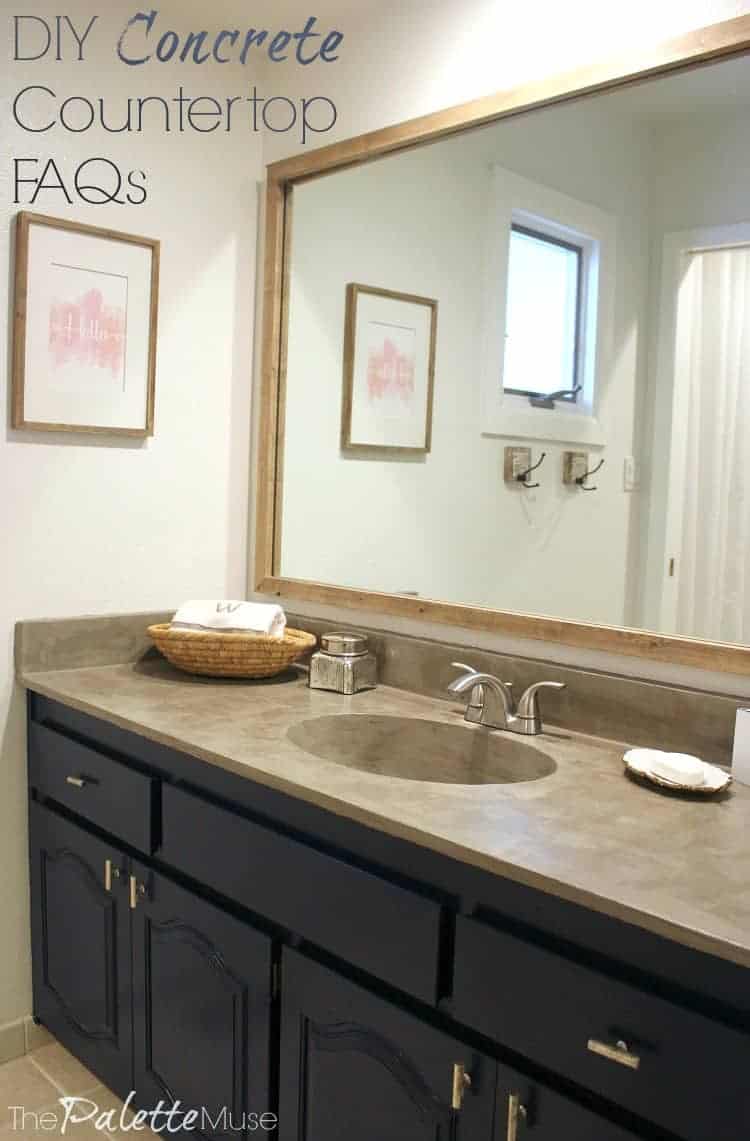
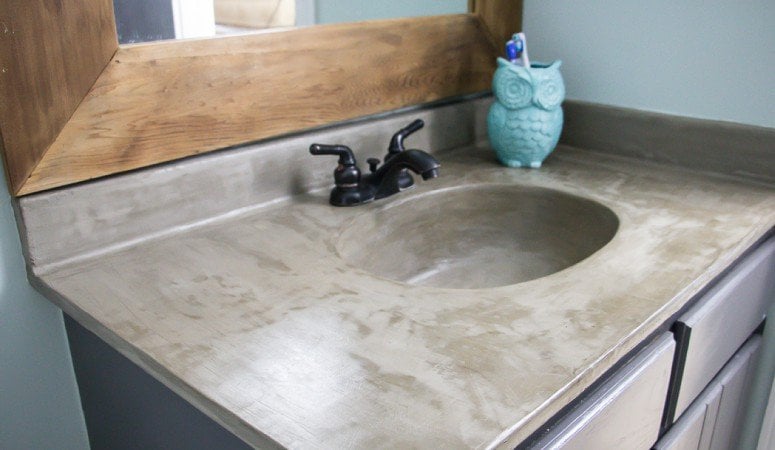
Concrete countertops can be customized with various colors and finishes. Experiment with different pigments, stains, and decorative aggregates for a unique look. Polishing the surface can create a sleek, glossy finish, while a matte sealer offers a more subdued appearance. Personalizing your countertop allows it to reflect your style and complement your bathroom decor.
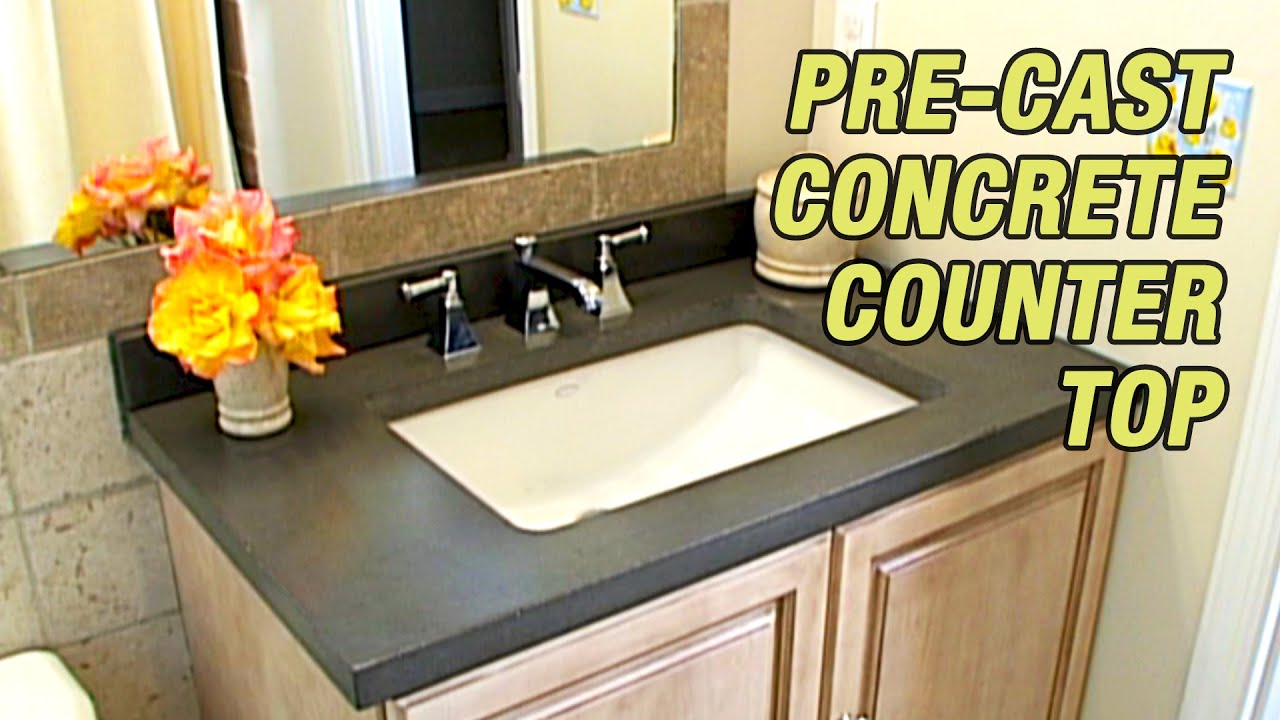
Integrating sinks into your concrete countertop requires additional planning and precision. Decide whether you want an undermount or integrated sink and adjust your mold accordingly. Ensure proper reinforcement around the sink area to prevent cracking. Installing a sink adds functionality and enhances the overall aesthetic appeal of your countertop.
DIY concrete countertops can transform your bathroom, adding a modern and stylish touch. The process involves careful planning, material selection, and meticulous execution. Avoid common mistakes by paying attention to details, using quality materials, and allowing sufficient curing time. With patience and effort, you can create a durable, beautiful, and personalized concrete countertop that enhances your bathroom’s functionality and aesthetics.

Common Mistakes to Avoid
Improper Mold Construction: Ensure your mold is securely assembled and watertight to prevent concrete leakage and maintain the desired shape.
Incorrect Concrete Mixing: Follow the manufacturer’s instructions precisely to achieve the right consistency and strength in your concrete mix.
Inadequate Curing Time: Allow the concrete to cure fully before removing the mold or applying the sealer to avoid damaging the countertop.
Neglecting Reinforcement: Use appropriate reinforcement materials to prevent cracking and enhance the countertop’s durability.
Using Inappropriate Sealers: Choose sealers specifically designed for concrete countertops to ensure long-lasting protection and a suitable finish.

How do I prevent my concrete countertop from cracking?
Cracking can be prevented by using appropriate reinforcement materials such as wire mesh or rebar and ensuring a proper mix of concrete. It’s also important to allow sufficient curing time before use and to avoid placing hot objects directly on the countertop to prevent thermal shock. Regularly applying a high-quality sealer can also help maintain the integrity of the concrete.
Can I customize the color of my concrete countertop?
Yes, you can customize the color of your concrete countertop by adding pigments to the concrete mix or applying stains and dyes to the surface. Pigments can be mixed in during the blending process to achieve a uniform color throughout the countertop, while stains and dyes can be applied after curing to add depth and character. Always test your chosen method on a small sample before applying it to the entire countertop.
How often do I need to reseal my concrete countertop?
The frequency of resealing depends on the amount of use your countertop receives and the type of sealer used. Generally, it’s recommended to reseal every 1 to 3 years. High-use areas may require more frequent resealing to maintain protection against stains and moisture. Signs that resealing is needed include water not beading on the surface and the appearance of stains or discoloration.
What is the best way to clean a concrete countertop?
For daily cleaning, use a mild soap and water solution. Avoid using harsh chemicals or abrasive cleaners, as they can damage the sealer and the concrete. For stubborn stains, a mixture of baking soda and water can be used as a gentle scrub. It’s essential to clean up spills promptly to prevent staining, especially from acidic substances like lemon juice or vinegar.
Can I install a sink on my concrete countertop?
Yes, you can install a sink in your concrete countertop, either as an undermount or an integrated sink. This requires additional planning and precision in mold preparation. Ensure that the mold accommodates the sink and includes proper reinforcement around the sink area to prevent cracking. An integrated sink offers a seamless look, while an undermount sink provides a more traditional appearance. Proper installation and sealing around the sink area are crucial to prevent water damage and ensure durability.

Vanity Top Made From Concrete – DIY for less! – Uncookie Cutter

Bathroom Concrete Vanity Tops

DIY Concrete Vanity Update
Remodelaholic DIY Concrete Countertops in a Beautiful Master

DIY concrete bathroom vanity Flawless Chaos

Related articles:
- Outdoor Concrete Countertops
- How To Make Concrete Countertops Smooth
- Rustic Concrete Countertops
- Farmhouse Concrete Countertops
- Concrete Countertops Outdoor Kitchen
- How To Stain Concrete Countertops
- DIY Concrete Countertop Mix
- Concrete Countertops Made Easy
- Concrete Countertop Overlay
- Black Concrete Countertops