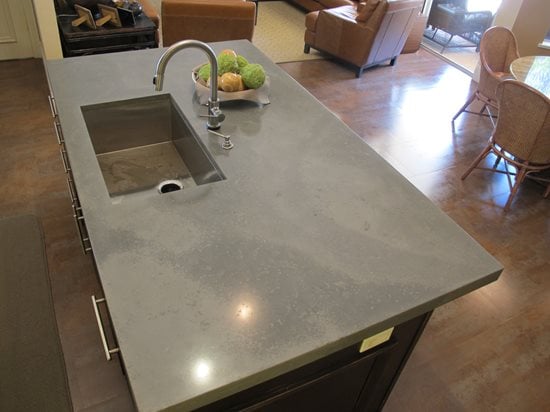
Concrete countertops have become a popular choice for modern kitchens due to their durability, customizability, and unique aesthetic appeal. Making concrete countertops involves several detailed steps that require careful planning and precision. The process begins with designing the countertop to fit the kitchen layout, including measurements and shapes, and determining any additional features such as integrated sinks or cutting boards. The design phase is crucial as it sets the foundation for the entire project, ensuring the finished countertop fits perfectly within the designated space and meets all functional requirements.
Once the design is finalized, the next step is creating a mold. The mold is typically made from melamine-coated particleboard, which provides a smooth surface that doesn’t stick to concrete. The dimensions of the mold should match the measurements of the countertop, including any cutouts for sinks or appliances. Reinforcing the mold with additional supports can prevent warping and ensure the edges are sharp and precise. Additionally, ensuring the mold is level and stable is critical to achieving a smooth, even countertop surface. The mold should also be sealed properly to prevent concrete from leaking through the joints.
After the mold is prepared, reinforcing the concrete is essential for adding strength and preventing cracks. Reinforcement is usually done using wire mesh or rebar placed within the mold before pouring the concrete. These materials help to distribute weight and stress evenly across the countertop, enhancing its structural integrity. In some cases, fiberglass or other specialized additives can be mixed into the concrete for additional strength and durability. Proper placement of reinforcement is crucial, ensuring it is centered within the concrete to avoid exposure on the surface.
Mixing the concrete is a vital step that requires attention to detail. The concrete mix should be designed specifically for countertops, typically involving a blend of cement, sand, water, and aggregates. Some mixes include additives like plasticizers or water reducers to improve workability and reduce the risk of cracks. It’s important to follow the manufacturer’s instructions for mixing ratios and procedures, as incorrect proportions can compromise the strength and appearance of the countertop. The consistency of the mix should be workable but not too wet, resembling a thick batter.
![]()
Pouring the concrete into the mold is a meticulous process that requires patience and precision. Start by filling the mold halfway, then use a trowel or hand float to push the concrete into all corners and edges, ensuring there are no air pockets or voids. Once the initial layer is in place, add the reinforcement material, if not already embedded, and then pour the remaining concrete to fill the mold. Using a vibrating tool or tapping the sides of the mold can help eliminate air bubbles and ensure a smooth, dense surface. Careful attention to the pouring process helps achieve a consistent and defect-free countertop.
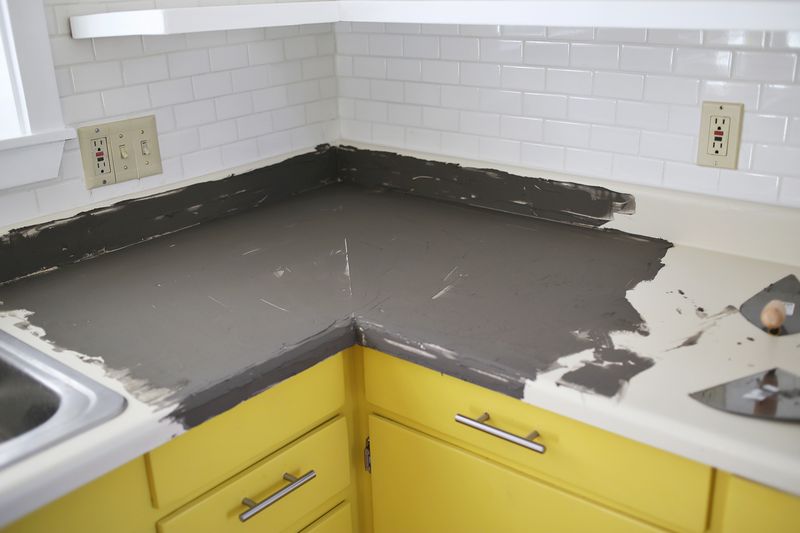
Screeding and leveling the surface is the next step after pouring the concrete. This involves using a straight edge to scrape off excess concrete and ensure the surface is level and smooth. The screeding process is crucial for achieving a flat, even countertop that doesn’t require excessive sanding or grinding later. Once screeding is complete, use a trowel to smooth the surface further, taking care to remove any remaining imperfections. At this stage, adding decorative finishes or textures can be done to customize the appearance of the countertop.
Curing the concrete is an essential part of the process, as it allows the material to reach its full strength and durability. Curing typically takes at least a few days, during which the concrete should be kept moist and covered to prevent it from drying too quickly. Rapid drying can lead to cracks and weaken the overall structure. A common method for curing involves covering the countertop with plastic sheeting and periodically misting it with water. Ensuring proper curing conditions is critical for achieving a strong, durable countertop that can withstand daily use.

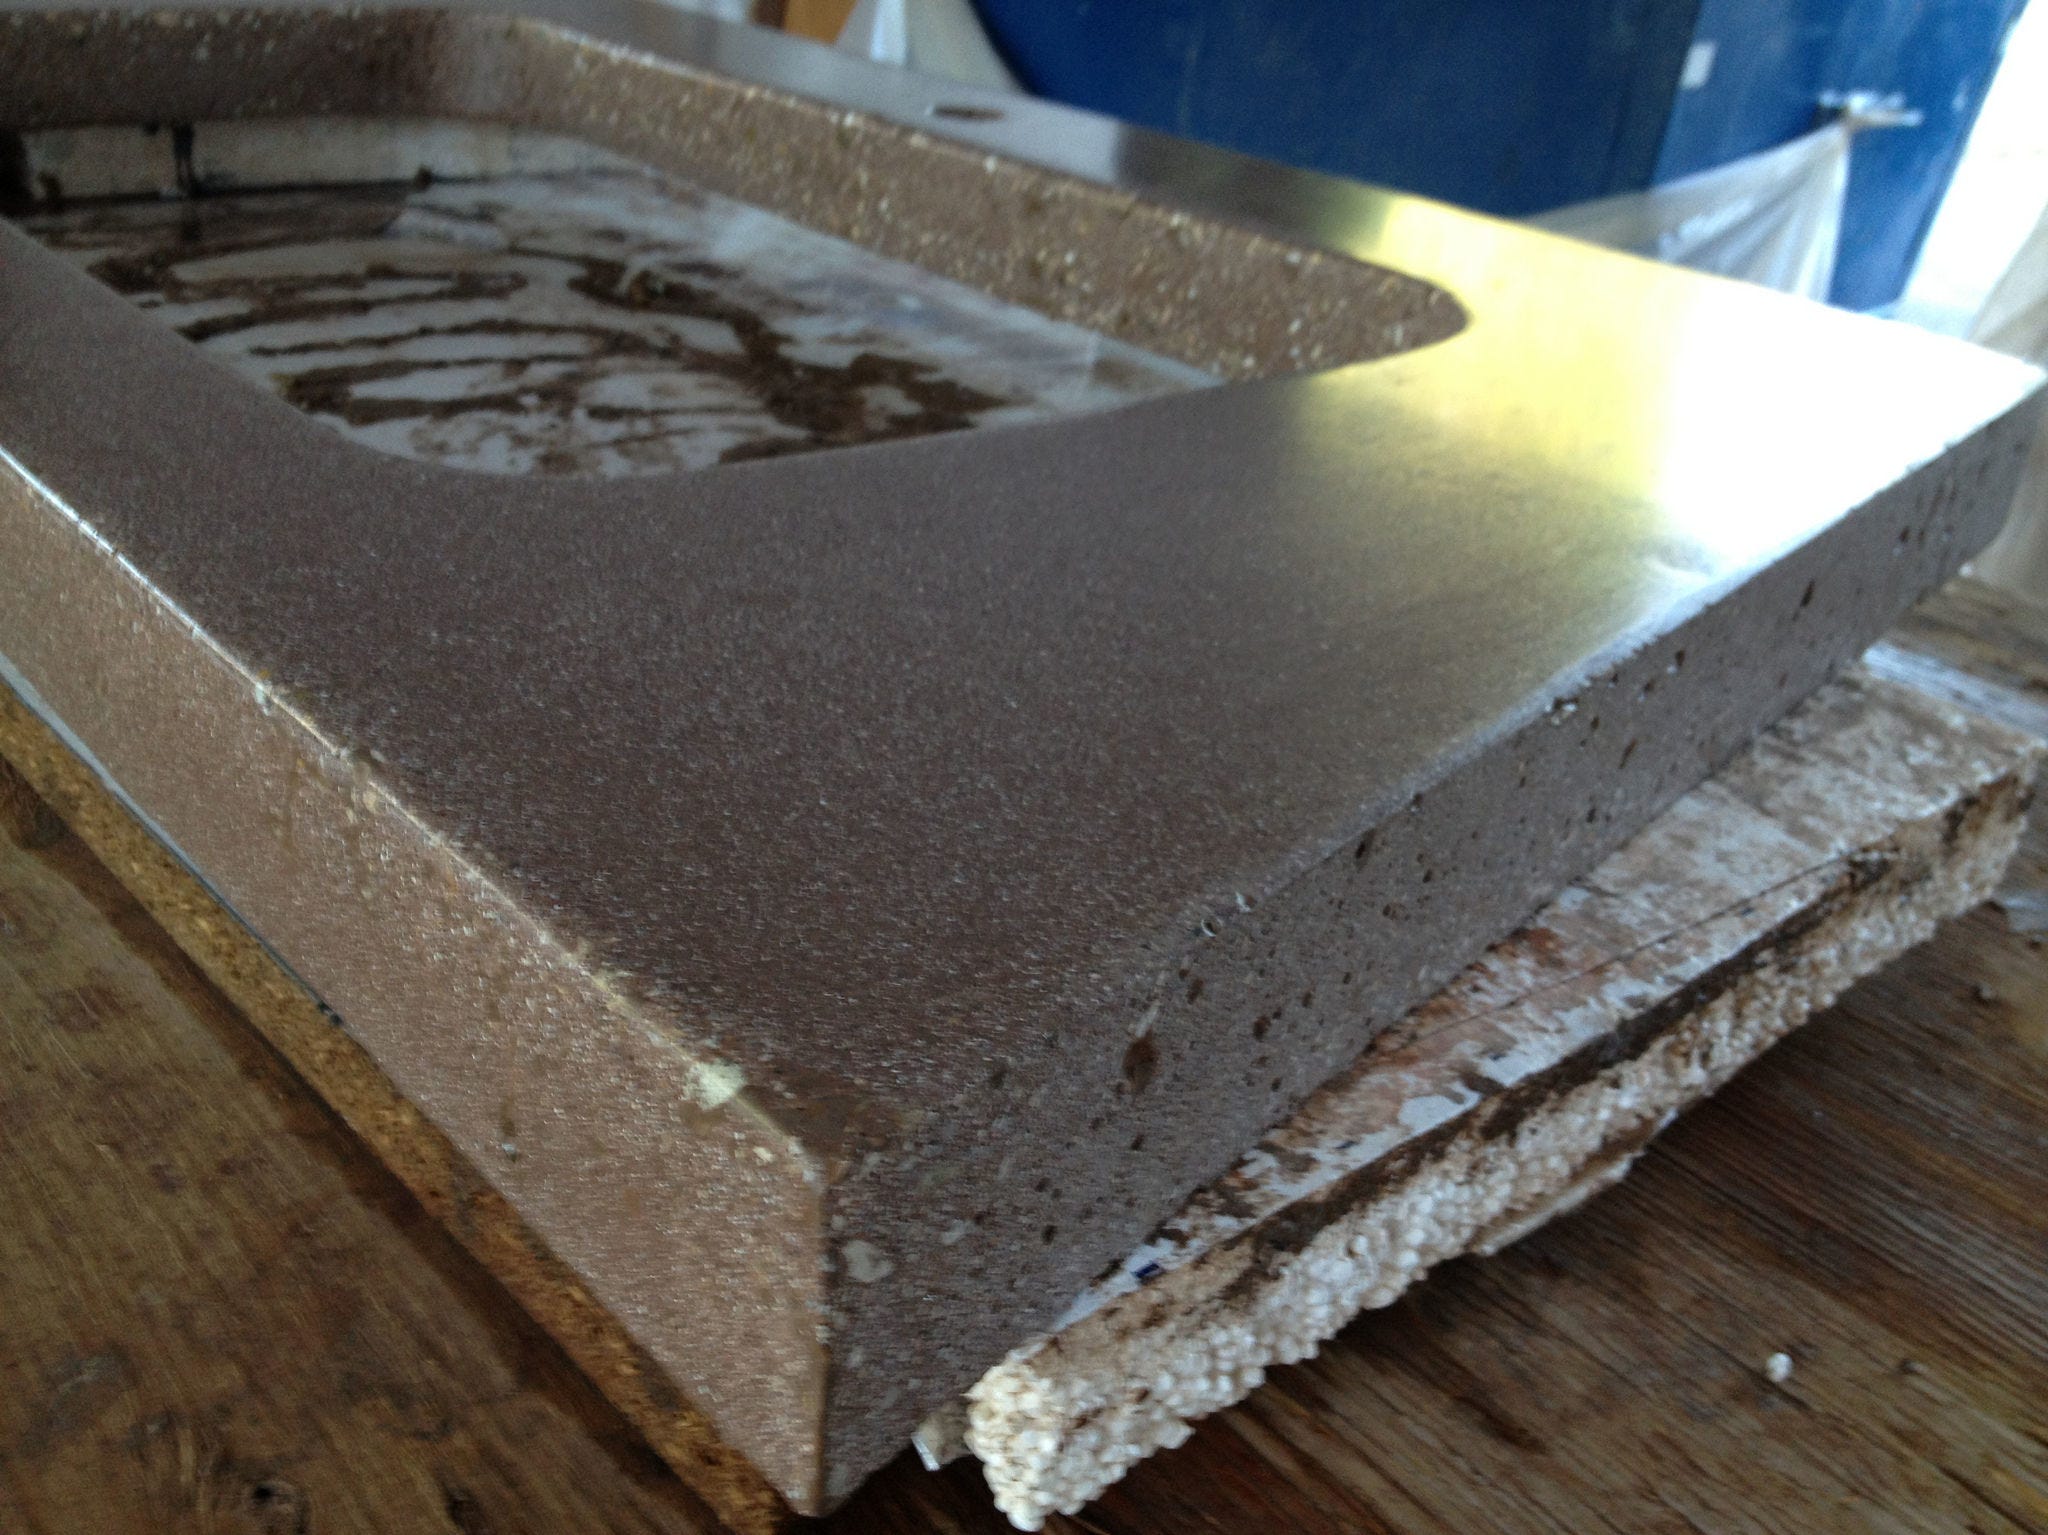
After the concrete has cured, removing the mold is the next step. Carefully dismantle the mold, starting with the sides and then lifting the countertop out. This process requires caution to avoid damaging the edges or surface of the concrete. Once the mold is removed, any rough edges can be smoothed with a diamond hand pad or grinder. The exposed surface may also need additional sanding or polishing to achieve the desired finish. Taking the time to remove the mold carefully ensures a clean, professional-looking countertop.
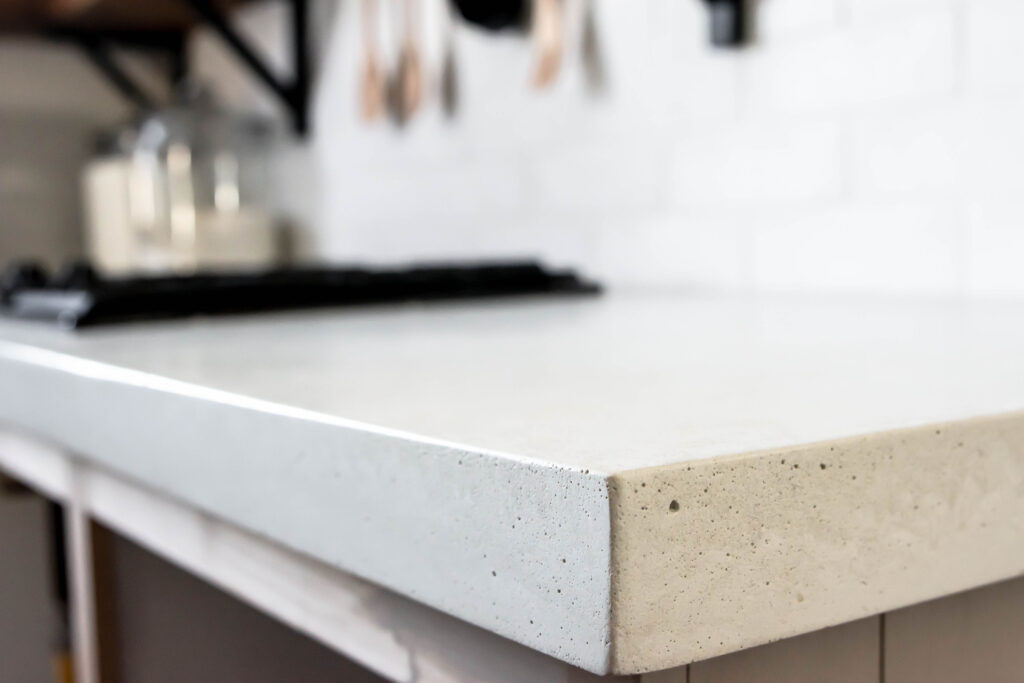
Polishing the concrete countertop can enhance its appearance and smoothness. This step involves using a series of increasingly fine diamond polishing pads to achieve the desired sheen, from a matte finish to a high gloss. Polishing can also reveal decorative aggregates or embedded materials, adding to the countertop’s unique aesthetic. Additionally, polishing helps to close the surface pores, making the countertop more resistant to stains and easier to clean. Consistent and thorough polishing is key to achieving a beautiful, durable finish.
Sealing the concrete countertop is a crucial step in protecting it from stains, moisture, and damage. There are various sealers available, including penetrating sealers, acrylic sealers, and epoxy coatings, each offering different levels of protection and finishes. Choosing the right sealer depends on the desired appearance and the countertop’s intended use. Applying the sealer involves cleaning the surface thoroughly and then using a brush, roller, or sprayer to apply an even coat. Multiple coats may be necessary for optimal protection. Proper sealing enhances the durability and longevity of the countertop.
Installing the concrete countertop involves carefully placing it onto the cabinetry or supports. This step requires precision to ensure the countertop is level and securely positioned. Using shims or leveling tools can help achieve the perfect fit. Once in place, the countertop should be attached using construction adhesive or other appropriate fasteners. Any gaps between the countertop and walls or cabinets can be filled with caulk or matching concrete filler. Proper installation ensures the countertop is stable and integrates seamlessly with the kitchen design.
Maintaining a concrete countertop involves regular cleaning and resealing as needed. Using mild, non-abrasive cleaners helps to preserve the sealer and prevent damage to the concrete surface. Spills should be wiped up promptly to avoid staining, especially from acidic substances like vinegar or citrus. Periodic resealing, typically every one to three years, helps to maintain the countertop’s protective barrier and keep it looking its best. Proper maintenance extends the life of the countertop and keeps it in excellent condition.
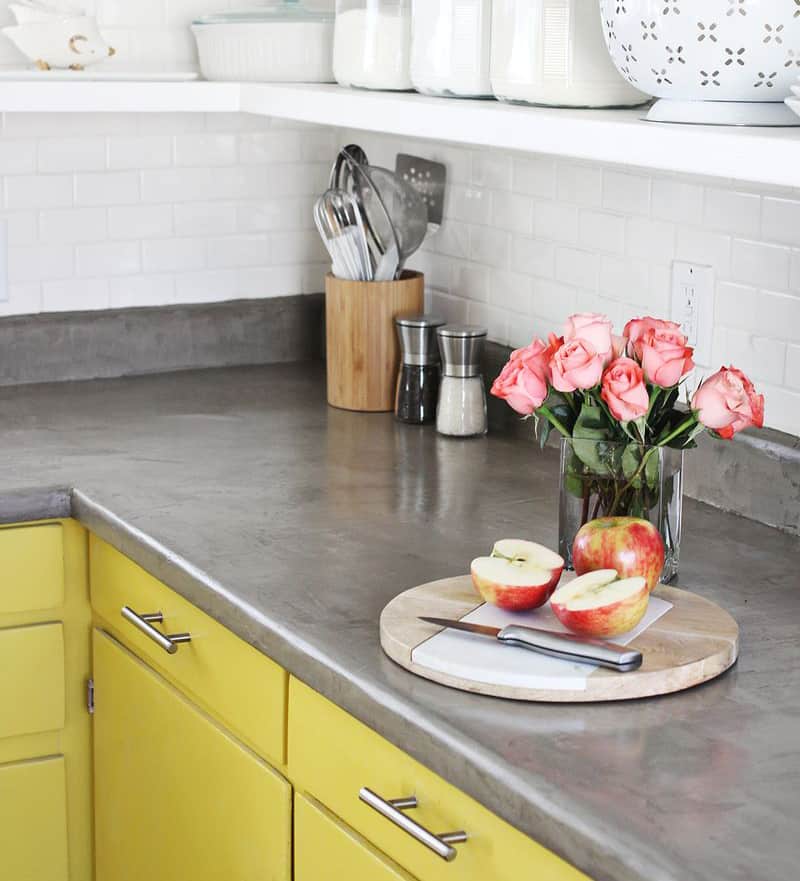
Customizing concrete countertops is one of their greatest advantages. The material’s versatility allows for various design options, such as incorporating colored pigments, decorative aggregates, or embedded items like glass or shells. Stamping or etching the surface can create unique patterns or textures, further enhancing the countertop’s visual appeal. Additionally, concrete countertops can be shaped and sized to fit any space, offering endless possibilities for personalization. Exploring different customization options can result in a truly one-of-a-kind kitchen centerpiece.
Concrete countertops offer numerous benefits, including durability, heat resistance, and the ability to be refinished if damaged. They can withstand high temperatures, making them ideal for kitchens where hot pots and pans are common. The ability to sand and reseal the surface means that minor scratches or stains can be easily repaired, maintaining the countertop’s appearance over time. These practical advantages, combined with their unique aesthetic, make concrete countertops a valuable addition to any kitchen.
Finally, concrete countertops are an eco-friendly option, especially when using locally sourced materials and incorporating recycled aggregates. The longevity and durability of concrete reduce the need for replacement, minimizing waste. Additionally, concrete’s thermal mass properties can help regulate indoor temperatures, potentially reducing energy costs. Choosing concrete countertops can be part of a sustainable kitchen design, aligning with environmentally conscious values.
Common Mistakes to Avoid
One common mistake when making concrete countertops is not adequately reinforcing the concrete, leading to cracks and structural weaknesses. Ensuring proper reinforcement with wire mesh or rebar is crucial for a durable countertop.
Another mistake is mixing the concrete incorrectly, either too dry or too wet, which can compromise its strength and finish. Following precise mixing instructions and achieving the right consistency is essential.
Skipping the curing process or not curing the concrete properly can also result in a weaker countertop. It’s important to keep the concrete moist and covered during the curing phase.
Additionally, failing to seal the countertop adequately can leave it vulnerable to stains and damage. Choosing the right sealer and applying it correctly helps protect the surface. Finally, improper installation can lead to an unstable countertop. Ensuring the countertop is level and securely attached prevents future issues.
What materials are needed to make a concrete countertop?
To make a concrete countertop, you’ll need materials such as concrete mix specifically designed for countertops, melamine-coated particleboard for the mold, wire mesh or rebar for reinforcement, and various tools like a trowel, screed, and polishing pads. Additional materials include plastic sheeting for curing, a sealer to protect the surface, and any decorative additives like pigments or aggregates. The right materials are crucial for a successful project, ensuring the countertop is durable, functional, and aesthetically pleasing.
How long does it take to make a concrete countertop?
The process of making a concrete countertop typically takes several days to a few weeks, depending on the complexity and size of the project. Designing and building the mold can take a few days, followed by mixing and pouring the concrete. The curing process alone usually takes at least a week to ensure the concrete reaches its full strength. After curing, polishing, sealing, and installation can take additional time. Patience and attention to detail throughout each step are vital for achieving a high-quality countertop.
Can I customize the color of my concrete countertop?
Yes, concrete countertops can be customized with various colors using pigments or stains. Integral pigments can be added to the concrete mix for a uniform color throughout, while stains or dyes can be applied to the surface after curing for more varied effects. You can also embed decorative aggregates or items like glass or shells to create unique patterns and textures. The ability to customize the color and appearance of concrete countertops allows for a personalized and unique design that fits your kitchen aesthetic.
How do I maintain a concrete countertop?
Maintaining a concrete countertop involves regular cleaning with mild, non-abrasive cleaners to preserve the sealer and prevent damage. Spills should be wiped up promptly to avoid staining, especially from acidic substances. Periodic resealing, typically every one to three years, helps maintain the protective barrier and keeps the countertop looking its best. If minor scratches or stains occur, they can often be sanded out and resealed. Proper maintenance extends the life of the countertop and ensures it remains in excellent condition.
Is a concrete countertop a good investment for my kitchen?
Concrete countertops are a good investment for many kitchens due to their durability, customizability, and unique aesthetic appeal. They can withstand high temperatures, resist stains with proper sealing, and be refinished if damaged, offering long-term value. Additionally, the ability to customize the design to fit your specific needs and style can enhance the overall look and functionality of your kitchen. While the initial cost and effort may be higher compared to other materials, the longevity and versatility of concrete countertops make them a worthwhile investment.

How to Build a Concrete Countertop

Concrete Countertop DIY – A Beautiful Mess
Concrete Countertops – Pros, Cons, DIY u0026 Care – Concrete Network
Averie Lane Diy concrete countertops, Diy concrete counter

Concrete Countertop DIY – A Beautiful Mess
DIY Concrete Countertops – Pour in Place u2013 The Inspired Workshop

Related articles:
- Outdoor Concrete Countertops
- How To Make Concrete Countertops Smooth
- Rustic Concrete Countertops
- Farmhouse Concrete Countertops
- Concrete Countertops Outdoor Kitchen
- How To Stain Concrete Countertops
- DIY Concrete Countertop Mix
- Concrete Countertops Made Easy
- Concrete Countertop Overlay
- Black Concrete Countertops