Step 1: Preparation – Start by removing all items from your bathroom countertops. Clear the area and protect the surrounding surfaces with plastic drop cloths to avoid accidental spills or splatters. It’s also a good idea to ventilate the area by opening windows or using fans.
Step 2: Surface Preparation – Using sandpaper (150-220 grit), gently sand the surface of your countertops. This will create a rough texture, allowing the paint to adhere better. After sanding, thoroughly clean the countertops with TSP cleaner to remove dust, dirt, or grease.
Step 3: Priming – Apply a high-quality primer to the countertops using a soft-bristle paintbrush. Make sure to choose a primer that is suitable for your countertop material. Follow the manufacturer’s instructions regarding drying time.

Step 4: Base Coat – Apply the desired base coat once the primer is dry. Typically, shades of gray work best for creating a granite-like effect. Use a paintbrush to apply the base coat evenly across the entire surface. Allow the base coat to dry completely before moving on to the next step.
Step 5: Sponge Painting – Now comes the fun part! Pour shades of gray, black, and white acrylic craft paint into separate paint trays. Take a sea sponge and lightly dip it into one of the paint colors. Dab the sponge onto scrap paper to remove any excess paint. Then, gently press the sponge onto the countertop surface, creating a mottled pattern. Repeat this process with the other paint colors, layering them and blending them together to mimic the natural variations found in granite. Take your time and experiment with different combinations until you achieve the desired look.
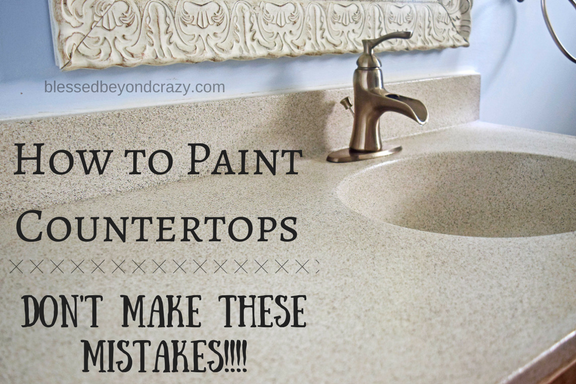
Step 6: Veining – To add realism, you can create veining similar to what you find in granite. Take a small paintbrush and dip it into a contrasting paint color, such as black or a darker shade of gray. Using a light hand, paint thin, wavy lines across the countertop surface to mimic the veining patterns found in granite. Remember to step back occasionally and assess the overall effect.
Step 7: Sealing – Once you’re satisfied with the painted granite effect, allow the paint to dry completely. Then, apply a clear polyurethane sealer to protect the painted surface. Use a soft-bristle brush to apply the sealer evenly, following the manufacturer’s instructions. Let the sealer dry thoroughly before using the countertops.
And there you have it! Following these steps, you can transform your bathroom countertops into stunning granite look-alikes. Remember, practice makes perfect, so don’t be afraid to experiment and have fun with the process. Enjoy your newly revamped bathroom countertops!
DIY Faux Granite Countertops in Just a Few Easy Steps u2022 The Budget

How to Paint a Countertop to Look Like Marble! – Average But Inspired
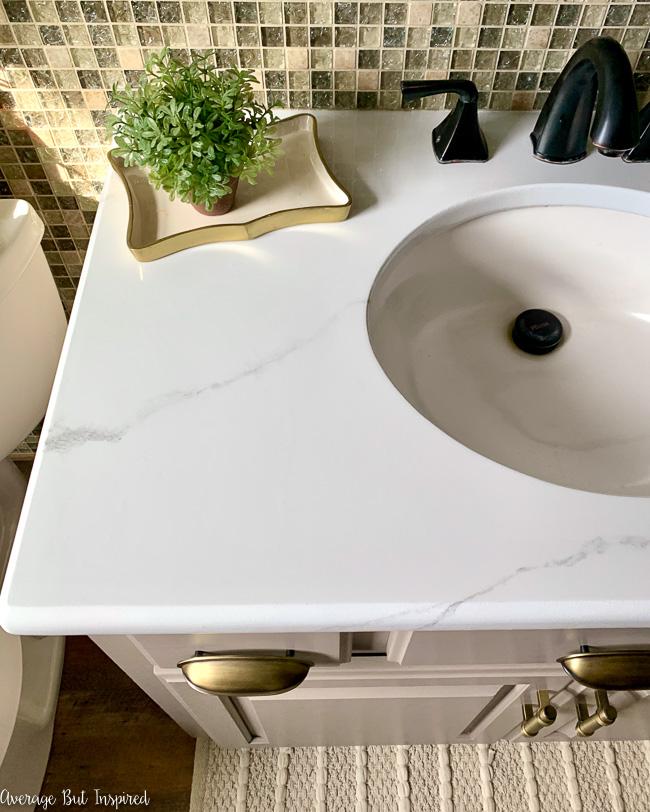
How to Paint a Countertop to Look Like Marble! – Average But Inspired
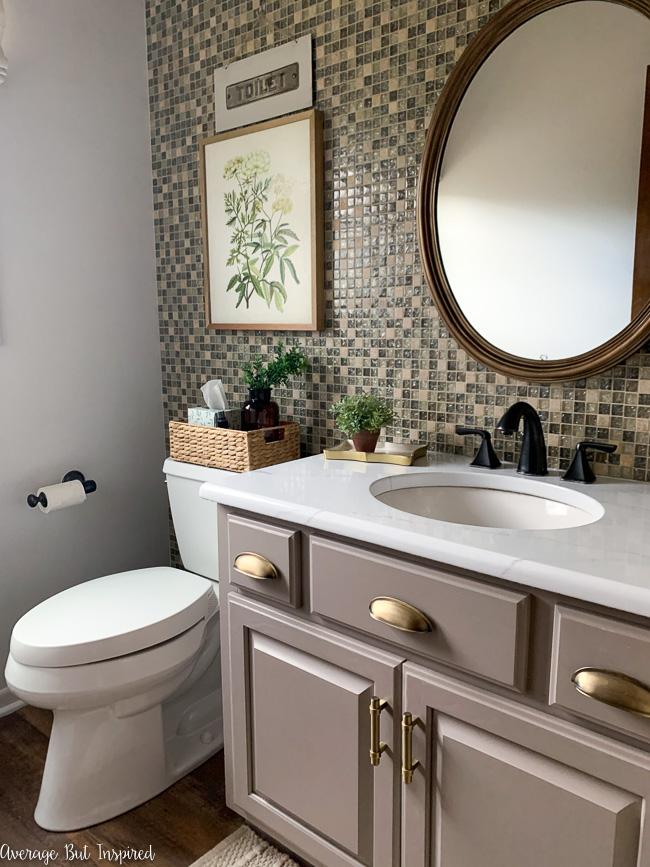
UNDER 40.00/DIY Faux Granite Countertops/PAINTING GRANITE PART 2/

Painting A Porcelain Vanity Countertop {New And Improved

How to Paint a Laminate Countertop HGTV
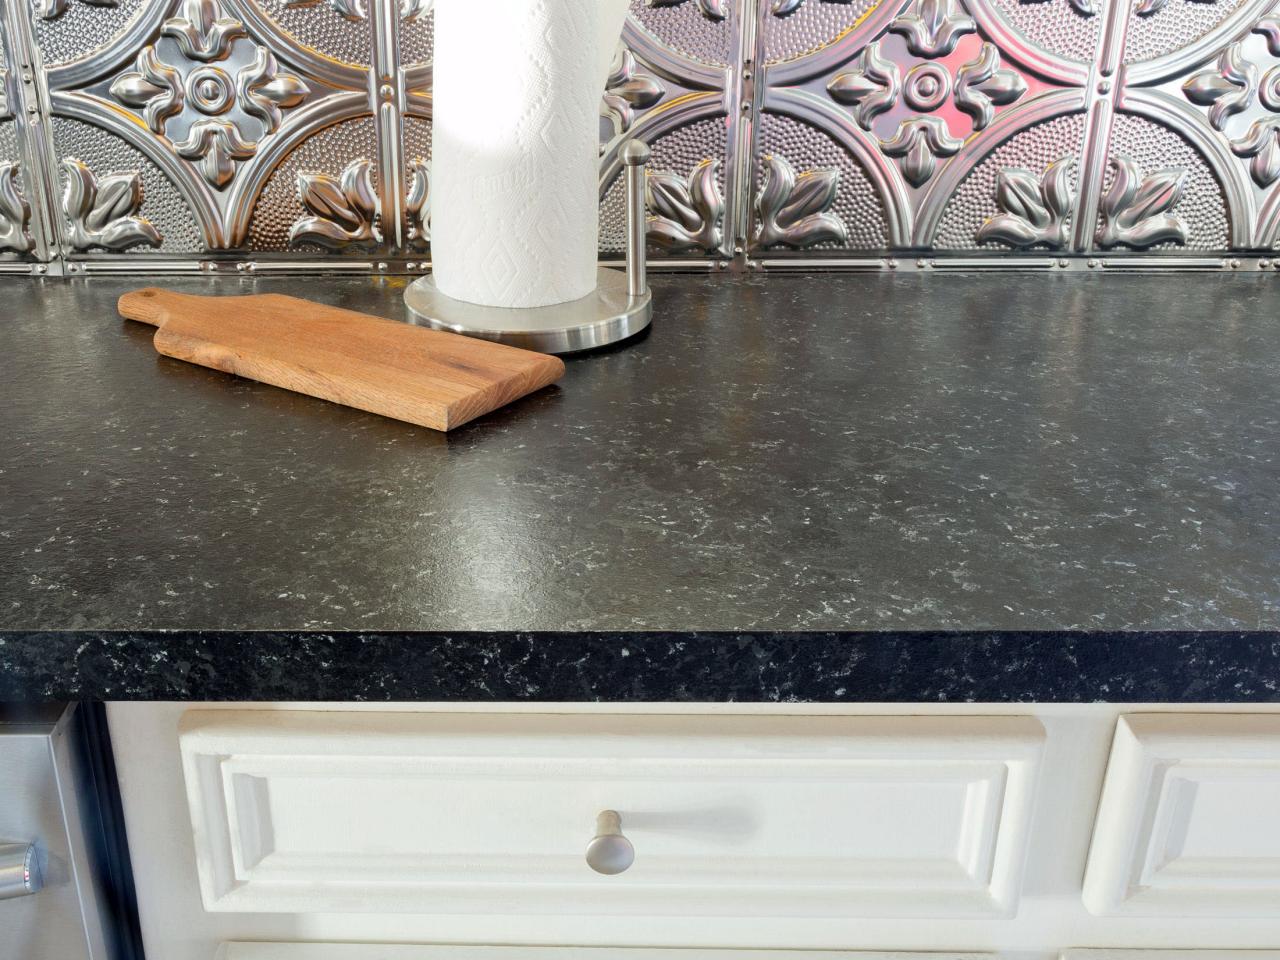
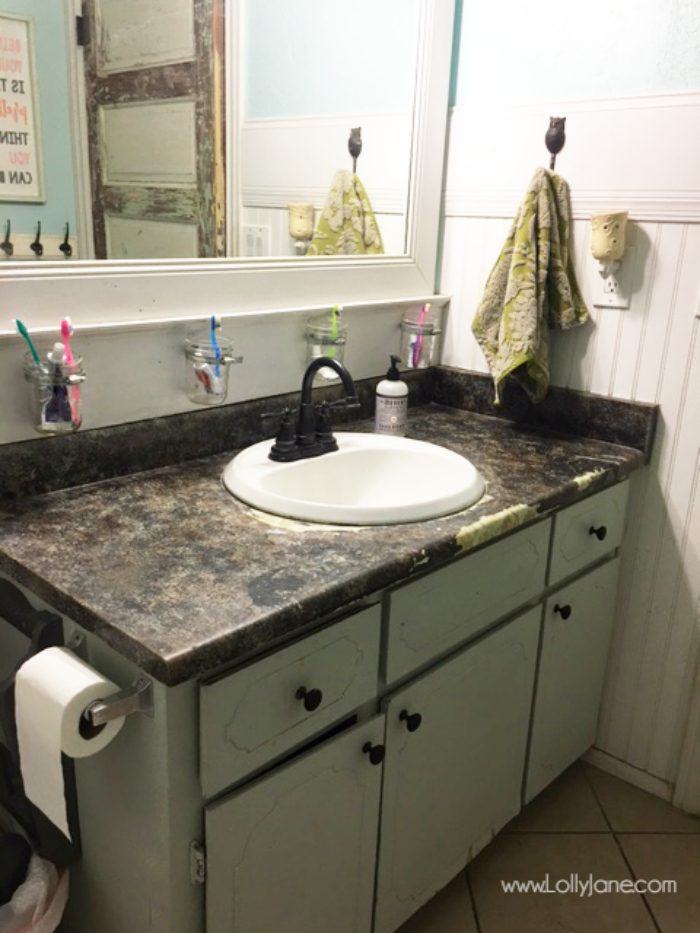
I chalk painted my countertops! – Lolly Jane
Related articles:
- Concrete Bathroom Countertops DIY
- Onyx Bathroom Countertops
- Bathroom Countertop Remodel
- Inexpensive Bathroom Countertops
- Resin Bathroom Countertops
- Walnut Bathroom Countertop
- Green Granite Bathroom Countertops
- Cheap Bathroom Countertops
- Resurface Bathroom Countertops
- Ideas For Bathroom Countertops