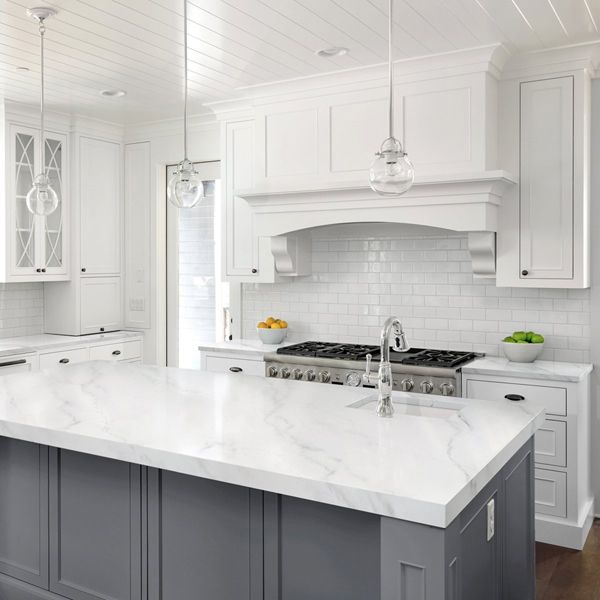
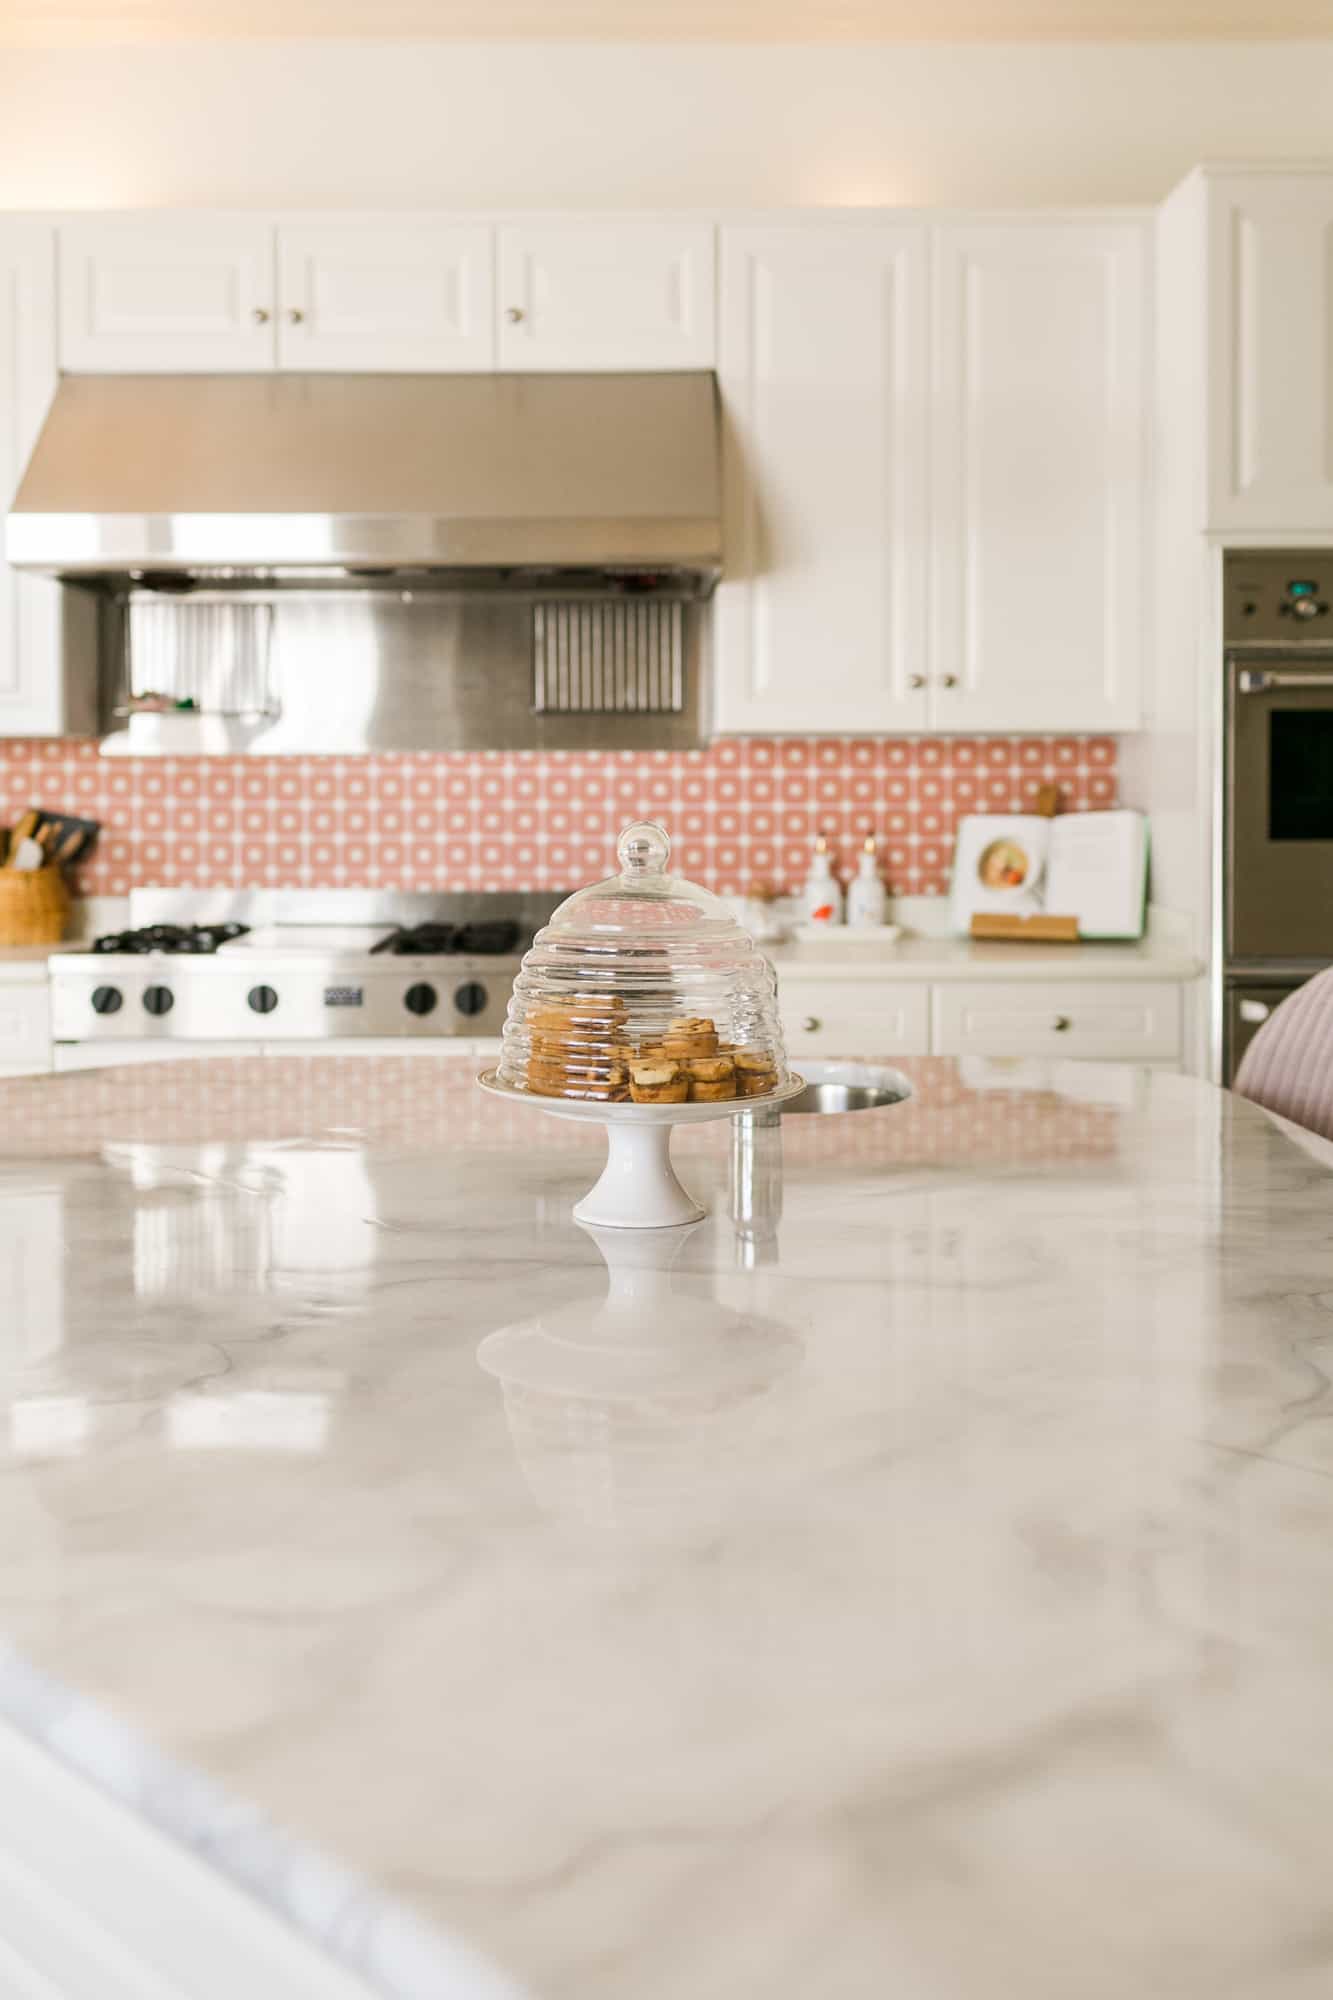
Creating DIY white marble countertops can transform the aesthetics of your kitchen or bathroom, offering a luxurious and timeless look. Marble, with its natural veining and rich texture, adds elegance and sophistication to any space. Before starting your DIY project, it is essential to understand the materials, tools, and steps involved to achieve professional results. Additionally, careful planning and preparation are crucial to ensure the durability and beauty of your new countertops.
The first step in creating DIY white marble countertops is to select the right type of marble. There are various kinds of marble available, each with unique characteristics. Carrara marble, known for its soft, gray veining, and white background, is a popular choice due to its classic look and relatively affordable price. Calacatta marble, with bold, dramatic veining and a pure white background, offers a more luxurious appearance but comes at a higher cost. Statuario marble is another premium option with its striking veining and bright white background. When choosing marble, consider your space’s overall design and budget.
Once you have selected the marble, you must accurately measure your countertops. Precise measurements are critical to ensure the marble slabs fit perfectly. Use a tape measure to determine the length, width, and depth of your countertops, accounting for any cutouts for sinks, stoves, or other fixtures. It is also essential to create a template using cardboard or plywood to serve as a guide when cutting the marble. This template will help you visualize the final layout and make adjustments before cutting the actual marble.
Cutting marble is a delicate process that requires the right tools and techniques. A wet saw with a diamond blade is the best tool for cutting marble, as it reduces the risk of chipping and ensures clean, precise cuts. When using a wet saw, always wear protective gear, including safety goggles, gloves, and a dust mask. Mark the cutting lines on the marble slab using a pencil and a straightedge. Cut slowly and steadily, allowing the saw to do the work without applying too much pressure. After cutting, use a polishing pad to smooth the edges and remove any rough spots.

Installing the marble countertops involves several steps, starting with preparing the base. The base should be sturdy and level to support the weight of the marble. Use a level to check the surface and make any necessary adjustments. Apply a layer of thin-set mortar to the base using a notched trowel, creating an even surface for the marble. Carefully place the marble slabs on the mortar, aligning them with the template. Press down firmly to ensure good adhesion and eliminate any air pockets.
Sealing the marble is an essential step to protect it from stains and damage. Marble is a porous material, making it susceptible to staining from spills and moisture. Use a high-quality marble sealer to create a protective barrier on the surface. Apply the sealer with a soft cloth or brush, following the manufacturer’s instructions. Allow the sealer to dry completely before using the countertops. It is recommended to reseal the marble every six to twelve months to maintain its protective layer.
To maintain the beauty of your white marble countertops, regular cleaning and care are necessary. Use a mild, pH-neutral cleaner specifically designed for marble surfaces. Avoid using acidic or abrasive cleaners, as they can etch the marble and dull its finish. Wipe up spills immediately to prevent staining, and use coasters or trivets under hot dishes to protect the surface from heat damage. Regularly dust the countertops with a soft cloth to remove dirt and debris.

Common mistakes to avoid when creating DIY white marble countertops include improper measurements, using the wrong tools, and neglecting to seal the marble. Inaccurate measurements can result in ill-fitting slabs, leading to gaps and uneven surfaces. Using inappropriate tools, such as a standard circular saw, can cause chipping and damage to the marble. Failing to seal the marble leaves it vulnerable to stains and damage, compromising its appearance and durability. Additionally, avoid using harsh chemicals or abrasive materials for cleaning, as they can harm the marble.
Another mistake is not accounting for the weight of the marble. Marble is heavy, and the base must be sturdy enough to support it. Inadequate support can lead to sagging or cracking over time. It is also essential to handle the marble with care during installation to prevent chipping or breaking. Using proper lifting techniques and enlisting help can prevent accidents and damage. Lastly, rushing the installation process can result in poor adhesion and alignment. Take your time to ensure each step is done correctly for a professional finish.
DIY white marble countertops offer numerous benefits, including cost savings and the satisfaction of completing a project yourself. However, it is crucial to approach the project with the right knowledge and tools to achieve the best results. Proper planning, careful execution, and regular maintenance will ensure your countertops remain beautiful and functional for years to come.
In summary, creating DIY white marble countertops involves selecting the right marble, accurately measuring and cutting the slabs, preparing a sturdy base, and properly sealing and maintaining the surface. Avoiding common mistakes, such as inaccurate measurements and improper sealing, will help you achieve a professional finish. With the right approach, you can enjoy the timeless elegance of marble in your home.

Common Mistakes to Avoid
Inaccurate Measurements: Incorrect measurements can result in ill-fitting marble slabs, leading to gaps and uneven surfaces. Always double-check your measurements and create a template to guide your cuts.
Using the Wrong Tools: Standard saws can chip or damage marble. Invest in a wet saw with a diamond blade to ensure clean, precise cuts.
Neglecting to Seal the Marble: Marble is porous and can easily stain. Always seal the marble after installation and reseal every six to twelve months to maintain its protective layer.
Inadequate Support: Marble is heavy, and the base must be strong enough to support its weight. Ensure the base is level and sturdy to prevent sagging or cracking.
Improper Handling: Marble can chip or break if not handled carefully. Use proper lifting techniques and get help when needed to prevent damage.
Rushing the Installation: Take your time during installation to ensure proper adhesion and alignment. Rushing can lead to mistakes and a less professional finish.

How do I choose the right type of marble for my countertops?
Selecting the right type of marble involves considering both aesthetics and budget. Carrara marble, with its soft gray veining and white background, is popular for its classic look and affordability. If you prefer a more luxurious appearance, Calacatta marble offers bold, dramatic veining and a pure white background, though it is more expensive. Statuario marble, known for its striking veining and bright white background, is another premium choice. Assess your space’s design and your budget to make the best decision.
What tools do I need for cutting marble slabs?
Cutting marble requires specific tools to ensure clean and precise cuts. A wet saw with a diamond blade is the best option, as it reduces the risk of chipping. Protective gear, such as safety goggles, gloves, and a dust mask, is essential to protect yourself during the cutting process. Additionally, a pencil and straightedge are necessary for marking cutting lines, and a polishing pad will help smooth the edges after cutting.
How do I properly seal marble countertops?
Sealing marble countertops is crucial to protect them from stains and damage. Use a high-quality marble sealer and apply it with a soft cloth or brush, following the manufacturer’s instructions. Ensure the surface is clean and dry before applying the sealer. Allow the sealer to dry completely, usually for 24 to 48 hours, before using the countertops. To maintain the protective layer, reseal the marble every six to twelve months.
What are the best practices for maintaining marble countertops?
To maintain marble countertops, use a mild, pH-neutral cleaner designed for marble surfaces. Avoid acidic or abrasive cleaners, as they can etch the marble. Wipe up spills immediately to prevent staining, and use coasters or trivets under hot dishes to protect the surface from heat damage. Regularly dust the countertops with a soft cloth to remove dirt and debris. Additionally, reseal the marble periodically to maintain its protective layer.
Can I install marble countertops by myself, or do I need professional help?
Installing marble countertops as a DIY project is possible, but it requires careful planning, the right tools, and attention to detail. If you have experience with similar projects and are comfortable using a wet saw and handling heavy materials, you can likely complete the installation yourself. However, if you are unsure or lack experience, it may be best to seek professional help to ensure a flawless finish and avoid costly mistakes.
What should I do if my marble countertops get stained?
If your marble countertops get stained, address the stain as soon as possible. Blot the stain with a soft cloth to absorb any excess liquid. For organic stains like coffee or wine, create a paste with baking soda and water, apply it to the stain, cover it with plastic wrap, and let it sit for 24 hours. Then, wipe it off with a damp cloth. For oil-based stains, use a poultice made with baking soda and acetone. Apply it similarly and let it sit before wiping it off. Always test any cleaning solution on a small, inconspicuous area first to ensure it doesn’t damage the marble.

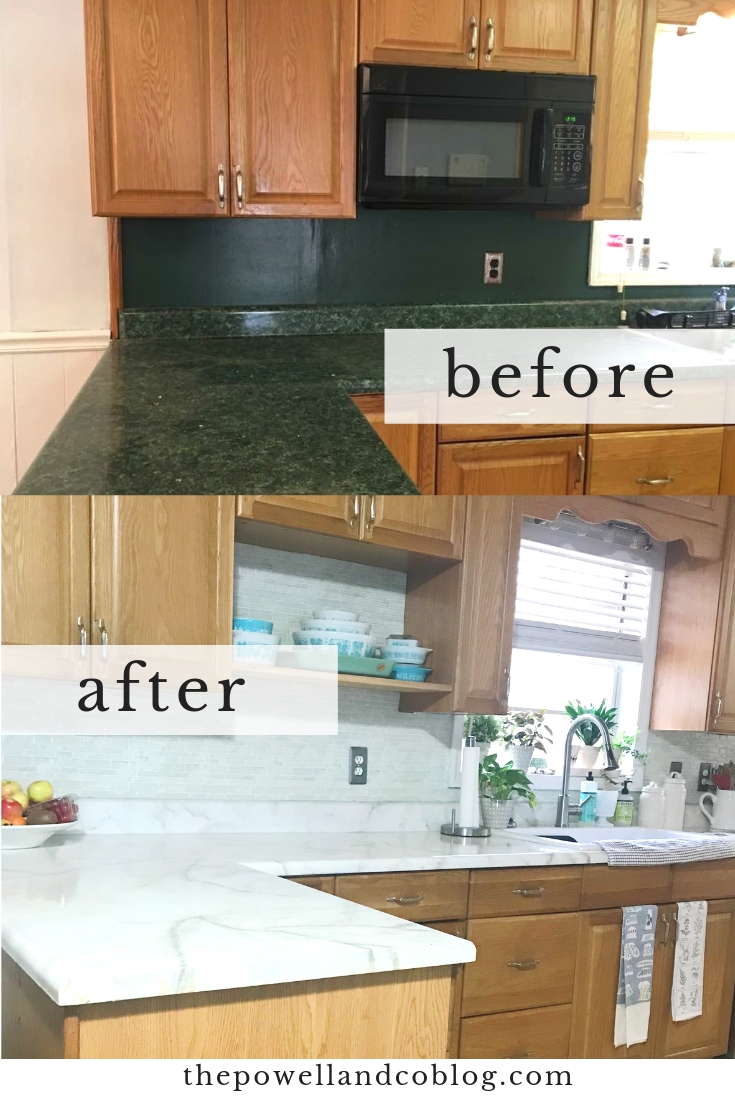
Here’s What Happened When I Painted My Countertop Faux Marble

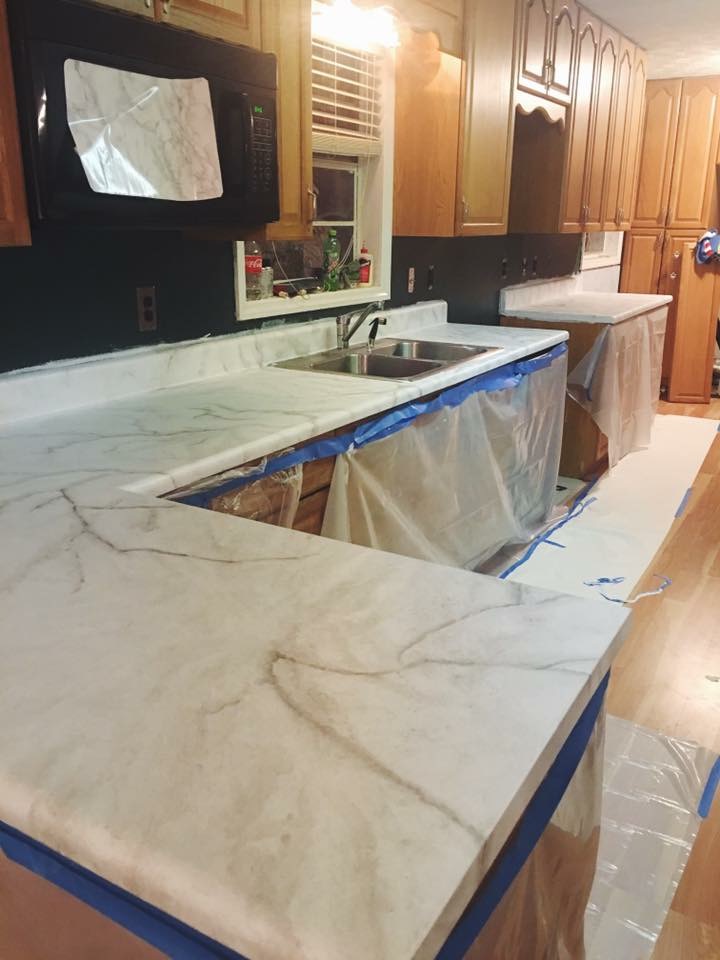
Faux DIY Marble Countertops

DIY Faux Marble Countertop Marble countertops kitchen

Premium White Marble FX Poxy Countertop Kit Diy kitchen

Related articles:
- DIY Refinishing Cultured Marble Countertops
- Marble Countertops In Bathrooms
- Cultured Marble Countertops
- Gray Kitchen Cabinets Marble Countertops
- Modern Kitchen Marble Countertops
- Refinish Cultured Marble Countertop
- Carrara Marble Countertops Bathroom
- Marble Countertops Types
- How To Refinish Marble Countertops
- White Gray Marble Countertops
