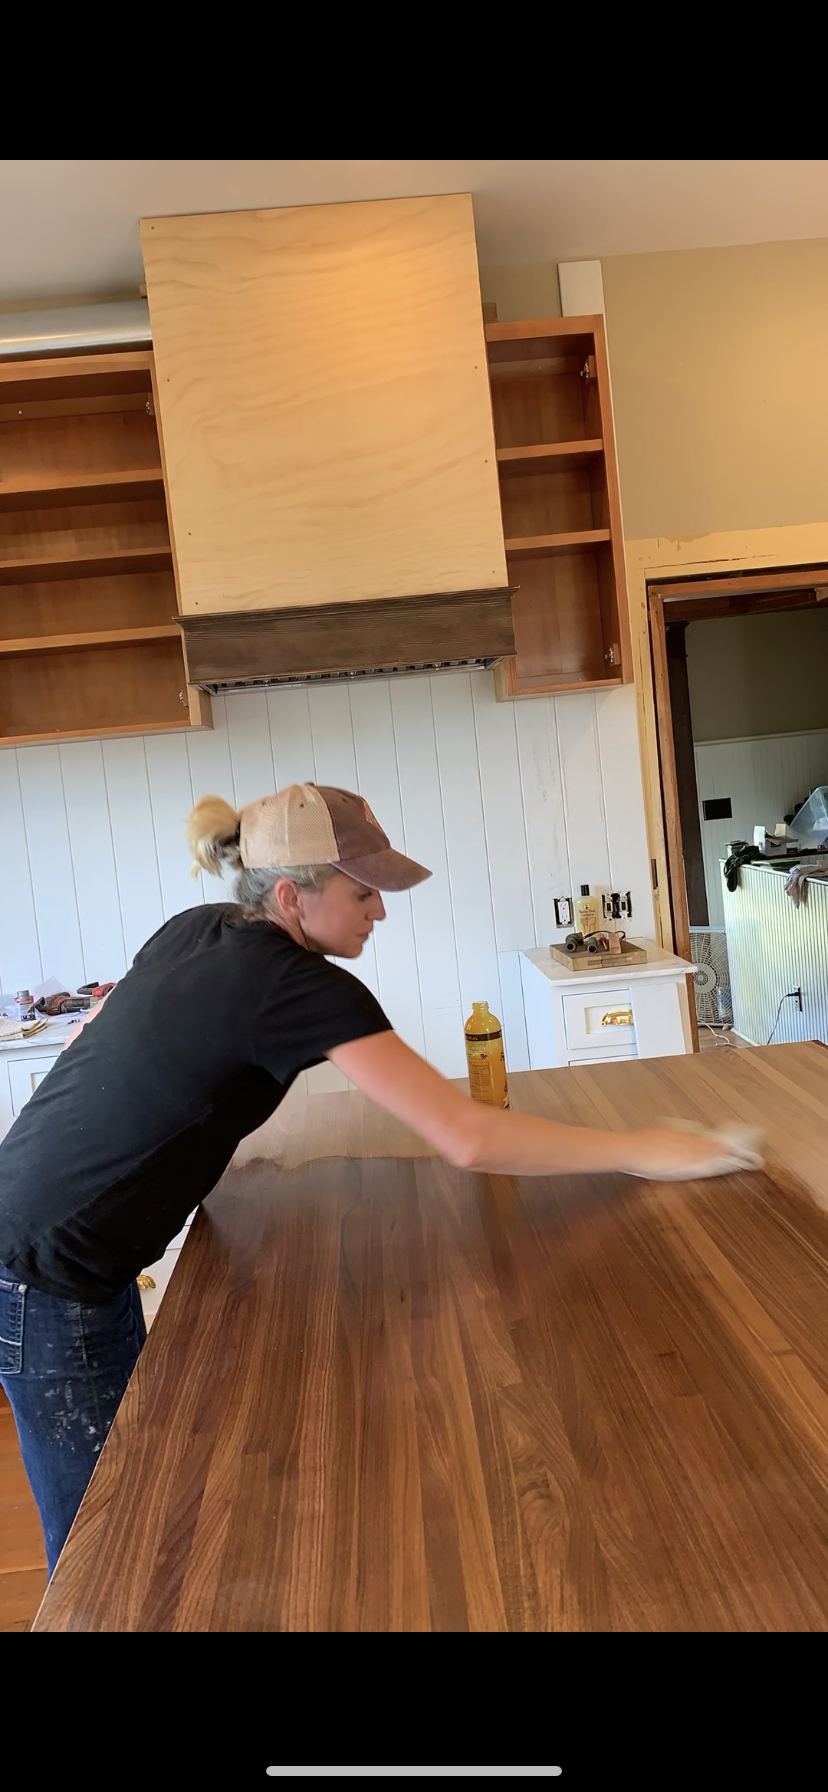
Finishing a butcher block countertop is a satisfying task that transforms the raw wood into a durable, attractive surface for your kitchen. When I decided to tackle this project, I realized that the process, while straightforward, required patience and attention to detail. The key to achieving a beautiful finish is understanding the wood, selecting the right finish, and applying it correctly. Whether restoring an old butcher block or installing a new one, finishing it yourself can bring out the wood’s natural beauty and protect it from wear and tear.
The first thing I considered when I was finishing my butcher block was the type of wood. Butcher blocks are typically made from hardwoods like maple, oak, or walnut. Each wood type has its distinct grain patterns, which become more pronounced with the right finish. I started by sanding the entire surface of the block. Sanding is crucial because it smooths out the wood and opens up the pores, allowing the finish to penetrate better. I used a progression of sandpaper grits, starting with 80 grit for rough sanding and working up to 220 grit for a finer, smoother surface. The smoother the surface, the better the final result will look and feel.
After sanding, I made sure to remove all the dust. This is a small but important step because any dust left on the surface can get trapped in the finish, resulting in a rough texture. I used a vacuum and a tack cloth to ensure the surface was clean and ready for finishing. At this point, I had to decide what type of finish I wanted. There are many options available, but I primarily considered food-safe finishes since the butcher block would be used in a kitchen setting. Mineral oil, tung oil, and butcher block conditioners are popular choices because they are non-toxic and enhance the wood’s natural color without leaving a glossy or plastic-like film.
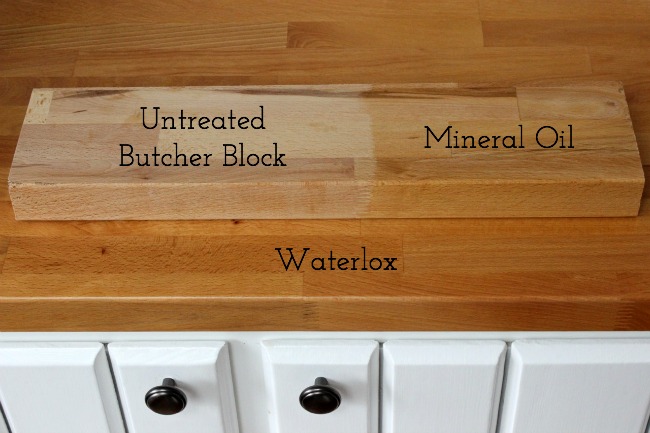
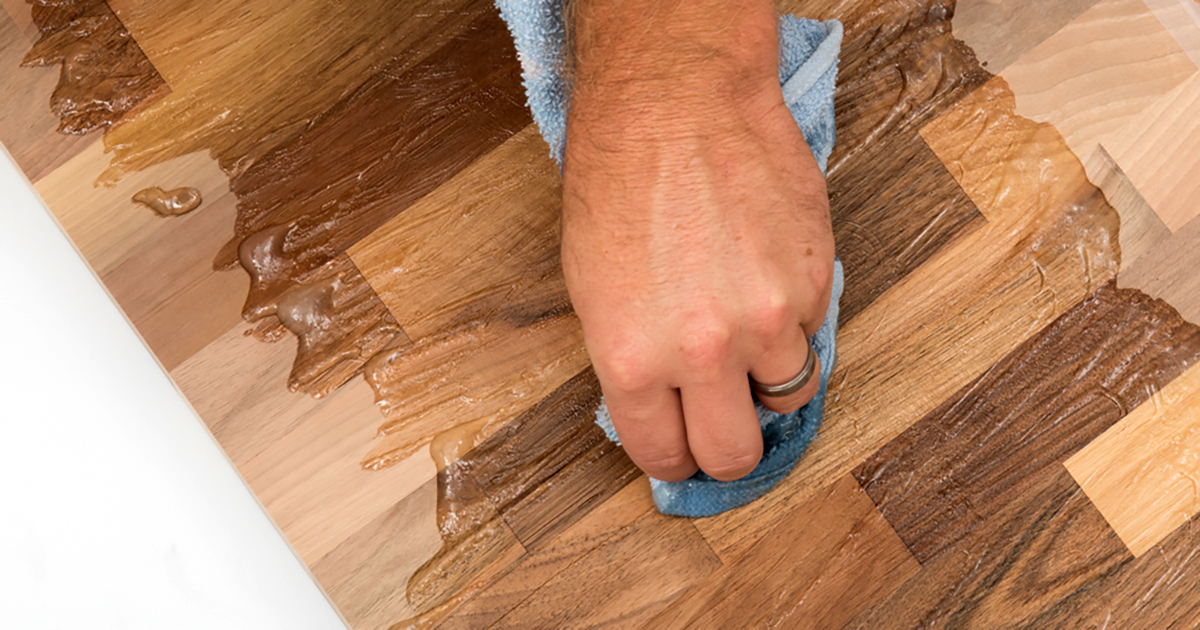
Mineral oil is one of the simplest finishes to apply, and it’s what I chose for my first butcher block. It’s odorless, tasteless, and easy to reapply whenever the surface looks dry. I warmed the oil slightly to help it penetrate the wood more easily, then applied it generously with a clean cloth, rubbing it in the direction of the grain. The wood soaked up the oil quickly, and I repeated the process several times until the surface was fully saturated. It’s important to let the oil absorb overnight, and I wipe off any excess in the morning. The result was a rich, natural look that brought out the grain of the wood beautifully.

However, mineral oil requires regular maintenance. Over time, the wood will dry out and need to be re-oiled. This isn’t a dealbreaker for me since the process is simple, but if you’re looking for a more long-lasting finish, a product like tung oil or a blend of oils and waxes might be more suitable. Tung oil, for example, hardens upon curing, which creates a more durable and water-resistant surface. It takes longer to apply because you need to let each coat cure fully before adding another, but the result is a tougher finish that protects the wood from moisture and stains better than mineral oil alone.
Another option I considered was using a varnish or polyurethane finish. These finishes provide a hard, protective layer that requires less maintenance than oils. However, they are not always food-safe, and they can change the look and feel of the wood, giving it a shinier appearance. If you plan to use the countertop primarily for food preparation, I would recommend sticking with natural oils or food-safe finishes. But for areas where the butcher block will see less wear and tear, varnish or polyurethane can provide excellent protection.
One thing I learned was that patience is key when finishing a butcher block. Rushing the process—especially between coats—can lead to uneven coverage or a sticky finish. Each time I applied a coat of oil, I allowed ample time for it to absorb and cure properly. For oil finishes, this usually meant waiting 12 to 24 hours between applications. If you’re using something like polyurethane, the wait time can be even longer, and you may need to lightly sand between coats to ensure smooth application.
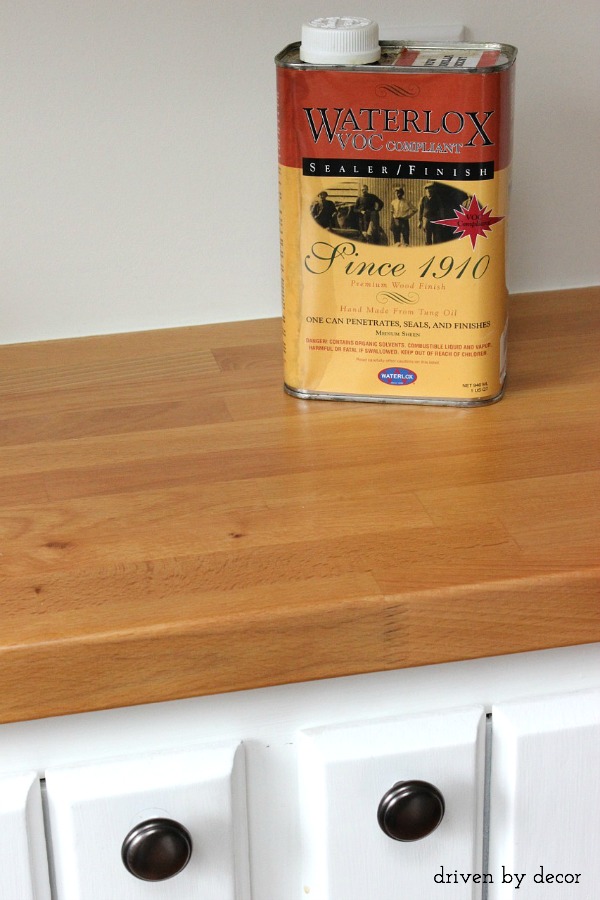
As I continued to care for my butcher block countertop, I realized that maintenance is just as important as the initial finishing. Regular cleaning and re-oiling keep the wood looking fresh and help prevent damage from water, heat, and everyday use. I avoid using harsh chemicals or abrasive cleaners, as these can strip away the finish. Instead, I wipe down the surface with a damp cloth and a mild soap solution, followed by reapplying oil when the wood starts to look dull or dry. It’s a simple routine that helps the butcher block age gracefully.
Finishing a butcher block is not just about protecting the wood, but also about enhancing its natural beauty. With each coat of oil, I noticed how the grain patterns became more pronounced and the color deepened. The tactile experience of working with the wood—feeling the smooth surface and watching it come to life—made the effort worthwhile. If you’re the type of person who enjoys hands-on projects, this can be a very rewarding one.
As for choosing the right finish for your needs, it ultimately depends on how you plan to use the countertop. If it will serve as a cutting surface, I recommend sticking with oils and waxes that are food-safe and easy to maintain. But if the butcher block is more for aesthetic purposes, a tougher finish like polyurethane might make sense. I’ve come to appreciate the balance between beauty and function, and for my kitchen, a simple oil finish worked perfectly.

The experience of finishing my butcher block countertop also taught me about the importance of ongoing care. Even the best finish won’t last forever, especially in a busy kitchen. Regular maintenance, including reapplying oil and avoiding prolonged exposure to moisture, helps prolong the life of the countertop. For me, it’s become a routine that’s as much about preserving the function of the butcher block as it is about keeping it looking great.
If you’re thinking about tackling this project yourself, don’t be intimidated. The steps are straightforward, and the materials are easy to find. The key is to take your time, choose the right finish for your needs, and enjoy the process. Whether you’re a seasoned DIYer or a first-time woodworker, finishing a butcher block countertop is a project that delivers both immediate satisfaction and long-term rewards.
Common Mistakes to Avoid
While finishing a butcher block countertop is a relatively simple process, some common mistakes can lead to less-than-ideal results. One of the most frequent errors is skipping the sanding process or not sanding enough. Without thorough sanding, the surface may remain rough, and the finish won’t penetrate as deeply, leading to uneven absorption and a patchy appearance.
Another mistake is not allowing enough time for the finish to cure between coats. Whether you’re using oil, varnish, or polyurethane, each coat needs time to fully dry before applying the next one. Rushing this step can result in a sticky surface or an uneven finish. Similarly, applying too much finish at once can cause pooling and uneven coverage. It’s better to apply several thin coats than one thick coat.
Some people also forget to maintain their butcher block after finishing it. Oils and waxes need to be reapplied periodically to keep the wood hydrated and protected. Neglecting this maintenance can cause the wood to dry out and become more susceptible to cracks and damage. Finally, using the wrong cleaning products, such as harsh chemicals or abrasive scrubbing pads, can strip away the finish and damage the wood.
How often should I reapply oil to my butcher block countertop?
It’s recommended to reapply oil every one to three months, depending on how often you use the surface. If the wood starts to look dry or dull, it’s time for another coat. Regular maintenance helps keep the wood protected and enhances its natural beauty.
Can I use polyurethane on a butcher block countertop?
Yes, polyurethane can be used, but it’s not typically recommended for surfaces that will be used for food preparation. While it provides a durable, water-resistant finish, it isn’t food-safe. If the butcher block is primarily decorative or used in areas with less wear, polyurethane can be a good option.
What is the best finish for a butcher block that will be used as a cutting surface?
Food-safe finishes like mineral oil, tung oil, or a blend of oils and waxes are the best choices for butcher blocks used as cutting surfaces. These finishes protect the wood while maintaining a natural look and feel. They’re also non-toxic, making them safe for food contact.

Can I stain my butcher block before applying a finish?
Yes, you can stain a butcher block to change its color before applying a finish. However, make sure the stain is food-safe if you plan to use the countertop for food preparation. After staining, you’ll still need to apply a protective finish like oil or varnish.
How do I prevent my butcher block from cracking?
The best way to prevent cracking is to maintain the moisture content of the wood. Regularly applying oil keeps the wood hydrated, which helps prevent it from drying out and cracking. Avoid exposing the butcher block to extreme heat or prolonged moisture.
What should I use to clean my butcher block countertop?
For regular cleaning, use a mild soap and water solution. Avoid harsh chemicals or abrasive cleaners, as these can damage the finish. After cleaning, make sure to dry the surface thoroughly and apply oil if the wood appears dry.
How to Make a Butcher Block Countertop Food Safe – Hardwood
My Butcher Block Countertops, Two Years Later – Domestic Imperfection
Related articles:
- Pine Butcher Block Countertops
- Butcher Block Countertops Walnut
- Maple Butcher Block Countertops
- Care Of Butcher Block Countertop
- Butcher Block Countertops Maintenance
- Antique Butcher Block Countertops
- Butcher Block Countertop Sealing
- Wood Butcher Block Countertop
- Thick Butcher Block Countertop
- How To Finish A Butcher Block Countertop
